
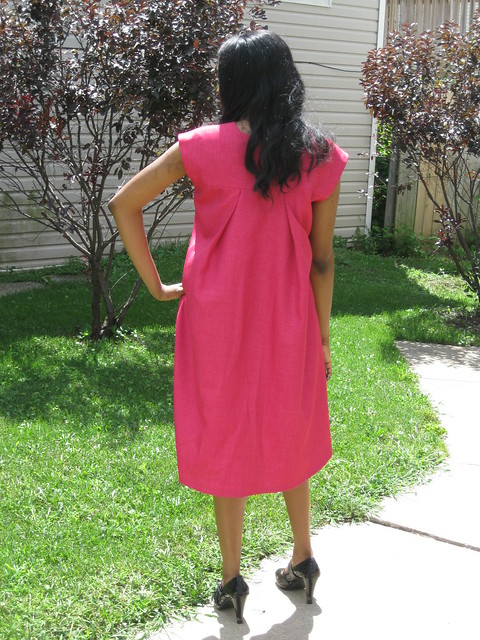
The final post on fitting and sewing McCall's 6329. My DD is happy to have two new suits (skirts Simplicity 1919). Most of the information on the process was documented:
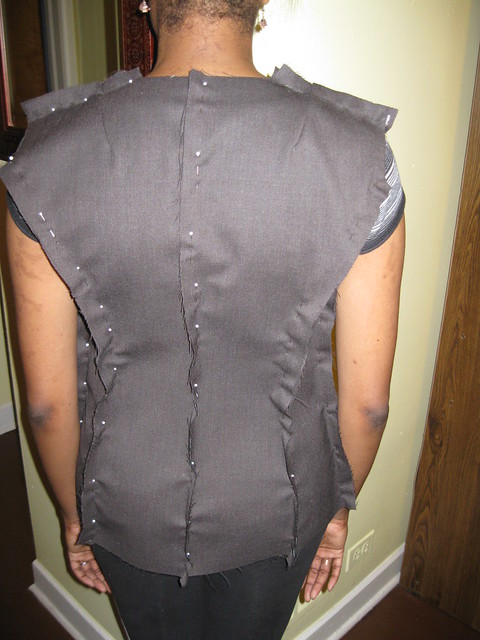
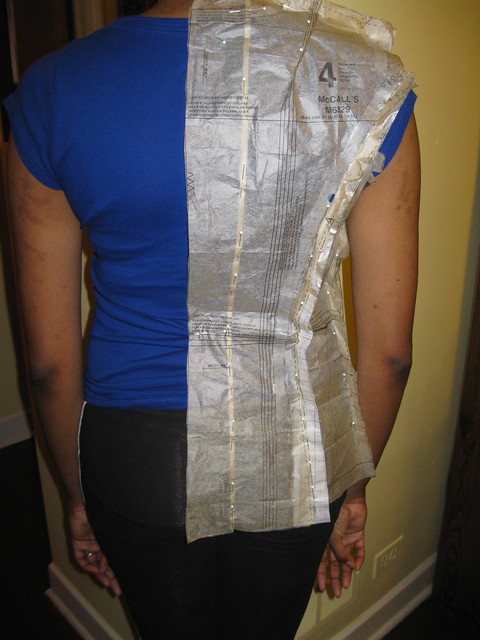
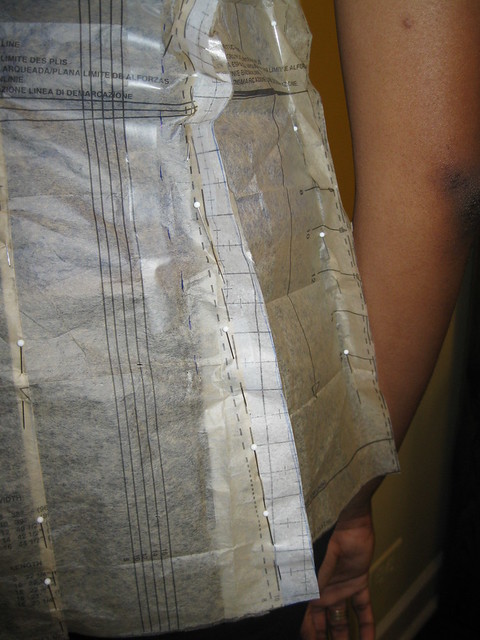
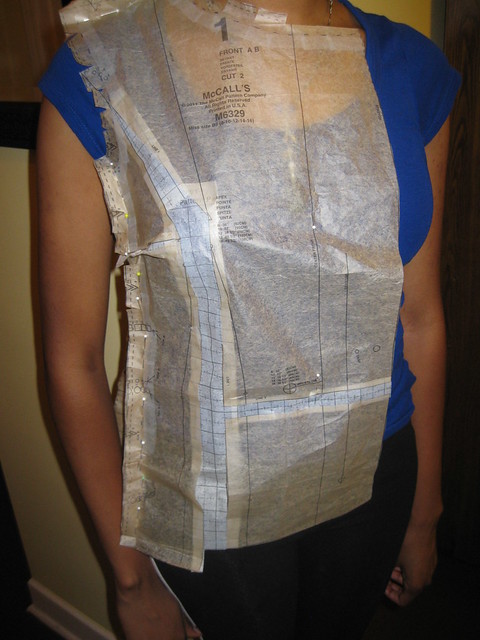
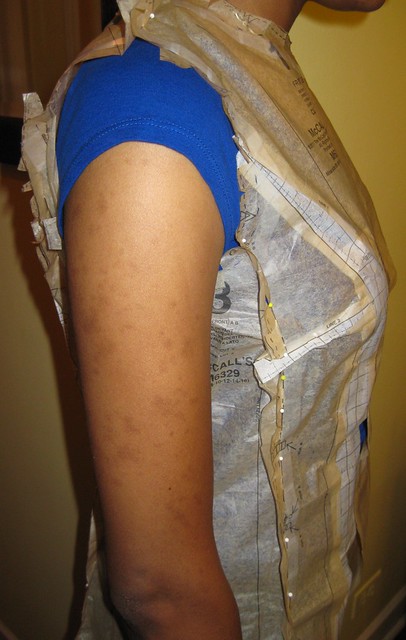
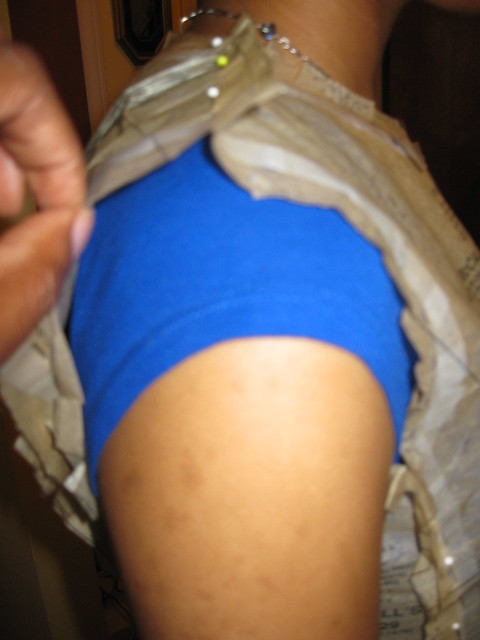
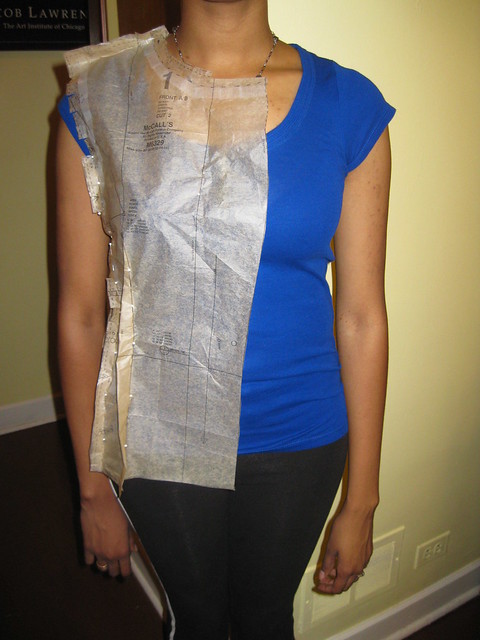
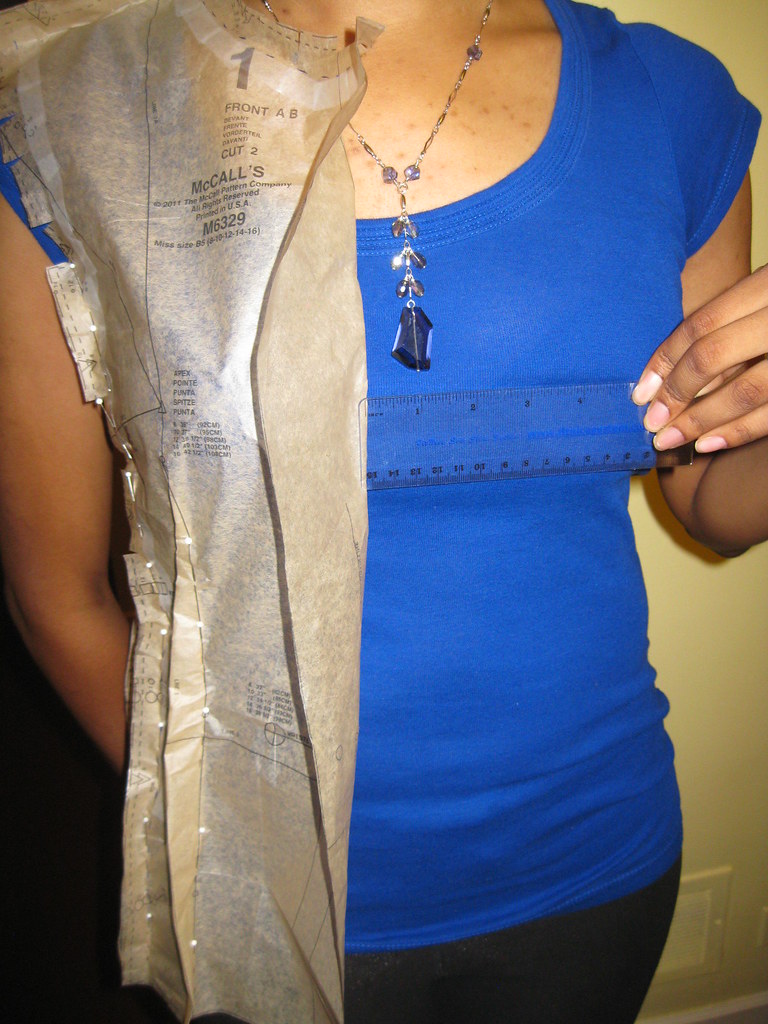
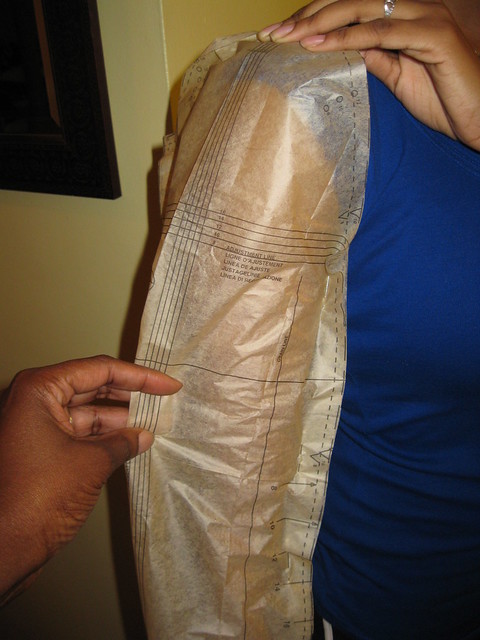
McCall's 6329 - Tissue Fitting the Pattern
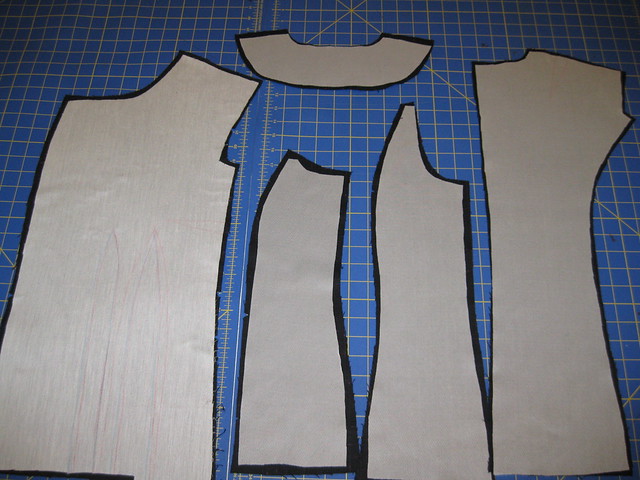
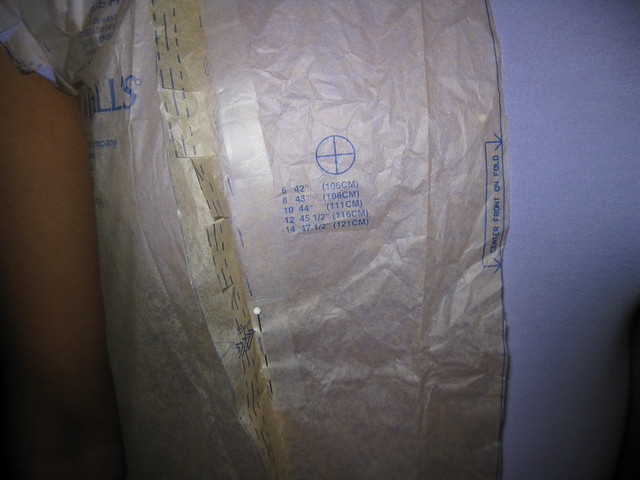
McCall's 6329 - Altering the Pattern
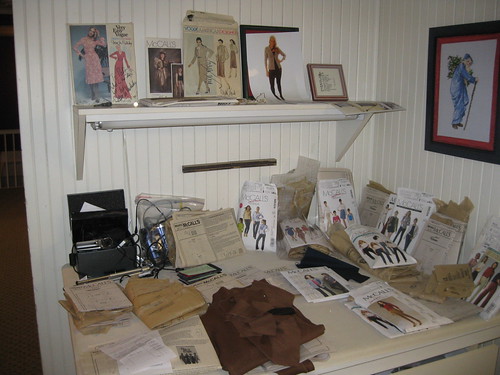
McCall's 6329 - Working with the Clothe
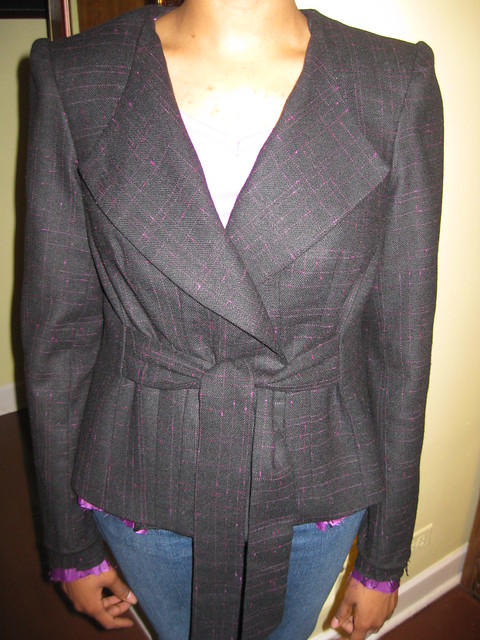
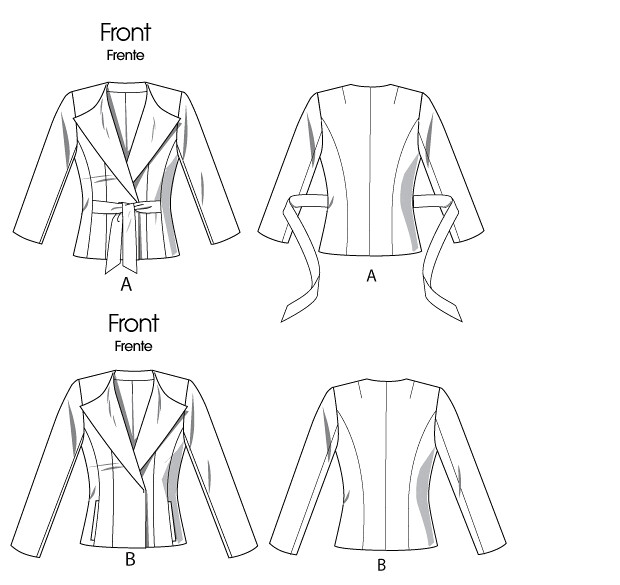
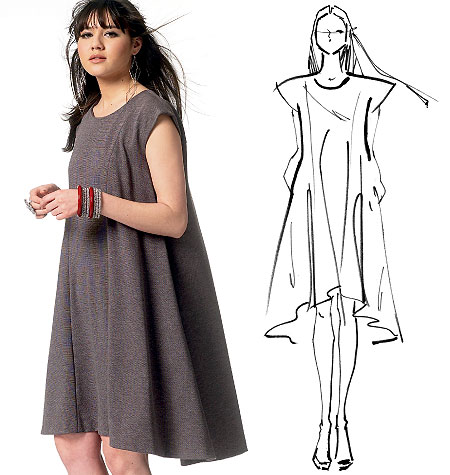
Pattern Description: MISSES'/WOMEN'S LINED JACKETS: Close-fitting with snap closure. A: Tie can be tied in front or back. B: Side front seam pockets
Pattern Sizing: 8 to 24W; I used size 10 with modifications.
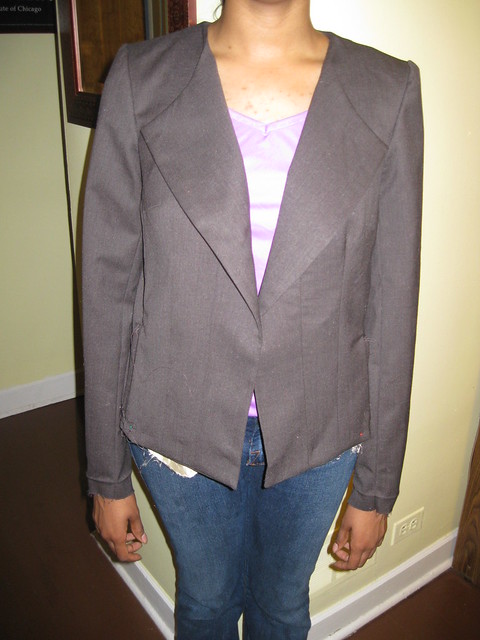
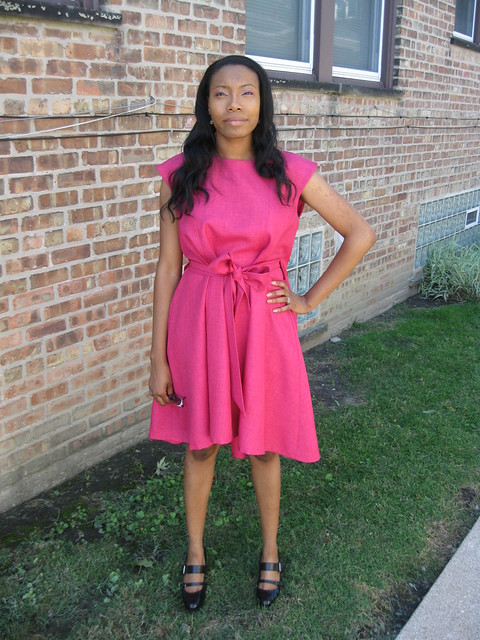
Did it look like the photo/drawing on the pattern envelope once you were done sewing with it? Yes. There were some changes made for fit and preference.

Were the instructions easy to follow? Nothing difficult or confusing.
What did you particularly like or dislike about the pattern? These jacket were for DD. I selected this pattern because I thought it would be an acceptable jacket for her work gear. She likes the style and cut of the jacket. No dislikes reported by her.
Now, for my likes and dislikes:
Likes
- It's Palmer/Pletsch, which makes it easy to alter. Lines are drawn on the pattern already.
- Style - The tie (view A) is my favorite.
- Pretty easy to make.
Dislikes
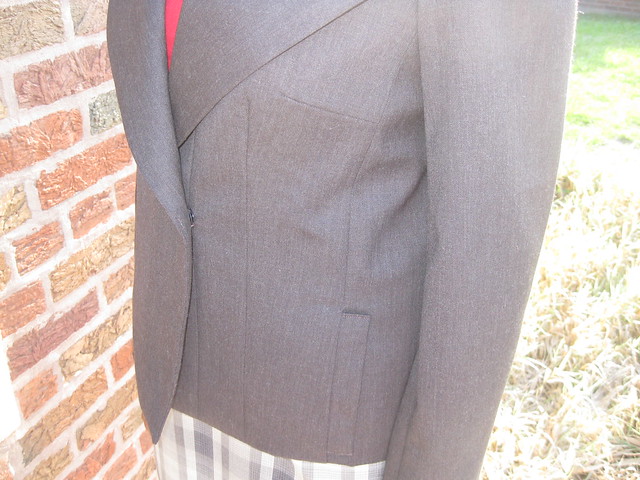
- Position of the pockets. This has happened with other commercial patterns. The pocket is too close to the hem and tends to create bulk at the hemline.
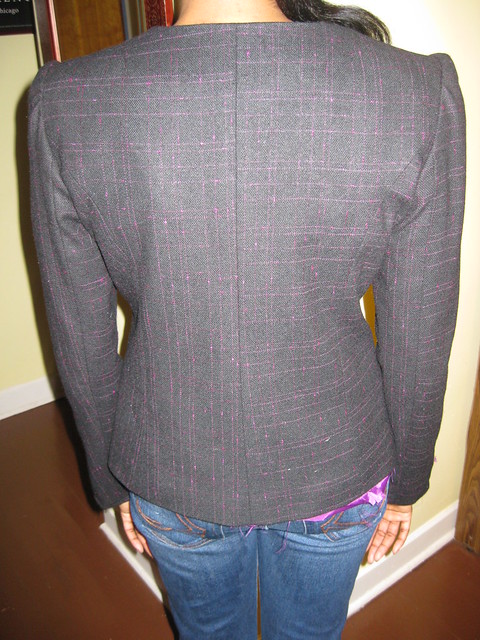
- I had a slight problem with getting the sleeve cap smooth. I set the twice, still not able to get the smooth look I like.
Fabric Used: Woolens bought while in Oregon. Lining is from stash, leftover projects.

- The entire shell of the jacket was interfaced.
- Added sleeve heads to the black jacket and used raglan shoulder pads for the brown jacket.
- Two waist darts instead of one.
- Understitched the front up to the the turn of the lapel and along the back facing between the shoulder seams.
- Adjusted the length of the pocket to reduce bulk.
Fitting: The fitting method used is based off the Palmer/Pletsch fitting method. All documented in the three previous posts as indicated above.
Would you sew it again? Would you recommend it to others? Only if DD wants more jackets made using this pattern. But I do recommend it to others.
Conclusion: This pattern has great bones and a good one to practice the Palmer/Pletsch fitting technique. My DD is more pleased than I am with the results. She says the jackets fit well and look good.
The skirts were made using Simplicity 1919. That's another review. You can view the entire process in pictures on Flickr.
Parting Videos: Tip on machine pad stitching on the jacket lapel. I'm planning to try this.
Happy Sewing! C


