
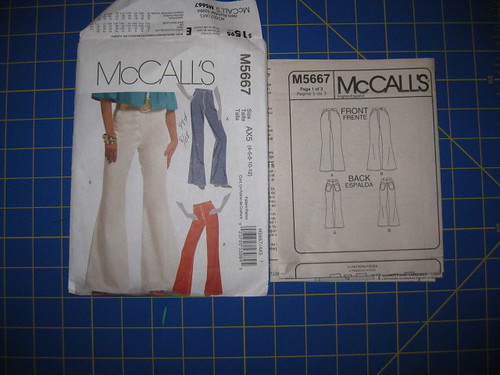
M5667
Tuesday before last, I decided to work on some UFO's for DD. She purchased her own fabric for these and several other pants. I cut them out and finished the seams about three months ago. So I was able to finish one of two pair from the pattern and another pair from S3690
Here's my review:
Pattern Description: MISSES’ PANTS: Slightly flared or flared pants (semi-fitted through the hip) have side front pockets, fly closure, waistband with buttonhole and button closure, carriers, yoke back, back patch pockets and stitched hems.
Pattern Sizing: 4 to 20; I made size 10, which turned out to be a little big in the waist. Next pair I'll make the adjustment when I put them together.
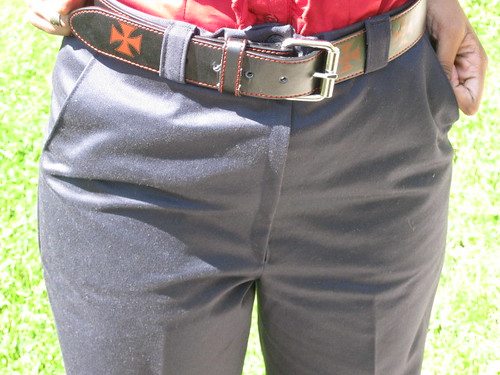
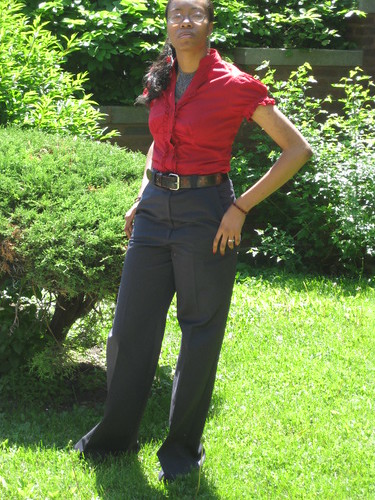
Did it look like the photo/drawing on the pattern envelope once you were done sewing with it? Close, but not exactly. The waist sits high on these pants. On photographed model you can't really see it, but on the drawing it looks a little higher the average. The curve of the leg isn't as pronounced as the photo or the instruction page diagram. That look is what drew us to this pattern.
When I cut them out, I two pair at the same time. The first pair navy and the second a tan color that I modified to look more like the photograph on the envelope. More on that later.
Were the instructions easy to follow? Yes, easy enough for a beginner to follow. I didn't notice anything difficult about them.
What did you particularly like or dislike about the pattern? We liked the design of the pant leg. Thought it was a good change for jeans/pant style to make up. I disliked the fact that the paper pattern didn't hold true to the design photo and diagram.
Fabric Used: DD purchased the cotton blend with some stretch from Vogue Fabrics last winter.
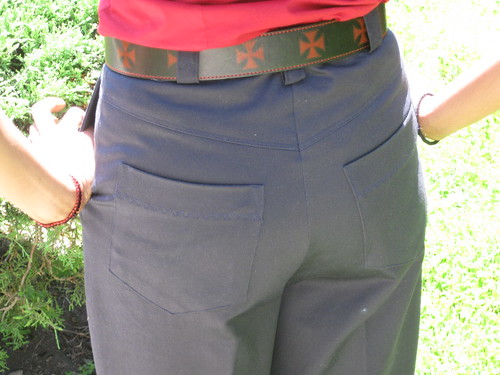
Pattern Alterations or any design changes you made: This first pair I only added some decorative stitching on the back pockets. DD missed a belt loop and may be they need a small sway back adjustment.
Here are the alterations for the next pair: Note - changes made of the actual pants instead of pattern.
Finding the most pronounced curve point of the pant leg. To do so, find the mid knee section in the front pant. Measure the length from the waist to the mid knee on DD. Transferred the measurement to the pant.
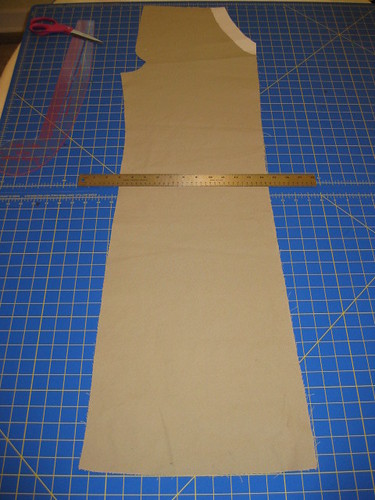
Use the rule to mark the desired curve of the pant leg.

Make the same changes to the back pant using the front pant as a guide.
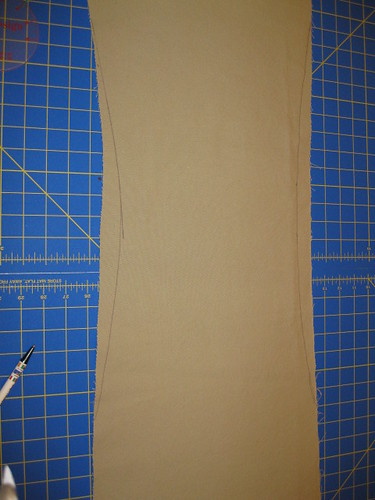
Front pant after removing the unwanted sides. Do the same for the back pant leg.
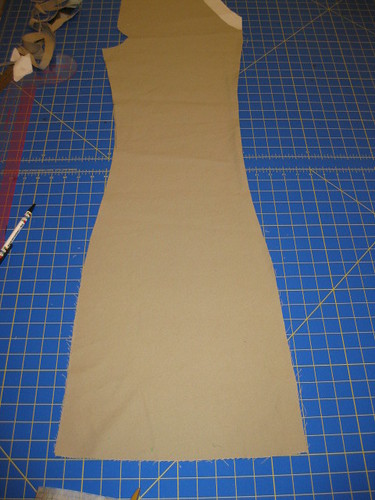
Now all is left is the sewing of this second pair. May be this weekend. ;-)
Would you sew it again? Would you recommend it to others? Sewing them again: already in the works. Yes, with the understanding that the pant leg is not the same as the diagram or the photograph.
Conclusion: DD likes the first pair. And is looking forward to me finishing the second pair with the flare pant leg. These pants are easy to sew. And the pattern could be used to create two looks with minor adjustments.
Thanks for posting this info. I've had this pattern in my stash for a while. I was hoping the trouser had that sweet flare. I am glad you posted how to make the corrections. I'll put them with the pattern.
ReplyDeleteThose came out great. Can't wait to see the second pair with your intended alterations.
ReplyDeleteLooks like a great fit. Nice going!
ReplyDeleteThose pants are really nice. I love the fabric.
ReplyDeleteI've been looking for a new pants pattern and I really like this one. You've done a lovely job with these.
ReplyDeleteThe slacks look great!
ReplyDeleteGreat slacks and its such a joy when a child loves their mom personal designs.
ReplyDeletesmart daughter & clever mother.
ReplyDeleteLooking good!
Great job on the slacks. They came out great. Cute.
ReplyDeleteGreat looking pants. My DD was always to impatient to let me sew for her. She hated fittings.
ReplyDeleteThese look great on your DD. I bet she doesn't text while you fit her like some other DDs I know.
ReplyDeleteVery beautiful as usual...Love the pant
ReplyDeleteShe looks great - the trousers fit her nicely. The alterations to get "the look" are spot on - it's nice that you know how to do these things!
ReplyDeleteGreat pants, and cute red shirt, too! Did you make the shirt as well?
ReplyDeleteThey look absolutely perfect!
ReplyDeleteThanks, everyone. I didn't get to the second pair this weekend. But I managed to finish two dresses.
ReplyDeleteHere's where I can say, "What a great ass!" and get away with it ;) ! The rear view looks perfect. I can truly appreciate that nice crotch curve with no baggy butt. What a GREAT fit!
ReplyDelete