Pages

Tuesday, August 21, 2012

McCall's 6329 - Finished Jackets and Final Words


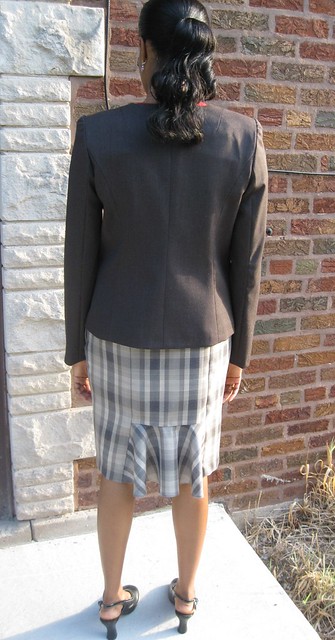
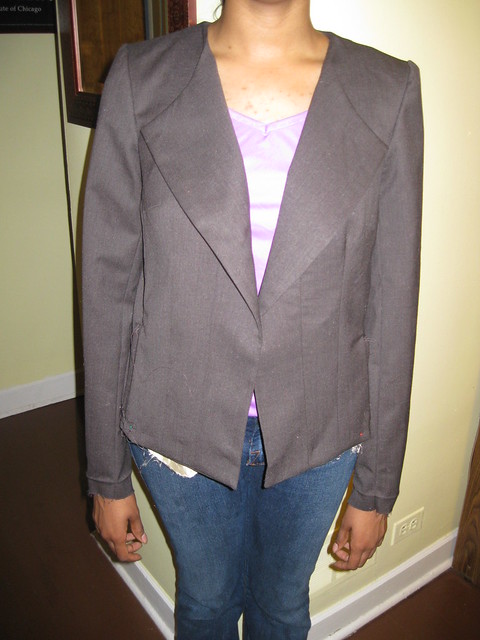
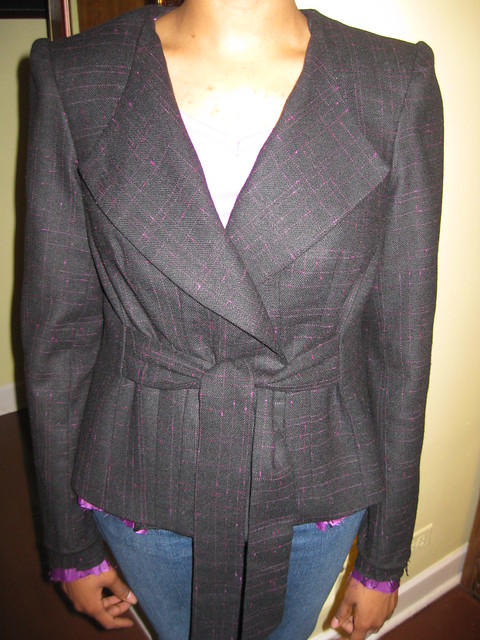
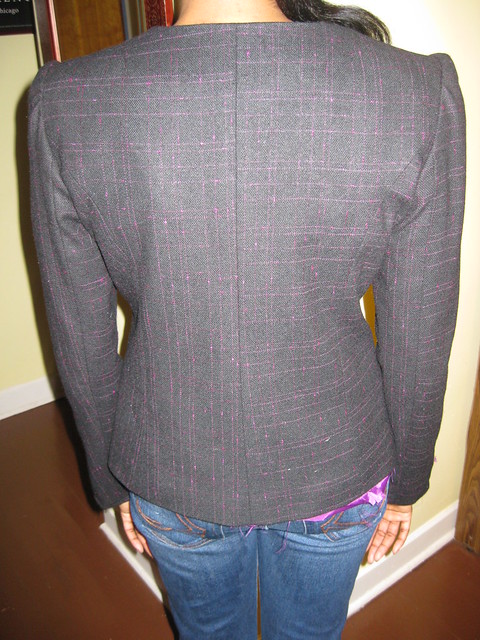
The final post on fitting and sewing McCall's 6329. My DD is happy to have two new suits (skirts Simplicity 1919). Most of the information on the process was documented:

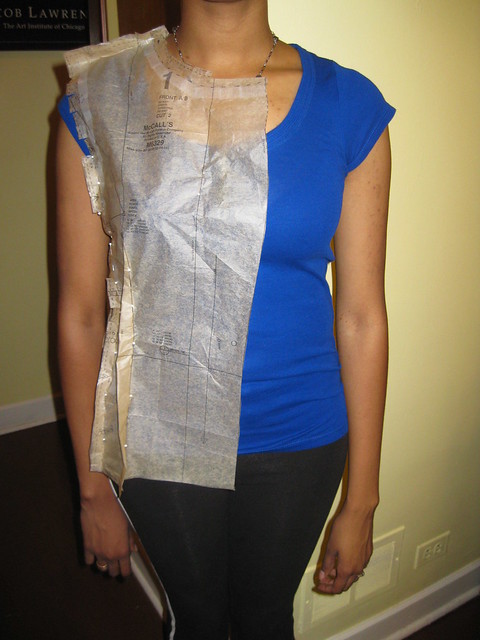
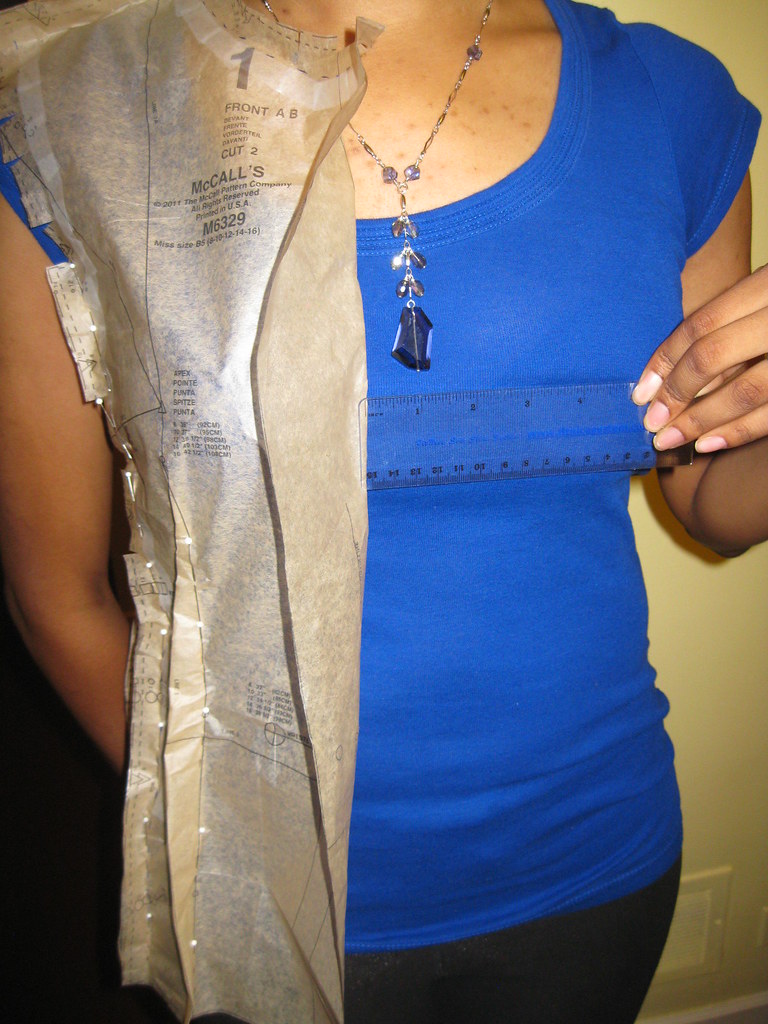
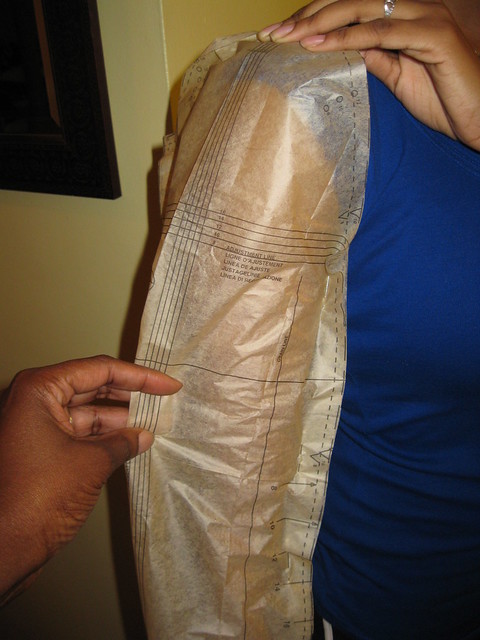
McCall's 6329 - Tissue Fitting the Pattern
McCall's 6329 - Altering the Pattern
McCall's 6329 - Working with the Clothe

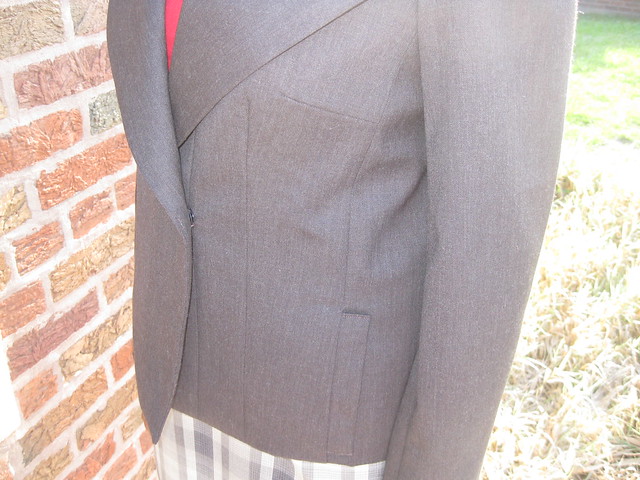
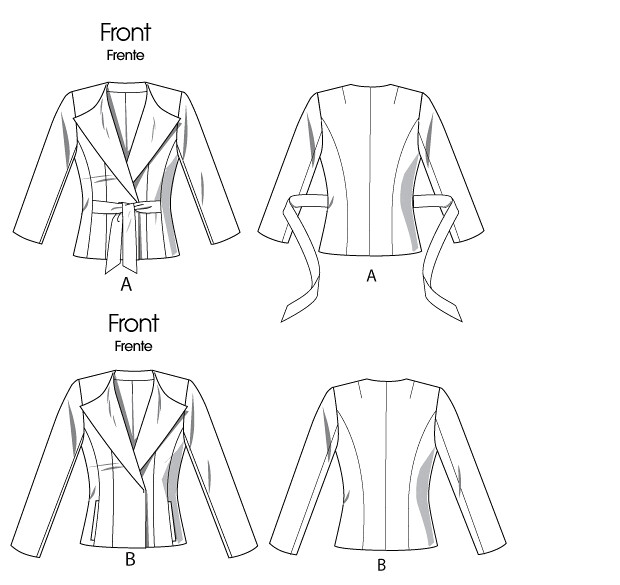
Pattern Description: MISSES'/WOMEN'S LINED JACKETS: Close-fitting with snap closure. A: Tie can be tied in front or back. B: Side front seam pockets

Pattern Sizing: 8 to 24W; I used size 10 with modifications.


Did it look like the photo/drawing on the pattern envelope once you were done sewing with it?  Yes.  There were some changes made for fit and preference.


Were the instructions easy to follow?  Nothing difficult or confusing.

What did you particularly like or dislike about the pattern? These jacket were for DD.  I selected this pattern because I thought it would be an acceptable jacket for her work gear.  She likes the style and cut of the jacket.  No dislikes reported by her.

Now, for my likes and dislikes:
 Likes
- It's Palmer/Pletsch, which makes it easy to alter.  Lines are drawn on the pattern already.
- Style - The tie (view A) is my favorite.
- Pretty easy to make.
Dislikes
- Position of the pockets.  This has happened with other commercial patterns.  The pocket is too close to the hem and tends to create bulk at the hemline.  
- I had a slight problem with getting the sleeve cap smooth.  I set the twice, still not able to get the smooth look I like.  


Fabric Used:  Woolens bought while in Oregon.  Lining  is from stash, leftover projects.


Pattern alterations or any design changes you made:  There were multiple changes related to fit.  See previous posts.  I also made a few during the process of sewing the jackets together.
- The entire shell of the jacket was interfaced.
- Added sleeve heads to the black jacket and used raglan shoulder pads for the brown jacket.
- Two waist darts instead of one.
- Understitched the front up to the the turn of the lapel and along the back facing between the shoulder seams.
- Adjusted the length of the pocket to reduce bulk.

Fitting: The fitting method used is based off the Palmer/Pletsch fitting method.  All documented in the three previous posts as indicated above. 
 
Would you sew it again? Would you recommend it to others?  Only if DD wants more jackets made using this pattern.  But I do recommend it to others. 

Conclusion:   This pattern has great bones and a good one to practice the Palmer/Pletsch fitting technique.  My DD is more pleased than I am with the results.  She says the jackets fit well and look good.

The skirts were made using Simplicity 1919.  That's another review.  You can view the entire process in pictures on Flickr.

Parting Videos: Tip on machine pad stitching on the jacket lapel. I'm planning to try this.


Happy Sewing! C

Friday, August 17, 2012

Do you Follow Color Trends?


Do you follow color trends? Or do you stick to the colors that complement the color of your skin, eye, and hair? With each season comes a trendy color palette that many follow because it features the "in" colors of the season.

Ethel Harms did a color analysis for me while I was in Portland, OR. It revealed that I should use a bright-medium autumn palette. Many of the colors are not in my current wardrobe, and there are many colors I've worn for years that are. My palette has no pink/fuschia or grey hues in it (I love these colors and have plenty of fabric to proof it. Lol). These colors make me look pale or grey.

The spring/summer colors this year are tangerine, mint green, bright yellow, kelly green and coral. My first thought was oh..., I can wear all of these. To date, I have not made or bought anything of these colors. My color palette contains only one of these colors. Surprise to me!


During the color analysis, Ethel placed the colors swatches close to my face, I could clearly see how the colors reflected or repelled the vibrate natural tones in my complexion. What a revelation. I'd never thought to have a color analysis, always thinking I was sure of the colors that work well with my skin tone. I'm happy that I now know that many blues, greens and oranges (especially) are great colors for me. So think about it. What colors work best with your skin, hair and eye colors? Trends are okay, but every trend is not good for every fashionista.

Here are a few of the photos that Pati Palmer took during the color analysis. (warning some pictures are without makeup, just lipstick.  Lol)

Me being silly at the start of the session (I was a little nervous at the beginning.).  Black (hair) is okay and the three shades of brown (eyes).


Draping scrafes and swatches - The first drafted color not so good.  Doesn't really complement.


The blues and browns - better

The brown, gold, and cranberry tones are a perfect complement.


Ethel placed the colors that worked well with my skin on the table.


Next, a few close ups of the plattetts that work for me.


Browns, Reds and Oranges


Greens and Browns

Blues and Browns

A Hand Full of Colors

That's it on color.  So, how do you feel about color trends?  Do you follow them or use colors that work well with your skin tone? 

Happy Sewing and Wardrobe Designing, C

PS - DD's jackets are done.  I will show them in next post.

Color Analysis photographs are compliments of the Pati/Palmer Company.

Monday, August 13, 2012

Mc Call's 6329 - Working with the Clothe

Happy Monday everyone,

I intended to post this on Friday, but the time got away from me.  I hope you're still interested in the process.  There are a few things I wanted to point out related to working with the clothe.  The first is to exercise a little caution when fitting the garment in fabric.  Fabric is flexible and can be easily molded unlike the tissue pattern.  Take into consideration the weave and texture of your fabric.  Some give more than others.


I made two jackets from M6329 for my DD.  The first is in a woolen from the Pendleton Woolen Mill Store in Portland.  It is a tight weave, not much give in the fabric.  The second is also a woolen but the weave is loose.  I pre-shrunk the black wool by tossing it in the dryer with a wet hand towel.  It came out softer, less body the before treating it.  The Pendleton wool was pre-shrunk by steam pressing  with the iron.  The body remained the same.  Both jackets will be dry cleaned.

For body, I interfaced the entire shell of the jacket.


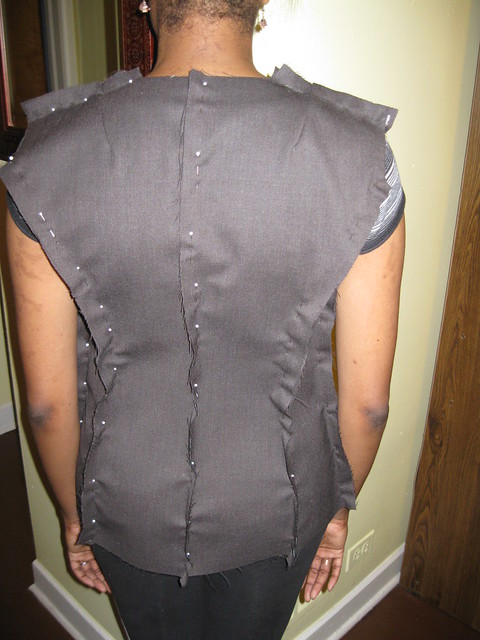
Next, I pinned the shell to fit before sewing. I didn't like the one dart which is shown below in the brown jacket.  So I ripped it out and made two darts for a smoother look.  You don't have to stick to the original design of the jacket; it's only a guide.  You have the liberty to change what you like.


Here are both jackets with the two waist darts.  For the most part, I think brown jacket is in good shape.  But I need to re-set the sleeves in the black jacket.


 Note: For this picture I inserted one shoulder pad (above).  Her right side has wrinkles on the sleeve and shoulder area.  While the left side is smooth with the shoulder pad in place.


The sleeves and shoulder need to be re-set.


Parting tip:  If you are planning to sew a jacket, but don't want to interface the entire body, consider this technique for sewing an invisible hem.


Next the finished jackets.

Happy Sewing!
C
Wednesday, August 8, 2012

McCall's 6329 - Altering the Pattern

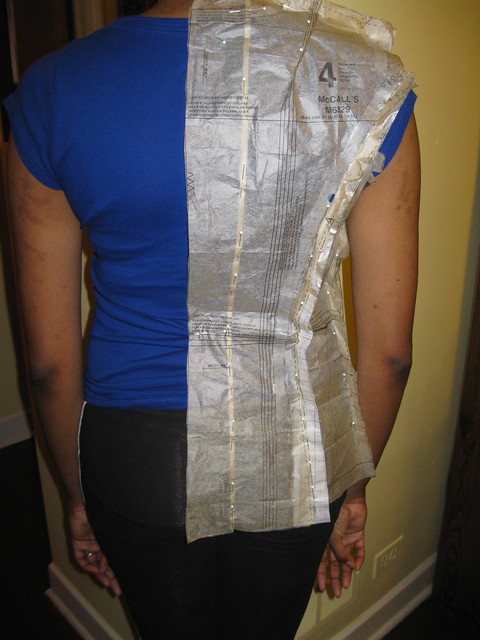
After making observations about what needs to be altered, now I can make the pattern adjustments. Starting with the back again. I made a tuck from the neck to the hem near her spine. This tuck removes the excess in the center back.  There was excess in this area as appose to the shoulder area.  Sorry I forgot to photograph the flat pattern. But below is DD wearing the pattern with this change made.
DD has a small waist, but she is curvy in the hip area. So I added tissue along the side seam of the back. I think this works for the back of the jacket.
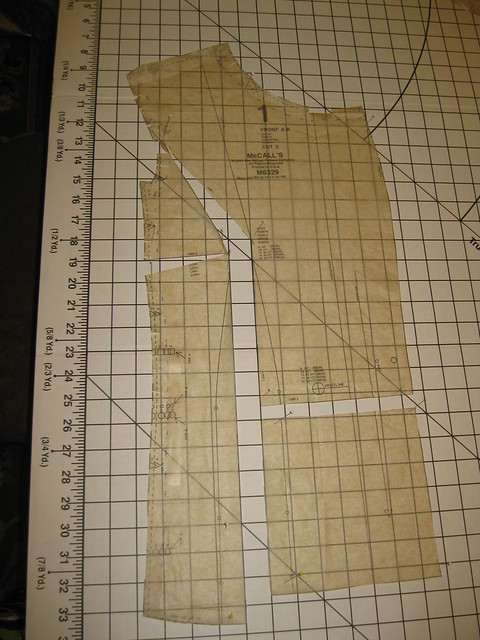
Next, I made a FBA. Spread the pattern the required amount, fill in with tissue paper, and tape.
The pattern center front now comes to DD's center front. (NOTE: I forgot to pin out the waist dart. Update will come in the next post.)

Next, working with the clothe.

 Happy Sewing! C
Tuesday, August 7, 2012

McCall's 6329 - Tissue Fitting the Pattern

I'm in the process of making McCall's 6329 for DD. She's in need of a few work clothes. So I decided to help her beef up the work wardrobe. I'll use M6329 for two jackets that I'm planning to make for her over the next several weeks.


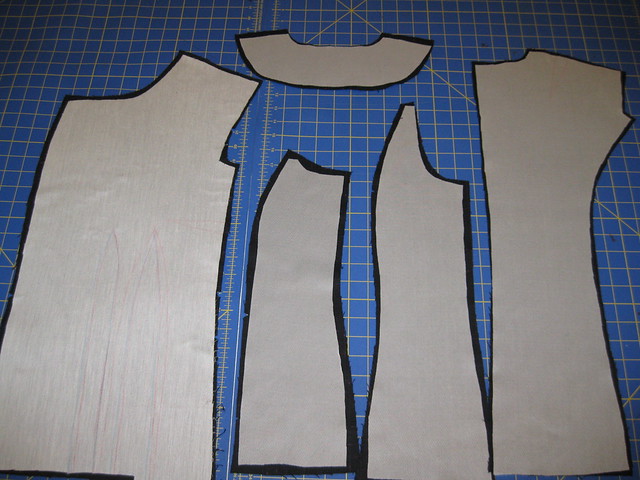
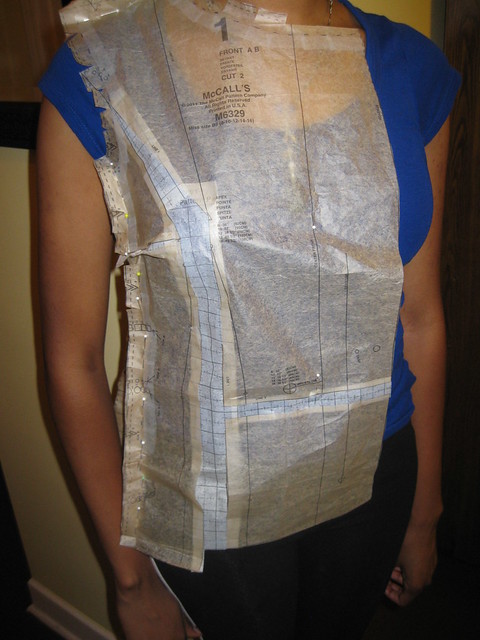
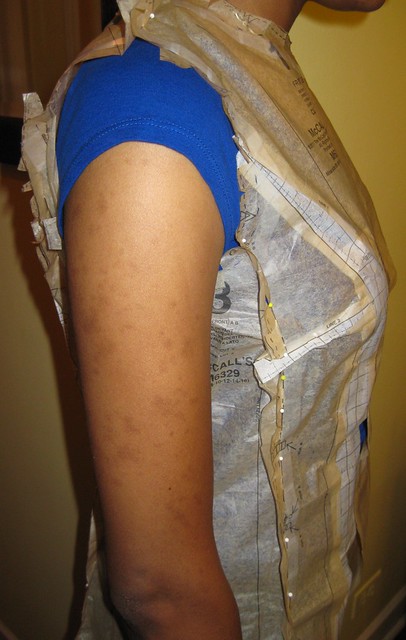
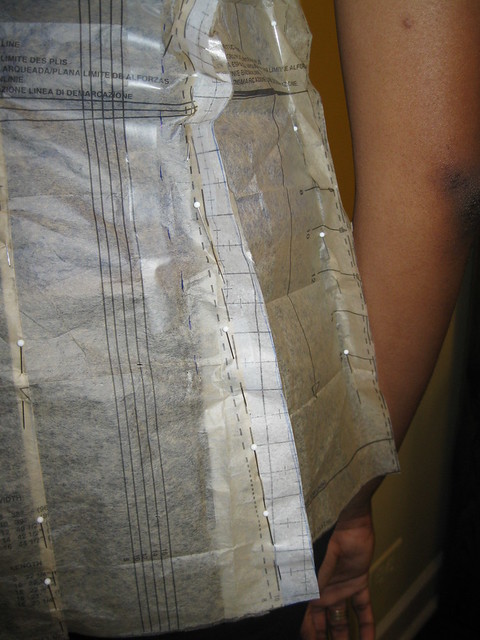
Part of the process is to make sure the fit is good. So I started with tissue fitting the pattern. First I determined the correct size to use for her by measuring her high bust measurement. If it is the exact number or a number between two sizes as indicated on the pattern (bust measurement), I selected the next smaller size. Example, my DD measured 33 inches. I used size 10. Next I prepared the pattern for fitting. I marked the 5/8" allowance, applied tape, and clipped where necessary for all seams that would be pinned. Then pinned the pieces together to fit. I started the fit process from the back. Then worked my way to the front. DD's center back seam comes about 3/4" pass the center of her back. The shoulder look fine.


Second observation, there is room for shoulder pads.


Note how the front wings out to the side. There isn't enough room across the bust area.


The center front is about 1" away from DD's center front. So I need to do a FBA.

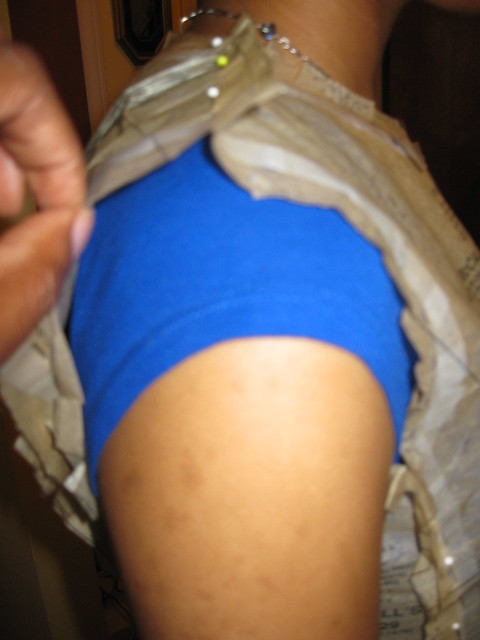
I can pinch more the an inch on the upper arm of the sleeve. Not too bad. (Special note: It's pulled slightly higher than it should be. We were having some technical difficulty with photography and fitting at the same time. I hope you get the idea.)

Parting Video from Sandra Betzina - Fall is on its way. And if you are like me, you are planning to make pants with lining. For years I've practiced sewing my lining a tad bit larger than the garment. This video clip speaks to that technique. So here is the preview "Learn to Sew Linings A To Z with Sandra Betzina."


Next, how to alter the pattern.

Happy Sewing! C
Monday, August 6, 2012

Two Dresses in One - M6553


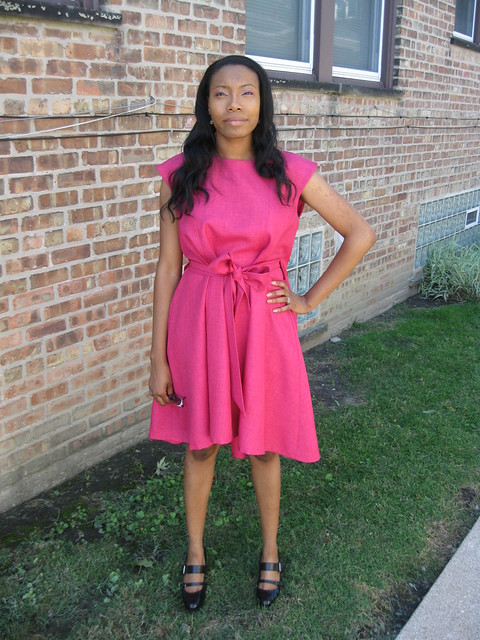
This is my first try at sewing Fashion Star pattern design.  When my DD saw it, she added it to her long list of things she'd like me to make for her.  And because it was her birthday, I decided to move this one to the top of the list.  Besides it's not hard to sew and requires very few pattern adjustments.

McCall's has printed the NBC Fashion Star website on the pattern envelope.  Of course, I was curious to know who designed this dress and to see how the pattern version compares to the original design.  The dresses are similar, but there are some noticeable differences.  The original design is lined, the sleeve cap is shorter, there is some type of applique on the left bust, and has less style ease built into the dress.

Take a look at Kara's runway design on Fashion Star.

Now here is my review of McCall's Rendition of the dress, M6553

Pattern Description:  Misses' Dress and Belt:  Very loose fitting, pullover dress has princess seams, self-lined yoke back, side openings for self-belt, back pleats, neck slit with button, thread loop closing and shaped hemline.

Pattern Sizing:  6 to 22; I used size 10 with minimum modifications.

Did it look like the photo/drawing on the pattern envelope once you were done sewing with it?  Yes it did.  The dress on the envelope looks the same as my version of the dress. 

Were the instructions easy to follow?  The instructions were a piece of cake.  I had no problem following them.  Nothing confusing.  The guide sheet included some design options, which I thought was a nice addition.  I've seen all three design ideas in RTW this summer.

What did you particularly like or dislike about the pattern?  We like the design of the dress, period.    No dislikes.

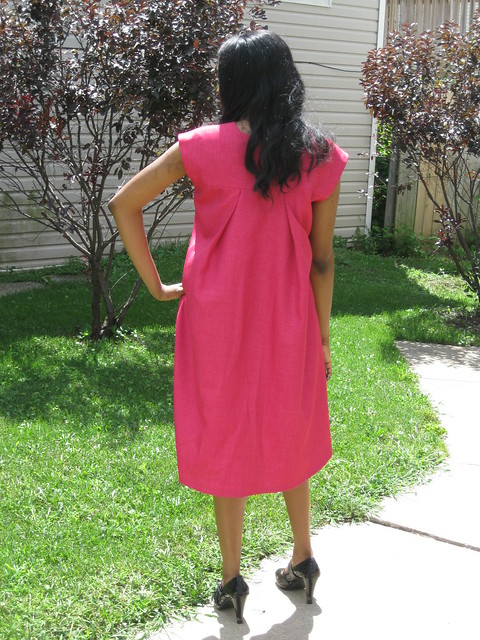
Fabric Used:  I used one of the fabrics that I purchased at the Mill End Store in Portland.  It's a fuschia rayon/polyester blend.

Pattern alterations or any design changes you made:  I decided to use the Palmer/Pletsch fit system to determine the changes needed.  First, I pinned the tissue pattern together to see if there were any adjustments needed.  This pattern has a lot of ease in it.  That could be a good or bad thing.  So to avoid a disaster, I tissue pattern fit it to make sure there were no surprises.
  • The first fit revealed the need for a narrow back adjustment.  I made a 1/2 inch tuck about two inches from her spine on the yoke back.  Then I moved and adjusted the width of the back pleat to fit the yoke. 
  • Out of laziness, I machine stitched the hem.
There were no other changes needed.  There is a lot of style ease built into this dress.  The bust measurement for size 10 is 44".  The length of the dress was just right for my DD.  She is about 5'6".


Would you sew it again? Would you recommend it to others? Yes, she wants one more version.  And yes I do recommend it to others.  It sews up quickly; it's stylish; and you get two dresses in one. Lol

Conclusion: This is a nice dress to sew.  It's on trend and does not require a lot of adjusting to make it fit.

Thursday, August 2, 2012

Palmer/Pletsch - Other Activities and Highlights


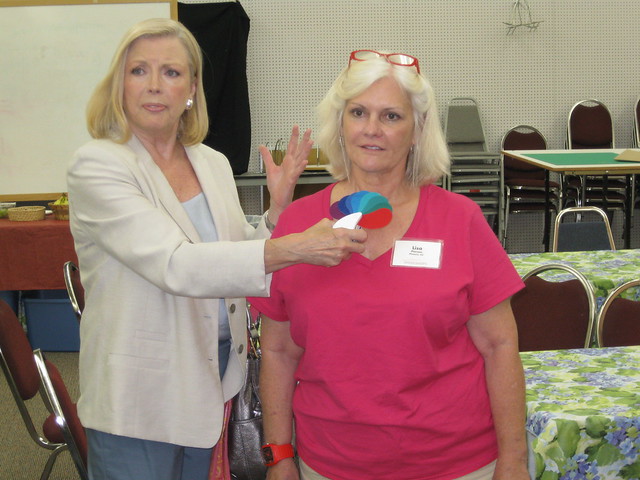
A few of the ladies signed up for a color analysis, with Ethel Harms (Image Consultant).  Ethel using a remarkable technique to determine which colors are best for your hair, skin, and eye colors.  As part of the consultation, she creates a color palette using your very best colors.


Seriously, once you've had a color analysis, you will ask yourself, "Is this the best color for me?"  I used to think I could wear almost any color.  That's true.  Everyone can.  But is it the best color for your skin, hair, and eye color?  Above is Ethel and Lisa.  Ethel is telling the class about Lisa's color palette.  Ethel gave me a color consultation that revealed some surprises about the best colors for me.  Sorry I don't have my color palette yet.  It's on the way.  More on that later.

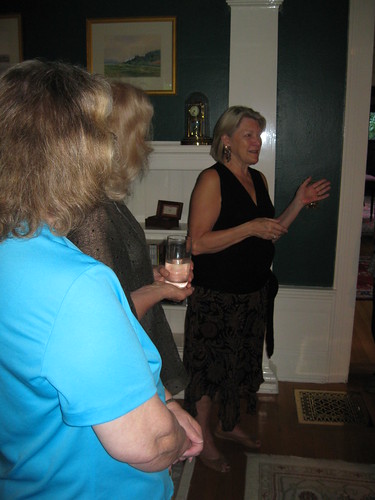
Ladies on the Veranda

After the four day fit workshop we were invited to Pati's house for dinner.  She gave us a tour and told stories about how she came to design patterns for McCall's. 


The history of the Haute Couture Fashion Dolls is detailed in Theatre de la Mode


We enjoyed lunch at two of Portland's famous restaurants:  On the shopping tour, we lunched at Whole Grain Store (restaurant)


During Teacher Training Day, we lunched at the McMenamins Edgefield restaurant.


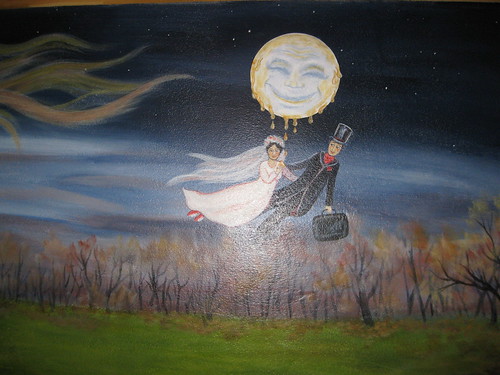
Beautiful murals were painted on the walls and doors throughout McMenamins Edgefield.


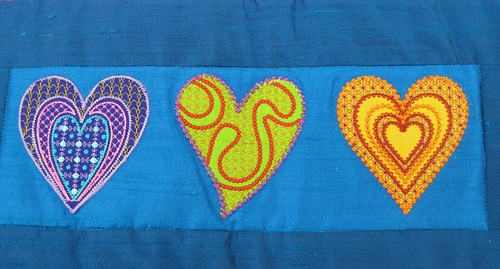
Parting Shots: Marta Alto showed and told about one of her fabulous creations, a silk hearts quilt. 


These are the final highlights that I wanted to share.  Now, I'm back to sewing.


Thanks,
C
Wednesday, August 1, 2012

Palmer/Pletsch - Teacher's Fit Workshop

Following our shopping tour, There were about six of us who signed up for the Teacher Training Workshop. In this seminar, we learned to fit one another. This was a perfect opportunity to firm up all those fit techniques learned in the Fit workshop. We had time to fit a regular bodice pattern and a princess seam pattern. To prepare for this workshop, it was recommended that we purchase and read "The Business of Teaching Sewing". The goal of this great little book is to help you accomplish three things: be a great teacher, start and run a teaching business, and make money doing what you love. I read a large portion of it on the flight to Portland. It was good to know that I already practice and follow some of the suggestions noted in the book. The tools I learned will help refine some of my business skills and has introduced me to some new ones to improve my business and teaching skills.

During the class, we were given an opportunity to ask questions related to the materials. Then, over lunch, Pati shared more information on how to prepare for classes and presentations. Great information.

 I don't have long before I'm eligible for retirement. For the the past three years, I thought about what I'd like to do with the rest of my life. And sewing is what I've decided on. I love it, and that makes it easy. At times, it has been an additional source of income. I still take in a small amount of custom sewing. As a kid, I also wanted to be an elementary school teacher. It didn't happen. But in almost every job I've had, teaching (training) was part of it. For the past two years, I've taught sewing in my home on a regular basis. It has been a pleasure; I have fun sharing what I know about sewing. What better thing to do than something I enjoy doing? So I will continue to teach sewing and work on making things better as I go.

I have one more installment on my Palmer/Pletsch Sewing Vacation. Then it back to sewing. I already have some information ready to share. I promised my daughter I make her a few garments for work. She recently acquired a position at MATEC, an AIDS Prevention unit on campus. We are very happy she has steady employment. It tough out there.

Anyway, next post will be on other activities during the workshop week. I hope you've enjoyed reading about the events. And maybe you'll consider attending some type of workshop or seminar. It was great fun and it won't be the last time I attend a Palmer/Pletsch workshop.

Happy Sewing!
C