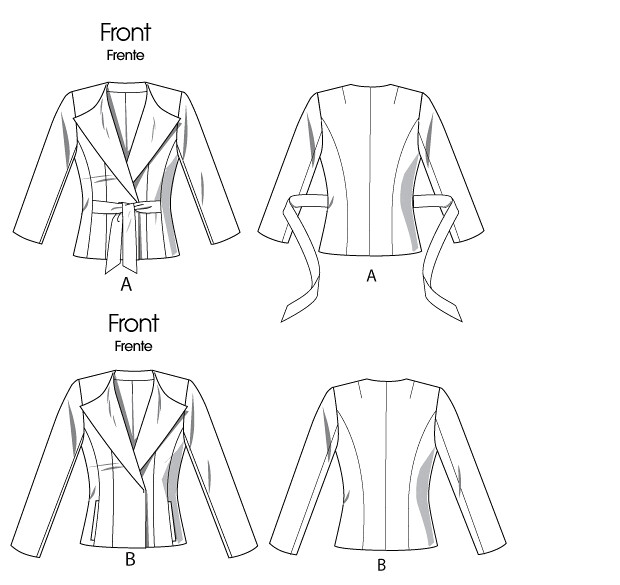
I'm in the process of making McCall's 6329 for DD. She's in need of a few work clothes. So I decided to help her beef up the work wardrobe. I'll use M6329 for two jackets that I'm planning to make for her over the next several weeks.
Part of the process is to make sure the fit is good. So I started with tissue fitting the pattern.
First I determined the correct size to use for her by measuring her high bust measurement. If it is the exact number or a number between two sizes as indicated on the pattern (bust measurement), I selected the next smaller size. Example, my DD measured 33 inches. I used size 10.
Next I prepared the pattern for fitting. I marked the 5/8" allowance, applied tape, and clipped where necessary for all seams that would be pinned. Then pinned the pieces together to fit.
I started the fit process from the back. Then worked my way to the front.
DD's center back seam comes about 3/4" pass the center of her back. The shoulder look fine.
Second observation, there is room for shoulder pads.
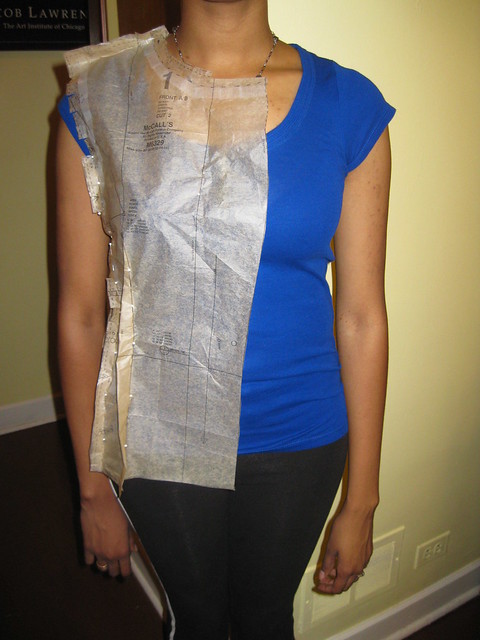
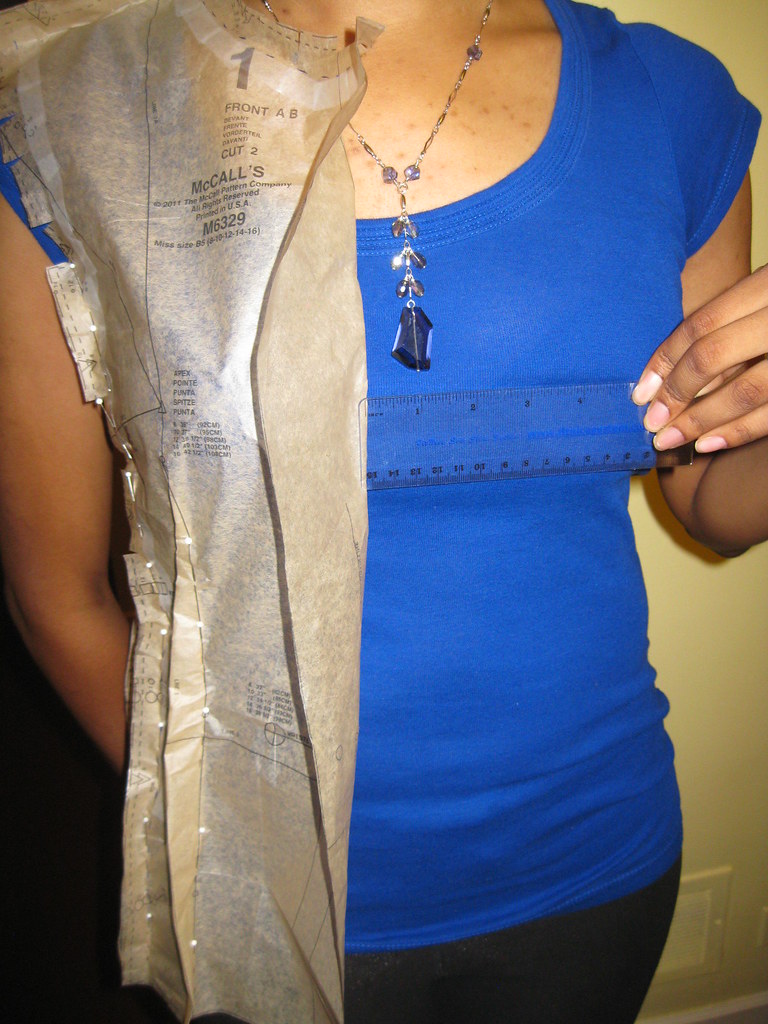
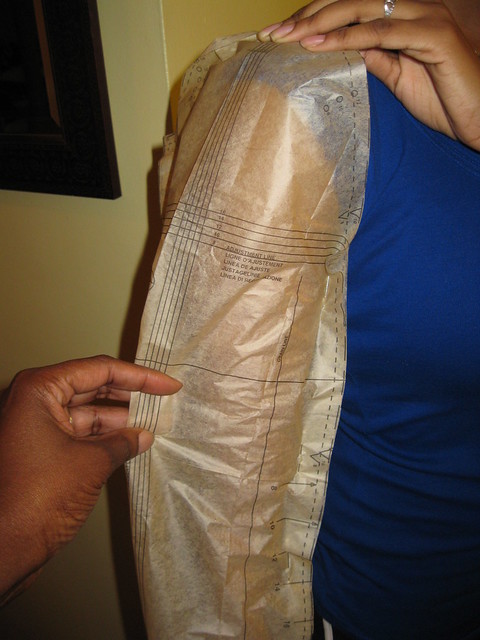
Note how the front wings out to the side. There isn't enough room across the bust area.
The center front is about 1" away from DD's center front. So I need to do a FBA.
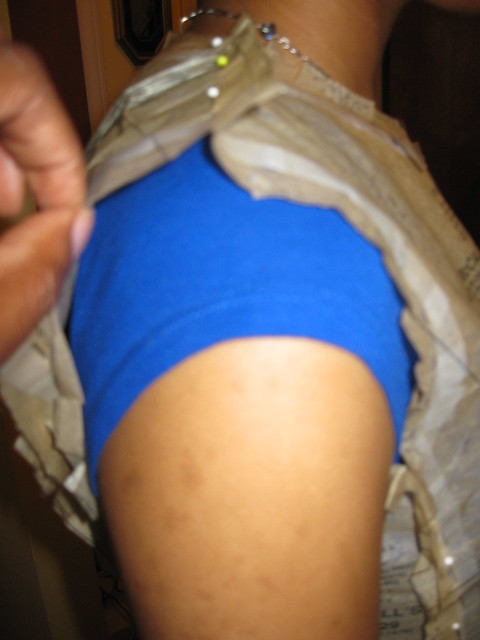
I can pinch more the an inch on the upper arm of the sleeve. Not too bad. (Special note: It's pulled slightly higher than it should be. We were having some technical difficulty with photography and fitting at the same time. I hope you get the idea.)
Parting Video from Sandra Betzina - Fall is on its way. And if you are like me, you are planning to make pants with lining. For years I've practiced sewing my lining a tad bit larger than the garment. This video clip speaks to that technique. So here is the preview "Learn to Sew Linings A To Z with Sandra Betzina."
Next, how to alter the pattern.
Happy Sewing!
C


Thanks for posting the steps you are using for tissue fitting. I have this pattern in my queue to make with a red stretch cotton so I'm excited to see your end product :-)
ReplyDeleteThanks for following my blog.
ReplyDeleteI have been watching what you do with clothes for a while now. I'm impressed, but not impressed enough to go back to dress making full-time. I am however, trying to glean from all your fitting information. I am an art quilt designer and there are no restrictions or fitting in what I do, however I found $100.00 or more a bit more than I'm willing to spend for a simple pencil skirt. Thanks for the good info. and inspiration.
Thanks for sharing your steps for tissue fitting. I have the book, but it is really good to see some one doing the fitting in detail.
ReplyDeleteCute pattern, too!
Question: Now that you've taken the Palmer/Pletsch course, will you tissue fit everything? Did you tissue fit before you took the course?
ReplyDeleteI hate, hate, hate tissue fitting, but if I knew how to do it properly, and if the results were worth it, I might consider giving it a try, maybe.
Thanks so much for showing the pattern fitting!!! I miss this kind of sharing in blog land, and I often come back to your older posts because you consistently show your changes to the pattern pieces.
ReplyDeleteThanks everyone.
ReplyDeleteElaray - Before the Palmer/Pletsch workshop, I tried tissue fitting. But I didn't feel confident enough to use it as a way to determine the best fit. Now that I've completed the workshop, I am determined to use those skills taught by Pati and Marta. During the workshop they addressed some important questions regarding the process. So certainly it was worthwhile and it re-enforced those techniques discussed in the fit books. Also it is another method of fit that I can use.
Will I tissue fit everything? No. It was my goal to share with my readers some of the things I learned at the workshop. May be it will encouraged someone to try a different method and possibly get some improved results.
Tissue fitting is a time consuming process, but it is worth it. I do, however, recommend that you work up a sloper to determine your usual fit adjustments. That process is worth it and will clarify or confirm changes needed to get a better fit in your garments.
Shawntasews - The details shared by so many other sewists/designers has been a tremendous help to me as well. And in keeping with the basic theme of my blog, I try to share something that may help other sewists. Pictures are worth a thousand words. I am happy that you find the information useful.
Thanks again, everyone. I appreciate your questions and comments.
Cennetta
I am really interested in seeing you fit your dd. I hate tissue fitting pattern tissue, though I tissue fit patterns I've traced. I find the tissue to delicate and always end up with a mess of torn tissue.
ReplyDeleteI'm glad that you showed the process too. I'm scared that I'd tear the pattern up. I might consider tracing the pattern then fitting from that...matter of fact that is what I should do since I already trace a lot of my patterns. I'm usually a muslin maker - I'm in the process of making one up now. Think I'll just sew that Swedish tracing paper instead of cutting a muslin. Saving a step would help me out a lot. I really could see myself tissue fitting someone else though. Seems a much easier process if you had a helper.
ReplyDeleteThank you for showing us what tissue fitting is all about. The photos do show how it does make sense to use this technique, especially when sewing to others.
ReplyDeleteCheers.
I've tried tissue fitting in the past and it does not work for me, also i found it difficult to do it on myself. I will follow your post and maybe I may give it a try. P.S.
ReplyDeleteThank you for posting this!
ReplyDeleteDD looks so petite, I can't imagine her being a size 10 in store-bought clothes.
Do their patterns run too small, or do they have more ease than the numbers on the pattern envelope?
This always mystifies me.
I really hope to try this pattern fitting technique.
Thanks, Stephanie. The sizing for patterns is different from RTW. My daughters measurement are close to a size 10 in patterns. But she wears a smaller size in RTW.
ReplyDelete