It's always a good day to talk about my sewing adventures. Especially when the sun is shining and I have at least three pictures to share while I talk about it. This dress was finished almost two months ago.
Finally, I was able to take a few pictures of me wearing it. I started and almost finished it at Sew Camp Spring 2018. On our shopping day, I decided to purchase another copy of McCall 6886 from Fabric Mart. It was only 25 cents. I thought it would be a perfect project at the retreat.
This is a very basic t-shirt dress pattern that has three different necklines and three different lengths. Actually, you can make the length whatever you want. It comes in sizes 6-22, which is great. I think this is the type of pattern all of us sewists should have in their collection. There are so many possibilities. And it can be used as a sloper to create and adjust other patterns for knit tops and dresses.
I purchased this really great knit with good color and recovery. I didn't decide to use it for the dress until we returned from our shopping day. My project started with, of course, cutting out the pattern; then making my usual fit adjustments. Starting with size 14, I made a FBA, swayback, and prominent shoulder blade adjustments.
Before my adjustments, I decided on the length of the dress minus the flounce that I created.
FBA - I slashed and spread the front about 2" creating a bust dart slightly rotated for a more flattering look. Because the spread was more than an inch, I used the Palmer-Pletsche "Y" FBA. After all the slashing and spreading, I removed some of the excess width below the bust area. See picture below.
Swayback - To start, I made a tuck in the back pattern where my back curves to eliminate the pooling of fabric. Next, I created an even more pronounced curved line along the lower back area where I made the tuck. At the hem, I added the same amount that was tucked at the lower back.
Prominent Shoulder Blade - Here again, I slashed and spread the desired amount and added a dart at the shoulder seam. This adjustment gives me enough room across my upper back.
The flounce was so easy to create. First, I determine the length. Then added seam allowance to that number. Next, I measured the width of the front and back of the dress. Then, I cut one rectangle for the front and one for the back. If the width of the front and back are the same, you only need one. Next, I made slashes about every inch and spread the tissue for the desired amount.
The flounces were sewn together. Then attached to the bottom of the dress. No hemming required.
More Changes:
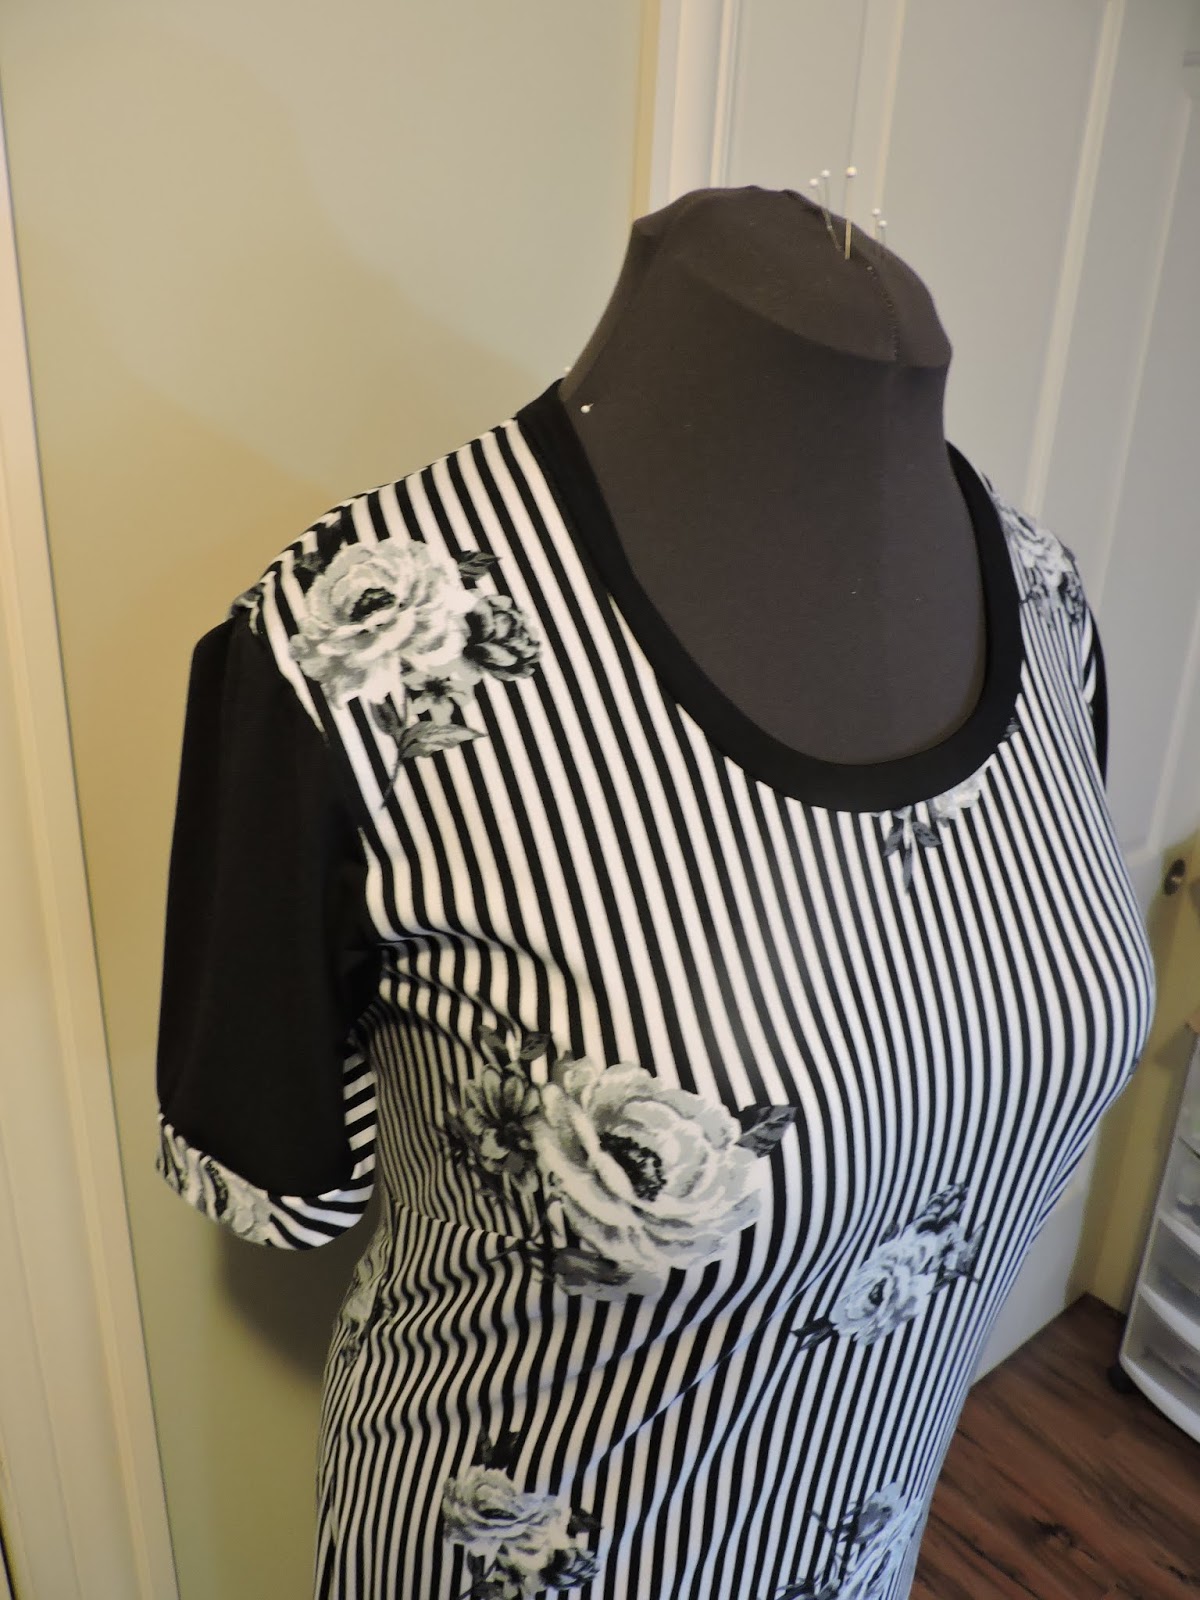
I used a black lycra knit for the sleeve and neckband. To finish the sleeve, I added a band in the dress fabric. This I thought was a nice finishing touch. Plus it breaks up the pattern of the dress. The pattern neckband is always too long. I generally shorten it by about 2" to eliminate gapping.
The style lines dress were the same as the drawing with the exception of the flounce. For me, everything about the process was pretty easy. Even the drafting of the flounce. This is something a beginner can do with no problems.
What I like about it?
Everything: the pattern adjustment, drafting, sewing and wearing it. I really like the movement of the flounce around the bend of my legs. So, I'm cutting another one cut this week.
Stay tuned!
Cennetta