New Look 6824
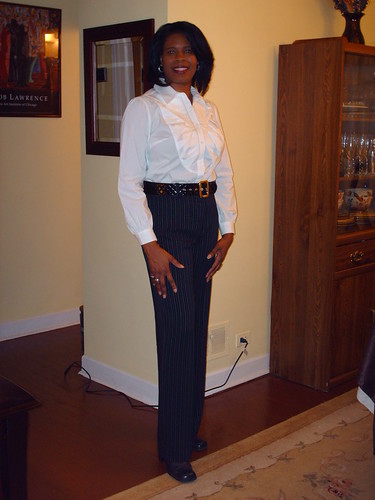
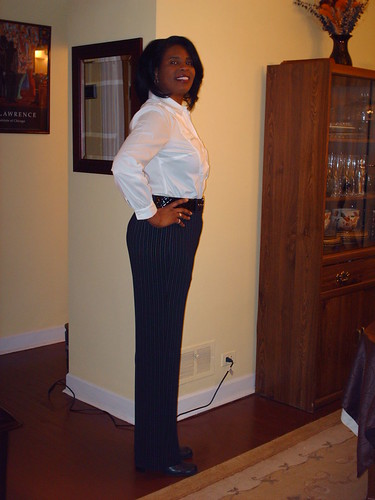
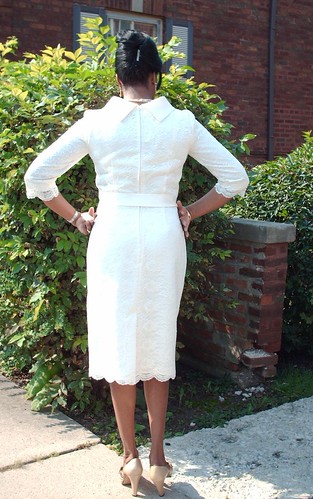
I made this dress to wear on the climax of our annual Unity Conference (church) and to celebrate my birthday. Lace is all the
rage this year. So I decided to incorporate it into my dress. For the conference, the women dressed in white/ivory and the men dressed in black suits. Hence my color selection.
Pattern Description: Misses Design Your Look Dresses. This pattern includes a variety of necklines, skirts, and sleeves style that can be mixed and matched. I chose the combination of B+C+E+G.
Pattern Sizing: 8 - 18. I made size 14 with my usual fitting adjustments.
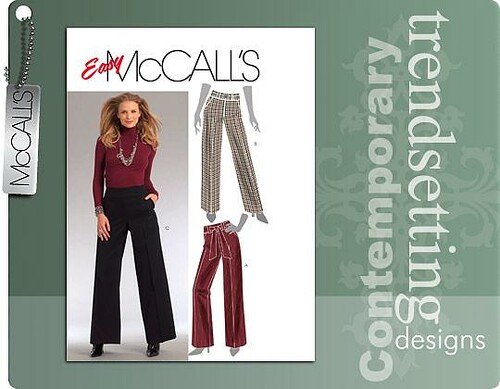
Did it look like the photo/drawing on the pattern envelope once you were done sewing with it? As far as the lines of the illustration, yes it looks like the drawing. I made a few changes.
Were the instructions easy to follow? Yes, they were easy to follow. I noticed that there was no instruction to stay stitch the front bodice. I did before clipping the allowance and attaching the side front bodice.
What did you particularly like or dislike about the pattern? I like the various options of this pattern, "mixing and matching pattern pieces. You can get a lot of use out of this pattern, creating several different dresses. The pattern also had the vintage style of the 60's, which I love. My dislike is that there were no instructions on how to incorporate lace into the design of the dress. See view B+D+G.
Fabric Used: Polyester lace,dull satin, and lining purchased from Hancock's Fabric.
Pattern Alterations or any design changes you made: I made my usual fitting adjustments and added lace to the design of the dress.
Fitting:
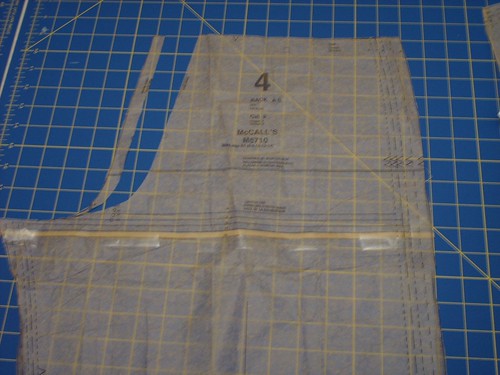
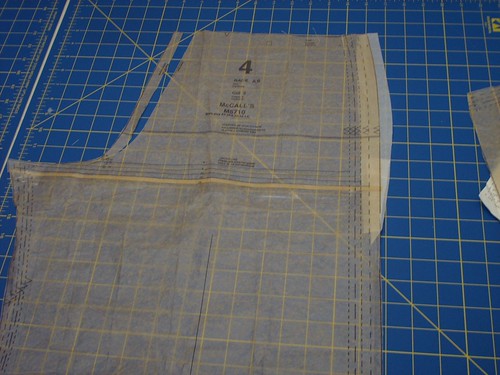
Front bodice - FBA
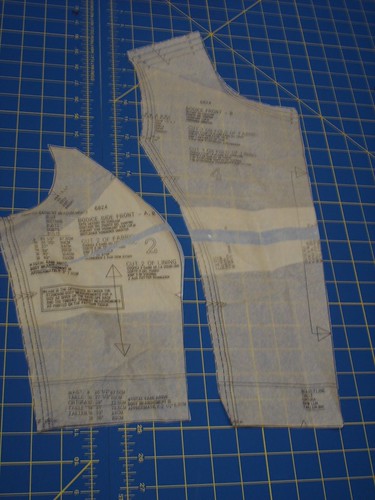
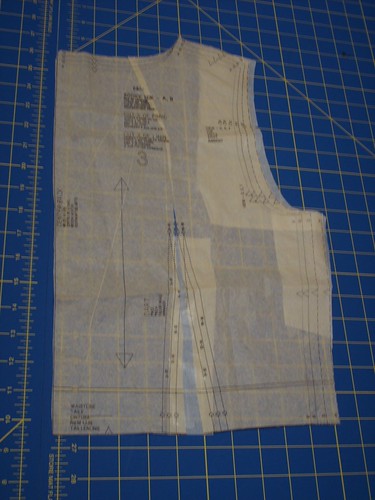
Back Adjustment- The necklines of most New Look patterns are too wide for me. So I folded out the excess and rotated the decrease to the waist dart. I also added to the shoulder and armhole seam for more move across my upper back. The one thing that I forgot to do was the sway back adjustment. It does not look too bad, but I recognized it was needed for this particular dress.
Added 2" to the length of the skirt.
Design:
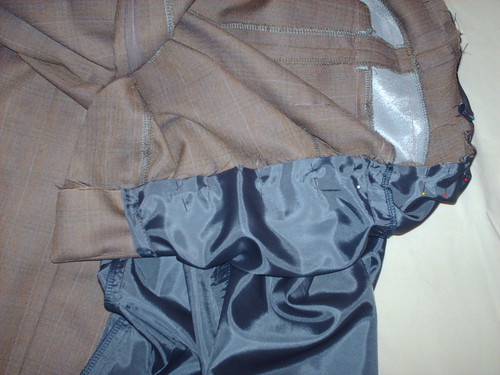
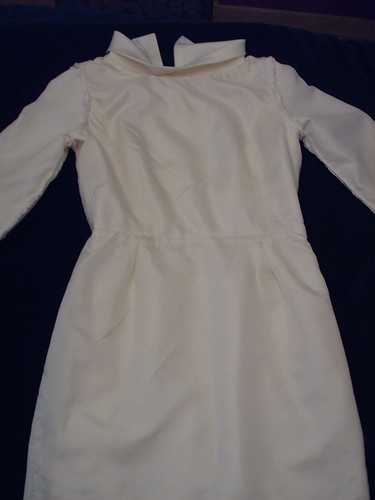
I couldn't find adequate instructions on how to incorporate lace into the dress so I followed/created my own method. I also wanted to use the scalloped edge of the lace at the hem of the sleeves and skirt. So I cut the lace crosswise placing the lace even with the unfinished hemline. I finished the edges of the skirt and sleeves for the satin only. Next, I hemmed each portion of the skirt and sleeves before sewing the pieces together. Then I joined the lace to each piece of the dress, no lace on the collar. After that I constructed the dress following the pattern instructions.

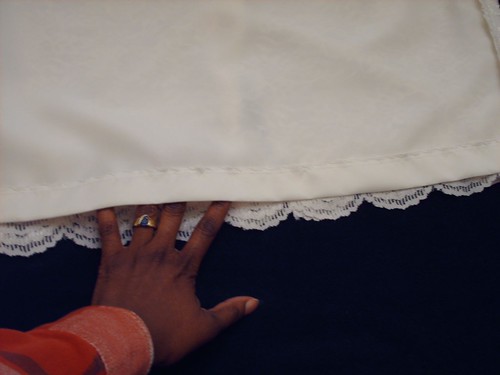

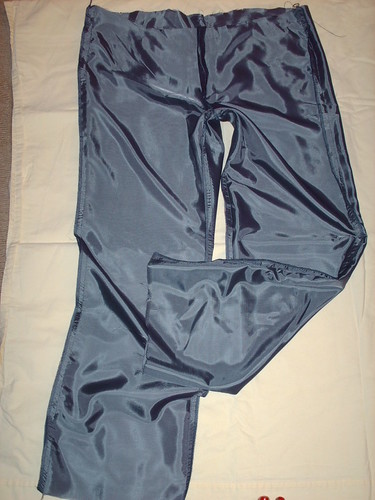
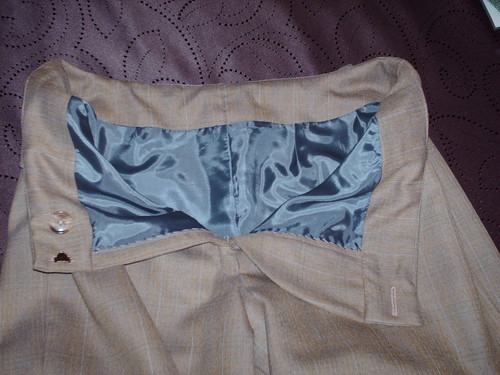
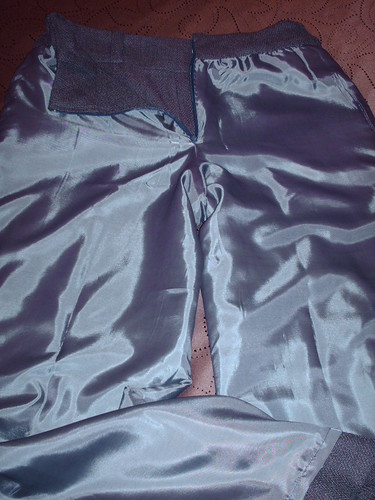
My preference is to completely line my dresses. So I cut the skirt lining to match that of the dress, shortening it by 1 1/2", then attached it at the waistline after machine stitching the hem and back slit.
Dress inside out
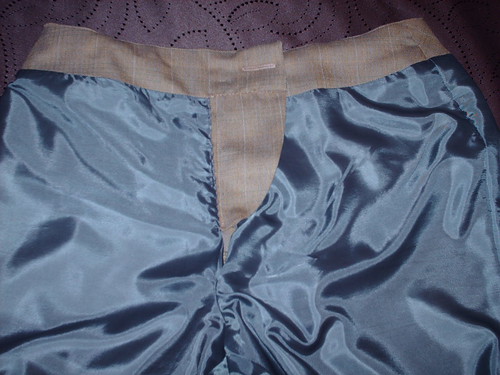
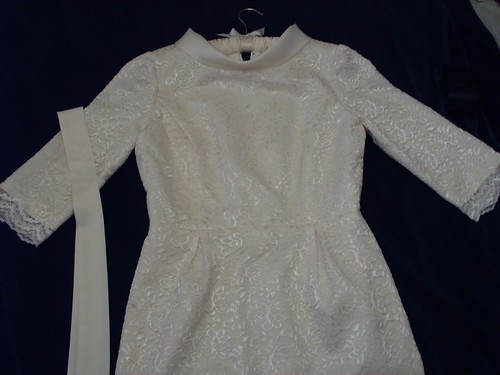
I also made a sash, cutting a piece a fabric 5 1/2" inches wide and 55 inches long.
Dress and Sash
 Would you sew it again? Would you recommend it to others?
 I will use this pattern again as there are more design options. And yes I would recommend it to others. It's not difficult to sew and gives the sewers some creative options by combining various bodice and skirt designs within the pattern and with other patterns.
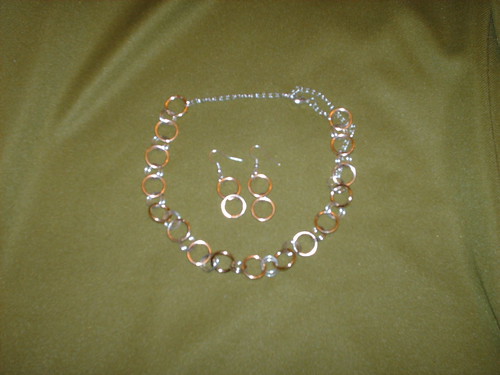
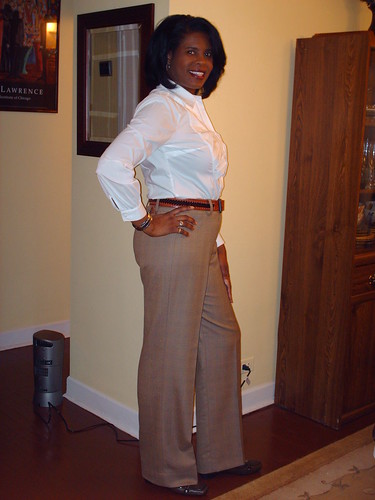
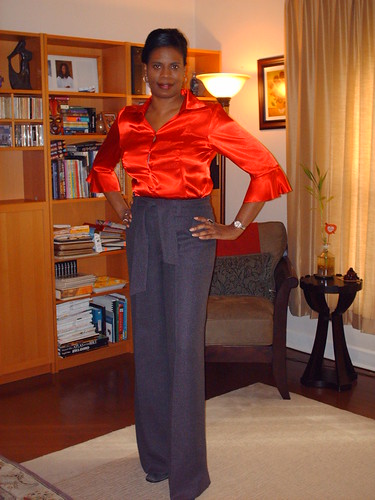
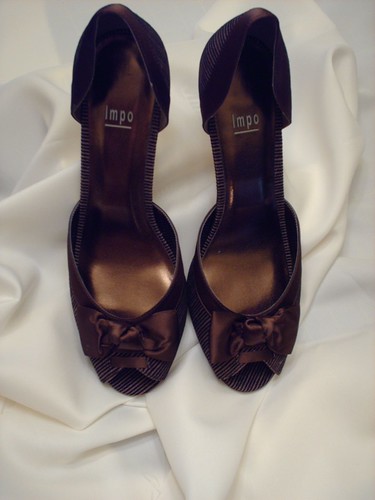
I bought these shoes to wear with the dress, but decided to wear the pair photographed.
 Here is my flickr photo set.Conclusion:
 I really like this dress. It suits me. My DD says it's very June Cleaver-ish and is not a surprise that I like this style or pattern. A beginner could sew this pattern with no problems.