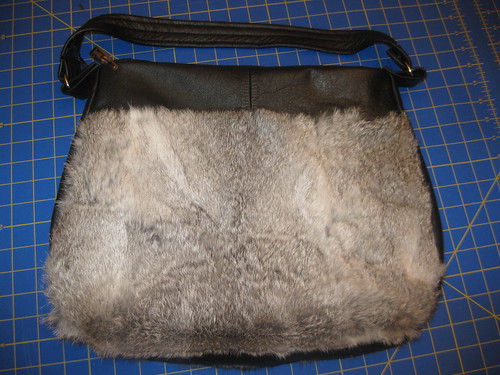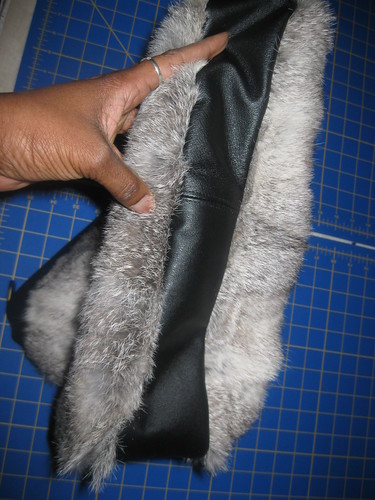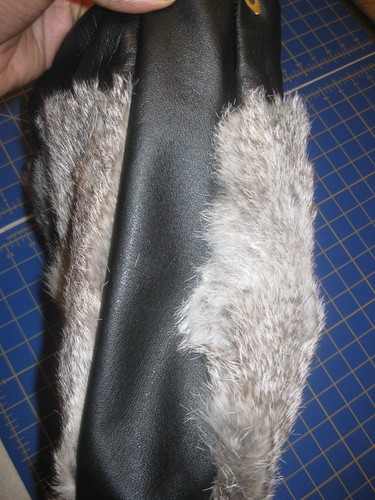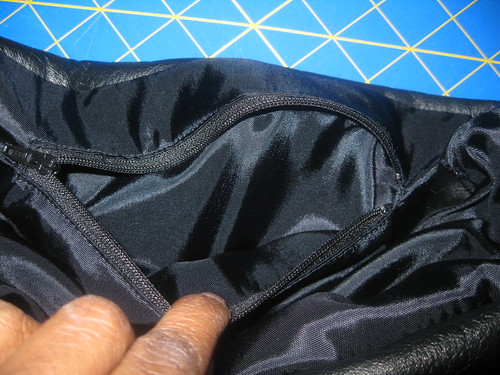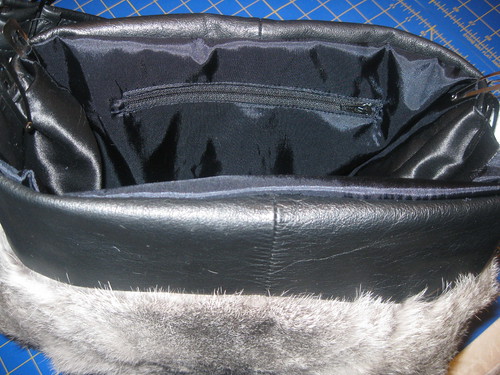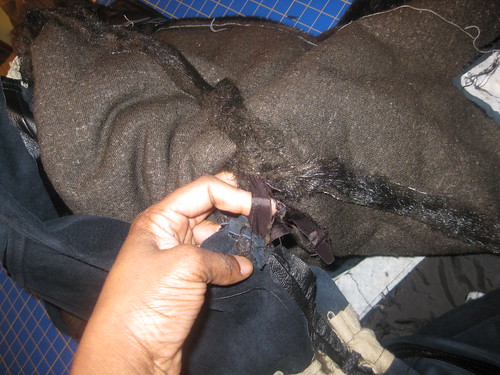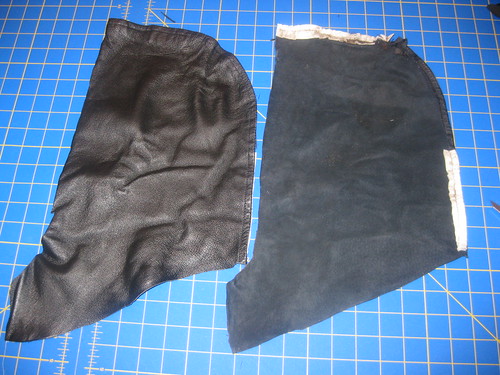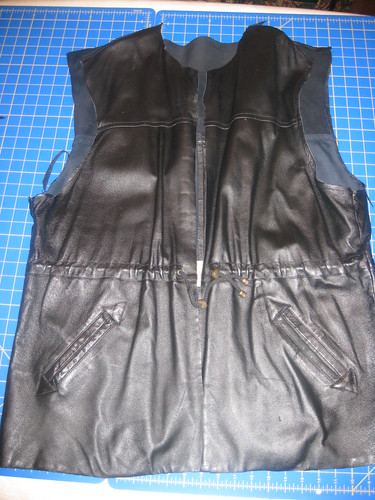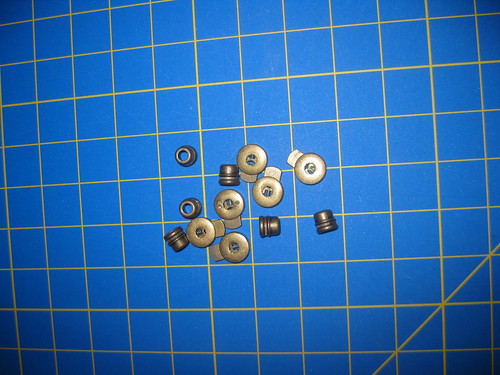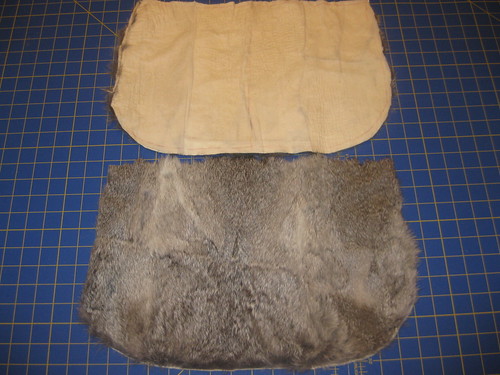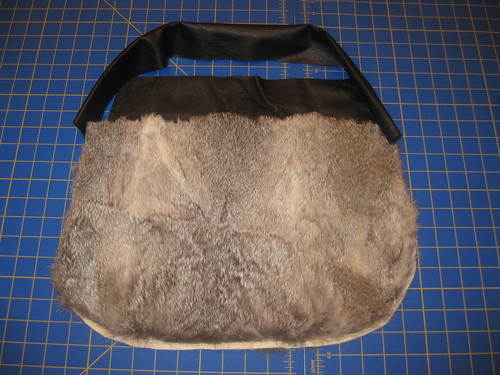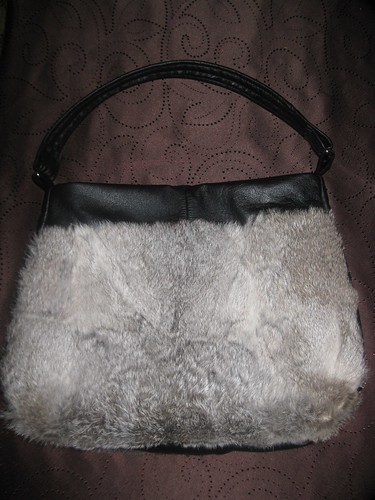
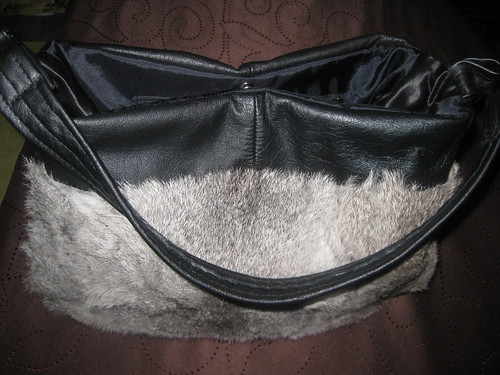
The fur and leather refashion purse is finished. One of my goals is to make something made of leather. This year that goal was met. The project was fun. It allowed me to experiment with refashioning two different materials.

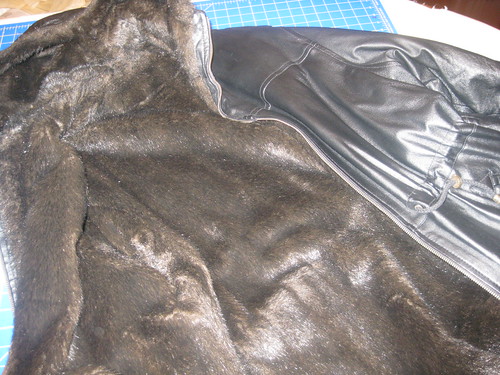
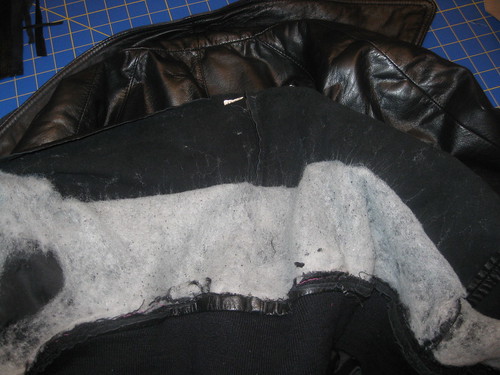
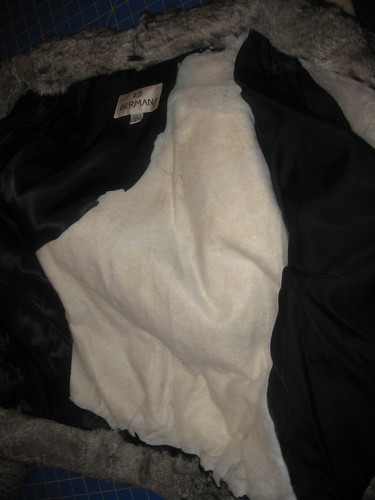
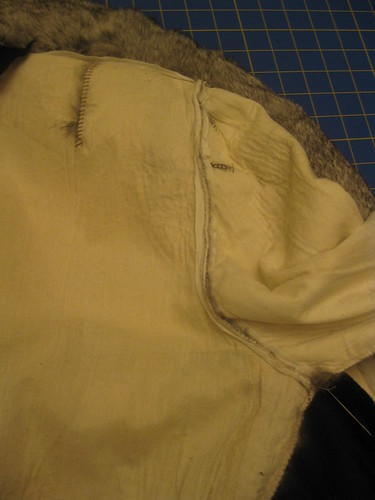
At the beginning of the salvaging process, I thought I would be able to get three fur and leather purses. But most of the fur was falling apart. So I was only able to get one purse of fur and leather. The second purse is leather which I will finish later using the same steps written in the three posts on this refashion project.
Simplicity 2617
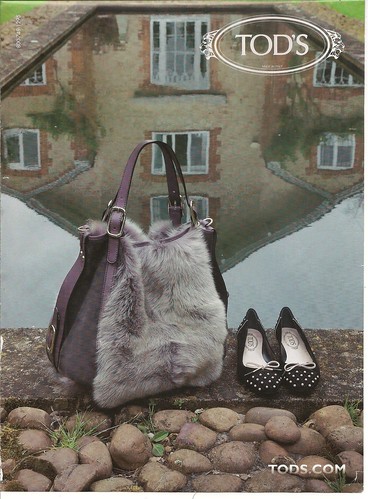
Pattern Description: patchwork bags. I picked this pattern because it was the basic shape that I was looking for. This project has been on my to do list for two years. I was inspired by a TOD'S bag advertised in Marie Claire magazine. My bag does not look the TODS bag. The inspiration was fur and leather in a purse.
Pattern Sizing: Large, middle and small patchwork bags.
Did it look like the photo/drawing on the pattern envelope once you were done sewing with it? The only thing that resembled the bag on the envelope was the shape of it.
Were the instructions easy to follow? I only used the instructions to complete the foundation of my purse project. The rest was learn as you go and create the best steps to finish it with good results. But at glance, there didn't appear to be anything difficult about them. See first and second blog posts for all the details.
What did you particularly like or dislike about the pattern? As I said earlier, I selected this pattern because I like the shape of purse A. There was nothing I disliked about the pattern. But there were a few things about the construction of the bag that I will try to resolve before I complete the next bag.
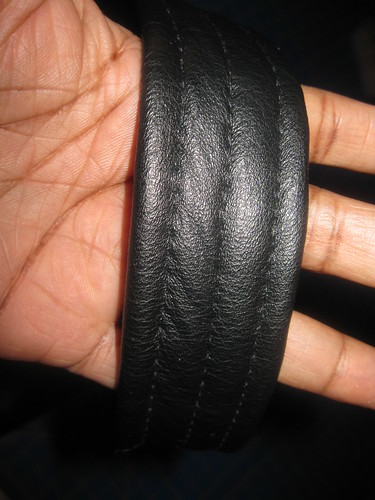
Strap - The leather plus padding was really, and I had a very difficult time trying to secure the strap to the "D" ring. I'm not satisfied with the stitching. Sometime this week I will take it to a shoe repair shop to see if they can better secure the strap. I used a pack of leather needles size 14. I also used upholstery strong and heavy thread to secure the lining to the leather and to secure the straps.
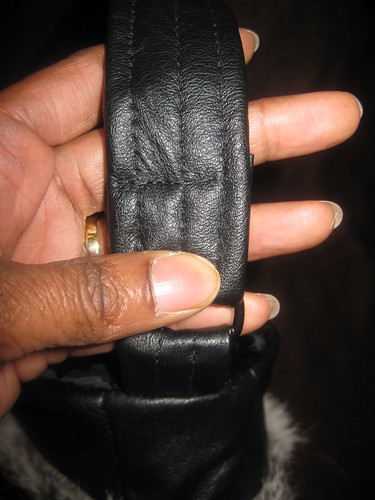
Facing for the opening of the purse - I wish I had thought to make a facing for the top of the purse. I think it would give it a more polished look. For this bag it's okay. Since this is my prototype. Now, that I confident in my ability to make a nice bag, I will make bags using different fabrics and skins.

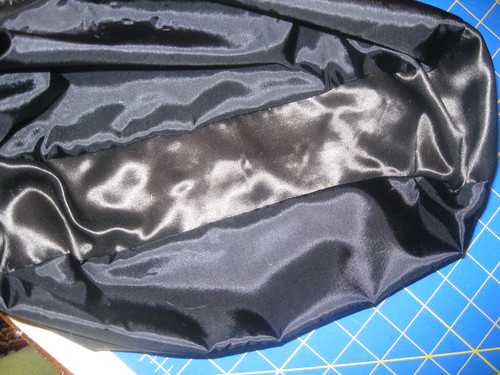
Fabric Used: Recycled fur and leather. Lining remnants from my stash.
Pattern alterations or any design changes you made: There were a few changes. They are written in the two previous posts on this project.
Would you sew it again? Would you recommend it to others? Yes, and yes. Make it as intended. Then be creative. Do something different and unexpected with the pattern. Make the design your own.
Conclusion: This was a very fun project, and it feels good to met goals with hopes of using those achievements as stepping stones for the next creative project.
All photos for this project are on Flickr.
Pattern Sizing: Large, middle and small patchwork bags.
Did it look like the photo/drawing on the pattern envelope once you were done sewing with it? The only thing that resembled the bag on the envelope was the shape of it.
Were the instructions easy to follow? I only used the instructions to complete the foundation of my purse project. The rest was learn as you go and create the best steps to finish it with good results. But at glance, there didn't appear to be anything difficult about them. See first and second blog posts for all the details.
What did you particularly like or dislike about the pattern? As I said earlier, I selected this pattern because I like the shape of purse A. There was nothing I disliked about the pattern. But there were a few things about the construction of the bag that I will try to resolve before I complete the next bag.
Strap - The leather plus padding was really, and I had a very difficult time trying to secure the strap to the "D" ring. I'm not satisfied with the stitching. Sometime this week I will take it to a shoe repair shop to see if they can better secure the strap. I used a pack of leather needles size 14. I also used upholstery strong and heavy thread to secure the lining to the leather and to secure the straps.
Facing for the opening of the purse - I wish I had thought to make a facing for the top of the purse. I think it would give it a more polished look. For this bag it's okay. Since this is my prototype. Now, that I confident in my ability to make a nice bag, I will make bags using different fabrics and skins.
Fabric Used: Recycled fur and leather. Lining remnants from my stash.
Pattern alterations or any design changes you made: There were a few changes. They are written in the two previous posts on this project.
Would you sew it again? Would you recommend it to others? Yes, and yes. Make it as intended. Then be creative. Do something different and unexpected with the pattern. Make the design your own.
Conclusion: This was a very fun project, and it feels good to met goals with hopes of using those achievements as stepping stones for the next creative project.
All photos for this project are on Flickr.