Now it's time for the finale on
Vogue 8190. The prom was last Friday; but before writing the review, I needed a breather from all the activities surrounding the event. This year I had to finish two prom dresses within a four week period because of competing activities. Just a little bit of stress. The good thing, I'm pleased with the outcome of both gowns and relieved that it's all over.
My services including making six pieces for Traci's (2nd cousin) big day. So this review will encompass some mini reviews (linked) on the accessories that I made for this prom event. Yes, this review is long, but I think the details are important to cover. Let's start with the dress. I posted a few blog entries so I would not forget the alterations and design changes. So instead of repeating all of that I will refer to those posts at the appropriate time.
Here goes..,
We actually started discussing this gown early March. My first shop day was March 24th, with many to following (mostly for notions). I logged 32 hours on this project. That includes: shopping, cutting, sewing (muslins and garments), cutting mistakes, sewing mistakes and adjustments, and ripping out mistakes and adjustments. A lot of hours. Compared to
Vogue 2931 this dress was a bigger challenge. Vogue rating this one (8190) average and Vogue 2931 as advanced. I think they are both advanced.
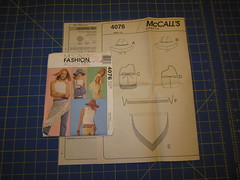
Pattern Description:
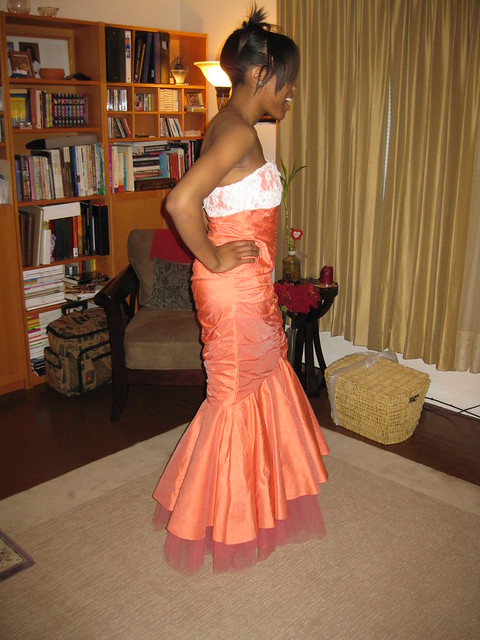
MISSES’/MISSES’ PETITE DRESS: Strapless, lined, fitted, mid-calf or floor length flared dress has front and back gathers, built-in foundation with boning, flounce variation and back zipper. A: shaped flounce (wrong side of fabric will show). B: dress and flounce contrasting overlay. C: purchased trim.
Pattern Sizing:
8 to 18. I started with size 12, but ending with a combination of sizes 8, and 10, and 12, depending on the area of the body.
Did it look like the photo/drawing on the pattern envelope once you were done sewing with it?
For the most part. There were a few design changes that made the finished dress slightly different.
Were the instructions easy to follow?
Yes. I had no problems following any of them. Standard, but very time consuming.
What did you particularly like or dislike about the pattern?
Traci gave me a sketch of how she wanted her dress to look, I picked this pattern because it closely resembled want she had envisioned.
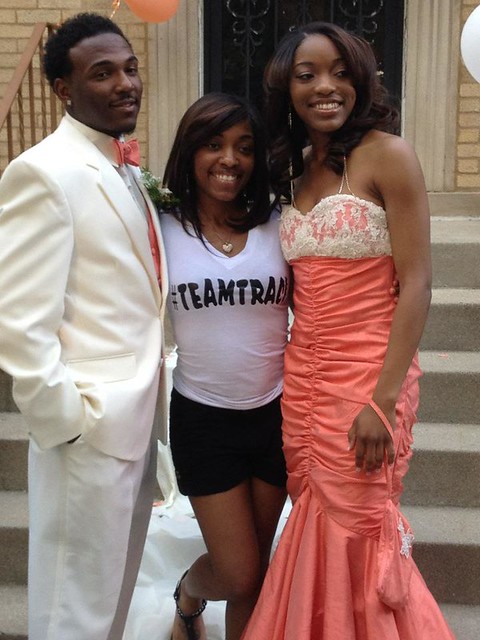
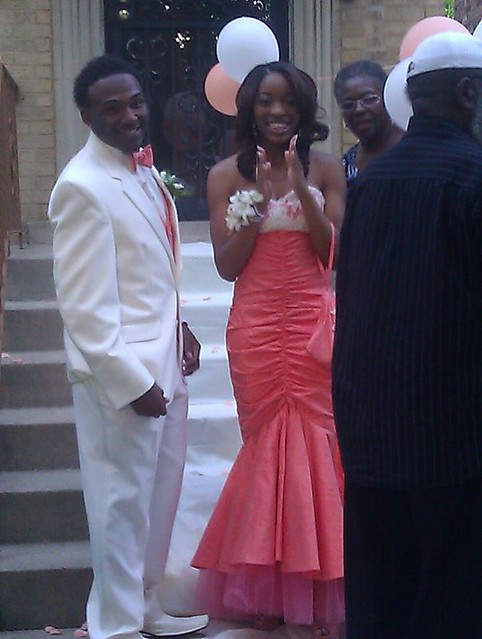
My likes: ruching and the flounce. It's very attractive and figure flattering. Traci, as is Dominique, is lend and shapely. Almost zero fat.
I really don't have any dislikes about this dress. Because the time consuming elements are well worth it. The outcome is splendid. The pattern design and layout are excellent.
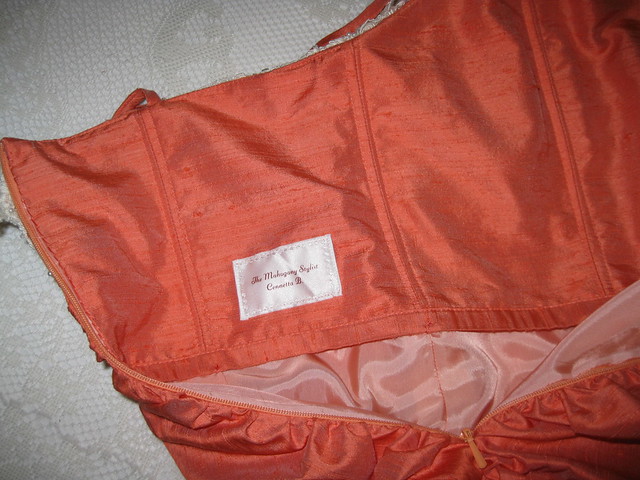
Fabric Used:
Silk Dupioni, bemberg lining, and bridal lace from Fishman's Fabrics in Chicago.
Pattern alterations or any design changes you made:
Some of the alterations and design changes can be found
here and
here.
The rest are;
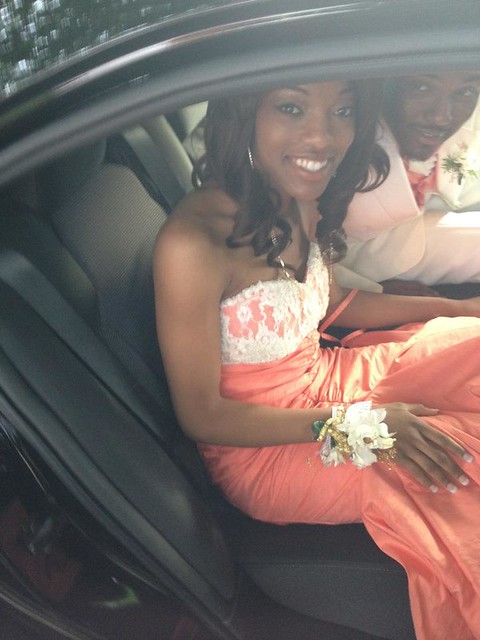
Lace adorned bodice - The lace was sewn together and attached to the dress bodice by hand. I used the bodice lining pattern and drafted a bodice back to create the lace overlay. The beautiful embroidered, beaded lace had small floral appliques sewn to it. I carefully removed them when they fell on the seam allowance. After the overlay was sewn together, I reattached the appliques where appropriate.
Straps - I added straps for comfort. Traci probably didn't use them. But I added them just in case. A lady has to have options. ;-)
Foundation bias tape - I made my own using the silk dupioni. I thought it would look better. And it did.
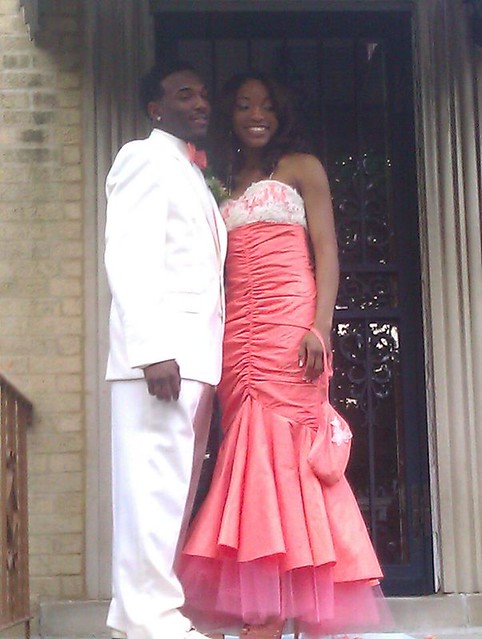
Graduated Flounce - You should make sure your fabric is wide enough to make the fabric flounce. Because the fabric was only 45" wide, I had to make the flounce (View C) shorter than the design. In this photo, you can see the front flounce is higher than the back. At the final fitting, I cut the tulle a little shorter in the front to match the curve of the fabric flounce. This was done after this photo.
Omitted the lace trim at the upper edge of the dress.
Accessories
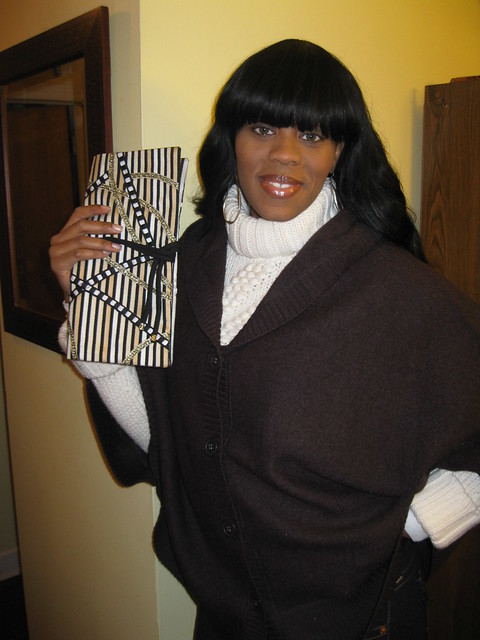
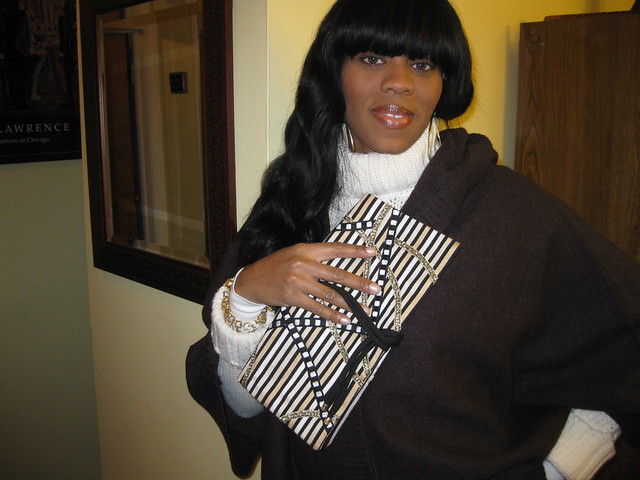
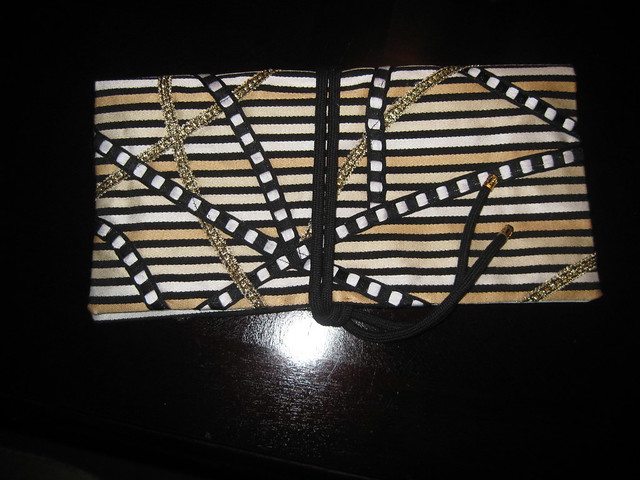
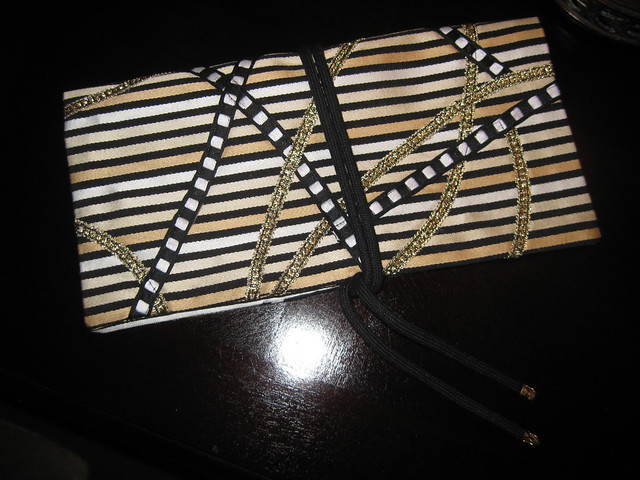
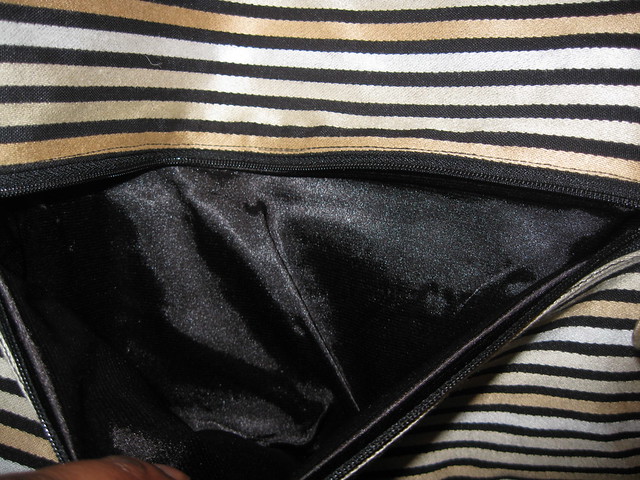
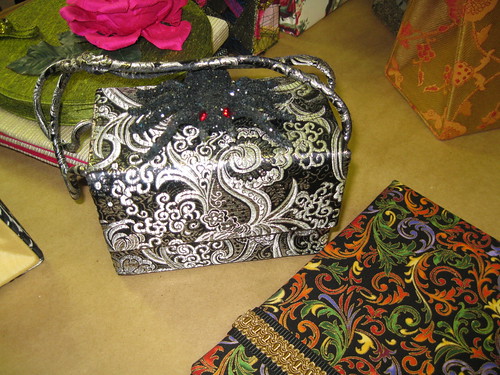
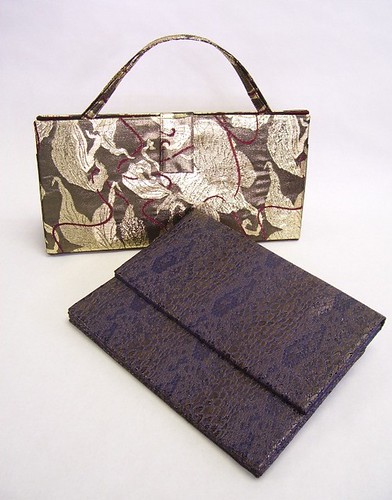
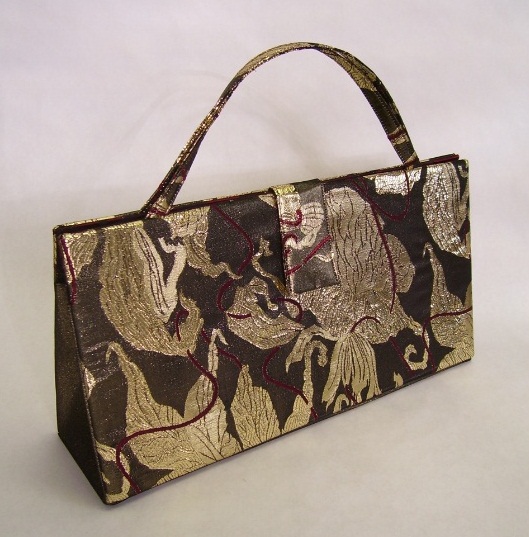
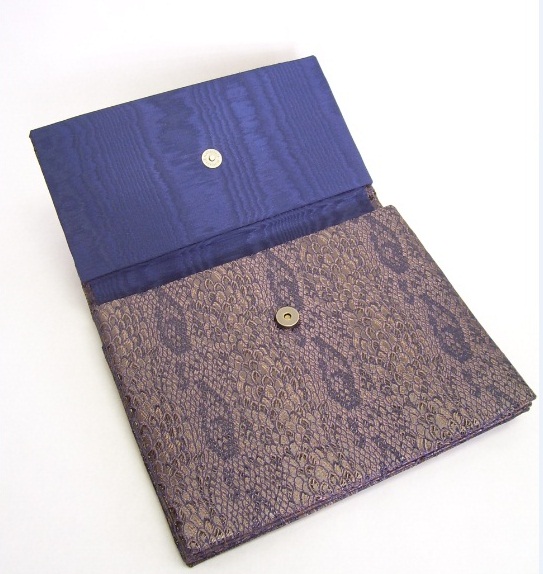
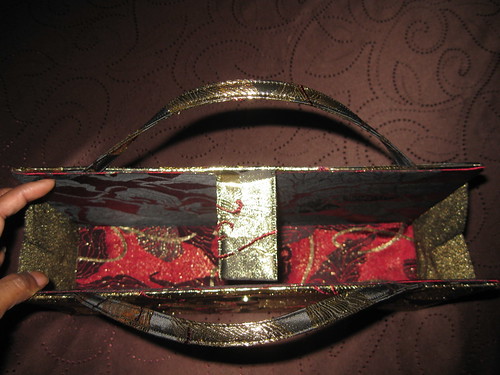
Purse - I used the same purse pattern as before (many times). It's reviewed
here. Details on how to enlarge on
Flickr.
Garter - I've designed many. Here is a link to
my tutorial on Flickr. There are tons of ideas for
prom garters here.
Stole - (sorry no pictures) But it looks like
this one.
Would you sew it again? Would you recommend it to others?
Only if I make it for someone else. I don't think I'll need a dress like this. Then maybe I will. :-). I highly recommend it to others. If you have the body for it, this is a gorgeous dress to show it off in. Beware it's labor intensive.
All pictures are on
Flickr.
Conclusion: This was a great dress to sew with excellent results. I love how it turned out. And more importantly, Traci and her mom were very pleased with it.