Showing posts with label Curtains. Show all posts

Sunday, December 19, 2021

Kitchen -Refresh For The Holiday


It's been awhile since my last post. These days I'm really struggling to find time to blog.    I want to get back to blogging on a regular basis.  Hopefully, I'll get a handled on it soon.

Today's post is on the kitchen curtains and chair covers I made to refresh my kitchen for the holidays.  It was easy and quick, taking only a few hours to complete. 

Like before, I didn't use a pattern. I literally measured and cut, pressed, stitched and pressed again.


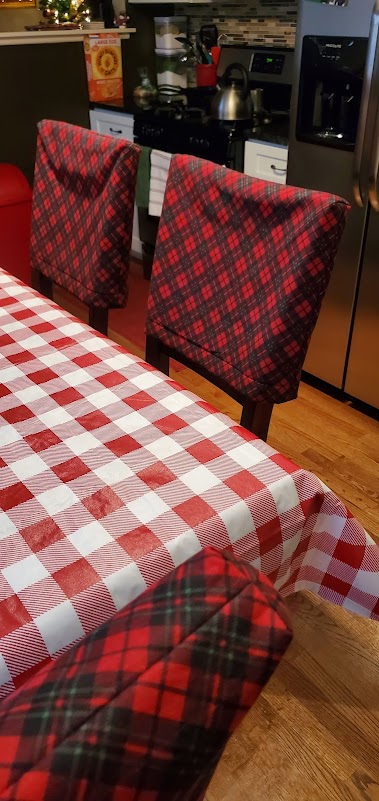
 The chair covers are two cotton fabrics with fusible batting between them.  The covers provide a little cushioning and protect the wall from marring when the chair is pushed against it. 


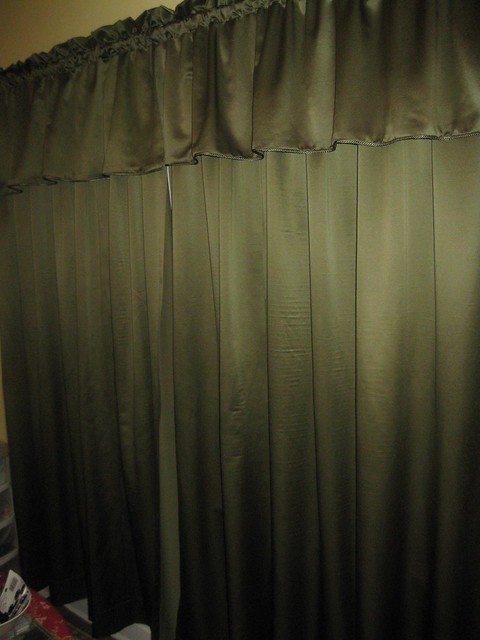
The coordinating curtains are three pieces: two tiers and one valance in the middle. All cut free handed. Sorry no dimensions to note. Just me guestimating. It worked out fine. 

The fabric is from JoAnn's, Christmas cotton.  Natural fibers are so easy to press and work with. I pre-washed and pressed it before starting my project.

I really like how everything turnout. And the kitchen looks warm and inviting.  These will be up for awhile. 


😉😊

Cennetta


Friday, January 21, 2011

Curtains for the Dining Room - No Pattern Needed


Last week I finished the curtains for my dining room. I wanted something simple and these were very simple and did not require a pattern to complete.

To start I purchased 10 yards of the desired fabric. For each panel I cut 2 1/2 yards plus other piece cut 2 1/2 yards long that was half the wideth. I sewed the two pieces together with a french seam to hide all edges.


Each edge was finished with a 1 1/2 inch hem turning in the raw edges for a clean finish.


The bottom was finished with a 5 inch hem, concealing the raw edges as well. And finally the top was finish basically the same but wider and with rows of stitching to create a pocket for the rod.

To finish the set, I made two valances with cording along the bottom edge.


These were cut the desired length (I cut two pieces of fabric 1 yard in length). For each, I attached the cording to one of the edges (wideth). Next I attached the other edge to sandwich the cording between two ends of the fabric. Next, I folded the fabric in half (wrong sides together). Then pressed the edges of the short sides in up to the section where the rod pocket would be formed. Then, I stitched the sides leaving five inches opened. Finally, I sewed two rows of stitches to create the rod pocket making sure the edge were turned in.

The curtains are a perfect match for my new carpet.


That's it. This project did not take a lot of time. I think I spent more time pressing than sewing.

LinkWithin

Blog Widget by LinkWithin