


Now that I've shared many of the major events and
activities of my birthday celebration, I'm back to playing catch up with my
sewing projects from the summer. Sometimes it is a challenge to take the
photos and organize them.


So let me get started with two maxi dresses that I made in
August. Both dresses are really easy to make. The first is a
"Learn to Sew for Fun" pattern. The second pattern that I used may be
OOP. There are so many options for hacking or making changes to either pattern
to suit your own taste or design preference.
One of the major adjustments that I almost always make is a
FBA, which I made for these two dresses. Before I start with all the
changes, let me provide some of the basic information about the two dresses.


Pattern Descriptions:
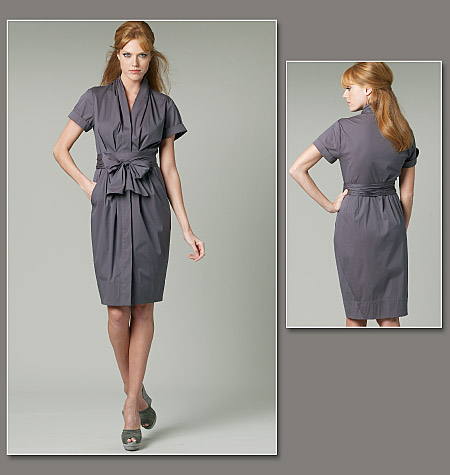
M7386
- McCall's gives a really basic description: Pullover top, dresses
and pull-on skirts have narrow hem. One of my favorite elements of
the design is the fishtail skirt of the maxi dress.
Pattern Sizing:
M7386 - Size groupings (XS, S, M and L, XL, XXL)
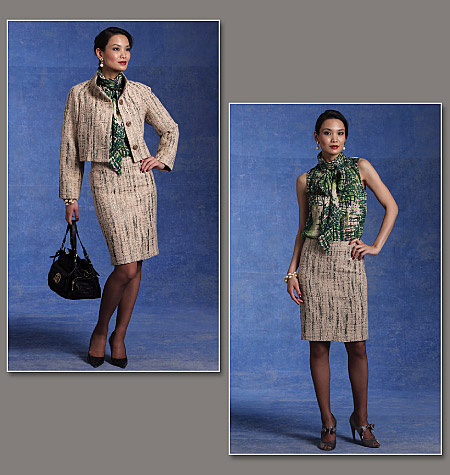
M6559 -
Size groupings (6-14 and 14-22)
I used
what would be large and size 16, respectively. And, of course, I made
some modifications.
Did it look like the photo/drawing on the pattern envelope once you were
done sewing with it?
The silhouette is basically the same.
Were the instructions easy to follow?
The instructions are simple. Any level sewist should be able to follow them with no problems
What did you particularly like or dislike about the pattern?
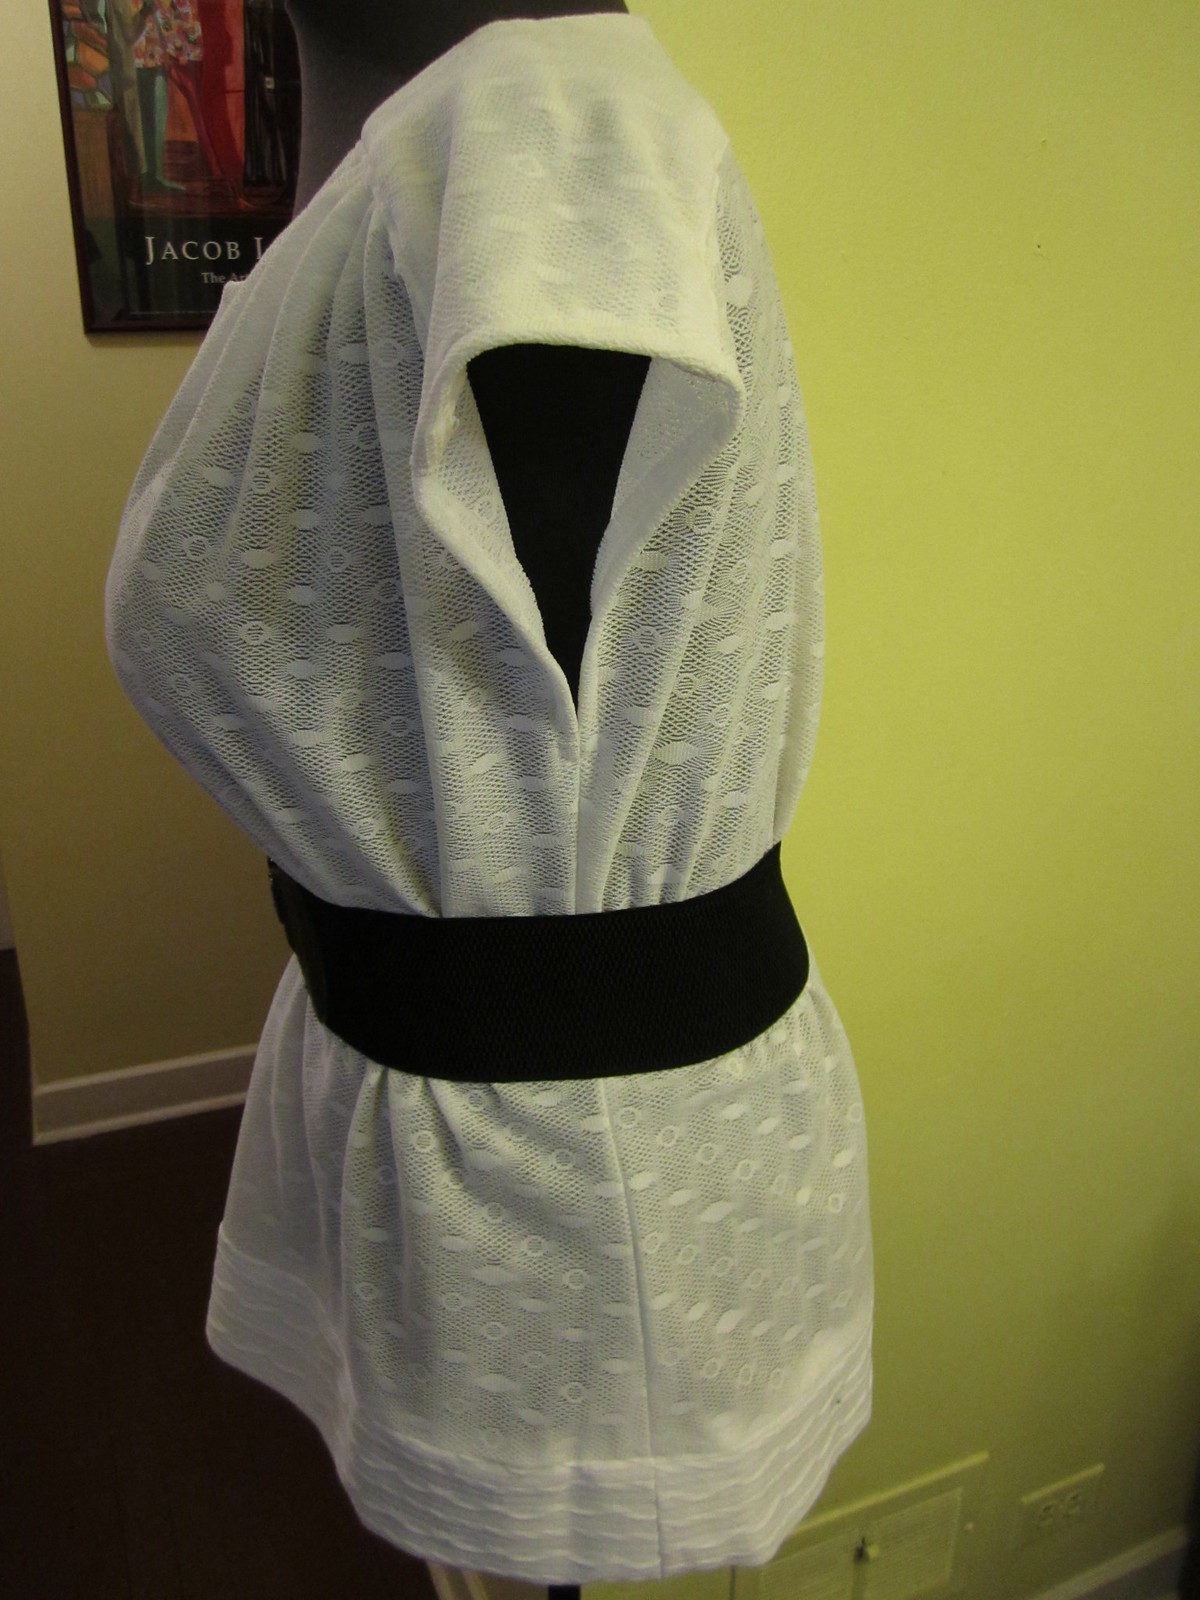
With my changes, my likes are the ruching in the bust area, the fishtail skirt, and the finishing of the bands at the neck and armholes.
Fabric Used:
My knit
fabric is from Hobby Lobby. It is a spongy knit, similar to Liverpool
knit. It was very easy to work with. Before cutting into it, I
pre-washed and dried it.
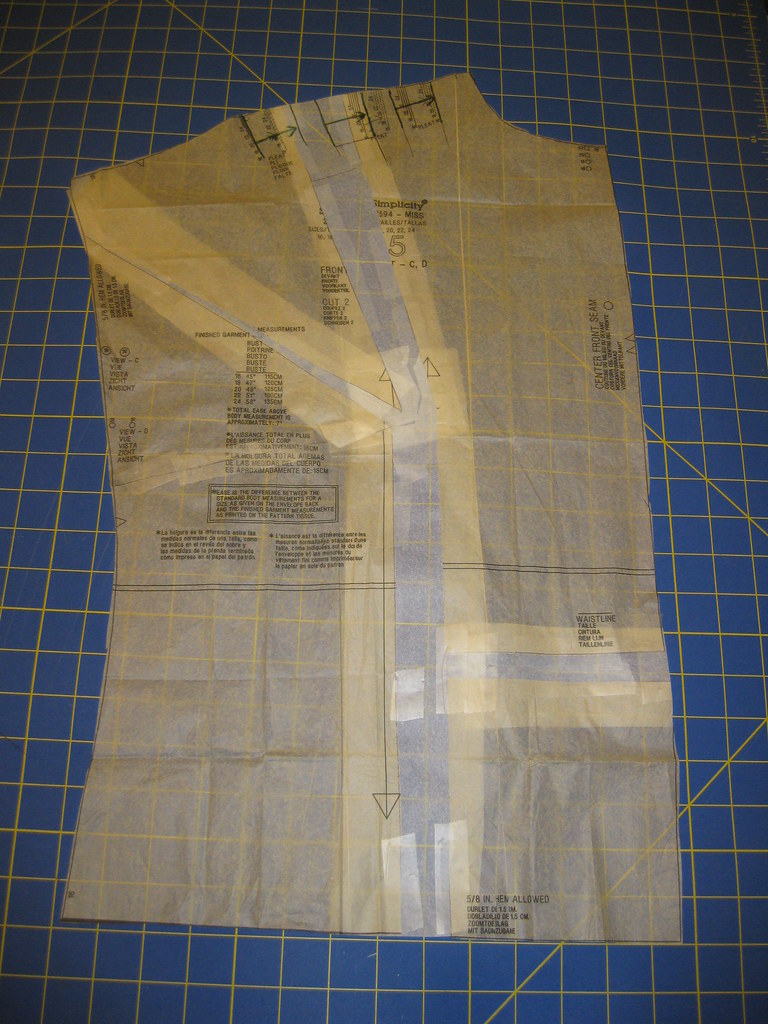
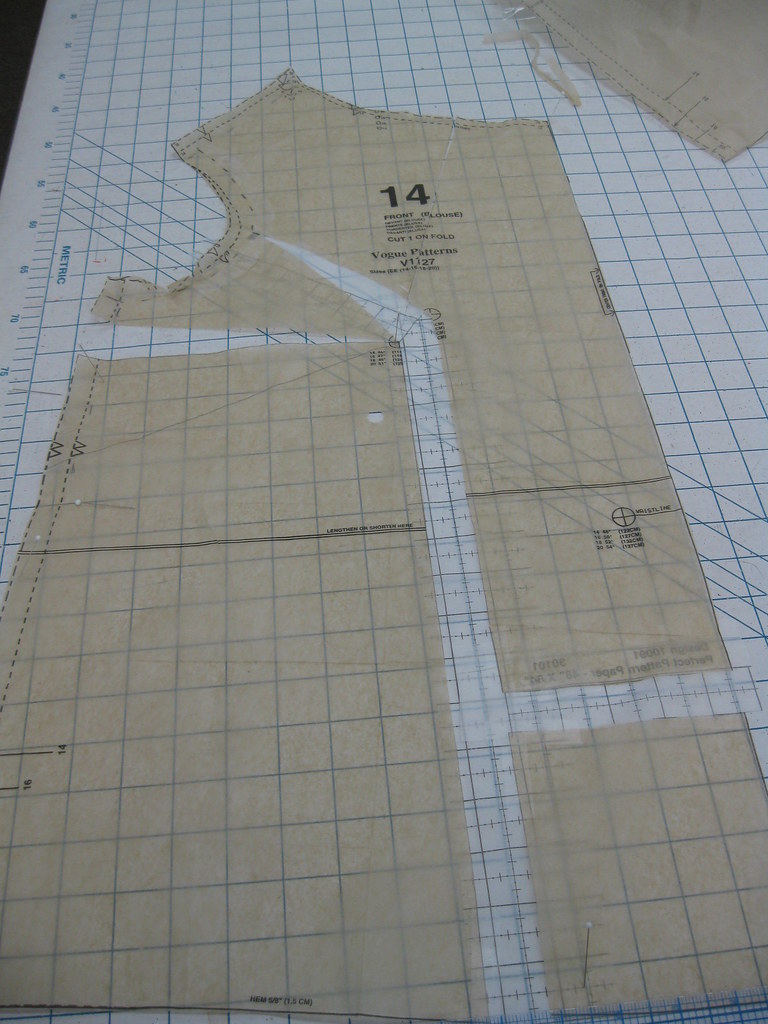
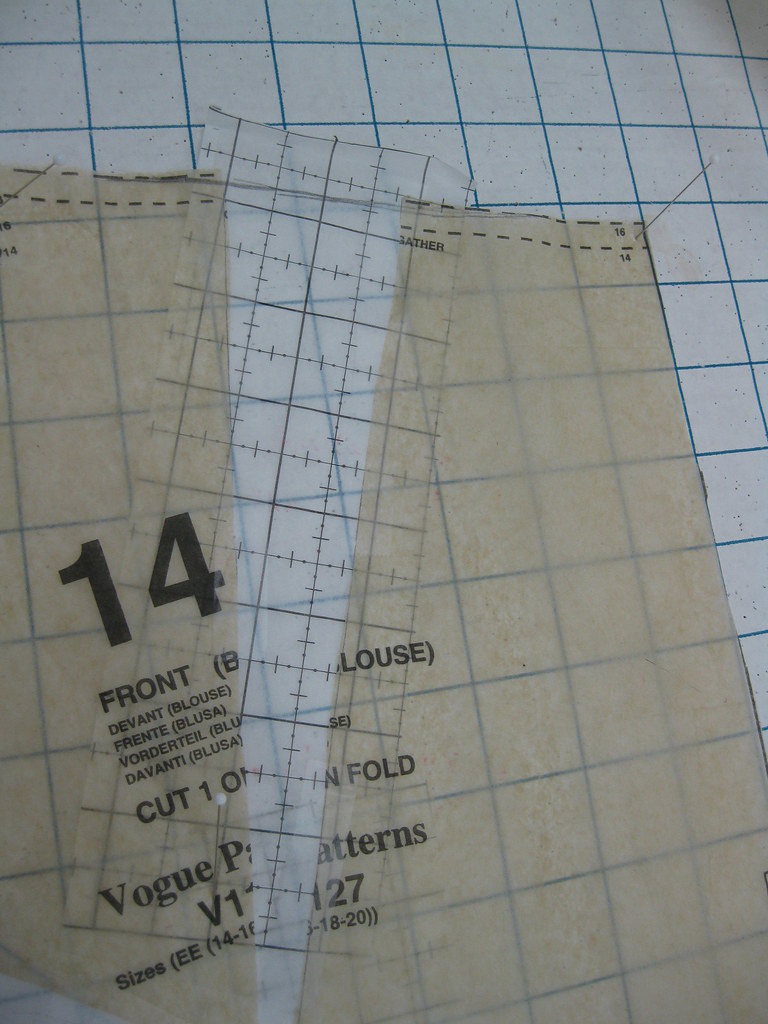
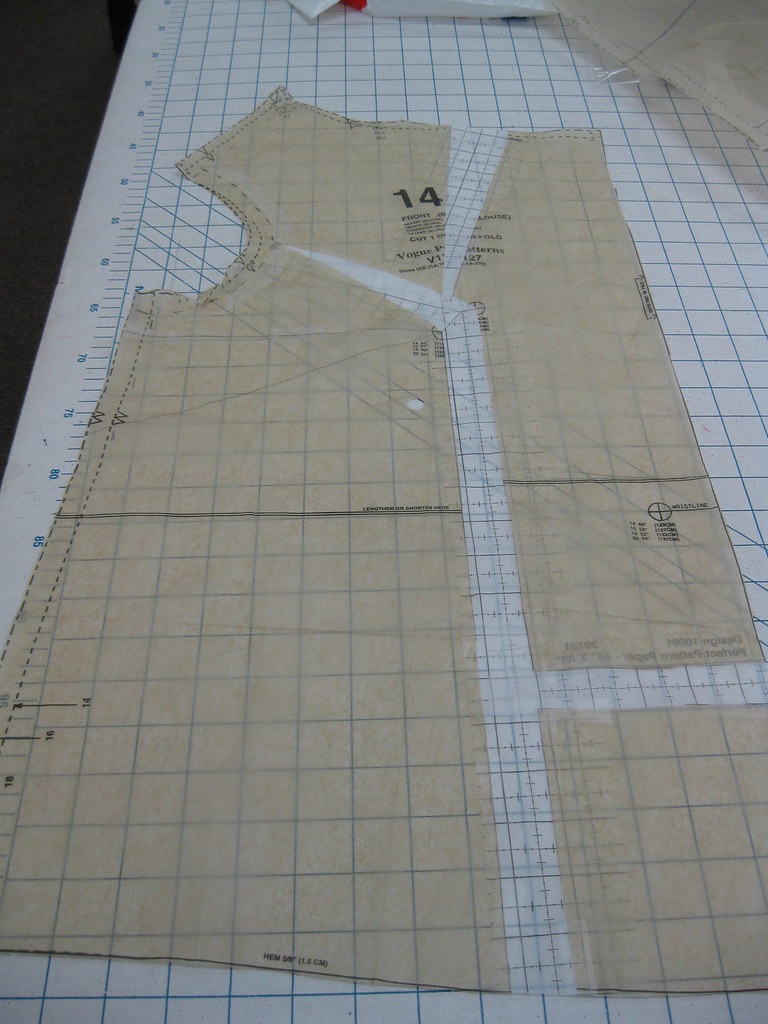
Pattern alterations or any design changes you made:

the adjustment is made for the length of the front and back pattern pieces.


#1 dress - animal print (M7386).
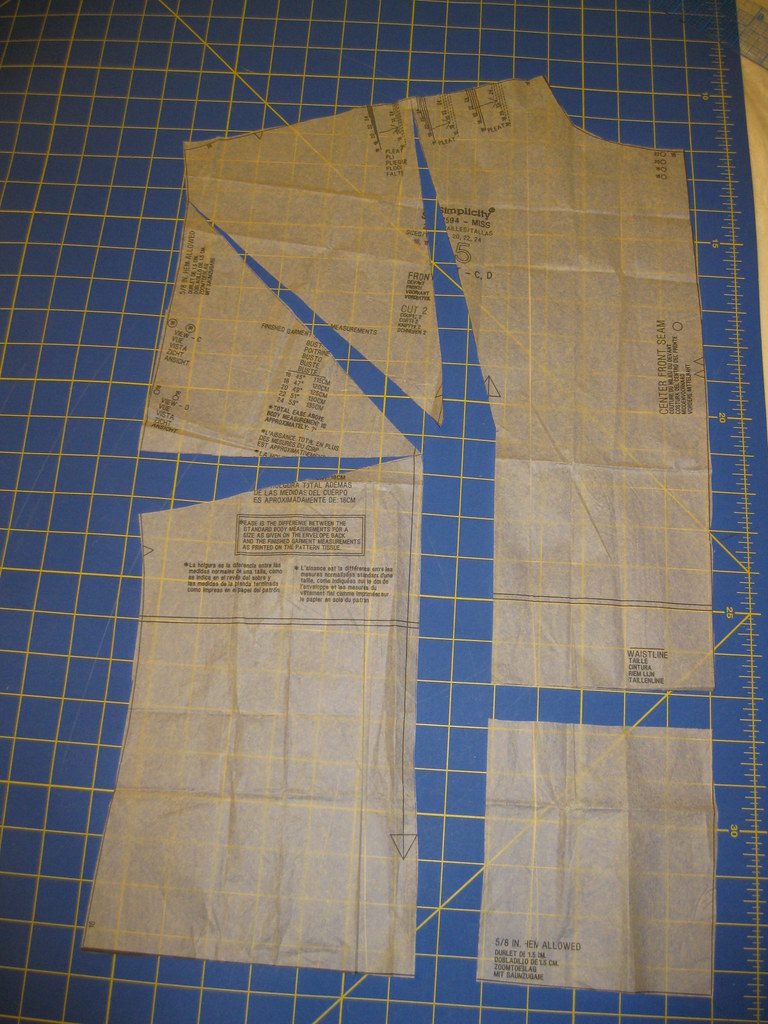
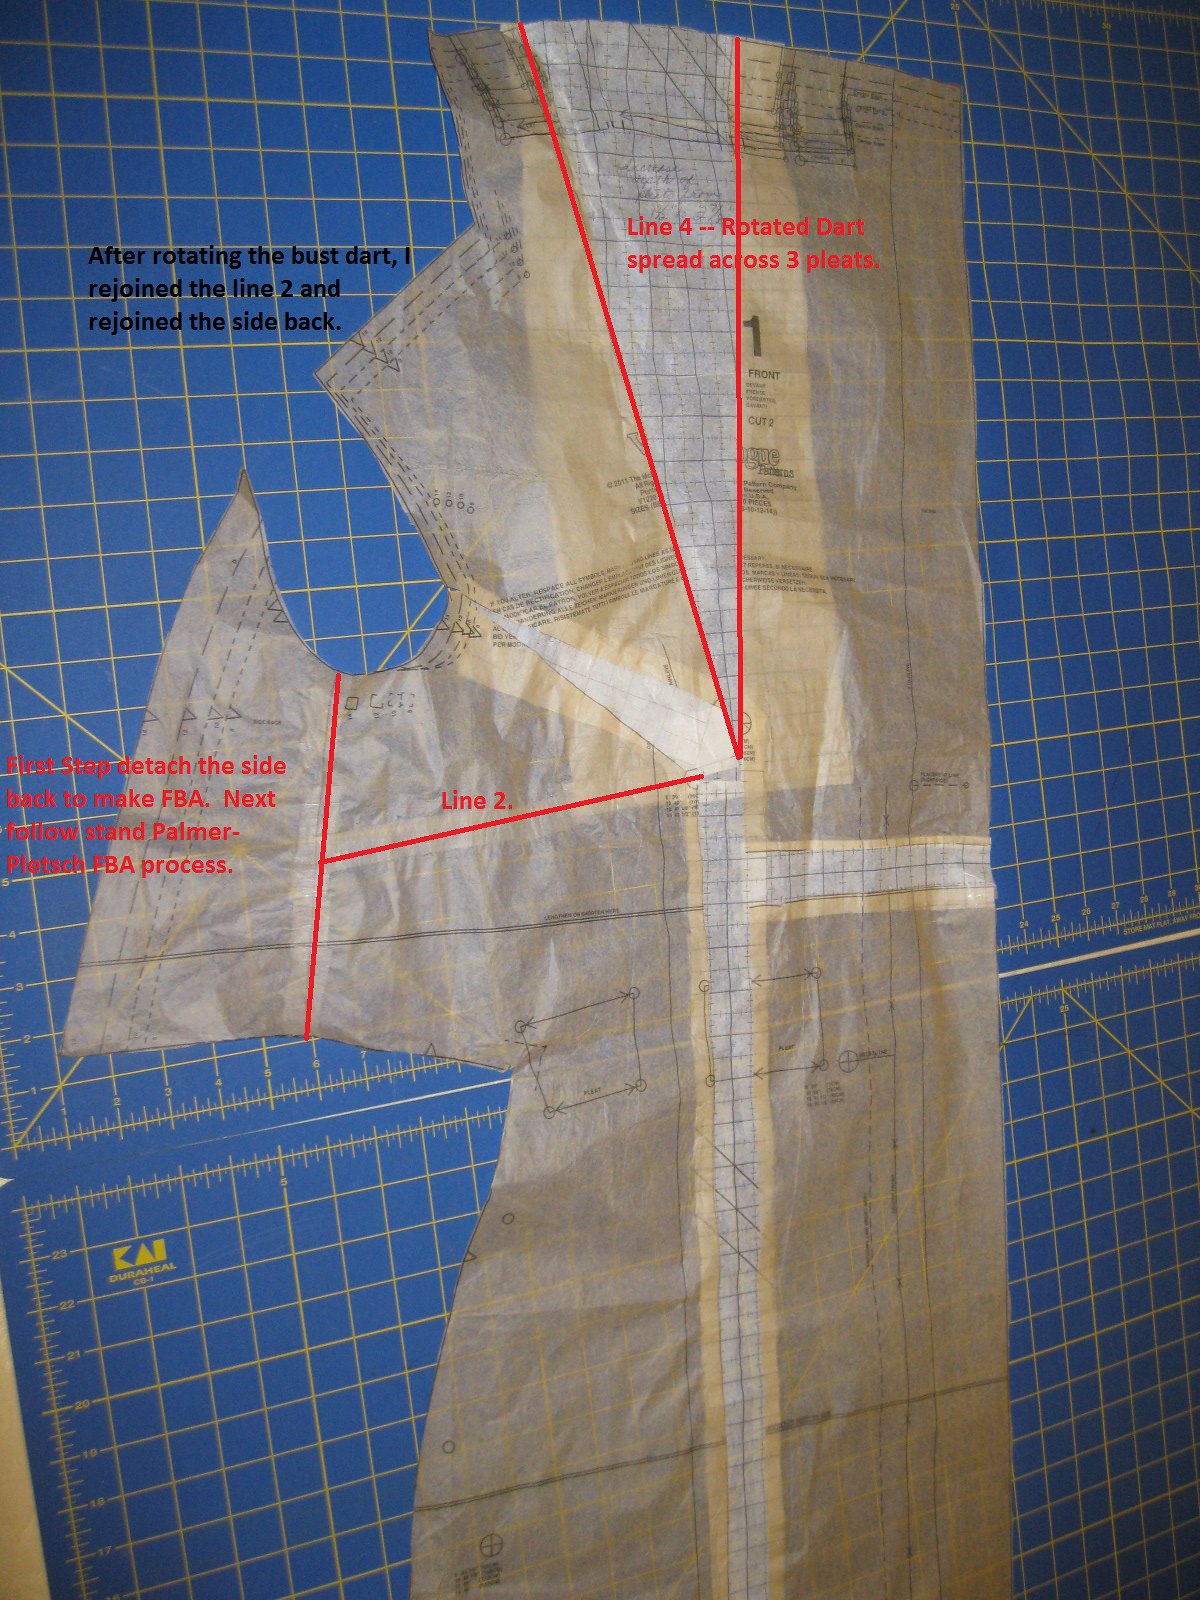
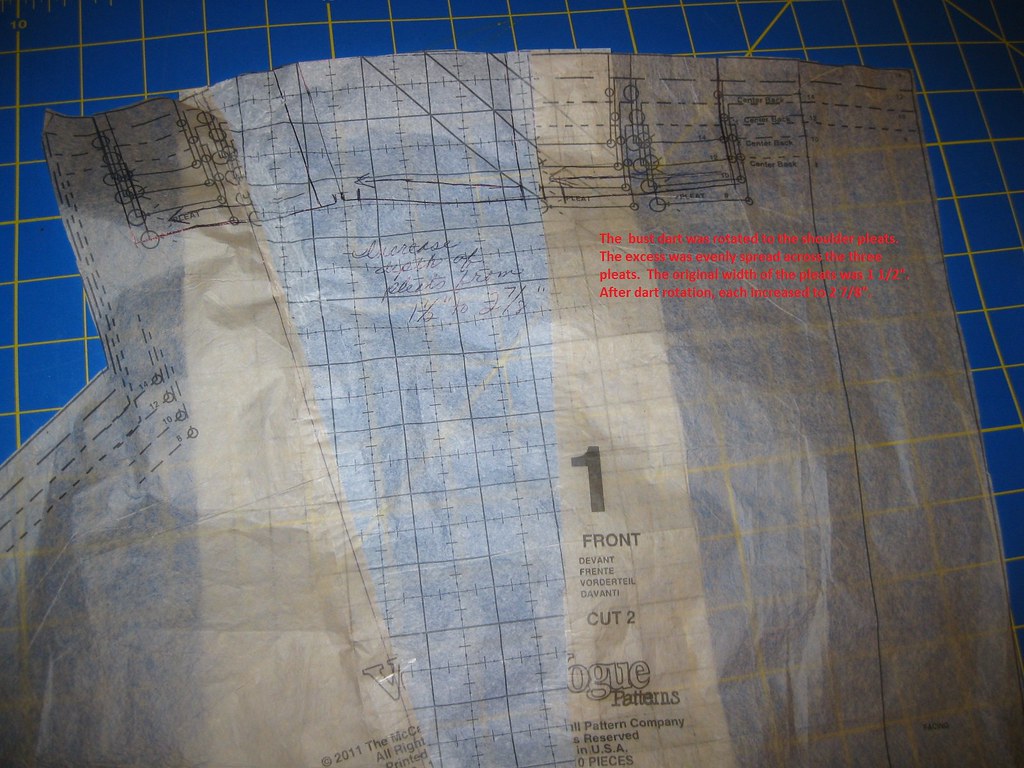
- FBA and Dart Rotation - For this dress I used M7386 front and back. The FBA was made to rotate the dart to the center front to create ruching at the bust area. This eliminates the bust dart all together. I've posted a tutorial years ago if you are interested in the steps to do the dart rotation. Here
- This process is pretty easy to follow. Once I did the dart rotation, I just added seam allowance to the center front.
- Neck and armhole band - I simply measured the circumference of each for the length of the band minus 2 to 3 inches depending on the stretch of the fabric. The width of the bands 2". The ends of the bands were sewn together (3/8" seam allowance) to create a circle. Then attached to the appropriate areas using a 5/8" seam allowance; trimmed after sewing. Then top-stitched for a nice finish.
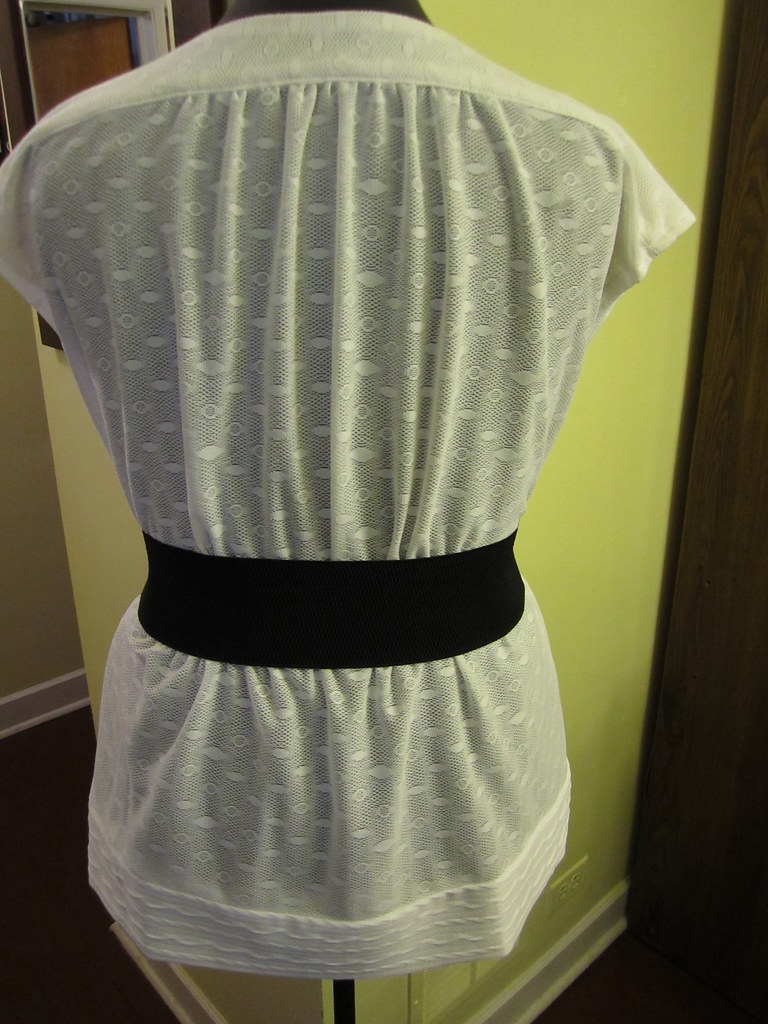
- Broad shoulder adjustment - I added width across the back.
- Swayback - horizontal tuck across the back at the waist.
- Length - I also have to add length. Lol Just a few inches so that the dress is truly a maxi dress.
- I did do some tweaking along the way. The added width across all areas isn't needed throughout the entire dress. So I adjusted as needed taking in larger seam allowances.


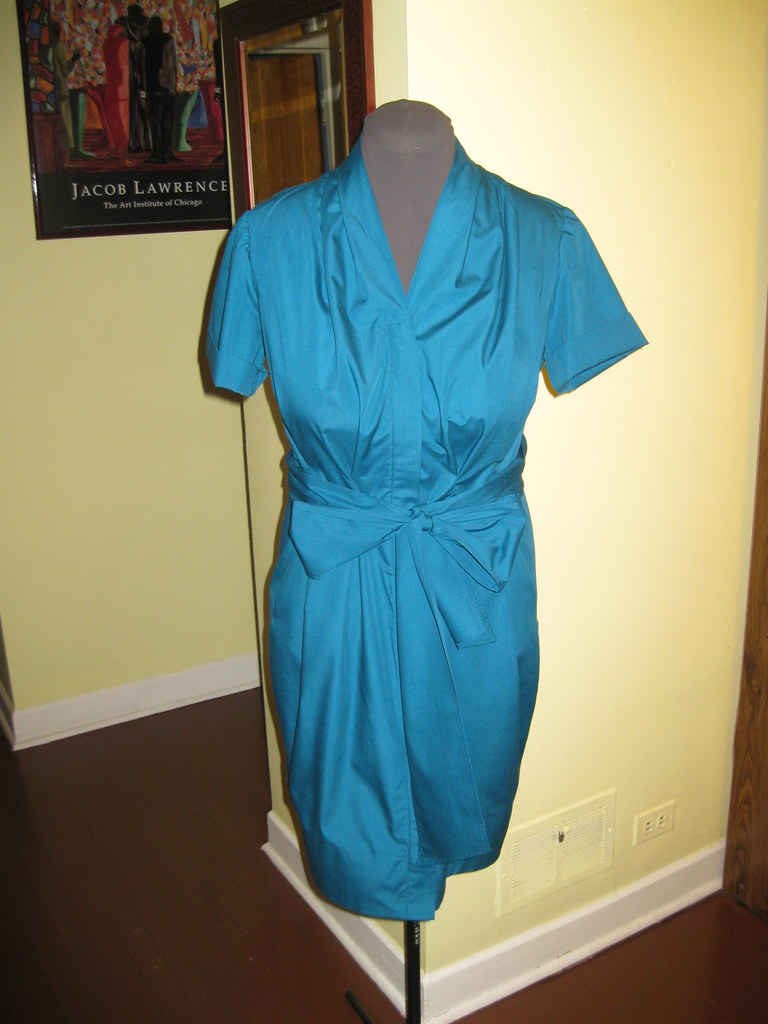
#2 dress rust Solid (M6559)
- I used the front of M7386. But for the back I wanted a racerback. So, I used the top of M6559. And to keep the skirt silhouette of M7386, I overlaid the skirt back of M7386 folding and tucking the rest of the pattern out of the cutting path. No need to retrace unless you really want to. Lol. So the skirt (fishtail) was the same for the front and back. All other adjustments were the same. I did need to add a center back seam. The center back seam helps with getting that close fit at the small of my back.
- All other changes are the same as M7386.
Would you sew it again? Would you recommend it to others?
Sure. This is a quick and easy dress, a wardrobe staple. It has many style options, which can be worn well into fall with cardigans, jackets, shrugs, or a knit t-shirt underneath.
I recommend these patterns to all level sewists.
Conclusion: Both patterns are easy to sew for all level
sewists. It is versatile and stylish.
Happy Sewing!
C


