Showing posts with label FBA. Show all posts

Friday, August 8, 2025

Notes on a Pattern - McCall M7929


Today's "Notes on a Pattern" is for McCall M7929.  

I couldn't skip this step in the fit process.  I wanted to be sure about the fit before I cut into my fashion fabric.  Luckily, the changes that I initially made to the tissue pattern were very close to what is needed to make this top work for me.  

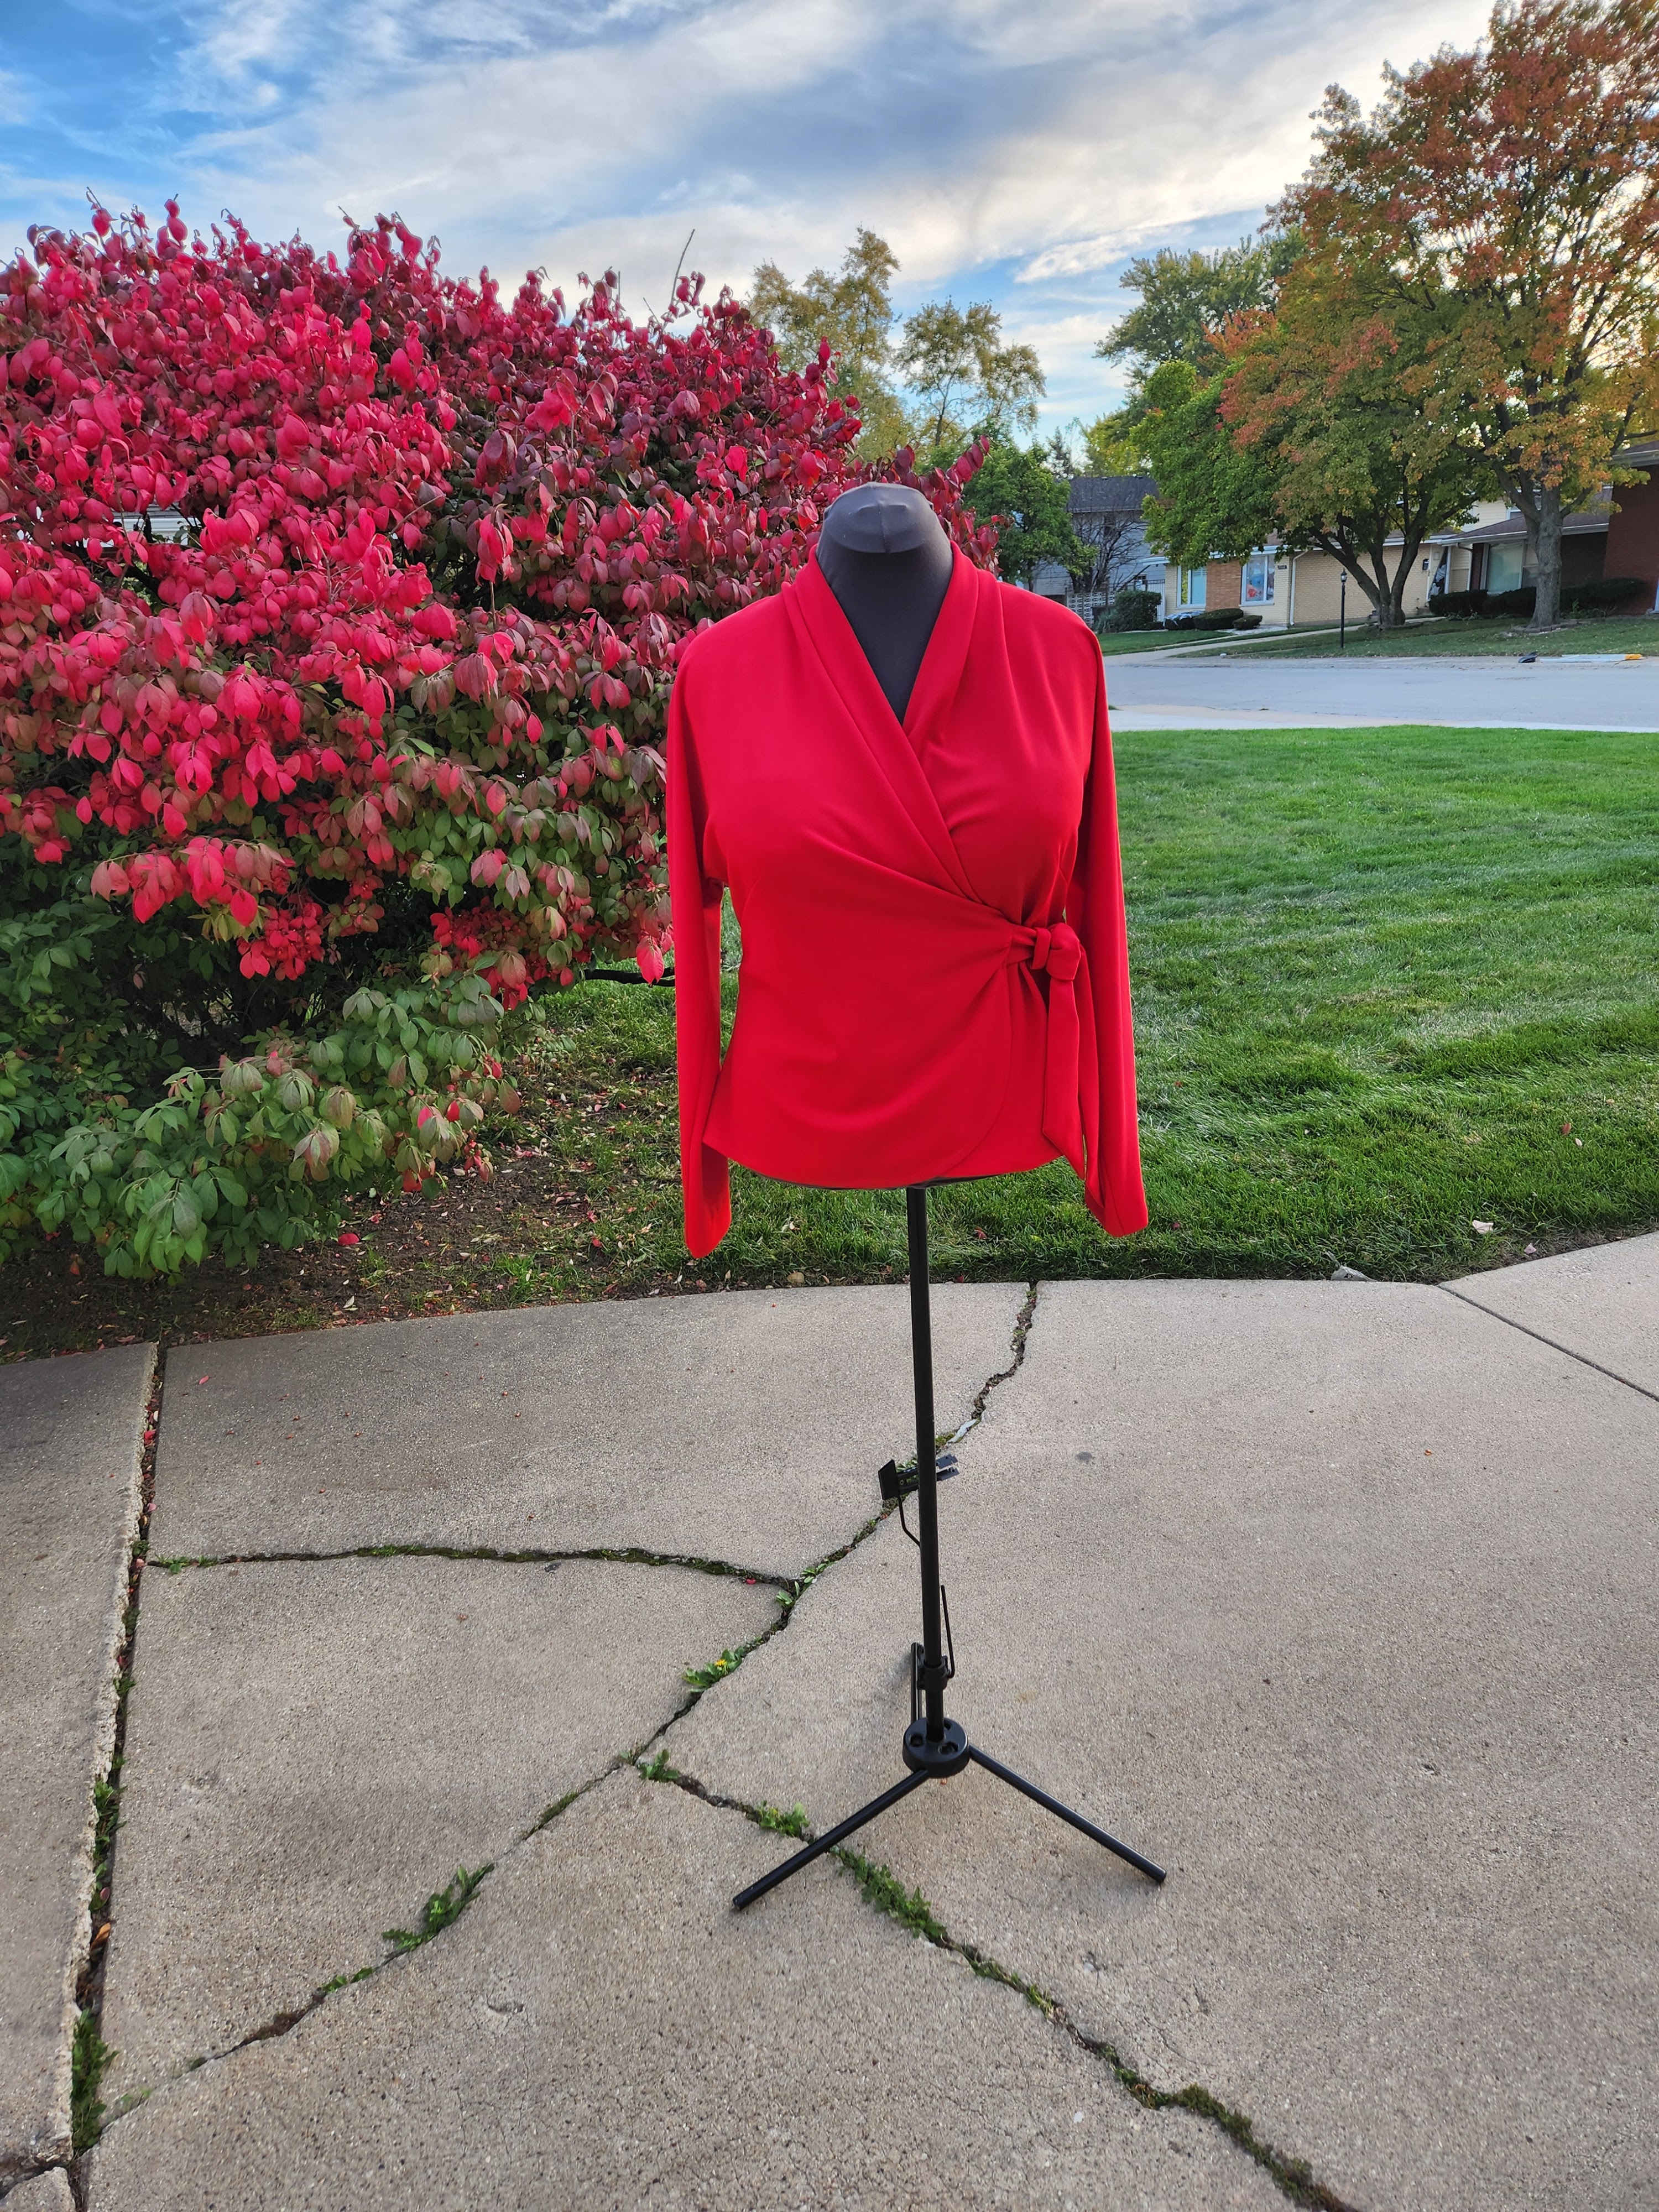
In these notes, my main focus was the fitting the front bodice.  My muslin is a combination of view B and D.  It helps me to see how it all comes together and how it will look on me.

Below are the tissue pattern changes.  Here I made a full bust adjustment (FBA).


For the bodice back, I made swayback adjustment and I adjusted the back pattern for a zipper closure instead of a button closure.  Please forgive the pencils and pens.  I used them to hold the pattern pieces in place.  On both front and back I raised the neckline a little.  I hate how low pattern fall on me.


Now, to look at the outcome of my changes.  For the FBA, the bottom edge of the cup is now longer than  the midriff.  To reduce length,  the excess needed to be removed.  So on one side I made a dart and the other I ease in the excess.  I liked to dart better.  So, in my fashion fabric I will make a dart at the lower section of the cup.  


The back is very good with this muslin.  So I don't think I need to make any more substantial changes.  Maybe a little tweaking here and there.


The next is to determine whether to make the top or add a skirt to the top for a dress.  Stay tuned.


Happy Sewing!

C

Wednesday, July 30, 2025

Easy Simplicity Pullover Top - S9679 in Review


I've had Simplicity S9679 in my pattern collection for a while. I am just getting around to sewing it.  Of course, I had to do my usual fit adjustments; FBA and swayback.  In this review, I paired it with a TNT pants pattern S8389.  It is a go-to for an easy fit and sew coordinate.  


So let's begin the pattern review of Simplicity S9679

Pattern Description:  Misses' knit top with sleeve variations.

Pattern Sizing:  4 - 20; I used size 16 with modifications.  I made view B.

Did it look like the photo/drawing on the pattern envelope once you were done sewing with it?  Yes, it did.  Slight changes to address the adjustments made.

Were the instructions easy to follow?  Yes,  the instructions were typical; nothing difficult or confusing in them.  

Was the construction easy?  Yes, the top went together with ease.  The most tedious part was finishing the opening across the upper chest and back.  This step required you to take your time.  This area is a focal point of the top.  I used some steam a seam to hold everything in place as I sewed.

What did you particularly like or dislike about the pattern?  For this version of the top I have likes and dislikes.
 Likes -
  • The seaming and the opening at the upper body. 
  • The slant of the neck opening.  It adds interest to what would a simple pullover top.
Dislikes -
  • Finishing of the armhole.  I added a binding to finish it.
  • The armhole fit.  I could have created the problem when I slightly rise it.  But this is something that I noticed in other tops that have a sleeveless and sleeved version that used the same front and back pattern.  For my next version I'll try to address that.

Fabric Used:  I used a ribbed knit from Fashion Fabric Fabrics.  I love the chartreuse color of it.  The stretch recovery could be better.

Pattern alterations or any design changes you made:  


  • FBA - I used my molly t-shirt pattern to make it.  You can see where are made changes along the sides and at the lower front armhole.


  • Swayback adjustment - I first cut the lower back into two pattern pieces.  Next, I made the tuck on each pieces and added at the hem.  I added seam allowance to both patterns where they would be joined.   I didn't make a prominent shoulder blade adjustment.  It appears to be okay without it. 
  • I shorten the opening to eliminate any gapping.
  • I cut binding out of the fashion fabric to finish the armhole.

Would you sew it again? Would you recommend it to others?  I plan to sew view C. And yes, I recommend it to others.

Conclusion:  I enjoyed making this pullover top.  It is a change from the typical t-shirt style pullover.  You can dress it up or down.  It's easy to sew for all sewing levels.

Happy Sewing!
C


Wednesday, June 25, 2025

The Brocade Makes The Jacket - Butterick B6915


A little over a year ago, I briefly mentioned my work on the muslin for the jacket of this pattern.  Since that time, I did more tweaking of the pattern and decided to use a beautiful brocade that I purchased from Mood Fabrics several years ago during a visit to New York.  

I thought the style of the jacket was the perfect match for the brocade.  Granted I did want to reduce any chance of something going wrong or turning out wonky before I cut into my fabric.  I really love the fabric and wanted to make something special with it.   


We are now in the hot, muggy days of summer.  It was 94 degrees when I took the photos of me wearing my outfit.  Though the coloration of my new suit is bright and cheery, it is perfect for the fall/winter season.  

Pattern Description:  Classic two-piece suit with a twist.  Lined jacket draws asymmetrically across the body and fastens with three buttons.  Jacket features flap detail at front.  Pants come in ankle length and includes invisible zipper on the side.  View C are wide leg pants.  I made view A and B.


Pattern Sizing:  It comes in two size groups (8 - 16) and (18 - 26) I used size 16 with modifications.

Did it look like the photo/drawing on the pattern envelope once you were done sewing with it?  Yes, my outfit does look like the drawing and the suit that the model is wearing.  

Were the instructions easy to follow?  The instructions were typical and easy to follow.  There was nothing confusing about them.

What did you particularly like or dislike about the pattern?  

Likes -

  • The asymmetrical style line of the jacket.
  • The pleats at the neckline of the jacket
  • The princess seam.
Dislikes -
  • The one piece sleeve.  I prefer a two piece sleeve for a suit jacket.  These sleeves were snug and there was too much in the sleeve cap for my fabric.  When I made the muslin the amount of ease in the sleeve cap was easy to work into the armhole.  But in the brocade it was slightly difficult.  I had to set the sleeve three times.


Fabric Used:  My fabrics were purchased at Mood Fabrics during a trip to met up with several sewing friends (Carolyn, Andrea, Gaylen)  in New York.  My jacket fabric is a silk brocade and the pants is a medium weight polyester satin.  

 
Pattern alterations or any design changes you made:  I made several pattern adjustments beginning with the full bust adjustment and my usual back adjustments.  I also lengthen the sleeves and added an inch width to the upper arm area.  For the pants I had to lengthen the leg and crotch.  Sorry no photo of that adjustment.


After making the adjustments and a muslin, I still needed to make a few tweaks as I sewed.  Below is a photo of me fitting the lower half of the jacket along side of photo of the finished outfit.  See the difference in the flare of the peplum.  I ripped it all out and reduced the peplum along the sides. 


Would you sew it again? Would you recommend it to others?  I think once is enough.  But, I do recommend this pattern to others.  You should make a muslin before cutting into your fashion fabric.

Conclusion: I'm pleased with how this suit turned out.  I'll probably wear it the first chance I get when cooler weather returns.  This pattern is not difficult to sew. It's time consuming and you should take your time and enjoy the process.


Tuesday, March 25, 2025

Notes on a Pattern - Full Bust Adjustment Tutorial McCall's M8240


This is my muslin


It has been a while since I did a Notes on a Pattern.  

This top is all over social media.  I hesitated to make it for fear of the front placket not being perfect.  To help myself, I researched for some tutorials to get a flawless placket.  I did find a few on Instagram that were helpful.  An easy fit.  My other concern was with the FBA adjustment.  Could I get away without adjusting?  So for my wearable muslin, I decided to use the molly t-shirt front pattern as a sloper for the FBA. 


Well, it didn't exactly work to my liking.  The center front hem is slightly higher than the rest of the hem. So, I did the next best thing:  I made a traditional FBA for the best fit.  Today, I am posting a FBA tutorial for this McCall's pullover.

Below is my tutorial:


Step 1 - Draw the lines to prepare for the slash and spread of the pattern sections.


Step 2 - Cut along the line 1 and spread the desired amount of the adjustment.  In this instance, the amount is 1".


Step 3 - Cut and spread line 2 at the bust area to bring balance back to the side.


Step 4 - fill in with tissue paper along line 1 and 2.  Tape in place except for the lower right portion severl inches above the hem.


Step 5 - Cut and spread line 3 to true up the hemline.  Then fill in with tissue paper.


Step 6 - trim tissue paper all except for the bust area.


Step 7 - Fold the dart in half to trim tissue paper.  True up the bust dart along the side seam.

That's it for the basic traditional full bust adjustment.  I hope this information/tutorial is helpful.

Happy Sewing!
C


Thursday, January 9, 2025

Wrap Top- Butterick B5101


This wrap top was made in October 2024.  It has been on my "to make" list for ages.  Butterick B5101 Lifestyle Wardrobe pattern, with several views to literally make a complete wardrobe with endless outfit options.  The copyright year is 2007.  So it is OOP.


Pattern Description:  Misses' top, dress, skirt and pants:  wrap front top and dress have all-in-one sleeve, pleated collar extending into front neckline, side tie, sleeve length and hem variations.  Mock wrap front skirt and straight leg pants have casing and elastic yoke.


Pattern Sizing:  SX, S, M, L, XL .  I used size medium grading it up somewhere between a medium and large with fit adjustments.

Did it look like the photo/drawing on the pattern envelope once you were done sewing with it?  Yes,  my top does look like the drawing on the envelope.

Were the instructions easy to follow?  The instructions were typical, but not difficult to follow.  

What did you particularly like or dislike about the pattern?  I liked that it is a wrap top/dress with some pleating around the mid section with a tie.  

I do have a few dislikes, though.  The tie is slightly wider than what I'd like for this top/dress.  And I prefer it to be a little longer since I'm so tall.  My other dislikes is the thickness of the belt loop.  It could be thinner.  I'll make these adjustments on my next version, which is already in the making. :-)  No other dislikes.


Fabric Used:  My knit jersey came from New Rainbow Fabrics on Roosevelt Road in Chicago.  It is a vibrant tomato red with a dry hand.  It is easy to work with and is wrinkle free.  I pre-washed and dried it as soon as I bought it home.


Pattern alterations or any design changes you made:  Okay, it may be boring, but I had to make my usual full bust adjustment.    Definitely necessary for the level of stretch of my fabric choice and the style of the top.  Because the sleeve is cut-on, I started the process with removing the sleeve.  Then I made the FBA.  Finally, reattaching the sleeve. See the photo below for the finished fit adjustment. Also, I lengthen the sleeve by an inch.  


Would you sew it again? Would you recommend it to others?  Yes, I will.  I'm in the process of making the pants and the top.  I hope to finish it by the end of this week.  If this is your style, of course, I recommend it.  The pattern is easy to sew and it offers a lot of style options in one pattern.

Conclusion:  This is a good wardrobe pattern that offers many outfit options.  It is easy to sew for all level sewists.  The hem of the top/dress may be a little challenging for beginners, but doable.  Take your time.


Happy Sewing!
C

LinkWithin

Blog Widget by LinkWithin