This plaid blazer is part of my Brown/Cream Wardrobe Capsule. (I know it probably seems like I'm all over the place. But there is a method to my madness. Tee Hee.) Anyway, I've been wanted to sew more plaids this year. And I was happy to be gifted this stretch plaid suiting from Minerva Fabrics. When I first selected this fabric, I really didn't know which jacket I would make. I wanted to choose a pattern that would complement the plaid. Simplicity S8844 was one of three jackets that I'd plan to make before the end of the year.

The pattern is described as Misses'/Miss petite unlined blazer with front variations with individual pattern pieces for B, C, D, and DD cup sizes. It comes in sizes 6 through 24.
The princess seams and the individual cup sizes are what sold me. My hoped the FBA pattern piece would only need tweaking. So I used size 16, view A, with still a lot of modifications. The changes included fit, construction, and design.
For the most part my jacket looked liked the one on the envelope. The modelled jacket looks a little to full in the upper chest area though. The instructions were typical. I didn't see anything difficult in them. Half of them I didn't follow because I changed a lot of the construction steps and techniques to suit my own preferences.
There were a few things that I like about it and a few things I didn't care for. I'll start with the likes:
- The separate pattern pieces for the cup sizes. I wanted to spend less time adjusting the pattern.
- Princess seams. Easier to adjustment
- Gathered sleeve cap
- Separate pattern pieces for the upper and lower collar
- Separate pattern pieces for the front and front facing
- Length of the shoulder seam. I don't under stand why the pattern company makes them so long. I removed about 1.75" from the end.
- "Unlined" blazer.
- One piece sleeve. I prefer a two piece sleeve


- Lined the entire jacket
- I made my own shoulder pads. There was a hallow area between the upper chest and armpit area. So I made them larger than the average pad.
- I added hem facings to the sleeve. This change was because I didn't add enough length to the sleeve. This worked out fine.
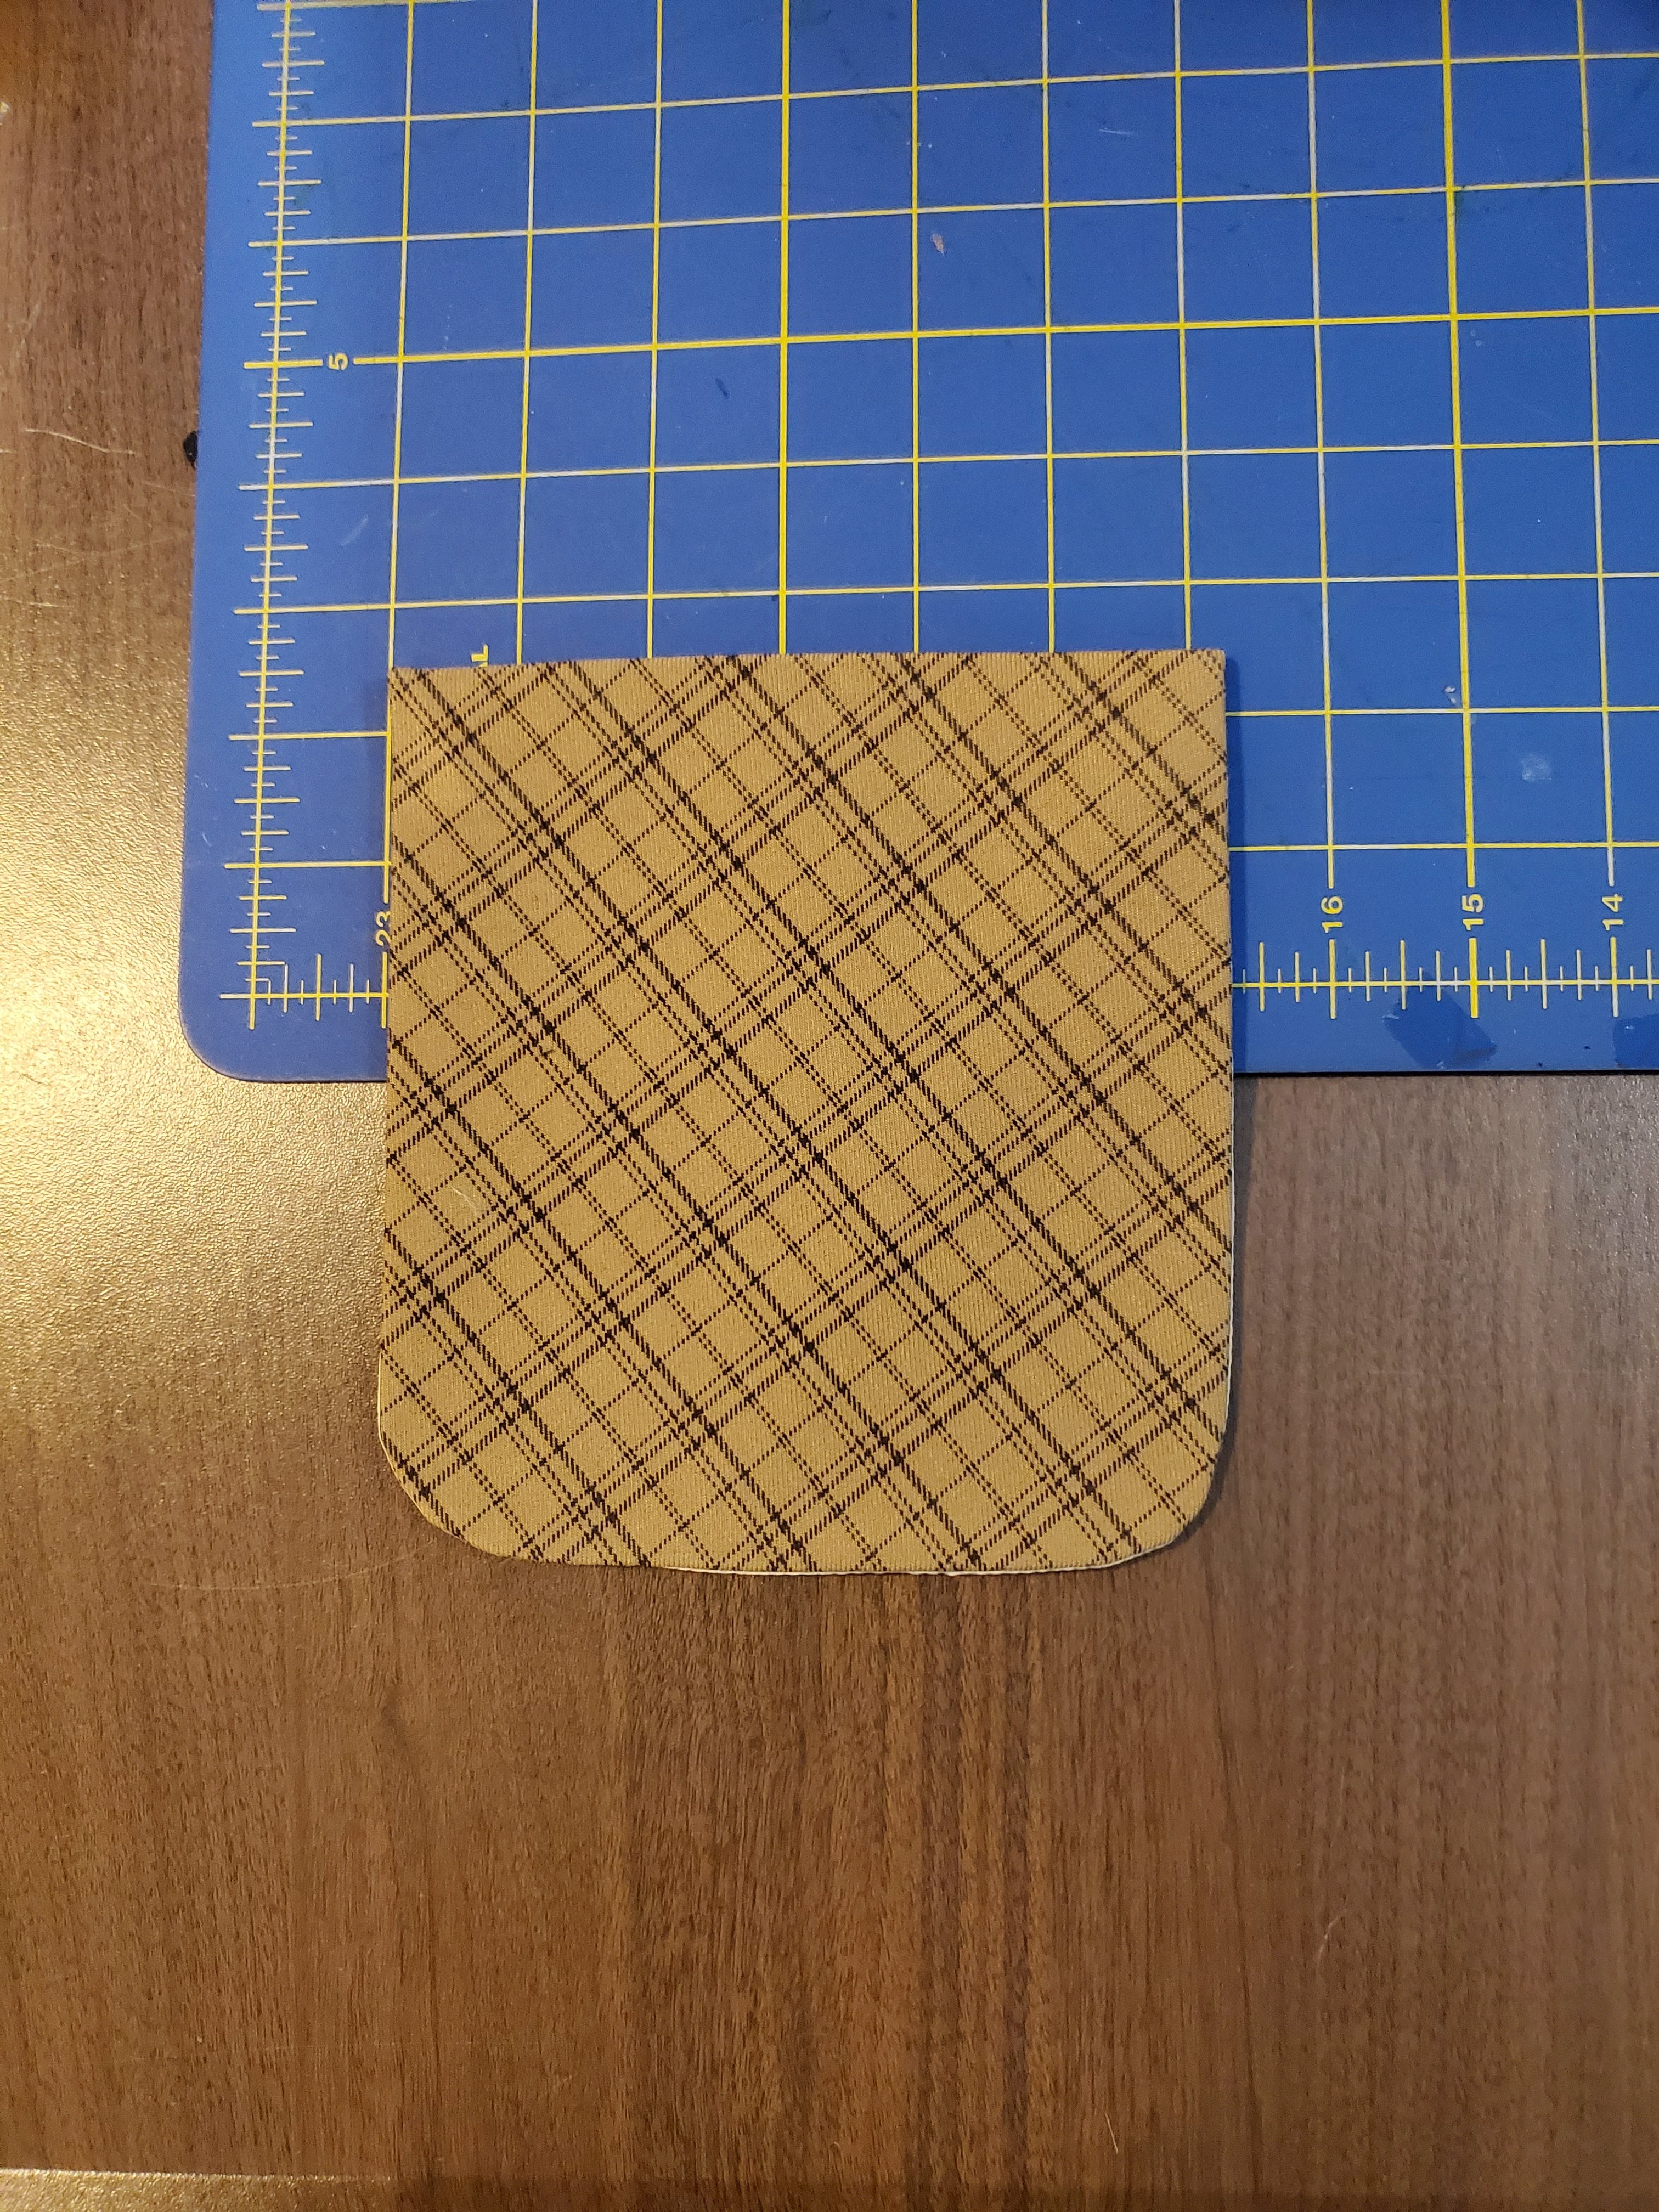
- Cut the pockets of the bias. I love the weight of the interfaced patch pocket. And I love the bias cut of them. It plays of the plain on the front of the jacket adding a little more interest to the style.
- I sewed on the pocket after the jacket was assembled.