Showing posts with label pockets. Show all posts

Sunday, April 11, 2021

Is All That Top Stitching Worth It?- V9304


Is all that top stitching worth it?  Of course it is.   There are so many functional and decorative reasons to add topstitching to a garment.  For this particular pair of pants, it is mostly used as a decorative design element.   Just looking at the pattern envelope, the eye is drawn to two things:  The topstitching and the pockets.  In this case, it is a beautiful way to showcase the design lines of this "cargo" pants.

For sewists, we know that topstitching has many functional benefits too.  It helps keep edges flat creating a crisp edge around the pockets, necklines, cuffs and other areas of a garment.  Topstitching also makes seams strong and holds fabric layers together.  Quite a bit of all of these benefits are in these pants due to the enormous amount of topstitching.


There are two things needed in doing all of this topstitching:  time and patience.  It probably took me three times as long to make these pants because of it.  Every seam has one or two rows of topstitching.  

Making good stitching for me is a matter of taking my time and patience.  I have at least two sewing machine feet designed to help make the stitches.  But I never use them.  I rely on the edge of the Satin foot and the placement of the needle position, I guess I could start using the other feet more, but it's easy for me to use the same ole method I've used for decades.  So in the end, I just take my time and guide the fabric with the same amount of pressure to produce nice, even stitching. It is a nice design element.  


That being said, here is more on the review of the pattern, Vogue V9304, designed by Kathryn Brenne.

The pattern description is:  Misses pants semi-fitted, pull-on pants have elasticized waist, drawstring, yokes, and pocket variations.  Fabric to be used should be two-way stretch knits (50% cross grain) like double knits, ponte.

The pattern is available in sizes 6 to 22.  I used 16 with a few modifications.

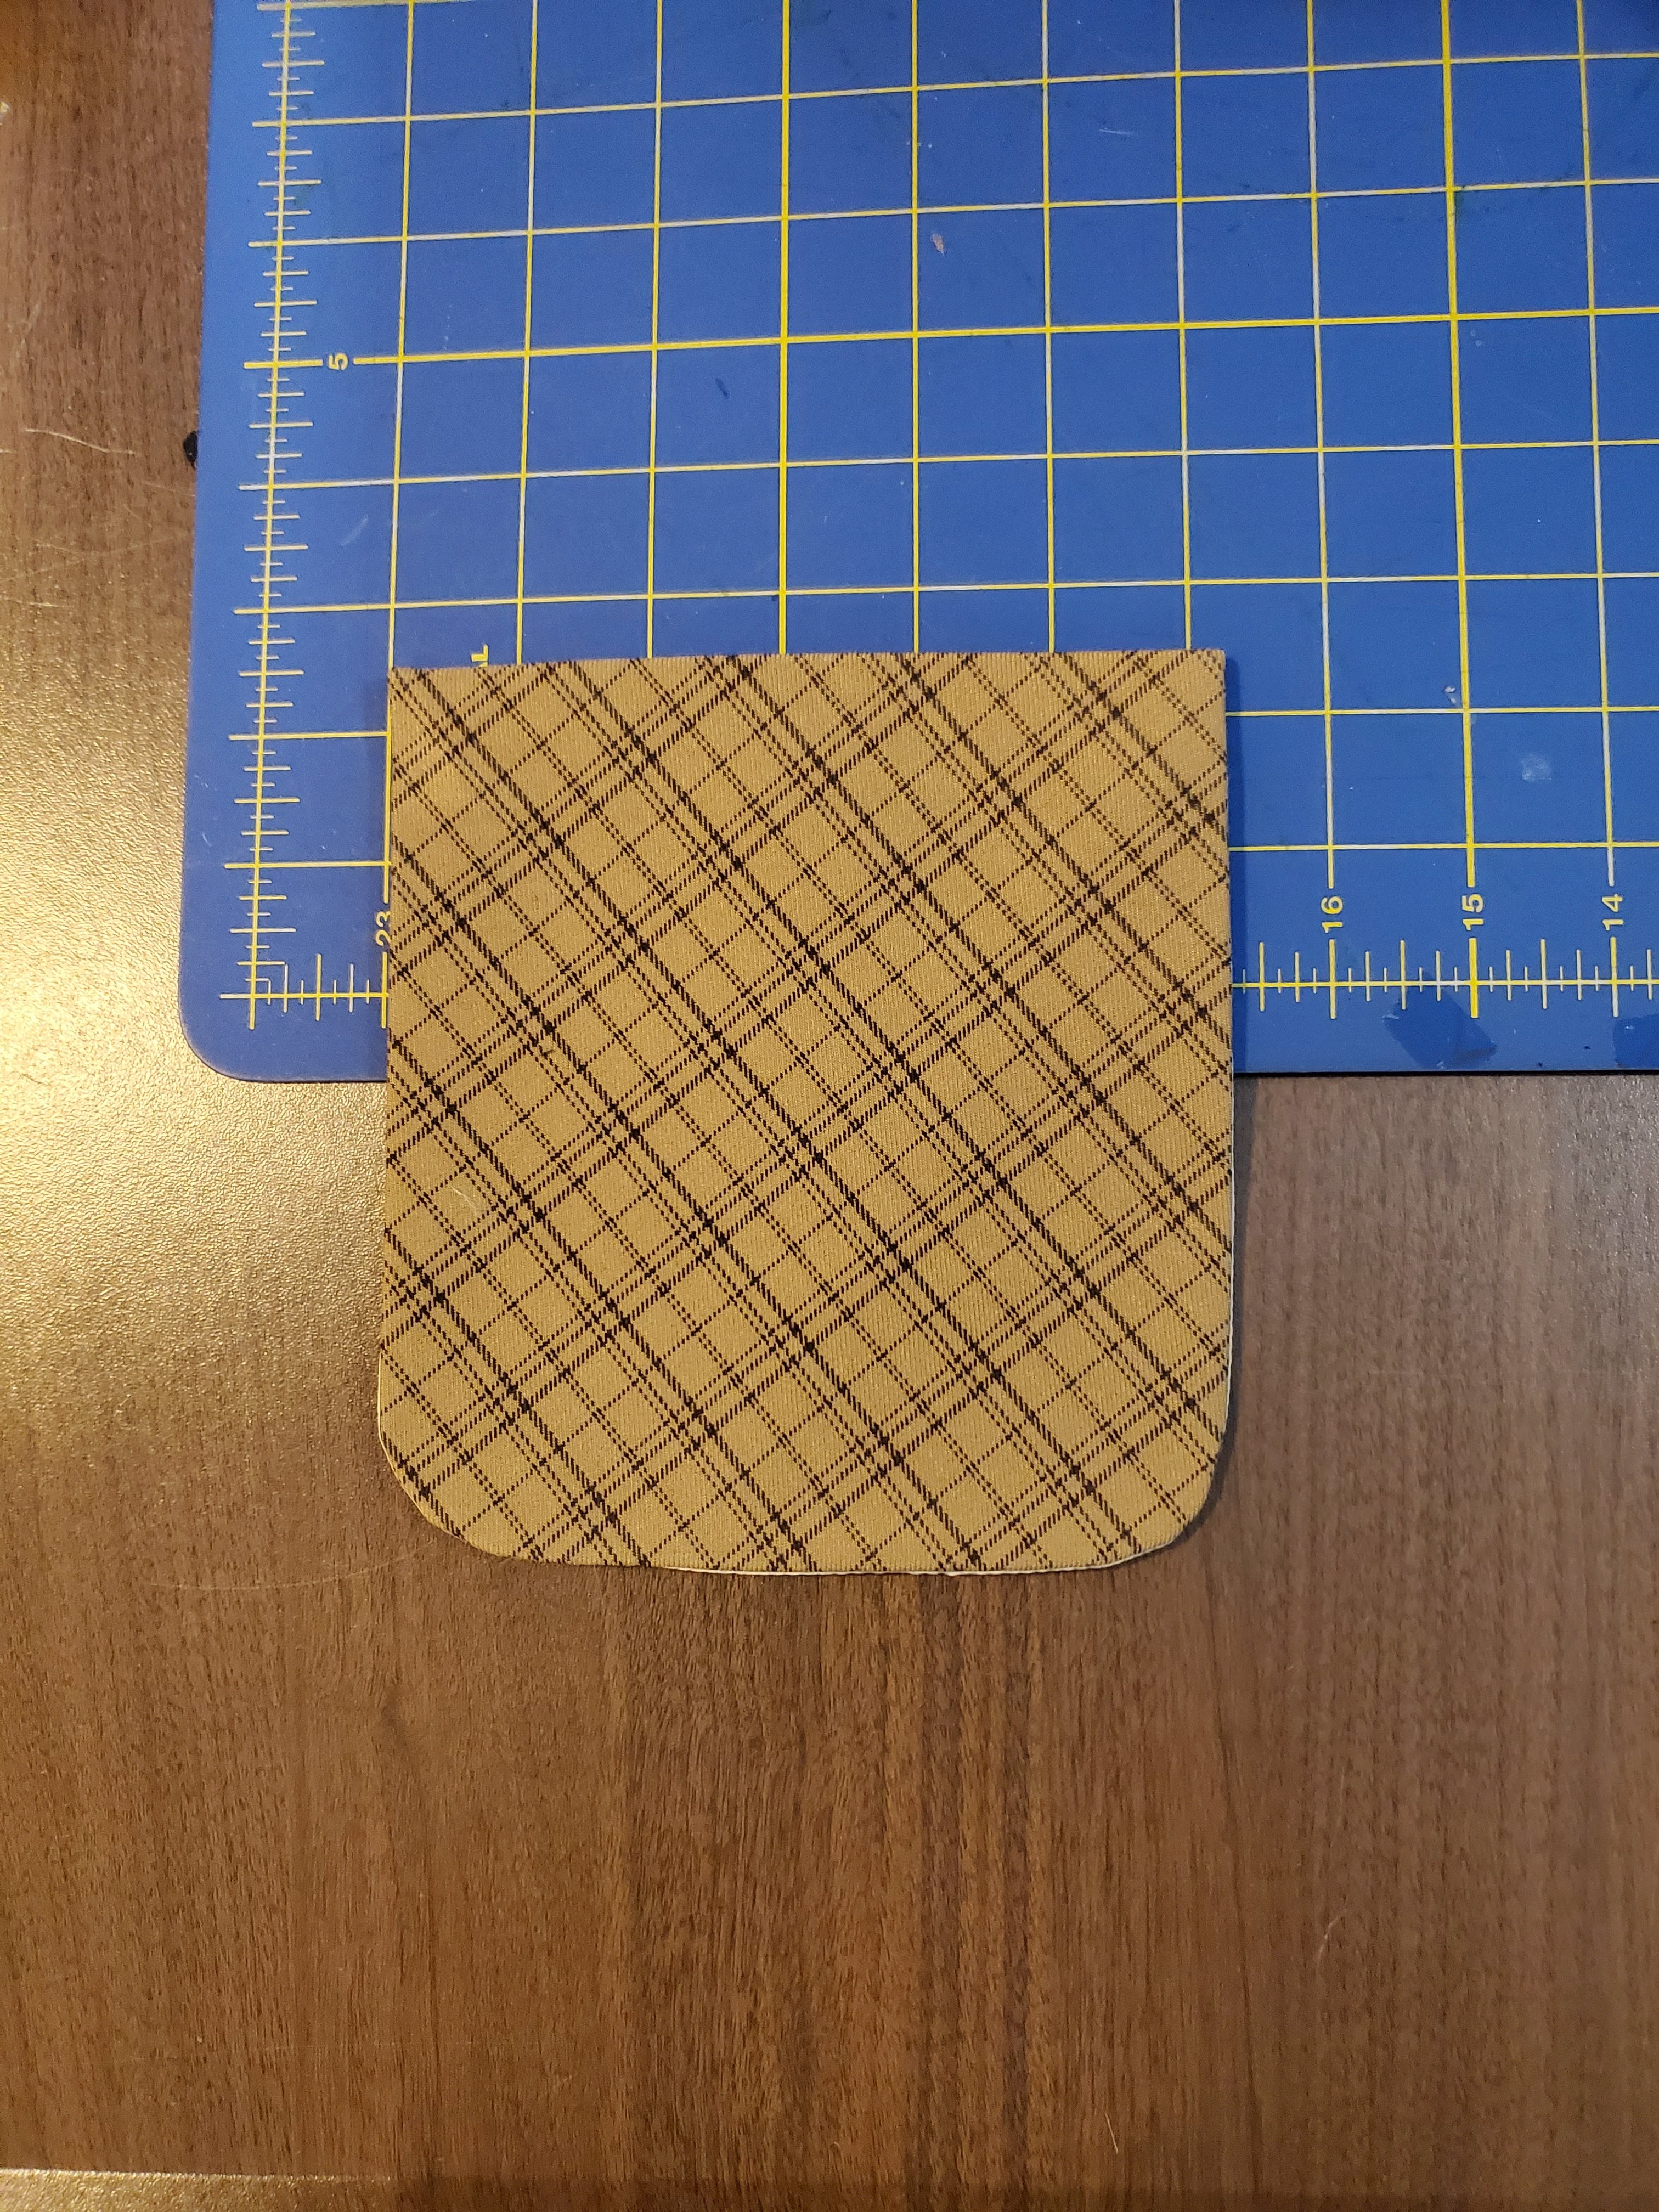
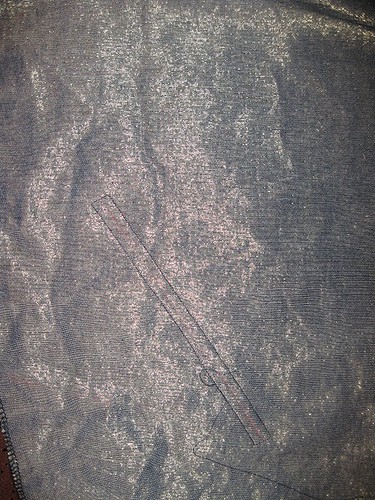
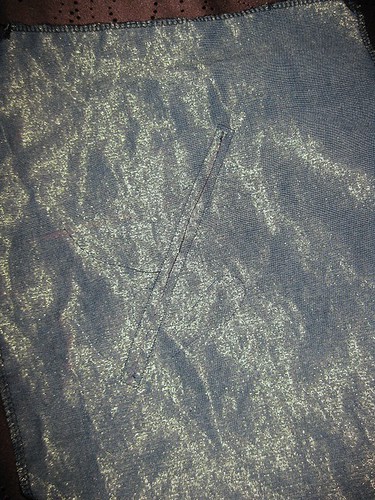
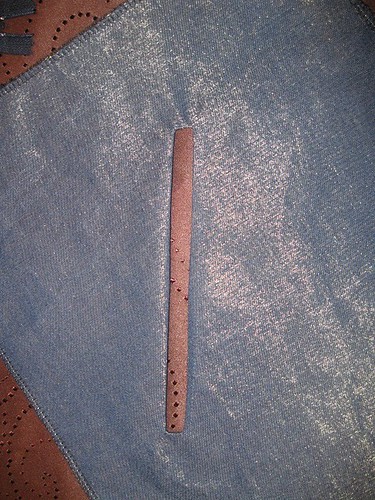
My pants look like the drawing and photos of the pants. I made view A.  I wanted to really test making them before I tried the back pockets and the little stitched slashes at the back of the knee.  Pockets are one of the design elements that I am focusing on this year.   


Often I stray away from following instructions to the letter.  But for these pants, I did.  Particularly the instructions for the pockets.  I wanted to make sure they turned out right.  The instructions seemed a little weird.  It was like making the pockets wrong side out. literally.  The finished pockets do show raw edges on the outside of the pants.  


My likes:
  • All of that time and patience to topstitch.  The nerd in me thinks this is so fun. 
  • The seaming of the pants.
  • The method for forming the pockets.
  • The yoke and elastic casing.
Dislikes:
  • Really, my dislike is on me.  I needed to adjust the crotch seam.  The front is a little too long (1") and the back crotch seam a little too short (1.5").  I was so busy thinking and working on all the rest, I fail to make these small adjustments.  They are not a deal breaker for the pants.  These adjustments would provide slightly better look and comfort.


The fabric that I used is a ponte knit from So Sew Fabrics.  It's of the same quality as the ponte knit that I've purchased from Mood.  So both are good sources for ponte knit.

My two little adjustments are:  lengthen the pant legs and use a slightly deeper seam allowance at the center front seam below the yoke.


I like how these pants turned out.  I will make at least one more pair, view B.  I do recommend this pattern to other sewists.  I was surprised to see not many people tried this pattern yet. The copyright is 2018.  Maybe is because of all that top stitching or the construction of the pockets.  All you need is a little time and patience,  And it's done.

Anyway, I do recommend the pattern.  You'll have a unique pair of pants that are comfortable and stylish,

Happy Sewing!
C

Wednesday, December 2, 2020

Pockets Simplicity S8844


I changed the construction of the patch pocket for my Simplicity S8844 jacket, view A.  The original pocket is unlined, but I chose to line them instead.  Also, I didn't want to try to match the plaid.  So I cut them on the bias.  


Here are the steps that I used to make the plaid on plaid patch pocket.


I interfaced them to help maintain the shape.. Using the pocket pattern I cut the lining 1.25" shorter than the pocket.


Next, I stitched the upper edge of the pocket to the lining leaving an opening. Pressed the seam allowance forwards the lining. 


I Sewed the lining to the pocket starting at the top, making sure the seam allowance is sewn 5/8" all the way around.  Note- For curved pockets, I sew one side halfway around, then flip it to sew the other side sewing slightly passed the end of the previous stitch. 


Next, I trimmed the seam allowance at the curve and notched the edge. Then, I turned the pocket to the right side, using a pointer creaser to make sure the pocket is completely turned out. While pressing I slightly rolled the pocket to the inside to help reduce the possibility of the lining showing on the outside.


Next I stitched the opening closed. Pressed again. Pinned the pocket in place. 


Next step, I usually base it in place and then machine sew.  That's it.


Happy Sewing!

C


Tuesday, May 26, 2015

Notes on a Pattern - Burda 6879 and Vogue 1436


Last week I finished my wearable muslin for Burda pants 6879 (will review soon).  I bought this pattern because of the pockets, the overlay on the front pant and back yoke design.

The Pockets -


The pockets are much like the pockets you see on jeans, the opening is below the waistband instead of at the side upper hip.  In recent years, I've had issues with pockets that open at the hip.  The small "pot in my belly" causes the pocket to stand out.  I hate that look.


But against my better judgement, last year I made another pair of side pocket pants.  And the unattractive pocket opening stood out like a sore thumb.  Quickly, I added a buttonhole and button to close the gaping pockets.  Their must be a better way to resolve the gaping side pocket.

So Burda 6879 is one quick fix solution.  I came up with the "idea" of transferring this pocket design to other pants that I like.  My first attempt is with Vogue 1436.  I'm making these pants next week.


Overlay on the Front Pant -

The overlay is just another design element to jazz up a pair of pants.  It gives you the option to use lace or stretchable leather/suede in a contrast fabric.  Great design option.

Back Yoke -

There two pattern pieces for the back yoke.  The finished yoke has three sections: two sides and a center piece.  It's another great design option as well as an opportunity to make no hassle adjustments.  With most jean or back yoke patterns the back of the pant stand away from my waist.  The side and center york are join wear you would make a dart.  So it's easy to make deeper seam allowances without distorting the look of the yoke.  This is another option I will use for back yoke pants.

That's all for now.

Happy Sewing!
Cennetta


Wednesday, August 17, 2011

Zipper Pocket

I wanted to write a separate post on how I created zipper pockets. All of the information on "how to" and the photos of the pants are on Flickr. The next post, I will review the pattern and how I used it to create two pair of pants and a skirt.


Some patterns include zippers as a design element on the garment. Sometimes the design element has no other function. It's simply for visual appreciation. The pattern (S5102-View A) that I used had seven zippers: six for "decoration" and the other to get in and out of the pants. I decided to only use three. And all are functional.

The first step to making the two front, hip zippers functional is as follows:

Step 1 - I traced the zipper line on the wrong side of the pants. This is my guide for sewing the rectangle for the zipper. (Sorry it's a little hard to see here, but I hope you get the picture.)


Step 2 - On the right side of the pant, I place the pocket square. (You can determine the size of the square based on the position of the pocket and size of the opening.) This is done before sewing the rectangle for the zipper.


Step 3 - I stitched a rectangle where the zipper would be positioned. (shorten the stitch length 2.0.) Start stitching in the middle of one of the long sides of the rectangle. Make sure you complete the rectangle.


Step 4 - 4. After the rectangle is stitched, cut along the line through the pant and pocket layers stopping about 1/4 inch away from the short sides of the rectangle. At each corner, make diagonal cuts to form a small triangle. Be careful not to cut through the stitching.


Step 5 - Pulled pocket through the opening and form the rectangle with your fingers. Then press.


Step 6 - Place zipper under pant.


Step 7 - When the zipper is correctly positioned, pin it to the opening.


Step 8 - Sew the zipper in place.


Step 9 - Turn pant to the wrong side. Pin the lower edge to the upper edge making a nice little pouch. Sew the two side and the upper edge of the pocket. If the zipper is extended past the pocket, trim the excess.


Step 10 Serge around the stitch edges. Your done.


Next, my review of pants and skirt made using Simplicity 5102.

Happy Sewing!
C


LinkWithin

Blog Widget by LinkWithin