


I love wearing maxi dresses. Especially a comfortable one. My review today is on a Rebecca Taylor Vogue pattern (V1352) It's been out for a few years, copyright 2013. When it was first published, I hesitated on buying it. Then after about two years, I did. If it works; good. If not, in the trash it goes.
You're wondering why I hesitated? The "required" FBA and the possibly of me not being able to get the "perfect" neck binding finish. The FBA with all that gathering could be a bad look on me. And who wants I wonky neckline on top of that. Anyway..,
There are only five pattern pieces. Sounds pretty easy, right? For the most part it was once I tweaked, tweaked it.

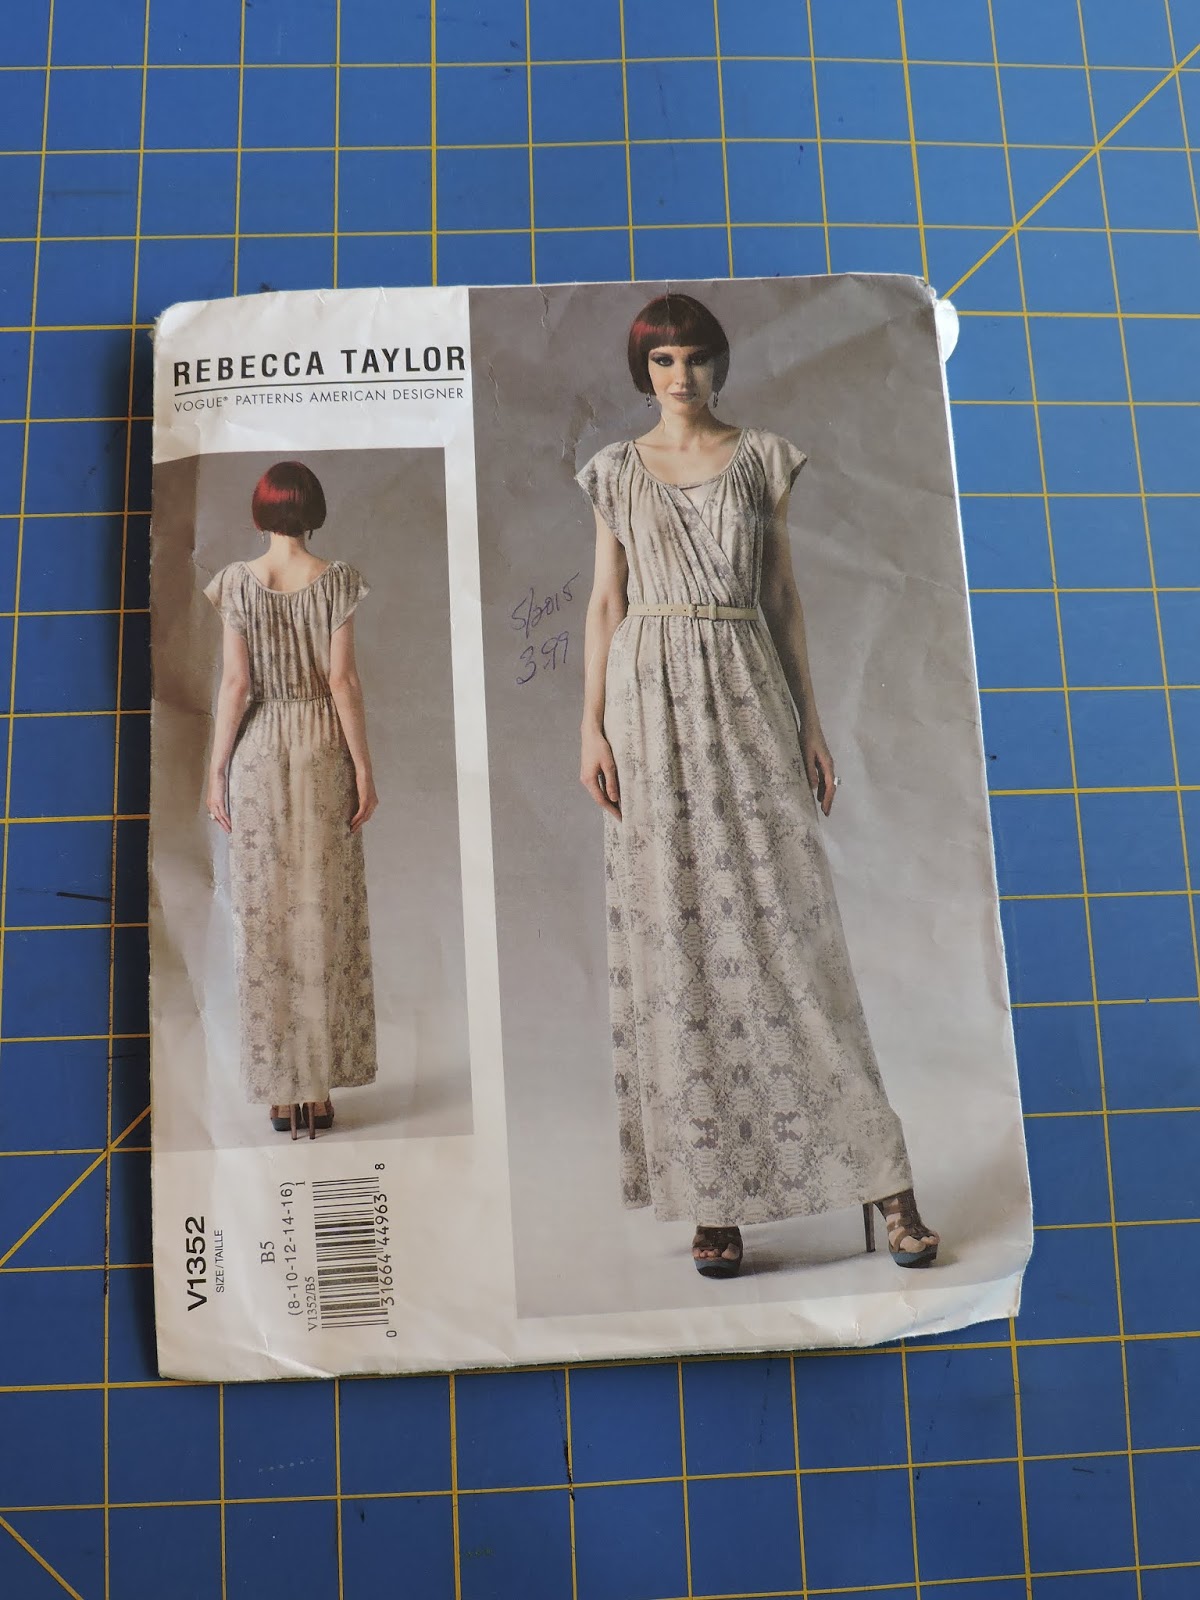
This is a pullover maxi dress with a gathered neckline. The front is a mock wrap bodice with a small inverted triangle at the center front. It has short sleeves, and an elasticized waist. I used size 16 with modifications. Some I could have skipped if I may add.
The pattern is available in two size groupings: (8-16) and (16-24).
The drawing and photos do look very much like my dress. My neck binding is wider because I didn't do the folder process. I like the wider binding and the front opening drapes just a little, but the modeled dress does not. I didn't think about making a tuck along the opening to reduce the length of it. If I make it again, I'll make that adjustment. Also, the back neckline is much lower on the modeled dress. And I think my dress has a little more wearing ease than the one pictured on the envelope.


My fabric is a jersey knit from Vogue Fabrics in Evanston. I bought three yards and knew that I'd make a maxi dress out of it. I love the colors and the smooth hand of this knit. It has a nice weight and great recovery. I used a microtex sewing needle, size 12.
The instructions were typical and easy to understand. But I didn't follow then to the letter. I also made a few fit adjustments. All noted below:
- I didn't do the double needle top stitches along the front and to hem the sleeve. And no top stitching on the neck binding.

- The first time I attached the neck binding I followed the instructions: basting it and matching the notches and circles, with right sides together. When I tried it on, it didn't lay flat as illustrated on the envelope. So, I decided to take a break and think about how to make it work. After a day or two, I tried it on again to determine the amount of excess binding to remove. The neck binding was about six inches too long. Luckily, I did not removed the gathering stitches. I measured each section of the dress bodice: front 6.5; sleeve 4.125; and back 5.5 (I created a center back seam that wasn't needed. More below on that.). For the neck binding, I reduced each section by an inch and removed the basting so I could stretch the band to fit each section of the neckline. I did not change the location of the center front large circles where the front opening is attached. If that makes sense. The results were perfect. The band lies flat and smooth. I didn't in case the raw edges of the binding. Maybe next time. I like the width of the binding as shown on my version of the dress.


 | |
| Portion of the neck binding with the new marking on it. |


- The construction of the sleeve was a little weird too. The ends are not sewn together, but overlapped at the top of the side seam. If you follow the instructions, you'll end up with raw edges showing on the right side of you dress. I curved the outer end into the armscye so that no raw edges were exposed. Note: the armhole is wide and low. It wouldn't hurt to raise the armhole about an inch or two. That will eliminate the exposure of your under garments.

- I didn't cut the back on the fold. I should have. This dress is roomy and I really didn't require a prominent shoulder blade adjustment. Anyway, the center back seam took up the added width of that adjustment. Save..,
- Full bust adjustment - just a small one to add a little width and length. This FBA does not create I bust dart.

- Finally, I added a few inches to the length of the dress.
After working through all those changes and adjustments, I still like the dress for the ease of wear, the mock wrap bodice, and the gathered neckline.


I have an obscene number of dress patterns to try, but I'll kept this one for me just in case I want to make it again.

Vogue rated this dress as easy to make. It is once you've worked out the kinks. Remember, it's very loose fitting. The armholes are low and the neck binding may be too long. Other than that it's good.
Happy Sewing!
C


