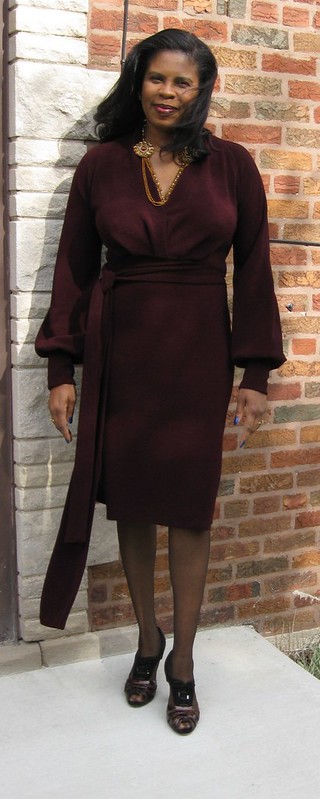
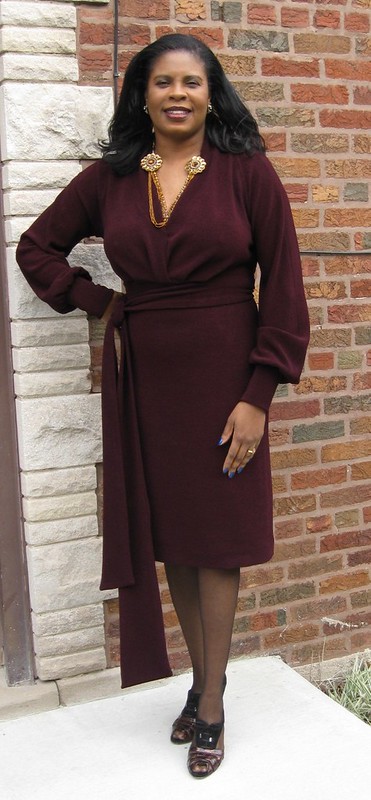
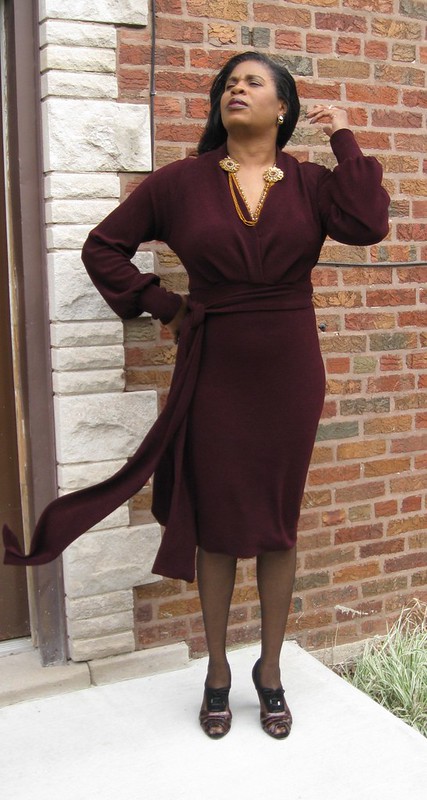
Pattern Description:
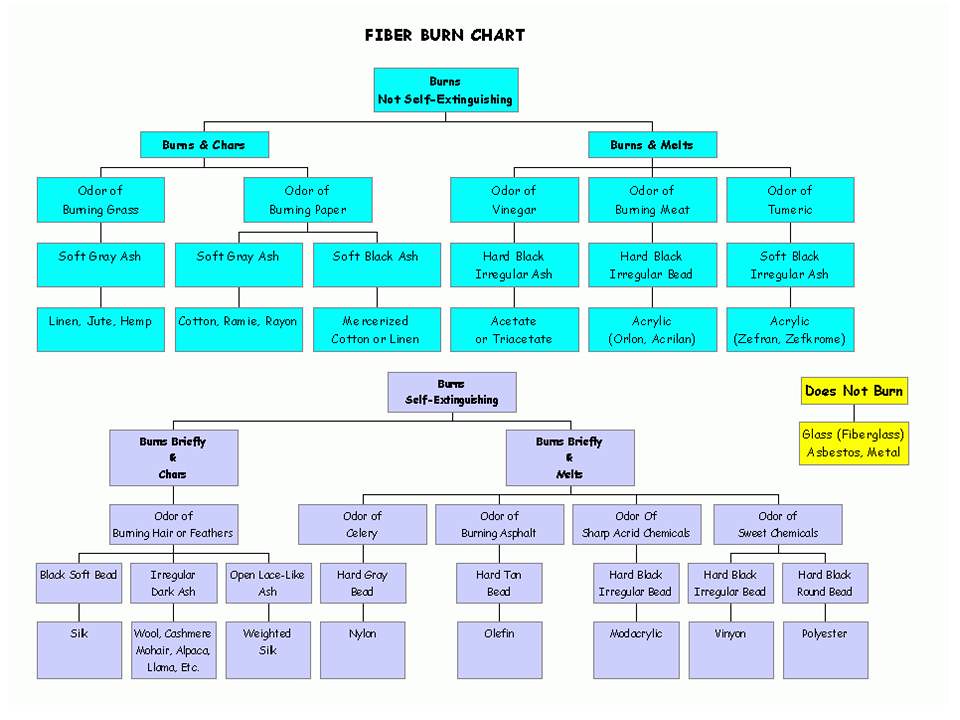
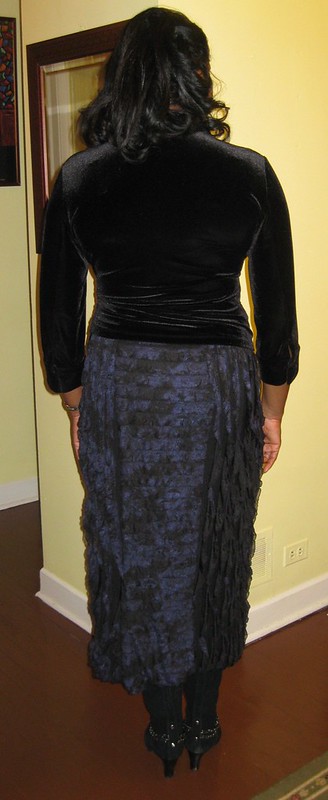
MISSES' TUNIC, DRESS AND PANTS: Pullover tunic or dress has front extending into back collar, fitted, front pleated bodice, raised waist, tie ends, two-piece sleeves with barrel cuffs, and stitched hem. Fitted, straight-legged pants (below waist) have elastic waist.
Pattern Sizing:
8 to 24; I used a 16 with modifications. But here again I could have used 14.
Did it look like the photo/drawing on the pattern envelope once you were done sewing with it?
Yes it did.
Were the instructions easy to follow?
A piece of cake. I barely looked at them. The only problem a beginner may have is at the neck and shoulder seams. But if you properly mark the circles and sew it precisely as instructed, you will be okay.
What did you particularly like or dislike about the pattern?
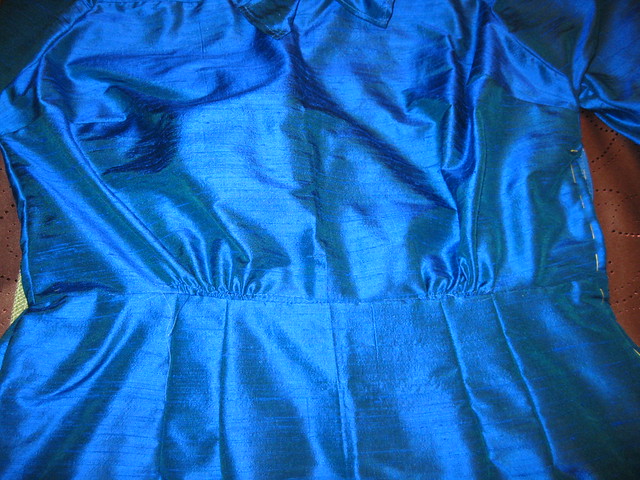
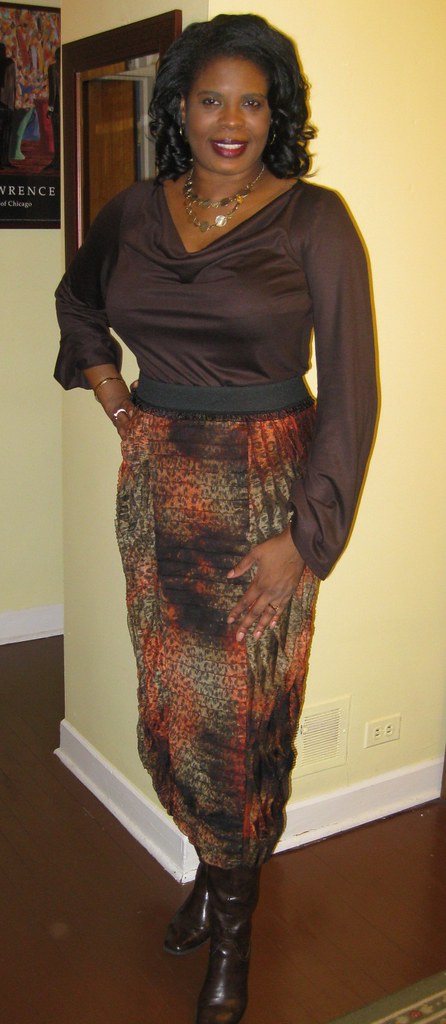
There are several things I liked about this pattern. There are: - pleated bodice - cut on sleeve with barrel cuffs - Tie to create a more attractive waistline. - Center back seam with darts so I could easily address my sway back adjustments No dislikes.
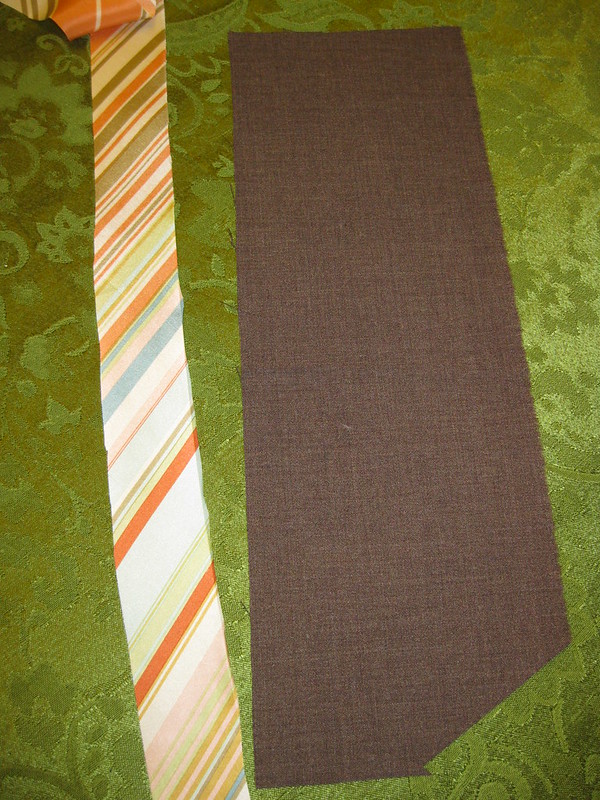
Fabric Used:
I got this knit from Vogue on Roosevelt Rd. It was on the novelty knits table for $4.99 per yard. It's a medium weight poly knit with two way stretch. The feel is kind of spongy, but a soft hand. The texture has a crepey, pebble affect.
Pattern alterations or any design changes you made:
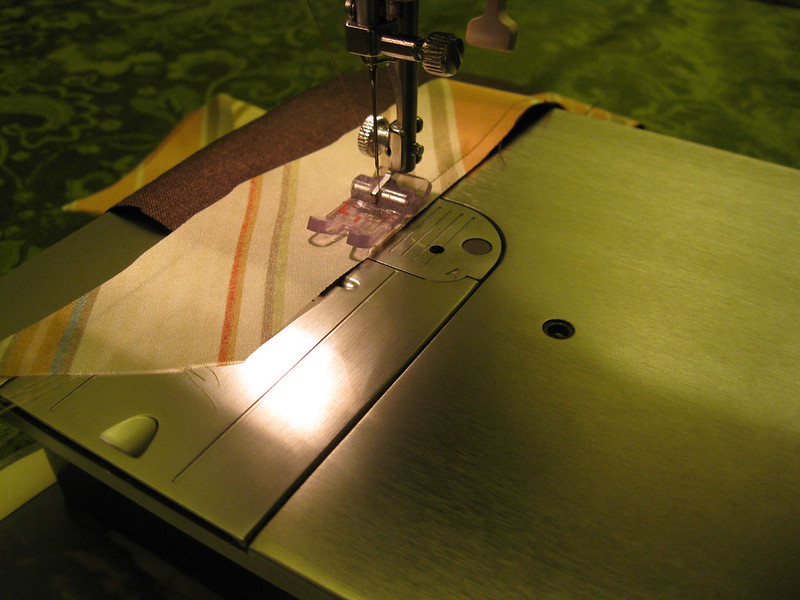
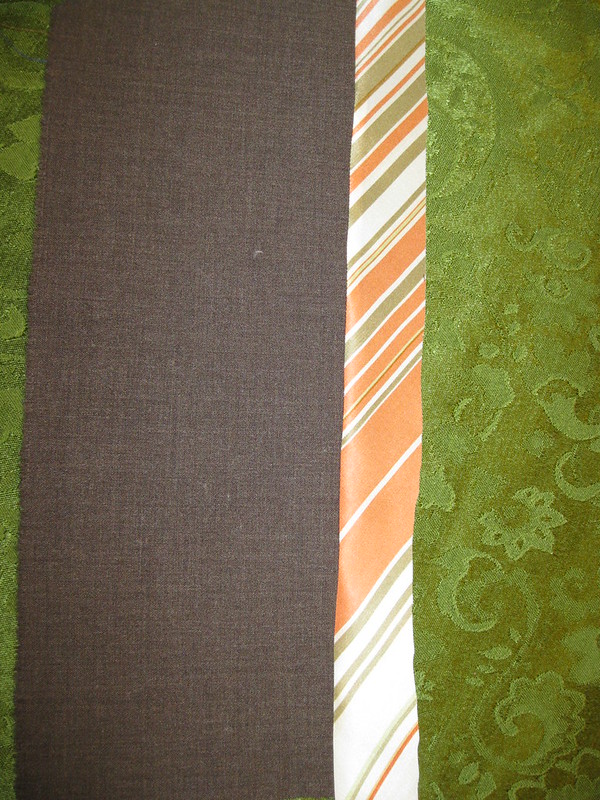
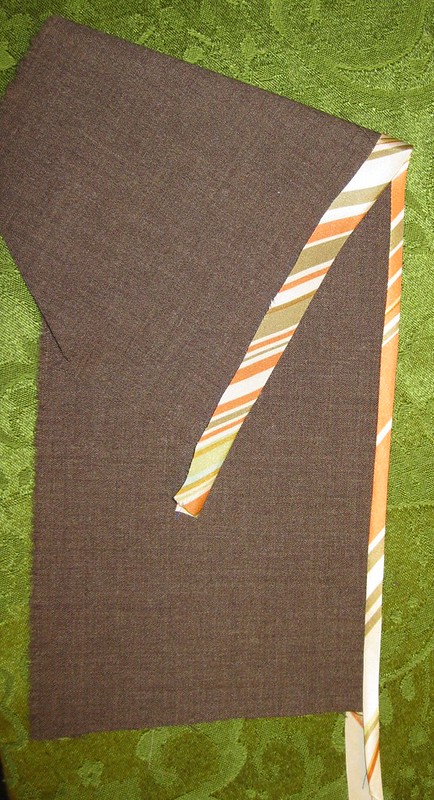
I thought I could minimize the adjustments if I used size 16. I did make a 1" FBA and rotated the dart to the pleats at the waist. At the center back seam I sewed the bottom half seam at 7/8". I also sewed 7/8" waist seam. At the neckline, I didn't finish the seam as recommended. The fabric was too bulky. So I just joint the upper edge of the collar across the back of the neck. Also, I didn't double seam any of the seams. I pressed open most of them. I serged the cuffs to the sleeves and I serged the neckline and hem. I also had to sew the seam and lower arm seams at 1" because the dress was too big along the sides. The barrel cuffs were also to big. So I sewed them with a 1" seam allowance. This time I didn't add any length to the skirt. I didn't mind if it was slightly shorter than pictured on the envelope.
Would you sew it again? Would you recommend it to others?
Probably not. I really like this dress, but one is enough. There are at least 20 dress patterns I'd like to try this winter. I may sew the pants though. Yes I would recommend this pattern. It sews up quickly and is a attractive silhouette.
All photos on Flickr.
Conclusion: I'm glad I tried this pattern. It's a quick and easy project with great results.