Showing posts with label Hong Kong Finish. Show all posts

Wednesday, October 10, 2018

McCall's Flounce Top Is Not The Top For Me - M7687


I so wanted this top to work for me.  But what was I thinking?  The volume of this top was all wrong for me.  My bad!

My goal of posting this review is to get all of my projects posted before the end of this year: good or bad; success or failure; in my closet or not.  This one falls in the category of failure to compliment my figure.  I started this project way back in June with a muslin minus the flounce. I completely worked out the fit and style issues.  So I thought.


As far as the sewing review is concern, making the top was a success.  I was able to achieve a good fit (I'll try a different view later.). The sewing process was not difficult and the instructions were typical, but easy to follow.

Just to be consistent with other reviews, let me include a few more points about the sewing experience process:

Pattern description and size:   Fitted tops have front and back princess seams, back button closure, and sleeve variations.  Sizes 6 to 22.  I started with size 16 with modifications.

My likes and dislikes:  First my likes; the sleeve variations and the flounce version.  My dislike:  back button closure.


Fabric:  This cotton voile came from Mood Fabrics.  It's a beautiful fabric to work with.  I'd hoped to post this project on the Mood Sewing Network; but because I wasn't all together happy with it, I chose not to.

Changes and alterations:  After making the FBA, I ended up with a lot of unwanted fabric below the bust area.  This always happens and I always forget to just remove it before I make the muslin.  It the same every time.  With this top, I noticed it was also a little roomy in the neck and shoulder areas.  But once I tweaked the muslin and made the changes to the tissue pattern, it was good to make.  Not to forget, I also did a prominent shoulder blade adjustment with a swayback tuck at the waistline.  I added a short sleeves.


Final notes:  The sewing process was fine.  I just made the wrong view for me.  I will donate the top to someone who likes it.  The back button closure is not my favorite detail, but I give it at least one more try.

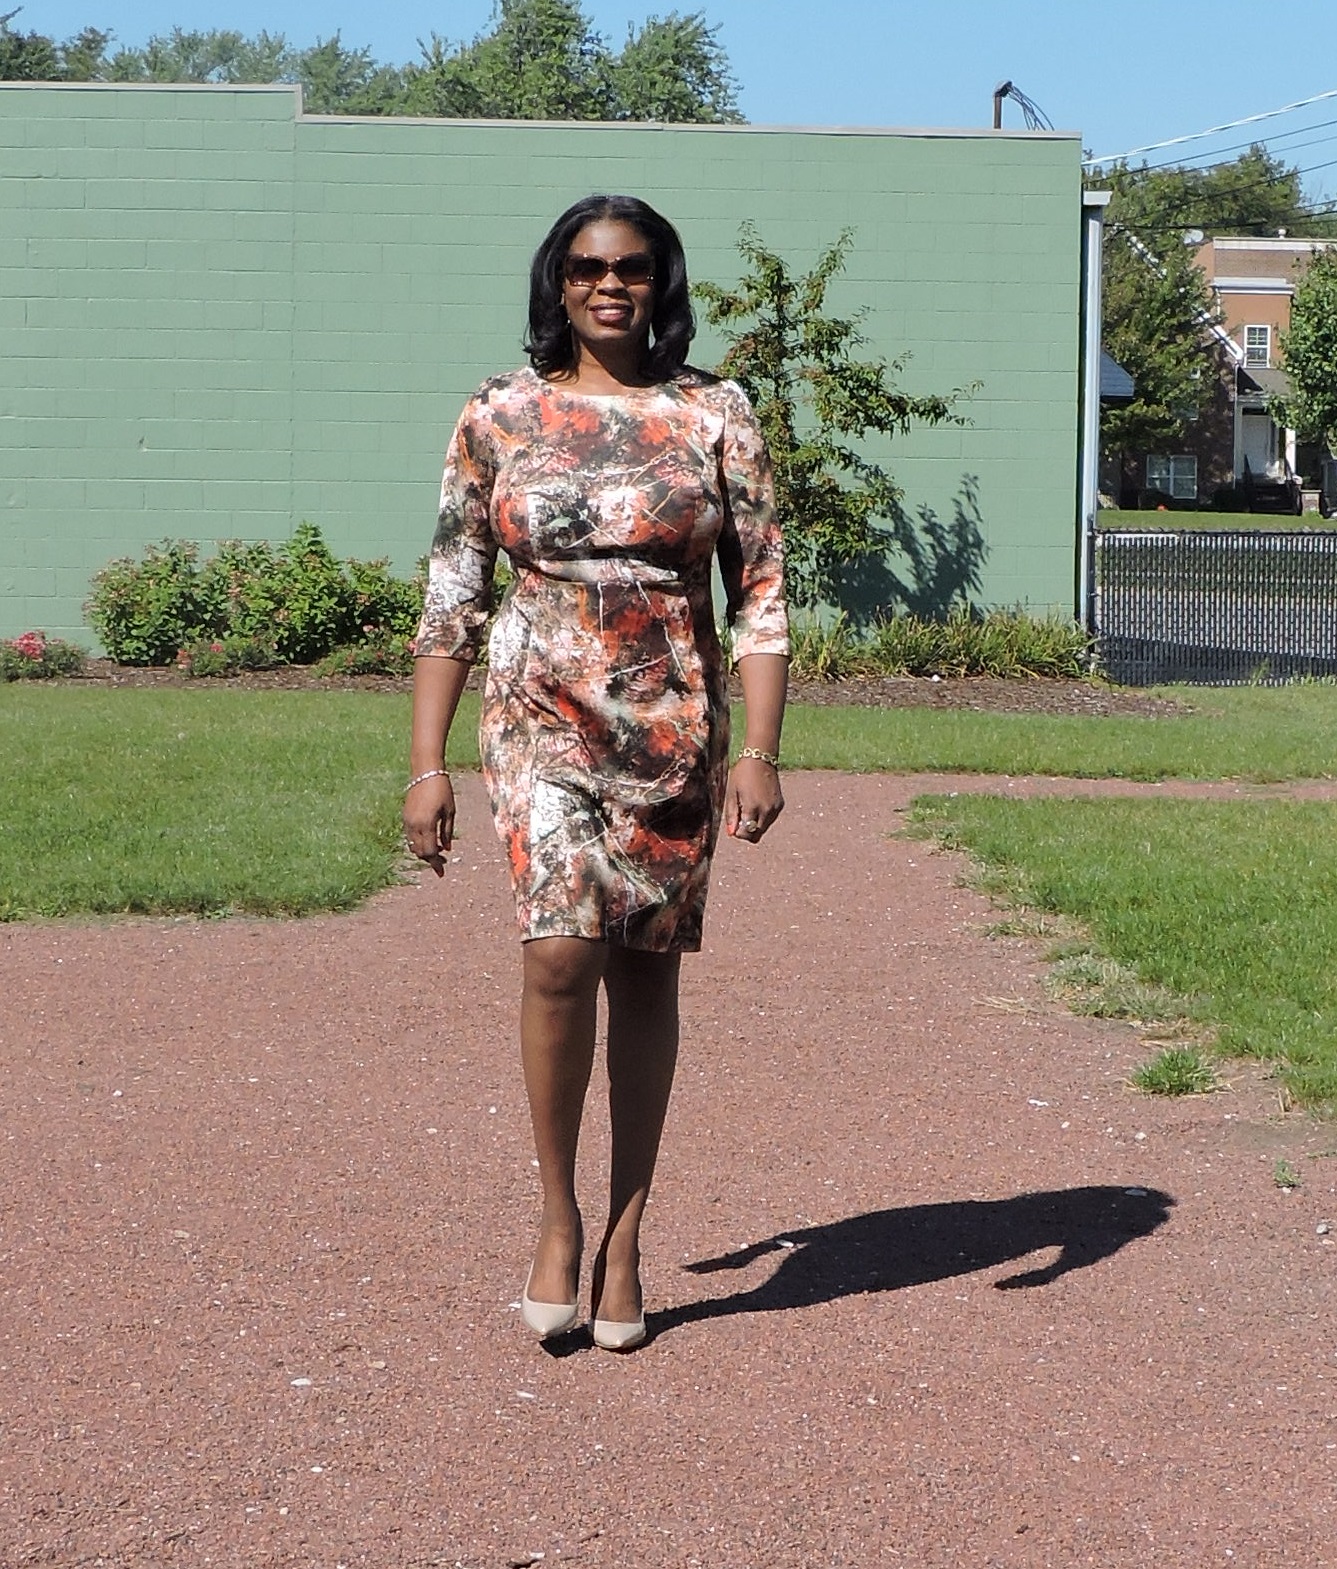
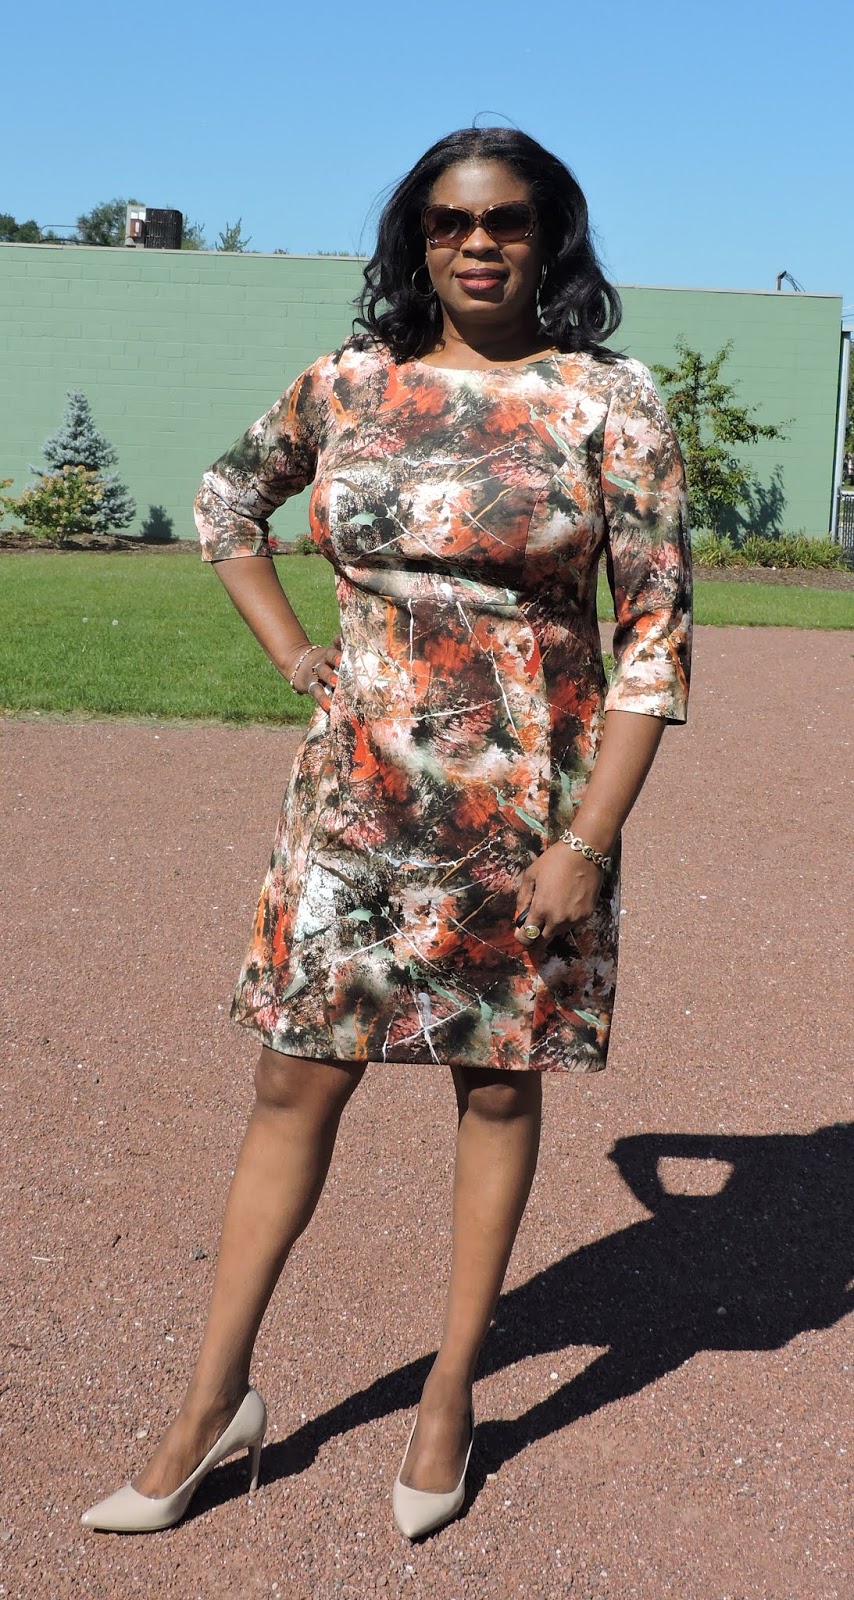
Parting Shots:  Me wearing the top with another of my less favorable projects from the summer.  I'll review McCall 7726 soon.  In the meantime, make it a great day. 


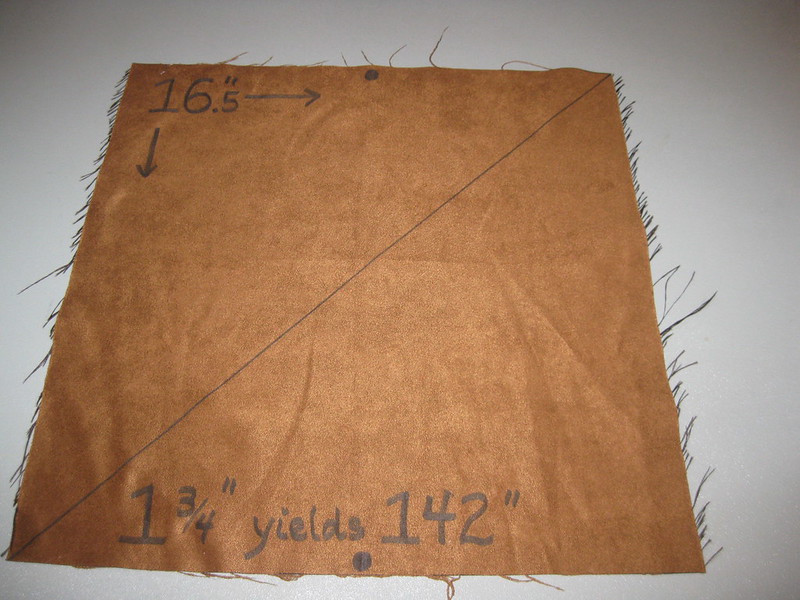
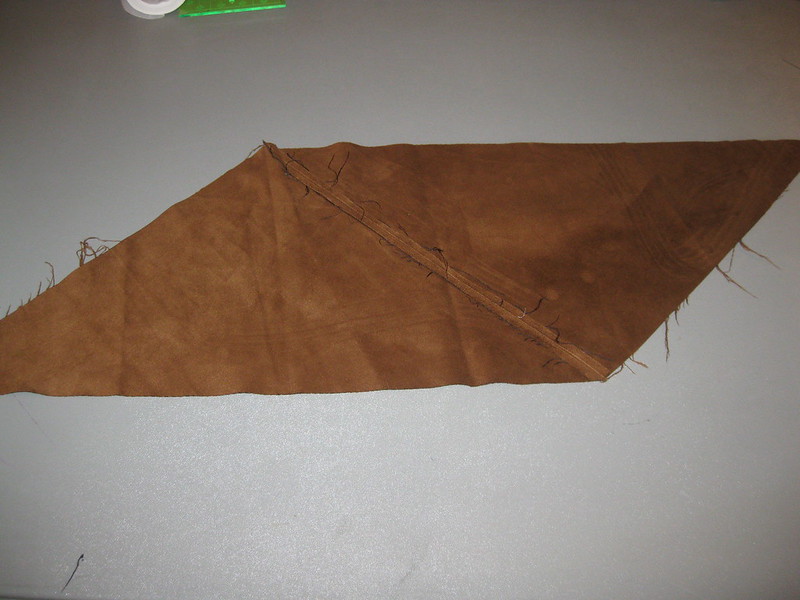
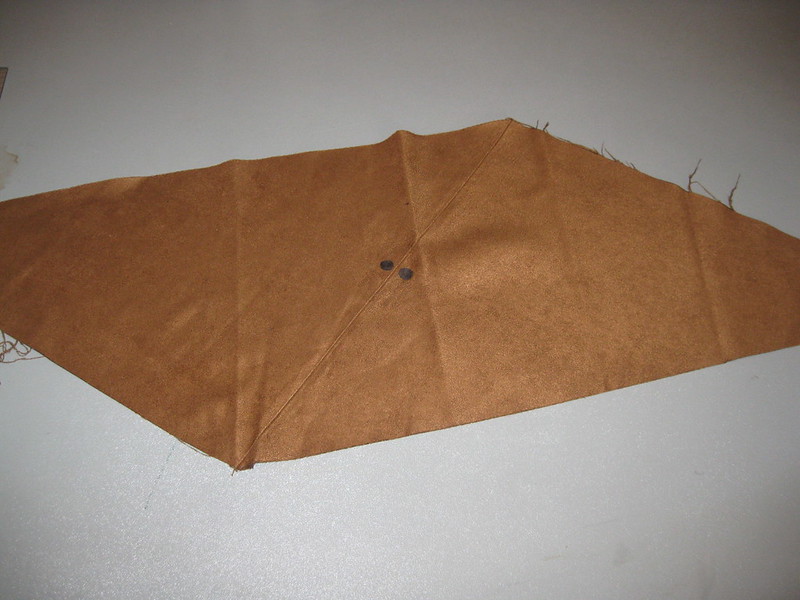
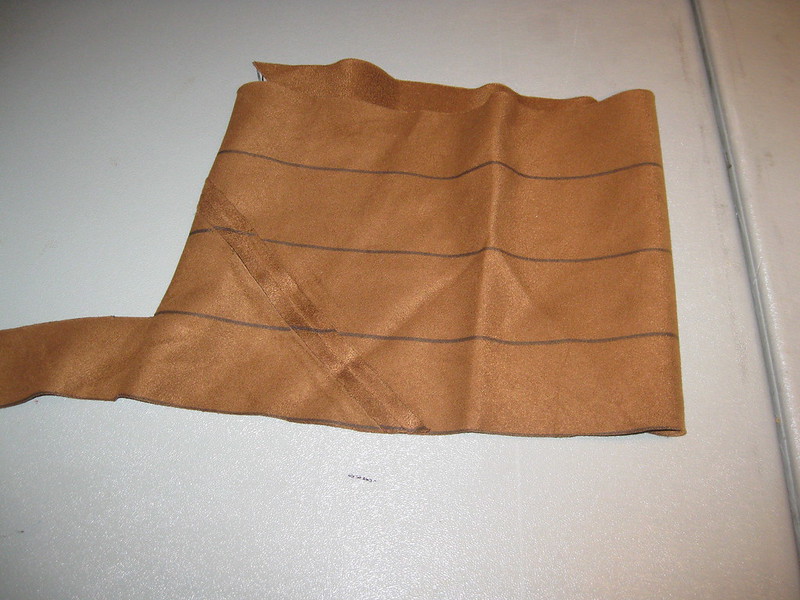
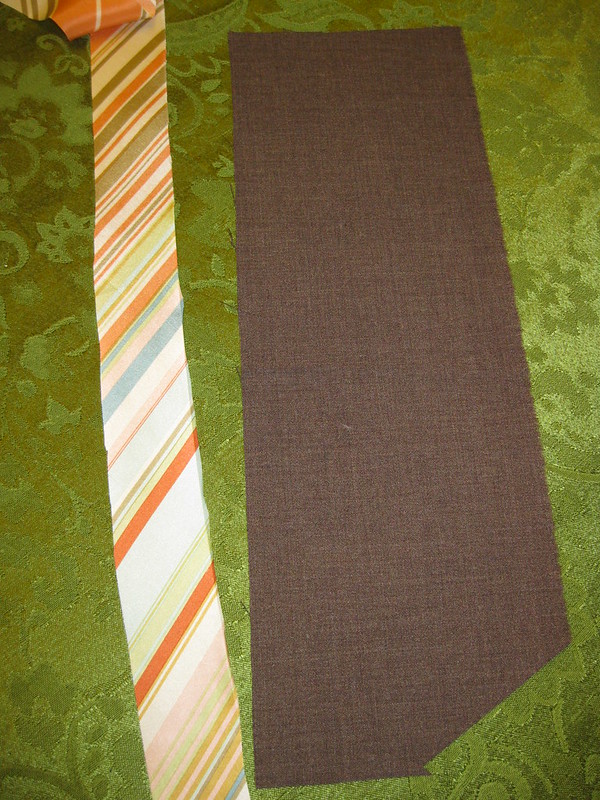
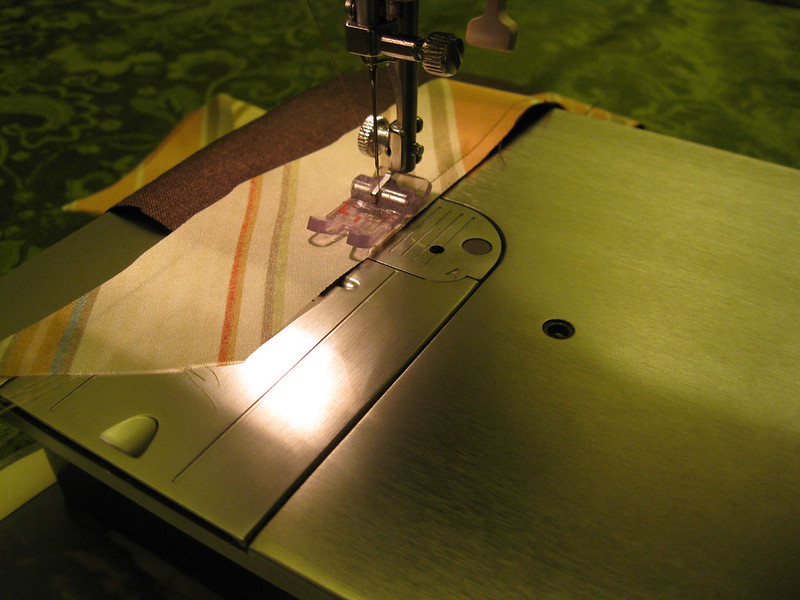
I used the remnant to make seam binding for my Butterick 6329 jacket/cardigan.


Friday, September 28, 2018

Style Maker Fabric Fall/Winter Tour


It's feeling much like fall these days.  I love the cool crisp mornings and the sunny afternoons that the Autumn season brings.  Fall also marks a new season to start a new wardrobe.  My first two fall garments are made with Style Maker Fabrics.  They have an entire store of new, beautiful textiles to start your new fall wardrobe with.

I'm new to Style Maker Fabrics.  Michelle contacted me to join the SMF Tour group and I'm glad I did.  It was a good introduction to work with her great fabric.  Through Instagram I learned about SMF and their textiles.  But had never made a purchase.  Now I will definitely use their fabrics again.

The new fall collection has so many lovely fabrics to pick from.  It was so hard for me to pick something; I wanted about 10 different fabrics at first look.  Forcing myself to select two (my choice), I focused on my color palette for fall.  Fall colors earthy; deep and vibrant colors like burnt orange, chocolate brown, firm and ever greens, and golden yellows.  These are some of my colors for fall.


I love a good print and I love sewing neoprene/scuba knit.  So, I just couldn't pass up the splattered paint rust, black, and sage scuba knit. The scuba knit was great to work with.  It has an impeccably smooth hand. The stretch is tight and great for active wear as well as fit and/or flare coordinates.  I love it.


My pattern an oldie but goodie Simplicity 1314.  I've made two other dresses using it.  So I decided to add a handpicked beaded zipper.  Luckily for me, I finished it in time to make it my annual "birthday dress".  More on pattern adjustments here


My second choice was a rust medium weight textured cotton cloth; soft and a dream to sew.  Amy also selected this fabric making the cutest cuffed pants.


I wanted to start by fall wardrobe sewing with a jacket/cardigan to help fight back the early morning or the night chill of the Midwestern winds.  I also wanted to make something that was special.  This fabric has a very rich color with the right and wrong sides looked the same.  So I chose a unlined jacket, Butterick 6329, view D.

This jacket is described as an unlined jacket with a snap closing.  It's relatively easy to sew and the style line is relaxed and had quite a bit of wearing ease.  I was able to skip my usual fitting adjustments only making slight changes along the side seams and adding 1/4" to the center front.  Because of the simplicity of the pattern, I decided to add something special to this piece as well.  Hong Kong finished seams was the perfect element.  This additive made the inside pop.  Every edge of the jacket sections is finished except for seam the that joins the facing to the jacket.


I really love how this jacket turned out. And I hope to make a few more possibly using the recommended medium weight moderate stretch knit fabric.  For the most part, I constructed the jacket as indicated omitting the topstitching around the front and neckline.  I did not add a snap either.  The instructions were easy and typical.  If you decide to make it, make sure you carefully mark the large circles and match them as instructed.


The sewing process was great for both projects.  I used a microtex schwertz needle, size 12. The pressing was easy and resulted in a crisp finish.  Both garments will be in high rotation this fall and winter.  I've already worn my dress on Sunday.


So in conclusion, I highly recommend that you take a look at the selection of new fall fabrics at Style Makers Fabrics.  I also recommend both patterns:  Simplicity 1314 and Butterick 6329.

Happy Sewing!
C


Thursday, November 8, 2012

Making Your Own Bias Tape - Tutorial

Today I'd like to share a small tutorial on making your own bias tape. It can be used to finish seams, to bind exposed raw edges, at hem lines on sleeves, dresses and skirts. Making your own increases the your option for fabric selection and width of the binding. Ron Collins demonstrated how at the Power Sewing Retreat. And he bought many of his garments where he used bias tape to finish the seams and/or to add interest or uniqueness to his garment. Of course, we all want that.

 Here's how:
1. Cut a square 16.5” by 16.5”. This will Cut a square 16.5” by 16.5”. This will make 1 ¾” bias tape yields 142”.
2. Draw a diagonal line from one corner to the other.
3. Place a dot in the center of the top and bottom edges.
4. Cut along the diagonal line to make two pieces of fabric.
5. Join the two pieces of fabric so the dot are aligned. See the next slide.
6. Press open seam.
7. From the right side it should look like this.
8. Now, on the wrong side of the fabric, draw lines 1 ¾” apart.
9. Join ends lining up the cutting lines.
10. Cut along line to create the bias tape.
11. Now sew the bias tape to the edge of the seam allowance (about 1/4” seam allowance)
11a. I used the edge of the foot as a guide to measure the width of the seam allowance.
12. Press with seam allowance against the bias tape.
13. Wrap bias tape around the seam allowance.
14. Top stitch the bias tape from the right side of the fabric
The bias tape can be applied before or after the seams of the garment are sewn. This illustration shows the wrong and right sides of the fabric. The binding from the wrong side has the raw edges exposed. We can trim the excess off or you can fold in the raw edges using a bias tape maker.
I purchased a set of bias tape makers on eBay a few years ago. The sizes are: 50, 25, 18, 12, and 6. These can make a variety of sized tape for binding seams and making trim.
Simply thread the fabric through the largest opening. Slowly through the fabric through the other end while pressing. It's fast and easy.
Bias tape made using 18 BT maker. I folded it in half to apply to the raw edge of a seam.
I love the finishing of this unlined jacket made by Ron Collins (Power Sewing Retreat 2012).

Happy Sewing!
C

LinkWithin

Blog Widget by LinkWithin