Thank you for commenting on the previous Jean Pool post. Lately, I haven't been able to sew much, but wanted to keep posting about upcoming projects and overdue reviews.
Today I wanted to post a short back story about a refashion project that I did 40 years ago. The thought occurred to me that this may be a good post for a number of reasons:
- To encourage a new sewists. Often new sewists have challenges with very basic sewing processes and sometimes give up on sewing far too soon.
- To document my thoughts one of the first projects I made when I was about 11 years old. I keep this jacket/over shirt because I was proud of myself. Proud that I completed it. And I'm glad I continue to sew.
- Patch work denim is on trend now. It's everywhere and there are patterns you can use to make your very own trendy denim shirt.

Now my little back story -
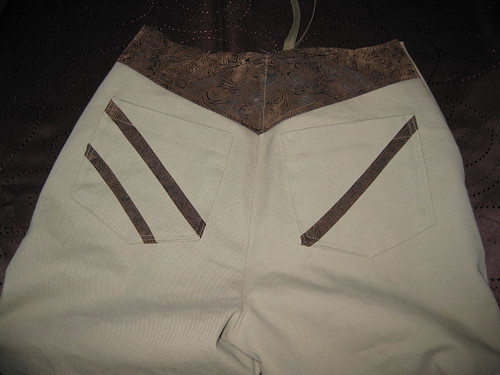
I had been sewing about two years when I tried to make a patch work denim over shirt using old jeans that would have ordinarily been tossed in the can. But the little creative me decided to use them to make a shirt. I can't remember the pattern I used back then, back I can almost guarantee it was a McCall pattern. Those were my favorite patterns at that time.
Truth be told, I had no idea how to make the shirt or how it would turn out. But I was excited about the project and, in my mind, this would be a special project once it was completed. Although my execution of simple sewing processes and techniques were less the stellar, I was proud to say I made:
- Button holes
- Attached a collar
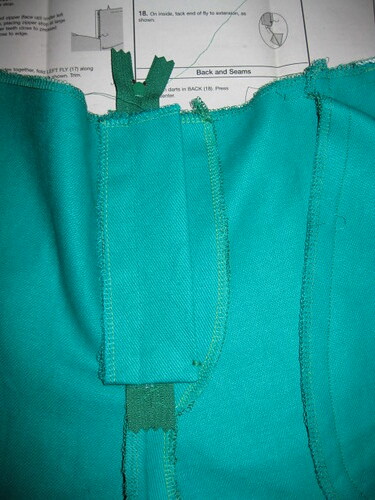
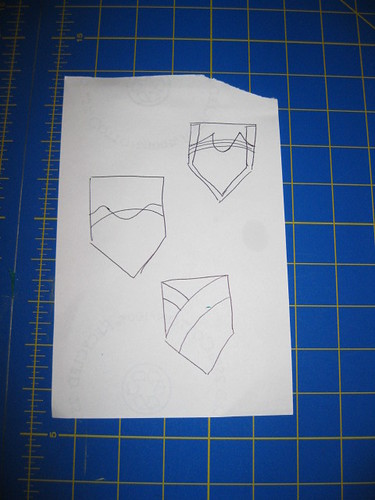
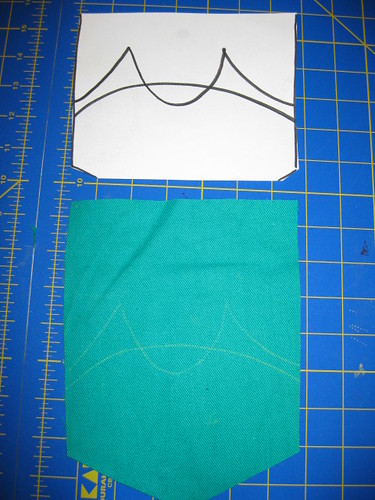
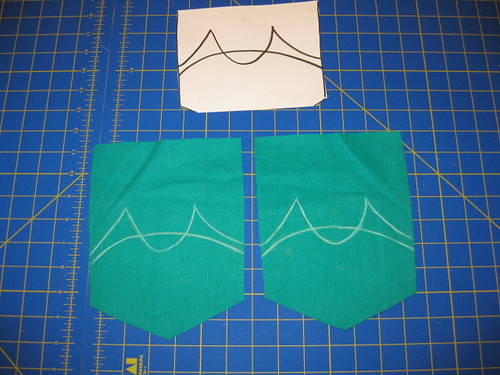
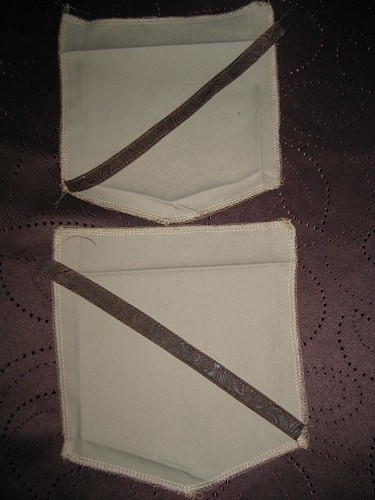
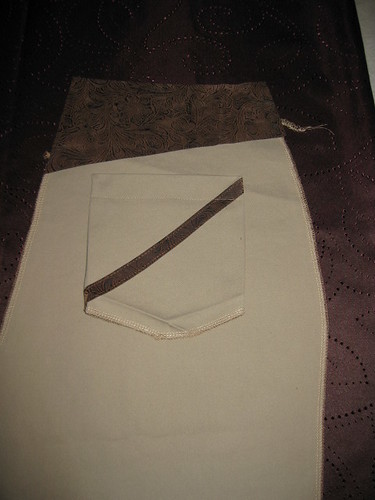
- Patched pockets
- Made tabs for the sleeves and shoulder
- Installed in-set sleeves


Did I wear it? Oh hell yeah, I did. I was proud and felt I accomplished a lot with my refashion project. Was it polished? No way. It looked homemade. Because it was a first of many things, I thought I should keep it to remind me of the project. Every five or so years, I pull it out to look at it again. Which each survey I compare were I was then and where I am now with perfecting my sewing skills. Needless to say, I've come a long way from the 11 year old girl who wanted to make all of her clothes. I happy that I stayed the course and didn't let anyone detour me from that goal.
Did people (peers) comment about the flaws? All the time. That did not stop me. I was determined and knew that someday I would be much better at sewing. So I pressed on. Now today, I am able to make a variety of shirts and jackets. I'm still learning new skills and techniques. Sewing is still a huge source of enjoyment for me.
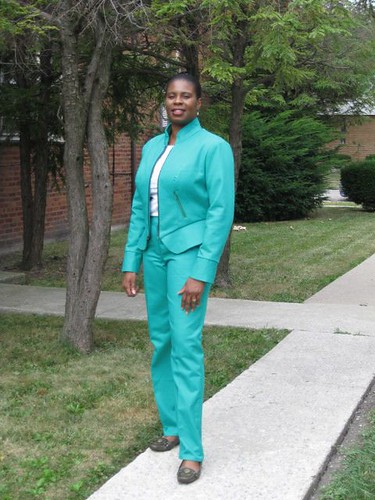
Jean Jacket of 2012 M5860

Now, for part two:
If you are interested in creating your own patch work shirt, try McCall's 6649. This pattern gives many style options for a button down shirt.


