Wondering why I'm posting now when I'm so close to finishing? This process ties in with a previous post titled: "Jean Pool". It's all about discovering new and better ways to sew a great pair of jeans, which most of you have already done. The process is more for me, but I hope it inspires/helps some of you as well.
Also, today's post is about designing unique and interesting details on the back pocket. My vintage Palmer/Pletsch McCall's pattern (1981). Can I call it vintage (over 25 years old)? Anyway, they are two columns of instructions that teaching the sewist how to design unique pockets. Two topics in one post, blended. First progress on DD jeans.
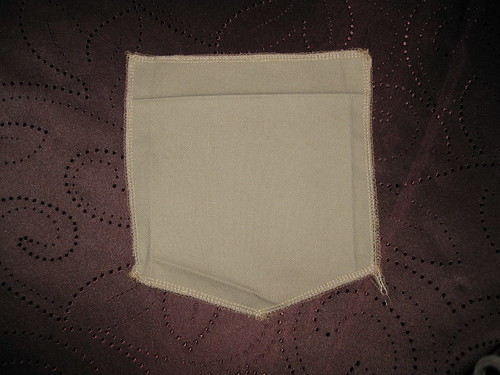
 Plain pocket canvas. Ready for embellishment and/or details. I had already finished the edges and press the fold lines.
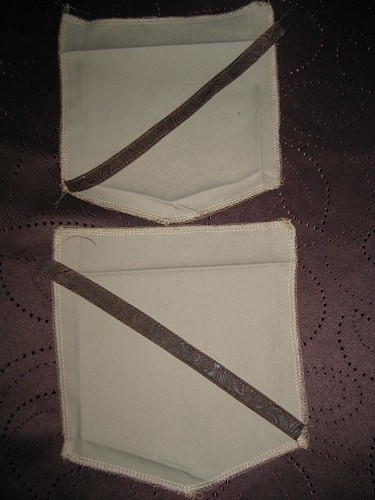
 Adding embellishment to the back pocket is new to me. So I wanted to keep it simple. I used some faux leather leftover from a jacket made for DD about two years ago. The faux leather was cut into two stripes. I didn't do any measuring, just guessing the length and width. Here are the two back pockets for the pants. After I sewed them on I notice that the stripes were not placed exactly the same on each pocket. I didn't want to ripped one out. So I added another stripe to one of the pockets.
 Here's the pocket with the top edge finished.
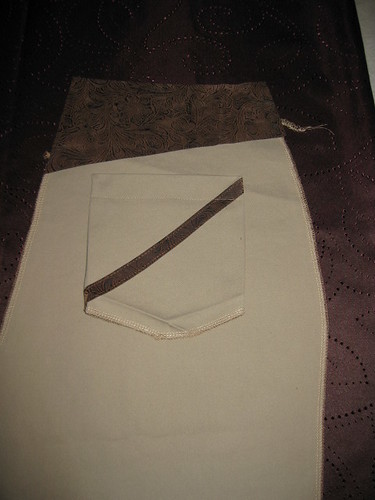
 To test the look of the pocket on the pant, I placed the pocket onto the pant with the yoke before sewing.
 Here both pockets sewn onto the pant.
Here is a view of the two back pant legs joined at center back.
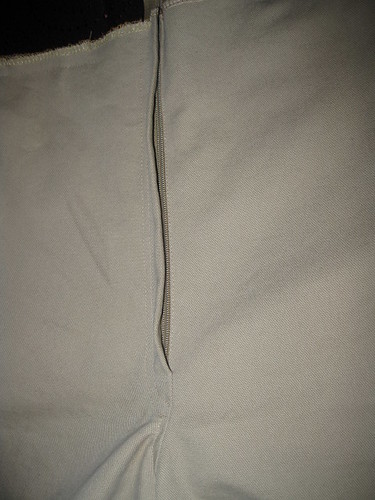
 The first pair I just quickly sewed them together, not spending a lot of time trying to make them "perfect", or my version of perfect. Here is a view of the zipper.
 Here is a view of the pants (rightside out). I think the reshaping looks more like the photo on the pattern envelope.
Tips from M7555 (1981).
Quick Tips - Design
Look in a child's cooking book for illustrations to inspire pocket designs. Use the illustrations to trace onto the pocket with tracing paper and wheel.
Add appliques and ribbons. Fuse them; then edge stitch or zigzag around them.
Add middy braids to create designs
Create your own name tag with permanent markers and faux suede; then attach it to the pocket.
Add piping - copy pocket pattern. Split into section, add seam allowance where necessary, and add piping as you join the pieces together.
Quick Tips - Sewing
When the pocket is ready to be attached to the pant:
Pound to flatten and trim away bulk at top corners.
Use fusible web to hold the pocket in place while stitching to pant.
Those are the tips.
Happy Sewing!
C
Thanks for the tip! The pants are looking good.
ReplyDeleteI like the faux leather accents!
ReplyDeleteThose accents are so cool! Unexpected but they totally work.
ReplyDeleteNice! What a great accent to the pants.
ReplyDeleteAawww shoot! Can't wait to see these slick ones on you girl!
ReplyDeleteGreat tips and I like your ideas for finding ideas for the pocket designs.
ReplyDeleteThe pants are coming along nicely and like the embellishment on the pockets.
ReplyDeleteI really love the faux leather embellishments on these pants! Great job!
ReplyDelete