Showing posts with label retro. Show all posts
Sunday, July 10, 2016
Butterick 5209 - First Summer Dress of 2016
Finally posting my review of Butterick 5209, Retro '47, dress. This is my first summer dress of the season. I finished it several weeks ago, but can't find the perfect tomato red hat and shoes to wear with it. So, today without further hesitation I decided to go ahead with publishing the rest of my review.
Part I was posted in April, 2016. Of course, I had to tweak it just a little more, but nothing extreme. I'm sure all of us go through some minor tweaking during the sewing process.
Pattern Description:
Halter or cap sleeve dress, below mid-knee length, has side zipper, gathered bust, waist yoke, fitted self-lined bodice and flared, gathered skirt.
Pattern Sizing: 6-20; I used size 16 with modifications.
Did it look like the photo/drawing on the pattern envelope once you were done sewing with it? Yes, it looked like the drawing. On the website though, Butterick has a model wearing view A, halter style, dress. I see that the dress does not fit well at the neckline and around the front of the bodice near the arm. While sewing the actual dress I experience the same results at the neckline. I was a little puzzled as the muslin did not fit like that. So, to resolve the issue, I stitched an inch higher on the neckline and curved the center front seam a little for a better fit in the neckline.
Were the instructions easy to follow? The instruction were super easy. No problems at all.
What did you particularly like or dislike about the pattern? I like the style of both dress bodices. No real dislikes.
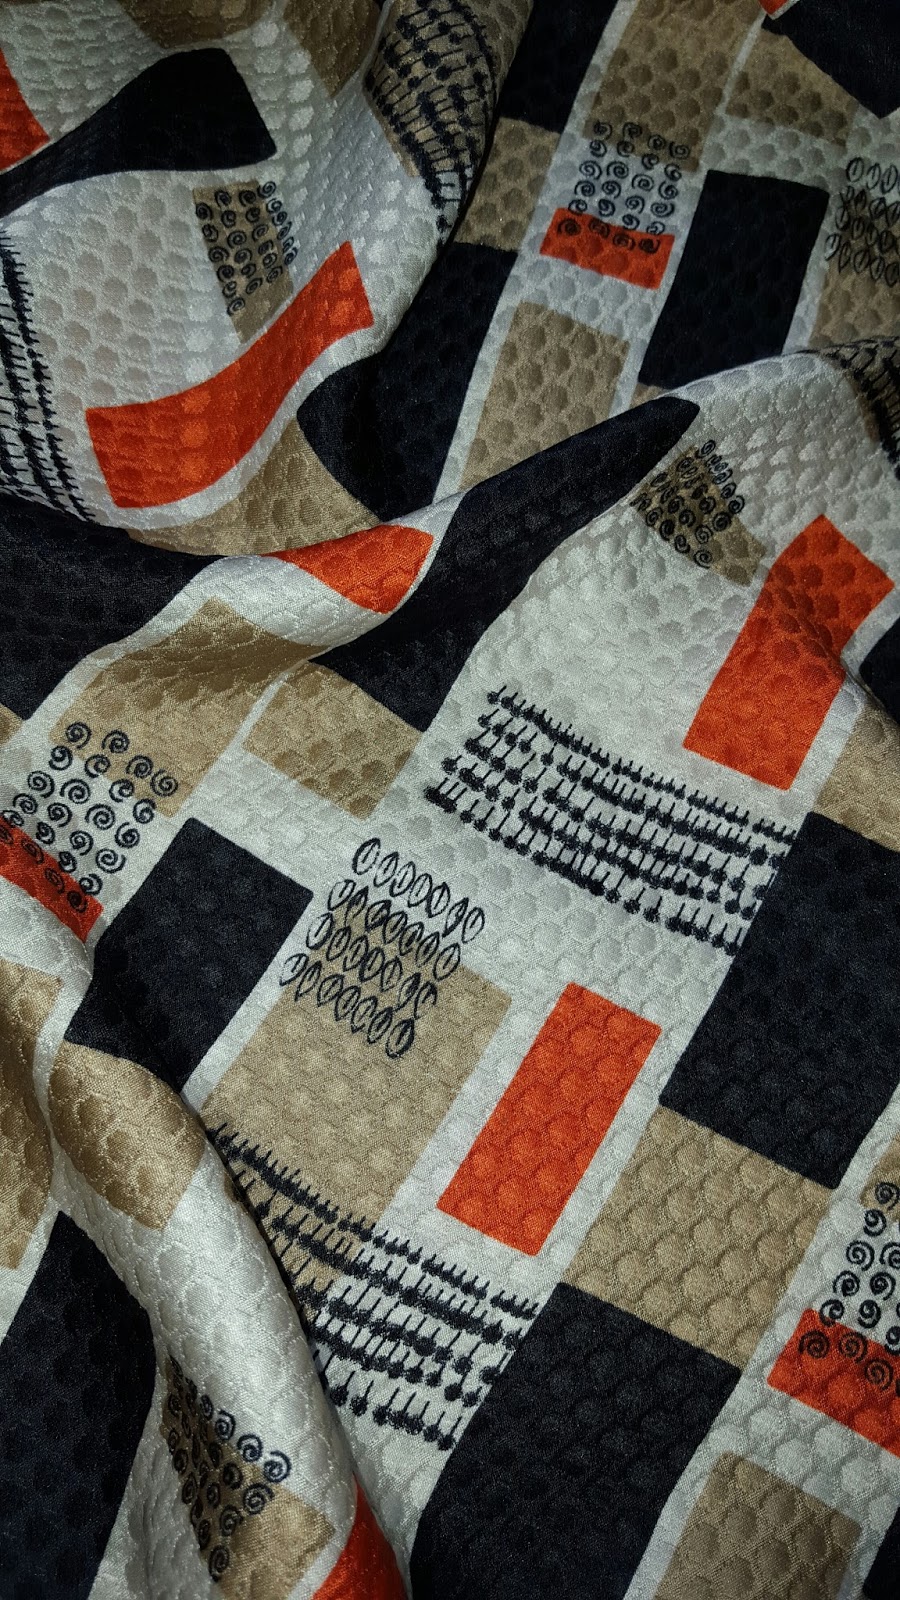
Fabric Used: I used a rayon challis from Vogue Fabrics in Evanston, IL. It's been in the stash for several years. I like the feel of rayon; it's soft and floaty, perfect for summer dresses.
Pattern alterations or any design changes you made: My alterations are indicating in the Notes on a Pattern post from April 16, 2016. The link is above in the introduction.
Would you sew it again? Would you recommend it to others? Yes and yes, but with modifications. Definitely make a muslin for the bodice at least. I started with size 16 and ended up taking it in a bit during the sewing process. I think all level sewists can make this dress. Just be careful with fitting the neckline.
That's it for today. Stay tuned, I have more on UFO's and building my summer wardrobe. And guess what? I've already starting to plan fall and winter garments.
Happy Sewing!
C
Monday, April 18, 2016
Notes on a Pattern - Butterick Retro Dress 5209
I made a muslin of the bodice last spring, but failed to make the dress. Somehow I always manage to have more on the to do list than I can finish within a given season. So before I add more to the list, I decided to talk about this pattern in hopes of finishing the dress within the next few weeks..
This pattern is not new. It was republished a few years ago. Many have made it with great success. But, of course, we all come in many different shapes and sizes. So I decided to go ahead with posting how I worked out the fitting adjustments for me.
The FBA was fairly straight forward. I always have to add width as well as length. At the fullest of the bust area is where I need the most length. In the past I've added length evenly along the lower edge only to remove it later. For this bodice I used a size 16; but could have used a 14. Using the 16 I did not make the width as wide. And I may have to shorten the neckline a bit. I also added about 3/4 inch to the midriff in the same area. Most of the time I end up removing any excess in the side seams. It always good to have some extra just in case.
For the back, I made my usual prominent shoulder blade adjustment. This was pretty easy too. The resulting width requires me to add a dart to the shoulder seam. So that the length of that seam matches the length of the front shoulder seam. Easing the excess in doesn't look as nice as the dart. The same amount of width was also added to the back midriff in the same area. A small sway back adjustment on the midriff to remove the excess fabric.
After looking at the finished bodice muslin, I decided to add an inch to the length just in case. I almost never make the muslin for the skirt of this type of dress. My hips are somewhat on the narrow side and my back side is on the flat side too. :-0 So there isn't much to worry about as the skirt is gathered.
Other than that I think this dress is very simple to make once all the fit areas are addressed.
More details on Katch.me:
Parting shot: I just received this beautiful Jason Wu orange, navy, tan geometric silk wool. Isn't it beautiful?
Labels:
adjustments,
Butterick,
dress,
FBA,
notes on a pattern,
periscope,
retro,
woven
Monday, April 14, 2014
Ms. Bell of the Ball in Butterick 5556
Every year I know that I’m going to make Ms. Paulette’s dress for the Pastor’s Annual Banquet. This year was no difference except I got started about two weeks later than usual and I did not help her with shopping for the fabric and notions. Ms. Paulette was on her on with the exception of a few phone calls.
Because I got a late start, I didn’t make a muslin to check the fitting. This is definitely a no, no for me. I like to confirm the fitting adjustments and design preferences before cutting into the fashion fabric. But like I said I started late having only to weeks to complete the entire project.
One good thing is I’ve sewn for Paulette for many years and know where changes are needed. The second good thing is the changes are few and not drastic: A little added here and a little removed from there. She is really not hard to fit. More often than not, she will select a vintage pattern. She likes dresses from the 40’s and 60’s. Many have details that you do not see in dresses today, like shoulder and sleeve darts or belt made in the fashion fabric.
So without further ado, here is my review of Butterick 5556.
Pattern Description:
MISSES' DRESS AND BELT: Lined dresses A, B, mid-calf, have semi-fitted bodice and gathered, flared skirt, winged or stand-up collar, below elbow kimono sleeves, side zipper and side front pockets. B: sleeve cuffs with slit. Self-fabric belt has purchased buckle. Purchased petticoat. I drafted and made the petticoat.
Pattern Sizing:
8-22; I used between 18 and 20.
Did it look like the photo/drawing on the pattern envelope once you were done sewing with it?
Yes it did. At one point I thought I had made a mistake with the waist darts. They were too long. But I look at the drawing on the envelope to see that they were as intended. So I did not lower them.
Were the instructions easy to follow?
I did not have any problems following the instructions. The skirt had eight panels. I marked each on the wrong side so I could keep track of which ones were to be gathered and to identify the front panels for the pockets.
What did you particularly like or dislike about the pattern?
Paulette selected this pattern. She likes everything about this dress: the full skirt, the collar, the sleeves, and the fabric belt.
Fabric Used:
A polyester I believe. The weave is similar to shantung with lengthwise stretch. She made her purchase at a local store at Roosevelt and Desplaines. I can always count on Paulette to purchase nice fabric.
Pattern alterations or any design changes you made:
Alterations:
- Added 3 inches to the length of the skirt.
- Cut between size 18 and 20 along the sleeves.
- Cut size 18 at the bust area
- Cut size 20 at the hips.
Improvisation:
- I couldn’t find the belt backing at any of my local stores and didn’t have time to order any. So I used faux leather belting to substitute for it.
- I drafted and made the petticoat. It was pretty easy. I used some cling free lining and crinolines to make it. Sorry I don’t have pictures of it.
Would you sew it again? Would you recommend it to others?
One of my sisters loves her dress and would like one too. I do recommend it to others. I was very pleased with the results and so was Ms. Paulette.
Conclusion: This is not a quick project. Plan to spend some time getting the gathers just right. And settle into the yards and yards of hand sewing on the skirt. Be careful not to mix up all those skirt panels. In the end, you will have a beautiful elegant dress.
Happy Sewing!
C
Subscribe to:
Posts (Atom)