Showing posts with label zipper. Show all posts

Tuesday, July 16, 2019

Sew Cargo Crazy - The Second Pair Simplicity 5102


Good morning everyone!

I'm a few days late with this post on the second pair of cargo pants.  But nevertheless.., 

It has been so much fun doing the Mood inspired cargo pants challenge with my friend, Rhonda!


We are in week 2 of our little "Sew Cargo" Challenge.  If you have been following my blog, Rhonda and I decided to do a cargo pants sew challenge for the month of July.  This challenge came about during a conversation about a newsletter emailed that we received from Mood featuring a cute pair of cargo pants.  We decided to use Simplicity 5102 to make three pants and one skirt.


Our first pair were featured on our respective blogs last Saturday.  Now, for this week we decided to spice it up a little.  Starting with our fabric.  We both selected stretch cotton twill from Mood:  for Rhonda - #326441-Navy on Arona Blue Bricks Printed Stretch Twill; for me #324496 Moonlight and Traupe Gray Block Printed Stretch Twill.  I love working with this fabric, and it is perfect for cargo pants.  Cargo pants are all about the pockets.  And you can never have too many when your hiking along a sight seeing trail or attending a summer neighborhood festival. Lots of places to store things to keep your hands free.  So why not add a few more pockets.  This time with zippers.  Like the inspiration pair, I also added zippers to the lower center front.  My zippers are functional.  The leg zippers can be unzip for a wider leg or zipped to make them tapered.


Again, I used View C of the pattern making the changes below:
  • Added a waistband
  • Added a front fly
  • Lengthen the pant leg
  • Tapered legs  from the hip to the hem
  • Added 1" to the width of the upper front pocket.  I forget to mention this in my first review.


This cargo pant pattern is a winner!  Did I say that before?  Lol  I love it and will definitely make these again after the challenge is over.

BTW - Mood has truck loads of stretch twill available. 


If you are interested in my process for adding the zippered pockets and the pant leg zippers, check out my blog post, here.

Parting Shots:  It was a beautiful day in Veteran's Park.  Lovely flowers and everything is so lush and green.  The turtles were even sun bathing.


I am very happy with how my second pair of cargo pants turned out. The print of the fabric and the zipper detail make these pants pop.  Another great thing about them, there is secure pockets in the front as well as in the back.   For next week, I'll make a pair of cargo pants for my DD.  So stay turned.

Happy Sewing!
C


Thursday, July 11, 2019

Zipped Pockets and Pant Leg - Sew Cargo Crazy - Tutorial

I wanted to post a little tutorial on how I made the zipped pockets for my second pair of cargo pants.  


Zipped Pockets -


It was so easy to add the pocket zipper detail.  Here's how:  

  • First, I determined the length and width of the pocket and the zipper opening.  It's up to you on the size of the pocket.  I just cut some them and adjusted the width and length according to the area placed on the pants.  The front zipper is 6" and the back is 5".  
  • Next creating the welt pocket window for the zipper.  I drew the rectangle on an interfaced "welt", about 2" longer than the zipper and 2.5" wide.  The height of the window is 1/2" with the cutting line in the middle, at the 1/4" point.
  • I stitched on the drawn stitching line using machine stitch length at 2.  The stitching has to be exact with no back stitching.
  • Slash along cutting line.  Turn the welt to the inside of the pocket. 
  • Pressing is super important.  Open each of the long ends of the welt and press.  Then press the entire welt to the wrong side of the pocket.  You should have a nice rectangle opening for the zipper.  


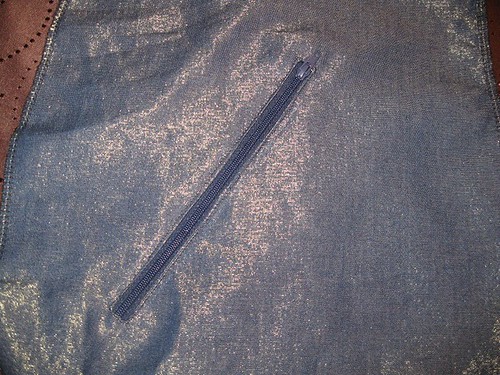
  • Evenly position the zipper from the wrong side of the pocket and pin it in place.


  • Stitch the zipper in place.  I did two rounds of stitching to show up the contrasting thread.

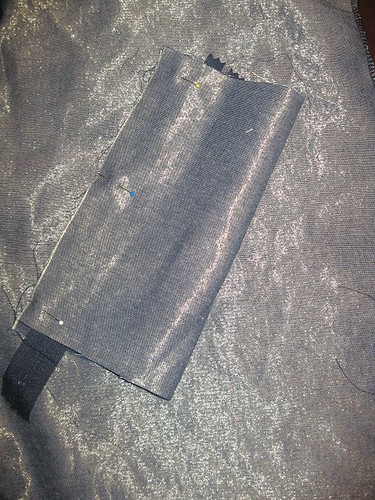
  • For the back pocket I added a stripe of fabric to the top using the wrong side of the fabric to create a contrast band. This creates the illusion of a top opening pocket.  It's actually stitched all the way around with the zipper being the actual opening.
  • The final step is to secure the zipped pockets to the pants.
  • *Note before I was happy with the opening of the pockets, I practiced a few times just to make sure. ;-)

Front Lower Leg Zipper -

These were added to emulate the inspiration pants.  I like the idea of being able to adjust the width of the pant.  The leg zippers should be placed and sewn before the front and back pant legs are sewn together.

  • First, I had to determine the length of the pants.  To prevent them from bunching up, the hem should be at the ankle or shorter.  The top of the zipper is at the edge of the hem.
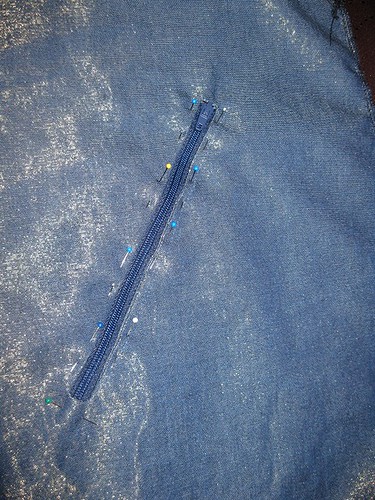
  • Next, I marked the front center of the pant leg with pins the length of my zipper.
  • Using the marked front center, starting at the lower edge each zipper tape is placed an inch apart (each 1/2" from the center).  For the opposite end of the zipper, it's is 2" apart (each 1" from the center).  Each side is pinned in place.
  • Finally, sew two rows of stitches to secure zipper to the pants.  Now the front and back pant legs can be sewn together.
I hope this was helpful.  Stay tuned.  My next pair of cargo pants will post soon.

Happy Sewing!
Cennetta

Friday, March 18, 2016

Tutorial: Hand Picked Zipper with Seed Beads

A few of my followers on periscope asked me to do a tutorial on hand-picked zipper.  This is a beautiful accent to add to a special dress or skirt.

A few years ago, Susan Khalje and Rhonda Buss did a workshop in Chicago where they shared some couture and some pattern drafting techniques.  It was a great workshop and I learn quite a few things.  Susan shared some tips on how to hand-pick a zipper.  I discovered that in some of my garments I didn't quite master the process for concealing the zipper teeth.  While lunching with Rhonda on  Thursday, I told her about my plan to post a tutorial.  She further explained that if the garment has a few inches on wearing ease, it's not necessary to create overlap between the two sides or create a rise at the center of the zipper.  And that butting the sides is fine.  But on the other hand if the garment fits very close to the body, the overlap is appropriate.  So when the garment fits around the body, there is room for the overlap to relax and spread a little without showing the zipper teeth.

Today, I will provide steps for hand-picking a zipper and adding seed beads along the stitching line.
The supplies needed are listed below:

Supplies-


  • fabric (garment)
  • thread
  • needles (I prefer the sharp thin ones)
  • bees wax
  • fusible interfacing or organza
  • zipper
  • pins
  • pencil
  • ruler
  • seed beads
  • scissors
Process-


  • Apply Interfacing to edge of opening where zipper will be sewn.
  • With right sides together, sew the garment up to the point where the zipper is to end.

This next step is optional.  Explanation -Typically I do not mark where to stitch.  I do free hand stitching.  You may also use the ridge in the zipper tape as a guide for your stitching line. In the illustration, I marked the locations where the stitches should be made.  (Note: some chalks may not wash out.  So carefully consider how to mark and/or stitch. Tip from Rhonda)


  •  The stitches should be about 3/8" apart.  The markings are very light.


  • To overlap, bring the edge of the opening even with the zipper teeth as shown above.
  • Pin zipper in place.  Do this to both sides.
  • Before you begin to stitch, thread a few needles, run them through some bees wax, and press the thread.  This is done to help reduce tangling.
  • Stitch the zipper in place using a stab stitch.  I start at the top of the zipper.


  • Now, add beads using the previous stitches as a placement guide.  Start adding the beads about 1" below the top of the garment.  You are literally stitching on top of the first stitches.  (I used to different types of beads for the illustrations.  You can use whatever you want.)


  •   Press after finishing the zipper.


Here are a few options for bead size and shape.  I hope this is clear and helpful.


Happy Sewing!
C


Wednesday, August 17, 2011

Zipper Pocket

I wanted to write a separate post on how I created zipper pockets. All of the information on "how to" and the photos of the pants are on Flickr. The next post, I will review the pattern and how I used it to create two pair of pants and a skirt.


Some patterns include zippers as a design element on the garment. Sometimes the design element has no other function. It's simply for visual appreciation. The pattern (S5102-View A) that I used had seven zippers: six for "decoration" and the other to get in and out of the pants. I decided to only use three. And all are functional.

The first step to making the two front, hip zippers functional is as follows:

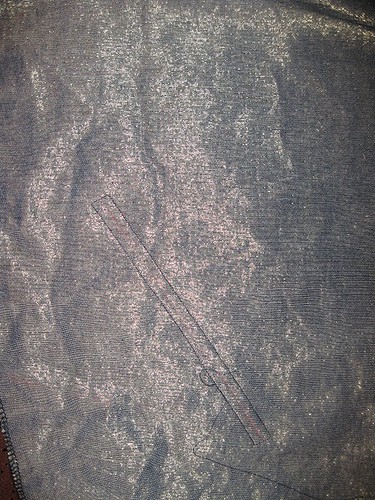
Step 1 - I traced the zipper line on the wrong side of the pants. This is my guide for sewing the rectangle for the zipper. (Sorry it's a little hard to see here, but I hope you get the picture.)


Step 2 - On the right side of the pant, I place the pocket square. (You can determine the size of the square based on the position of the pocket and size of the opening.) This is done before sewing the rectangle for the zipper.


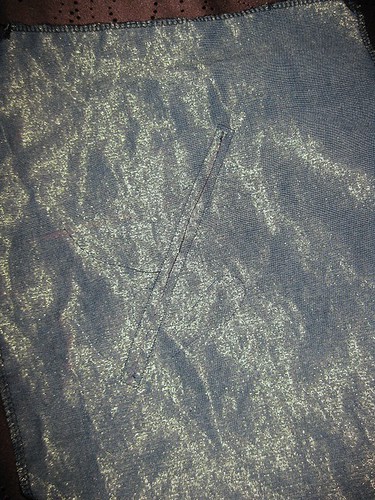
Step 3 - I stitched a rectangle where the zipper would be positioned. (shorten the stitch length 2.0.) Start stitching in the middle of one of the long sides of the rectangle. Make sure you complete the rectangle.


Step 4 - 4. After the rectangle is stitched, cut along the line through the pant and pocket layers stopping about 1/4 inch away from the short sides of the rectangle. At each corner, make diagonal cuts to form a small triangle. Be careful not to cut through the stitching.


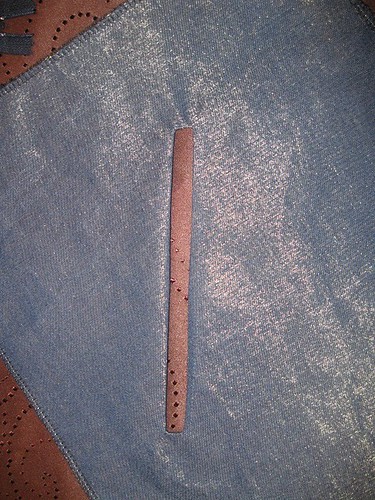
Step 5 - Pulled pocket through the opening and form the rectangle with your fingers. Then press.


Step 6 - Place zipper under pant.


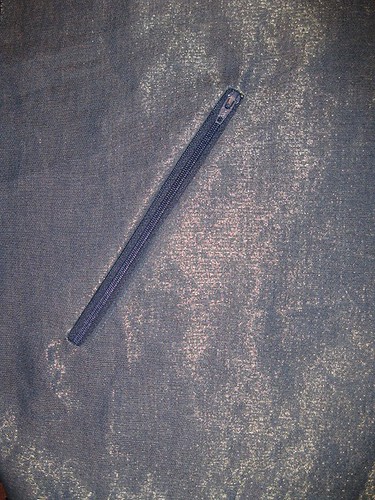
Step 7 - When the zipper is correctly positioned, pin it to the opening.


Step 8 - Sew the zipper in place.


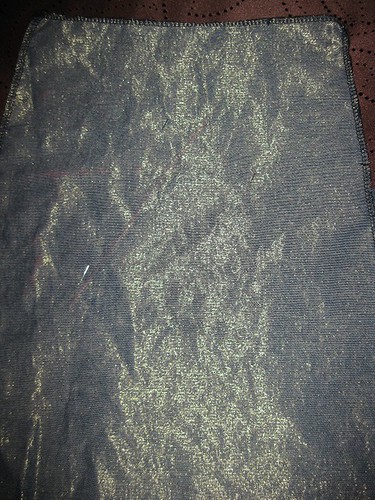
Step 9 - Turn pant to the wrong side. Pin the lower edge to the upper edge making a nice little pouch. Sew the two side and the upper edge of the pocket. If the zipper is extended past the pocket, trim the excess.


Step 10 Serge around the stitch edges. Your done.


Next, my review of pants and skirt made using Simplicity 5102.

Happy Sewing!
C


LinkWithin

Blog Widget by LinkWithin