Showing posts with label mc call. Show all posts

Monday, February 20, 2023

Romantic Floral Dress - Birthday Dress 2022 B6320 and M8090


Hi There!
 
It's seems like forever since I last blog anything! I've been so occupied with other things.  I took a break from my usual sewing and blogging to complete a major goal, which I’ll share at a later date. 
 
Anyway, I'm happy to post a pattern review on my last birthday dress that I finished in September 2022.  A long time ago, right?  There are a few things that encouraged me to write a post.  (1) I was nominated (by two people on Facebook) to post things I've made for a certain number of days.  (2) Lately, I've been thinking a lot about sewing and blogging, and how much I've missed sharing and interacting with fellow sewists.
 
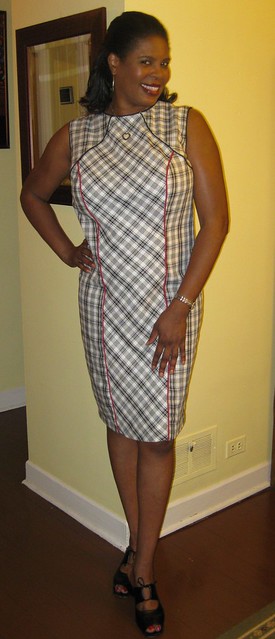
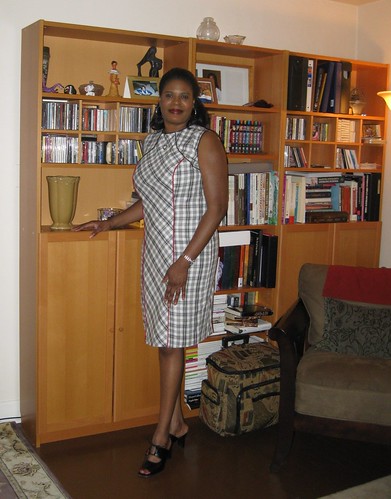
So today I want to review my birthday dress that I made for 2022.  I designed it using the bodice of Butterick B6320 and the skirt of McCall's M8090.  I really enjoy splicing two or three patterns together to come up with an entirely new design.  The bodice of B6320 is really cute, but for this dress I wanted a fuller skirt.  So I chose the tiers from M8090 to complement the bodice.
 
Pattern Description:


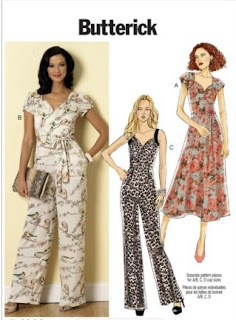
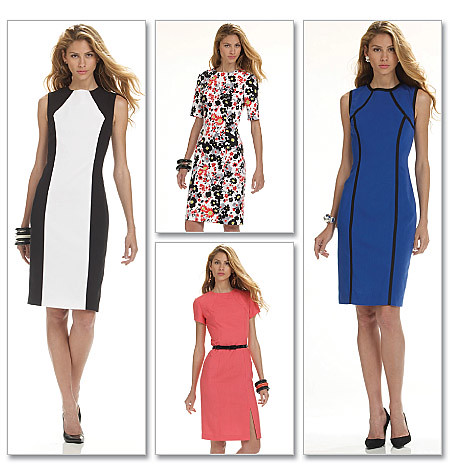
Butterick B6320 - Misses dress and jumpsuit:  Dress and straight-legged jumpsuit (semi-fitted through hips) have semi-fitted bodice and midriff, raised waist, tie ends, side pockets, armhole bands, and back zipper.  A:  self-lined sleeves B: bias sleeve band. B & C: front pleated pants. Separate pattern pieces for cup sizes.
 
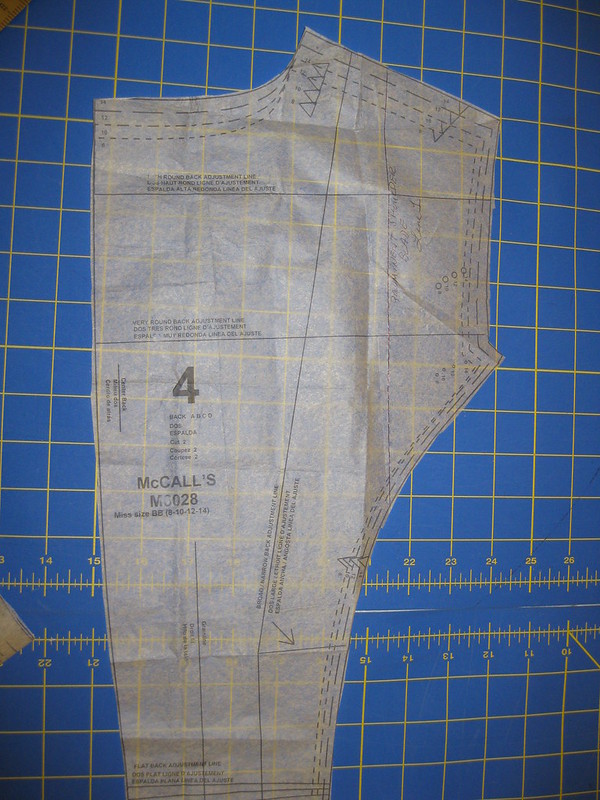
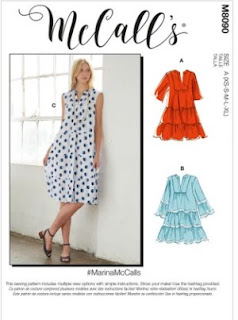
McCall's M8090 - Misses' loose fitting dress has skirt tiers and sleeve variations.  B:  Lace trim.
 
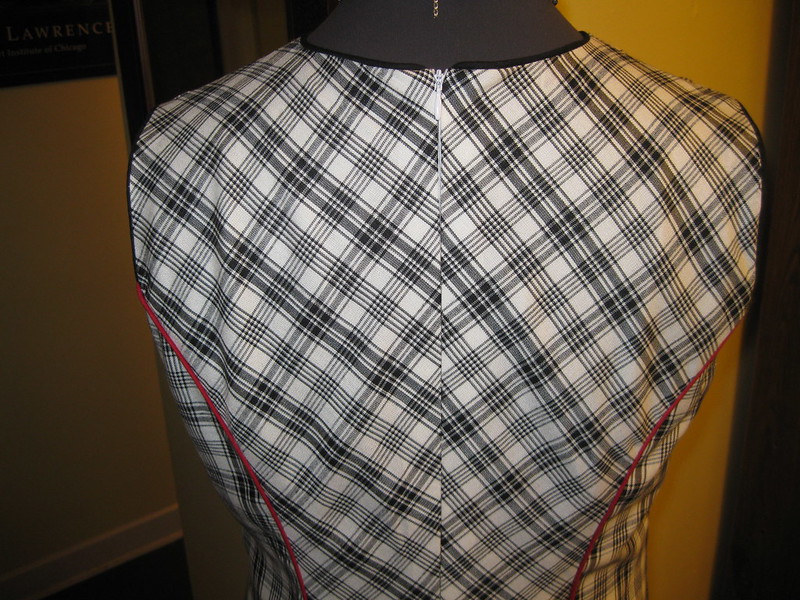
I used B6320 view B bodice.  The bias binding on the sleeve is a really nice detail.  For the skirt of the dress I used the three tiers of M8090, no pockets.
 
Pattern Sizing:

Both patterns come in sizes from 6 to 22.  I used size 16 with modifications.

Did it look like the photo/drawing on the pattern envelope once you were done sewing with it?

The dress bodice looks like B6320 (View B) and the skirt has the gathered tiered look of M8090.  Together the look is different from either pattern.

Were the instructions easy to follow? What did you particularly like or dislike about the pattern?

The instructions of both patterns are easy to follow.  Nothing difficult to understand or follow.   


Likes:
  • Midriff of the bodice
  • Bias binding on the sleeve
  • Design of the bodice in general
  • Tiered skirt
  • Fullness of the skirt
Dislikes:
  • As the dress is, I have no dislikes.  This style/design works for me.

Fabric Used:

I purchased the beautiful floral gauze from Mood Fabrics last summer.  It is still available if anyone cares to purchase  it.  Here is the link for the fabric,  This fabric is lovely.  It's perfect for spring/summer.  The fiber content is 100% viscose.  Easy pressing and handling.

Pattern alterations or any design changes you made:

My design change was to splice the two patterns together to come up with a new design for the dress.

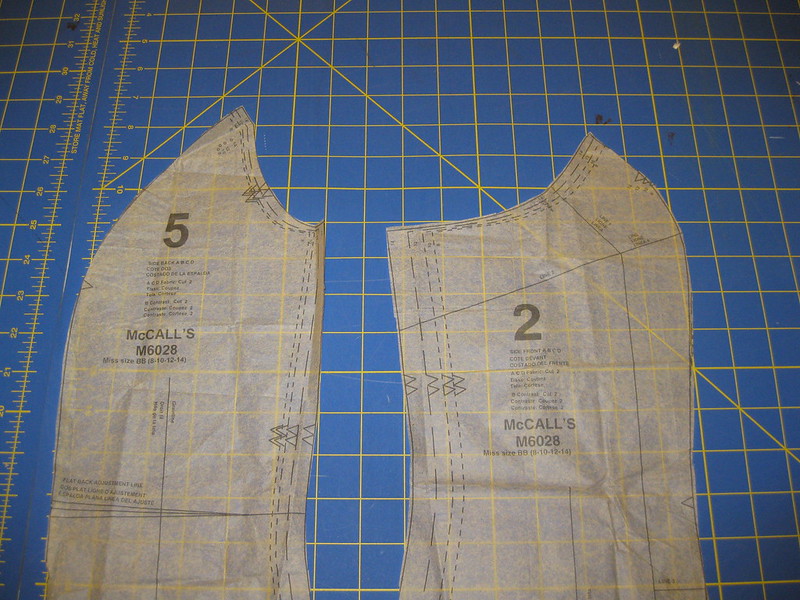
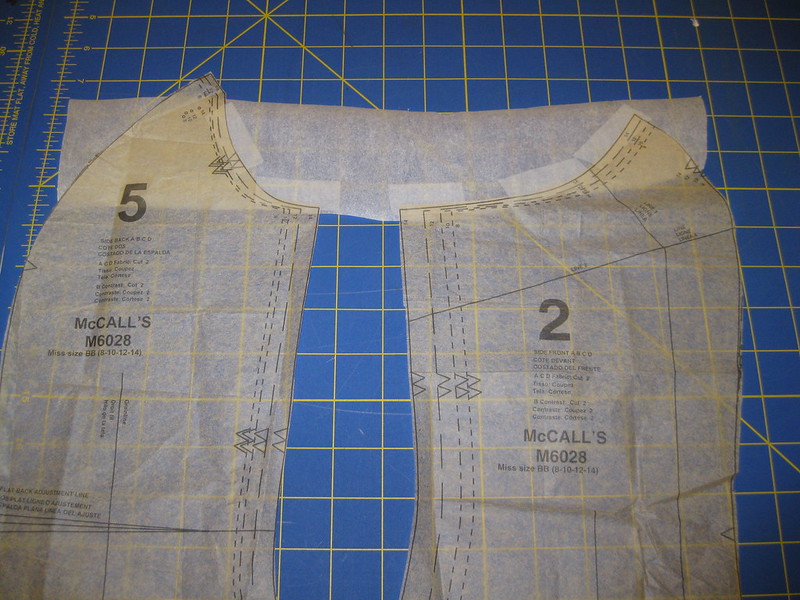
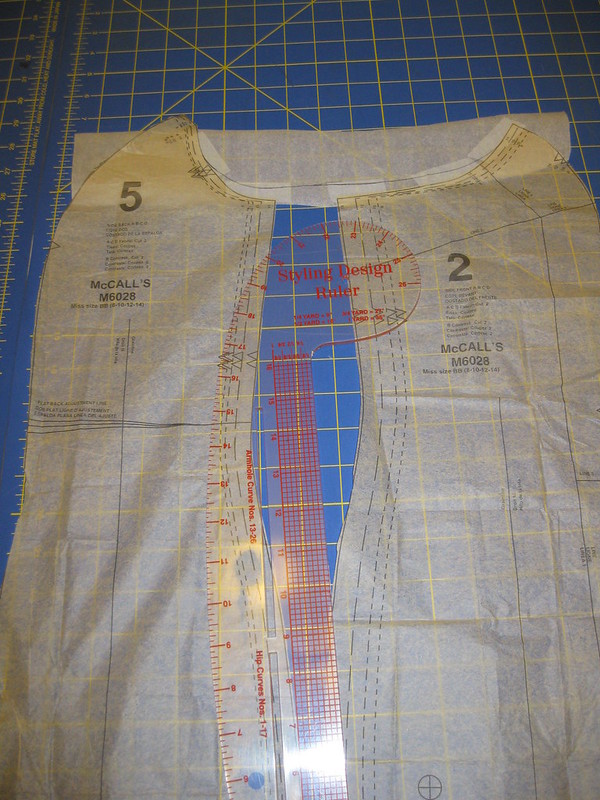
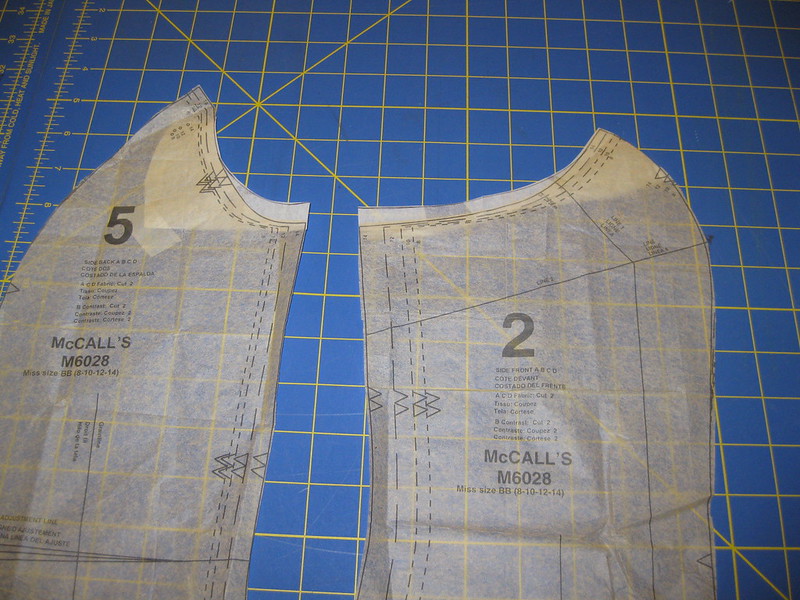
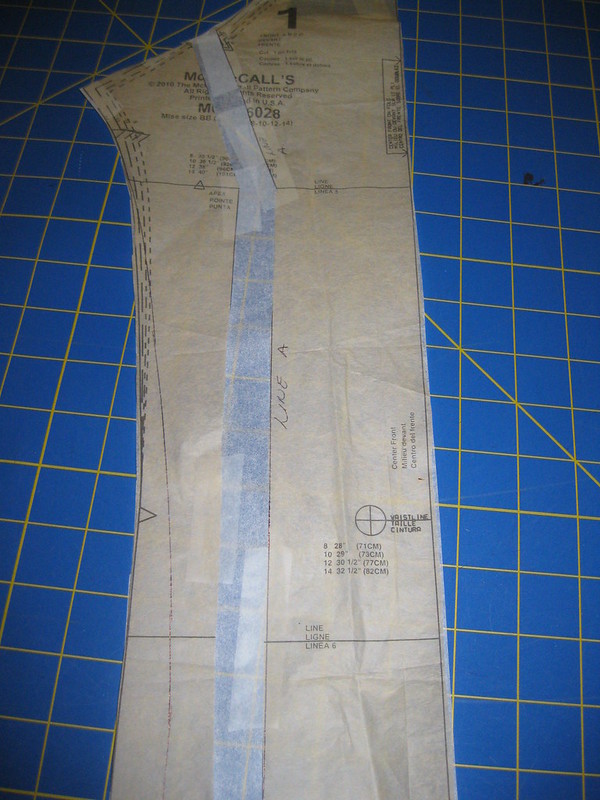
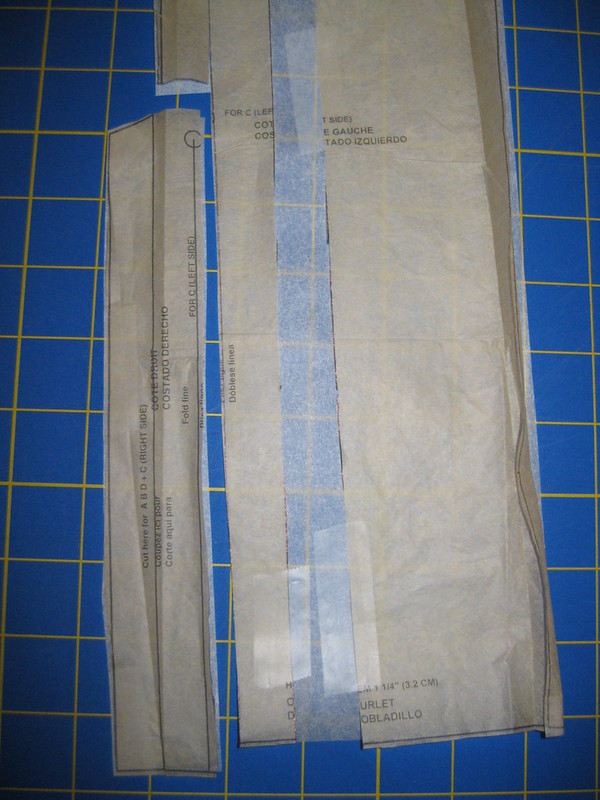
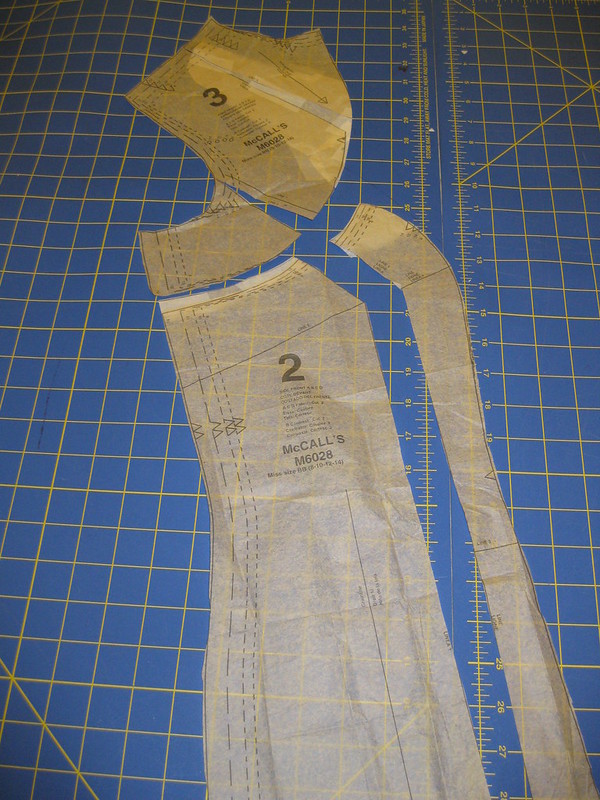
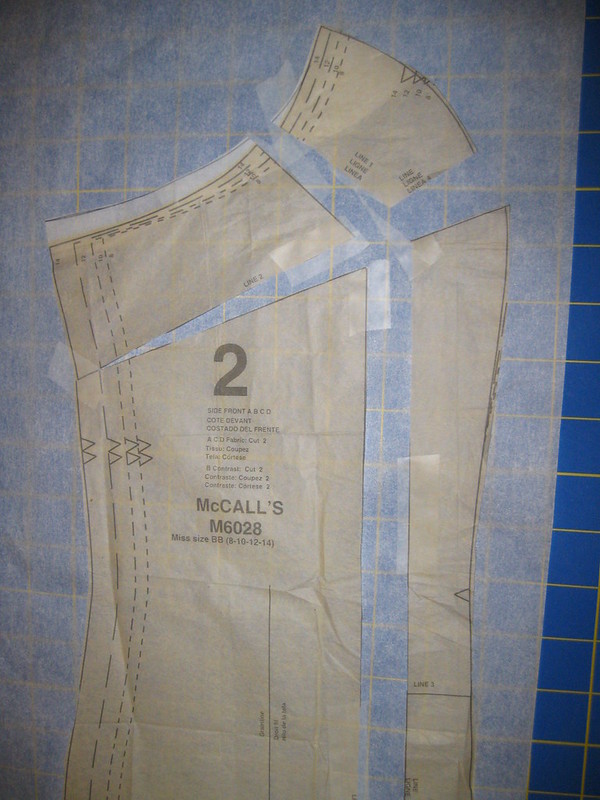
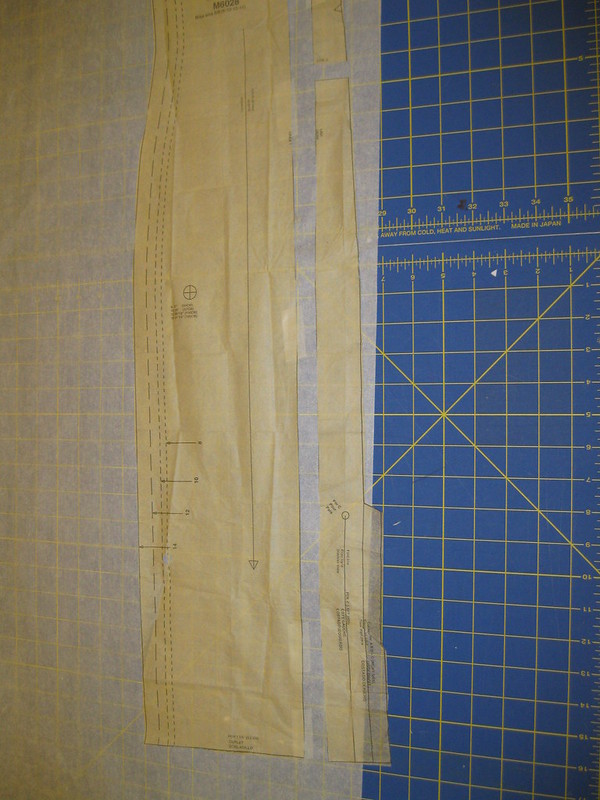
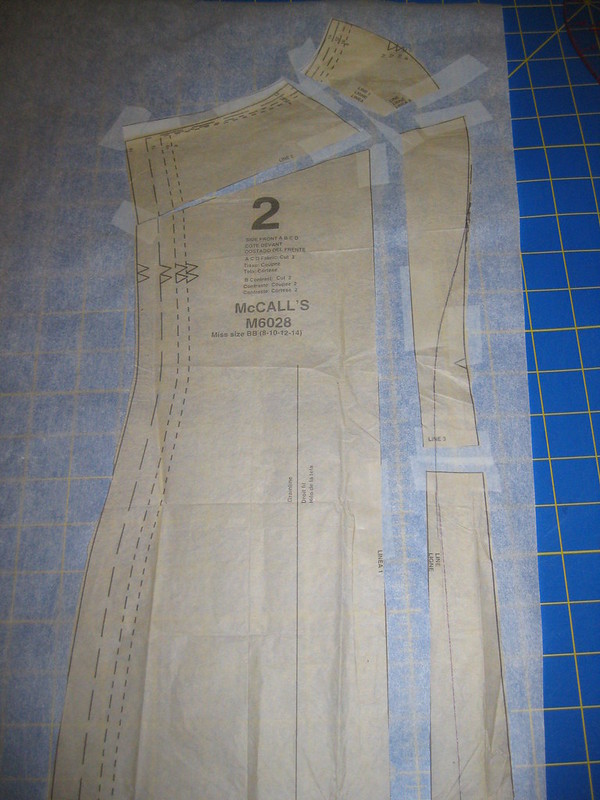
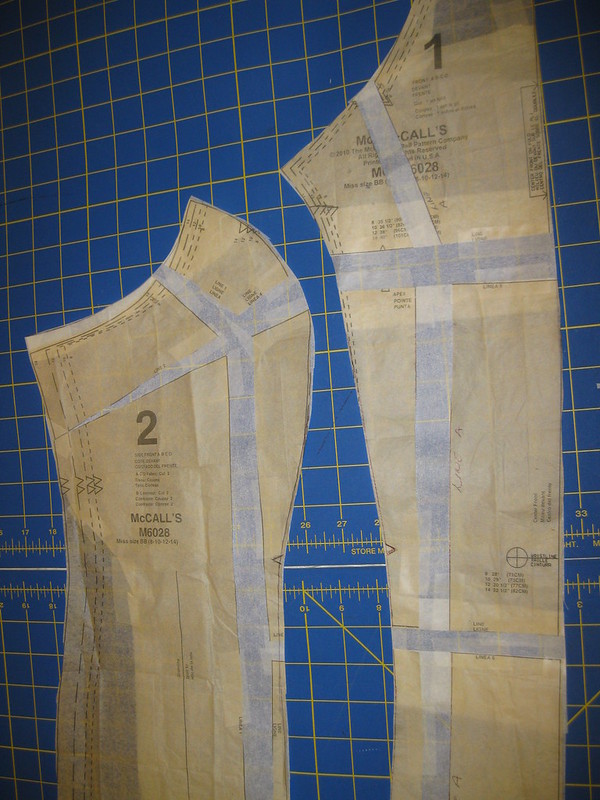
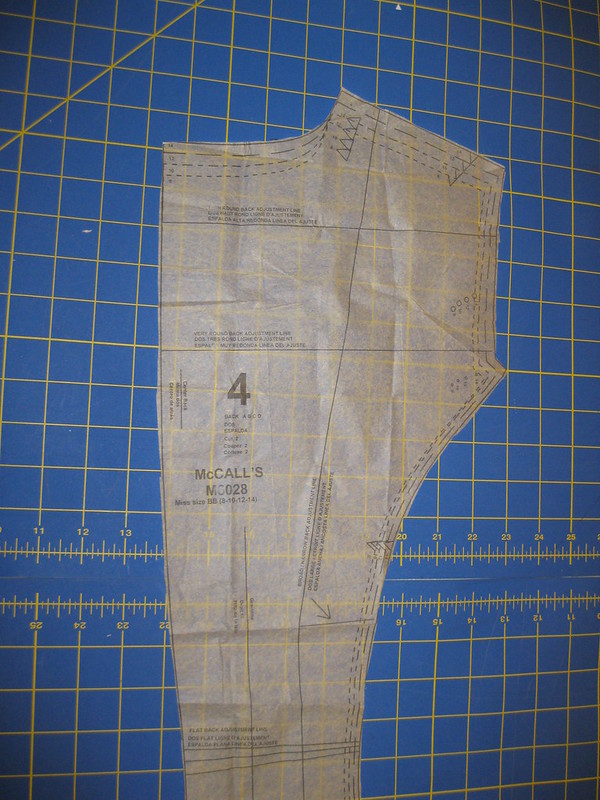
I did do some tweaking of the bodice.  But it wasn't my usual intense slashing to make it fit.  I used the cup D for starters and made my adjustments from there. Other than that, I really didn't make huge adjustments to get a good fit.

Would you sew it again? Would you recommend it to others?

I will probably use B6320 bodice again.  My plan is to make the dress of M8090.  And I recommend both patterns to others if this is a style that you like.


Conclusion:

I like how my dress turned out.  Each year I make it a point to make myself a birthday dress.  This addition was more like a summer dress, but it was a perfect choice for last September.  It was a very bright and sunny day. More summer like than fall.  

As for the patterns, both are great choices to begin your spring/summer wardrobe.  

Happy Sewing!  It's good to be back blogging and sharing.

Monday, May 17, 2021

The Second Time Is A Charm - M6512


Yes, the second time is a charm if all the fit adjustments have been made.  Today I'm sharing one of my latest makes.  


When I received this lovely floral poly crepe from Minerva Fabrics, I decided to use McCall's M6512 again.  I have a few coordinates that really didn't have a good match.  So this blouse has filled another gap in my wardrobe.  


You may remember the first blouse.  It's part of my green wardrobe capsule and one of the UFO's that I finished last fall.  Once it was finished, I liked it even more than when I initially decided to make it.  And I like this second blouse just as much. 

It's perfect with my tangerine pants made a few years ago.  Actually, I can wear either blouse with the pants.  But I think the orange one looks the best.  Anyway, I am happy I have another pretty blouse in my wardrobe.

Stay Tuned more to come!

Cennetta


Wednesday, April 12, 2017

More "Notes on a Pattern" - McCall 7542


Last week I was able to finish my first top using M7542.  I bought the pattern for the sleeves to mix and match with other top and dresses.


I wasn't crazy about the bodice because of the high neckline and the boxy silhouette.   But after making this view, I think the style looks okay on me.  This one is for my sister.  She'll model it and a pair of Ginger Jeans I made for one of our club challenges.  I couldn't help trying it on just to see if it looked okay on me.  Well.., it not bad at all with the exception of  the "too tight" across the bust area. 
M7542 - The dart is undetectable with this fabric.


This project provided an opportunity to see how well the top fits me.

Observations -
  •  The center back is slightly curved.  It is concaved in the lower back.
  • The small shoulder darts do not really add much room across the back.  I did notice that the length of the should seam is sport on, though.
  • Using C cup.  It fits like a glove.  No ease at all.  So the D cup will probably solve the problem.
  • Length is a little short, which is how it comes across on the envelope.
  • Neckline fit beautifully.
  • Sewing.  It comes together with no problems.  Nothing difficult or confusing in the instruction.
Likes -


Simply the sleeves.  Still planning to make every view.  More photos coming with me wearing a finished top.

Fabric -

This mesh fabric is from JoAnn's, Nicole Miller.  Cute..,

That's all for now. 

Thanks!
C


Monday, January 18, 2016

Glittery Knit Jumpsuit - McCall 7099


This jumpsuit was ready to sew for over two months. Last week, I finally sat down to sew it up with hopes of wearing it to dinner. It did not make it's debut at the dinner party, but I did finish it on Monday afternoon. So it's ready for the next evening event.  This is one of about twenty UFO's I'd like to sew soon.


McCall's describes this jumpsuit as: MISSES' ROMPER AND JUMPSUITS: Loose-fitting romper and jumpsuits have raised neckline, mock wrap, gathered, blouson bodice, front band extending to back neckline, elasticized waist, and side pockets. B, C and D: tapered. Sizes are:6 to 22; I used 14 with a few modifications. My finished jumpsuit did look like the drawing and pictures.


It reminds me of styles worn in the 80's. I even went through some old patterns to find similar styles.


My likes:
  • mock wrap
  • dropped shoulder seams
  • loose fitting top
  • tapered pant leg
  • Centered back facing
No problems with the instructions.  They were easy and typical.  Nothing confusing about them.

The fabric used is a shiny blue on black knit that I picked up at Joann's.  After I started working with the knit, I did notice that the recovery was not the best, but I will certainly get a few wears out of it.


Not many alterations wear needed.  I made a FBA.  Three small pleats wear made to take up the added width due to the FBA. Also, I added three inches to the length of the pants and added two inches to the length of the sleeves.

I have so many patterns to try.  Right now I don't think I'll make it again.  But I do recommend it to all level sewists.  It's easy to sew and the style can be worn by most body types.


 Happy Sewing!
C

Friday, June 8, 2012

McCall 6028


Pattern Description: Misses' Dresses: Fitted dresses A, B, C, D have front and back princess seams, back zipper and sleeve variations; dress A has purchased trim and back slit; dress B has contrast panels and back slit; dress C has short self-faced sleeves and left front slit; dress D has elbow length sleeves and back slit; dresses A, B, C, D lengths are 1" below mid knee.
  
Pattern Sizing: 8 to 22; I used size 14 with modifications.  


Did it look like the photo/drawing on the pattern envelope once you were done sewing with it? Basically, yes. Simple princess seam dress with front yoke.  


Were the instructions easy to follow? No problems with the instructions.  

What did you particularly like or dislike about the pattern? I like the princess seam with the front yoke. No dislikes.  

Fabric Used: Plaid rayon suiting that I bought many, many years ago from a fashion fabric club. Can't remember which one though.  


Pattern alterations or any design changes you made: Several alternations. Most are in the previous post. The rest: invisible zipper, added a inch or two to lengthen it, added two different color piping to the seams. The last change almost turned this dress into a waddler. The plaid is uneven and I didn't want to take the time to line up the print across all seams. So I decided to cut the center front and back on the bias. I sewed the dress together with no problem, until it was time to hem it. The hem flared out at the center front and back. It looked terrible. I tried adding fusible interfacing; then I tried sewing deeper seam allowance near the hem. Neither worked. So, I decided to ask some of the ladies in the club (Haute Couture Club June luncheon 6-2-2012). They made the same suggestions that I already tried. Sadly, I decided the dress was an unwearable waddler. I told my DD there was no solution except for the trash. Then she said, "Mama, What about adding chain to the hem to make it hang evenly. You know, like in a Chanel jacket." Imagine that, a newbie to sewing helped solve my problem. I immediately went to my notion cabinet to find some chain. What I had on hand was not heavy enough so I doubled the weight by sewing two rows of chain to the center front and back. Then I tried on the dress. It worked! It's not perfect, but I can at least wear it.  


Would you sew it again? Would you recommend it to others? Yes, I plan to sew it once more. This was a test for the tissue pattern alteration post. There is one more small change I will make on the next version, and that is to add a little width from the lower hip down. I look a little "too" top heavy.

 Conclusion: This is a fairly easy pattern to sew. And I am I was able to work out my "self-imposed" trouble. Next, dress will be straight forward. All of the fitting adjustment are resolved. It will take no time to make.

Thursday, June 7, 2012

Pattern Adjustments - Princess Seam Dress M6028


With almost every pattern I choose to sew, I must make pattern adjustments.  This is true with most  blogging sewists.  Most of the time.  I usually include a snap shot of the completed change that I made to show the results of my personal fitting adjustments.  Those pictures don't show the step by step process taken to arrive at the final adjustment.

Weeks before the "prom dress" series, I received a few emails from some of my followers who wanted to get more details on the process of making adjustments.  During the same time, I had several conversations with friends about the full bust adjustment (FBA).


So I decided to write a few blog posts detailing the steps I take to make adjustments to the pattern. This post will include details on the full bust adjustment for a princess seam dress (M6028), prominent shoulder blade, raising the armhole of a sleeveless dress, and sway back adjustments.  All will be made using M6028.  I selected this pattern for three reasons:  it's been on my to-make list for a while, it's Palmer/Pletsch (includes the adjustment lines, and it has princess seams.

The Palmer/Pletsch patterns make it easy for you to make most adjustments because the adjustment lines are drawn on the pattern and the guide sheet includes construction details on how to make those adjustments.  Princess garments provide many opportunities to make adjustments.  You can add width and length to all or some of the pieces to easily fit the various regions of your body.

I must add a disclaimer:

These adjustments are based on fitting adjustments that work for me and should not be viewed as the "standard".  They may not work for you.  I use the Palmer/Pletsch tissue fitting instructions to help me understand and determine how I can make the best fit adjustment for me.

 
That being said, I will start the adjustment process with raising the armhole of  a sleeveless dress.

 This first picture displays the front and back sides of a princess seam dress. I like to raise the armhole to conceal side boobage. It looks much nicer without the exposure.
NOTE: These instructions are not found in the guide sheet.


 Step 2 -
Next place pattern tissue paper under both pattern pieces having the tops even.


Step 3 -  Next draw a new lower armhole line.


Step 3b - Closer view.


Step 4 - Finally trim away the excess tissue paper.


Full Bust Adjustment (FBA)


Step 1 - With the armhole adjustment already made, layout pattern 1, 2, 3 to make the Full Bust Adjustment (FBA). Palmer-Pletsch patterns include cutting lines for making most pattern fitting adjustments.


The FBA is a lengthy process, but it is easy to achieve. Just take your time. Let's start with the front yoke and the front of McCall's 6028.
This picture shows Line A on the yoke front 3. But Line A is missing from front 1.


 FBA - Here I drew the Line A on the front 1 pattern.


 FBA - Slash Lina A on both front yoke 3 and front 1.  Spread the desired amount as illustrated in step one of the guide sheet for McCall's 6028.


FBA - Here is how the pattern looks after slashing Line A from the to of the front 1.


FBA - The slash and spread should continue through the hemline on front 1.


FBA - Before trimming the excess tissue paper, true up the upper edge where the front is to join the front yoke 3.


FBA - The added width below the bust area makes the dress too wide for me.  So to eliminate that width, I  remove the excess from the left side of the pattern by drawing a new line to the end of the hemline.  Transfer the notch to the new edge before cutting away the excess tissue.


FBA - This picture shows the new line at the bottom of the pattern (front 1).


FBA - To maintain the slit at the lower section of the pattern, cut along the new line and then across the top of the slit.  Save this section so it can be relocated after the remainder of the excess width is cut away.


FBA - After removing the excess width, place the slit section at the lower section lining it up with the cut edge.


FBA - Now let's work with the side front 2, before completing the rest of the adjustment to the front 1.  This picture shows the affect of the slash and spread of Line A on the front yoke 3.


FBA -  Next, slash and spread the side front 2 the same amount as the front 1.  It is important to spread each equal amounts to maintain balance across the front of the dress.


FBA -  NOTE - This adjustment is not exactly like Steps 5 through 13.  But this works for me. So to continue, This is my adjustment for this side front 2.


FBA - Pictured here is the spread through the hemline.  NOTE:  slash at hip area to realign the lower portion of the dress.


FBA - Another view of the spread.  Also, note the new line drawn under the bust area of the side front 2.


FBA - Now spread the front 1 is the same sections making sure it is the same as on the side front 2.


PSBA -  There is no line drawn on the pattern for this adjustment.


PSBA -  I typically place a vertical line  about 21/2" from the edge of the back pattern at the should seam.  Here it is identified as Line 1.


PSBA - Slash the back 4 starting at the base of the PSBA line.   Spread the desired amount.  True up the spread by drawing a new line.  Then cut away excess tissue paper.


 PSBA - I usually do not spread the side back 5.  There is enough ease along the curve to match up the toe amount of the spread needed for my PSBA.  But you may have to slash and spread the side back 5 as well.


Sway Back Adjustment - SBA

 This illustrates how the sway back adjustment is done.  For M6028 horizontal lines are drawn to indicate where to make the sway back adjustment.


My apologies, I didn't include a photo of the sway back adjustment.  Please scroll up to the last picture of the PSBA.  There you can clearly see the sway back adjustment lines on the pattern.  These lines help you make SBA.

That's it!  I hope this was helpful and not confusing.

Happy Sewing!


LinkWithin

Blog Widget by LinkWithin