Showing posts with label pattern adjustment. Show all posts

Tuesday, March 25, 2025

Notes on a Pattern - Full Bust Adjustment Tutorial McCall's M8240


This is my muslin


It has been a while since I did a Notes on a Pattern.  

This top is all over social media.  I hesitated to make it for fear of the front placket not being perfect.  To help myself, I researched for some tutorials to get a flawless placket.  I did find a few on Instagram that were helpful.  An easy fit.  My other concern was with the FBA adjustment.  Could I get away without adjusting?  So for my wearable muslin, I decided to use the molly t-shirt front pattern as a sloper for the FBA. 


Well, it didn't exactly work to my liking.  The center front hem is slightly higher than the rest of the hem. So, I did the next best thing:  I made a traditional FBA for the best fit.  Today, I am posting a FBA tutorial for this McCall's pullover.

Below is my tutorial:


Step 1 - Draw the lines to prepare for the slash and spread of the pattern sections.


Step 2 - Cut along the line 1 and spread the desired amount of the adjustment.  In this instance, the amount is 1".


Step 3 - Cut and spread line 2 at the bust area to bring balance back to the side.


Step 4 - fill in with tissue paper along line 1 and 2.  Tape in place except for the lower right portion severl inches above the hem.


Step 5 - Cut and spread line 3 to true up the hemline.  Then fill in with tissue paper.


Step 6 - trim tissue paper all except for the bust area.


Step 7 - Fold the dart in half to trim tissue paper.  True up the bust dart along the side seam.

That's it for the basic traditional full bust adjustment.  I hope this information/tutorial is helpful.

Happy Sewing!
C


Thursday, January 9, 2025

Wrap Top- Butterick B5101


This wrap top was made in October 2024.  It has been on my "to make" list for ages.  Butterick B5101 Lifestyle Wardrobe pattern, with several views to literally make a complete wardrobe with endless outfit options.  The copyright year is 2007.  So it is OOP.


Pattern Description:  Misses' top, dress, skirt and pants:  wrap front top and dress have all-in-one sleeve, pleated collar extending into front neckline, side tie, sleeve length and hem variations.  Mock wrap front skirt and straight leg pants have casing and elastic yoke.


Pattern Sizing:  SX, S, M, L, XL .  I used size medium grading it up somewhere between a medium and large with fit adjustments.

Did it look like the photo/drawing on the pattern envelope once you were done sewing with it?  Yes,  my top does look like the drawing on the envelope.

Were the instructions easy to follow?  The instructions were typical, but not difficult to follow.  

What did you particularly like or dislike about the pattern?  I liked that it is a wrap top/dress with some pleating around the mid section with a tie.  

I do have a few dislikes, though.  The tie is slightly wider than what I'd like for this top/dress.  And I prefer it to be a little longer since I'm so tall.  My other dislikes is the thickness of the belt loop.  It could be thinner.  I'll make these adjustments on my next version, which is already in the making. :-)  No other dislikes.


Fabric Used:  My knit jersey came from New Rainbow Fabrics on Roosevelt Road in Chicago.  It is a vibrant tomato red with a dry hand.  It is easy to work with and is wrinkle free.  I pre-washed and dried it as soon as I bought it home.


Pattern alterations or any design changes you made:  Okay, it may be boring, but I had to make my usual full bust adjustment.    Definitely necessary for the level of stretch of my fabric choice and the style of the top.  Because the sleeve is cut-on, I started the process with removing the sleeve.  Then I made the FBA.  Finally, reattaching the sleeve. See the photo below for the finished fit adjustment. Also, I lengthen the sleeve by an inch.  


Would you sew it again? Would you recommend it to others?  Yes, I will.  I'm in the process of making the pants and the top.  I hope to finish it by the end of this week.  If this is your style, of course, I recommend it.  The pattern is easy to sew and it offers a lot of style options in one pattern.

Conclusion:  This is a good wardrobe pattern that offers many outfit options.  It is easy to sew for all level sewists.  The hem of the top/dress may be a little challenging for beginners, but doable.  Take your time.


Happy Sewing!
C

Saturday, October 7, 2023

Pattern Favorite - New Look NL6824


Birthday Dress!

I'm delighted to share another addition of my birthday dress project.  I've used New Look 6824 FIVE times.  And this is the second time I used it for a birthday dress.  The first one was a ivory crepe satin with a lace overlay.  That was in 2008.  I was a smaller person then. Lol


Here is a link to all my posts on New Look 6824.

Patterns can be easily altered, which is fantastic.  For this fifth installation, I just graded it up as I cut.  This was a super quick make.  I needed a pink-ish dress for our church Annual Women's Conference.  This was the first time our main "color" wasn't white.  I went digging through boxes and bins looking for this fuchsia wool that I purchased at Fishman's Fabrics years ago. Lucky for me I had already paired it with a China silk lining.  Both were neatly stored in a plastic bag.  No moth wholes, just perfect.

I didn't really have anything in mind when I purchased it.  So now, it is a Jackie O-ish dress that is so me.  It sewed up fast.  No problems at all.

Parting Photo:  Pink was the color this year.  All because of the new Barbie movie.  I wasn't my goal to make three pinkish outfits this summer.  There is a collage of my three pink outfits that I completed this year.


Monday, February 20, 2023

Romantic Floral Dress - Birthday Dress 2022 B6320 and M8090


Hi There!
 
It's seems like forever since I last blog anything! I've been so occupied with other things.  I took a break from my usual sewing and blogging to complete a major goal, which I’ll share at a later date. 
 
Anyway, I'm happy to post a pattern review on my last birthday dress that I finished in September 2022.  A long time ago, right?  There are a few things that encouraged me to write a post.  (1) I was nominated (by two people on Facebook) to post things I've made for a certain number of days.  (2) Lately, I've been thinking a lot about sewing and blogging, and how much I've missed sharing and interacting with fellow sewists.
 
So today I want to review my birthday dress that I made for 2022.  I designed it using the bodice of Butterick B6320 and the skirt of McCall's M8090.  I really enjoy splicing two or three patterns together to come up with an entirely new design.  The bodice of B6320 is really cute, but for this dress I wanted a fuller skirt.  So I chose the tiers from M8090 to complement the bodice.
 
Pattern Description:


Butterick B6320 - Misses dress and jumpsuit:  Dress and straight-legged jumpsuit (semi-fitted through hips) have semi-fitted bodice and midriff, raised waist, tie ends, side pockets, armhole bands, and back zipper.  A:  self-lined sleeves B: bias sleeve band. B & C: front pleated pants. Separate pattern pieces for cup sizes.
 
McCall's M8090 - Misses' loose fitting dress has skirt tiers and sleeve variations.  B:  Lace trim.
 
I used B6320 view B bodice.  The bias binding on the sleeve is a really nice detail.  For the skirt of the dress I used the three tiers of M8090, no pockets.
 
Pattern Sizing:

Both patterns come in sizes from 6 to 22.  I used size 16 with modifications.

Did it look like the photo/drawing on the pattern envelope once you were done sewing with it?

The dress bodice looks like B6320 (View B) and the skirt has the gathered tiered look of M8090.  Together the look is different from either pattern.

Were the instructions easy to follow? What did you particularly like or dislike about the pattern?

The instructions of both patterns are easy to follow.  Nothing difficult to understand or follow.   


Likes:
  • Midriff of the bodice
  • Bias binding on the sleeve
  • Design of the bodice in general
  • Tiered skirt
  • Fullness of the skirt
Dislikes:
  • As the dress is, I have no dislikes.  This style/design works for me.

Fabric Used:

I purchased the beautiful floral gauze from Mood Fabrics last summer.  It is still available if anyone cares to purchase  it.  Here is the link for the fabric,  This fabric is lovely.  It's perfect for spring/summer.  The fiber content is 100% viscose.  Easy pressing and handling.

Pattern alterations or any design changes you made:

My design change was to splice the two patterns together to come up with a new design for the dress.

I did do some tweaking of the bodice.  But it wasn't my usual intense slashing to make it fit.  I used the cup D for starters and made my adjustments from there. Other than that, I really didn't make huge adjustments to get a good fit.

Would you sew it again? Would you recommend it to others?

I will probably use B6320 bodice again.  My plan is to make the dress of M8090.  And I recommend both patterns to others if this is a style that you like.


Conclusion:

I like how my dress turned out.  Each year I make it a point to make myself a birthday dress.  This addition was more like a summer dress, but it was a perfect choice for last September.  It was a very bright and sunny day. More summer like than fall.  

As for the patterns, both are great choices to begin your spring/summer wardrobe.  

Happy Sewing!  It's good to be back blogging and sharing.

Friday, December 6, 2019

Notes on a Pattern - McCall M8003


Have you ever been so excited about a pattern so much that you envisioned wearing the finished garment with enormous confidence? Or have you ever worked so hard with resolving a fit issue that in the end still did not meet your standards?  Or have you found it too hard to just give up on making it just right for you?  Well, it happened to me.  AGAIN...,

This time with McCall's M8003.  The process started out as always.  I liked the pattern. I cut it out.  I made my pattern adjustments, so I thought. I cut out the bodysuit (at least that's what we used to call them in the 70's).  I put it together feeling like I'd followed all the steps just right.

Now, It's time to try it on minus the neckband, sleeves, and closure.  Multiple issues...,

UGH..,

Okay, Okay, let me give you some of the basic information about the pattern before I continue.

The Pattern Description from McCall's website.  Close fitting tops, or pullover with snap closing, mock collar or neck band, has length variations. B: Contrast yoke.  Sizes:  6-22 in two size groupings.
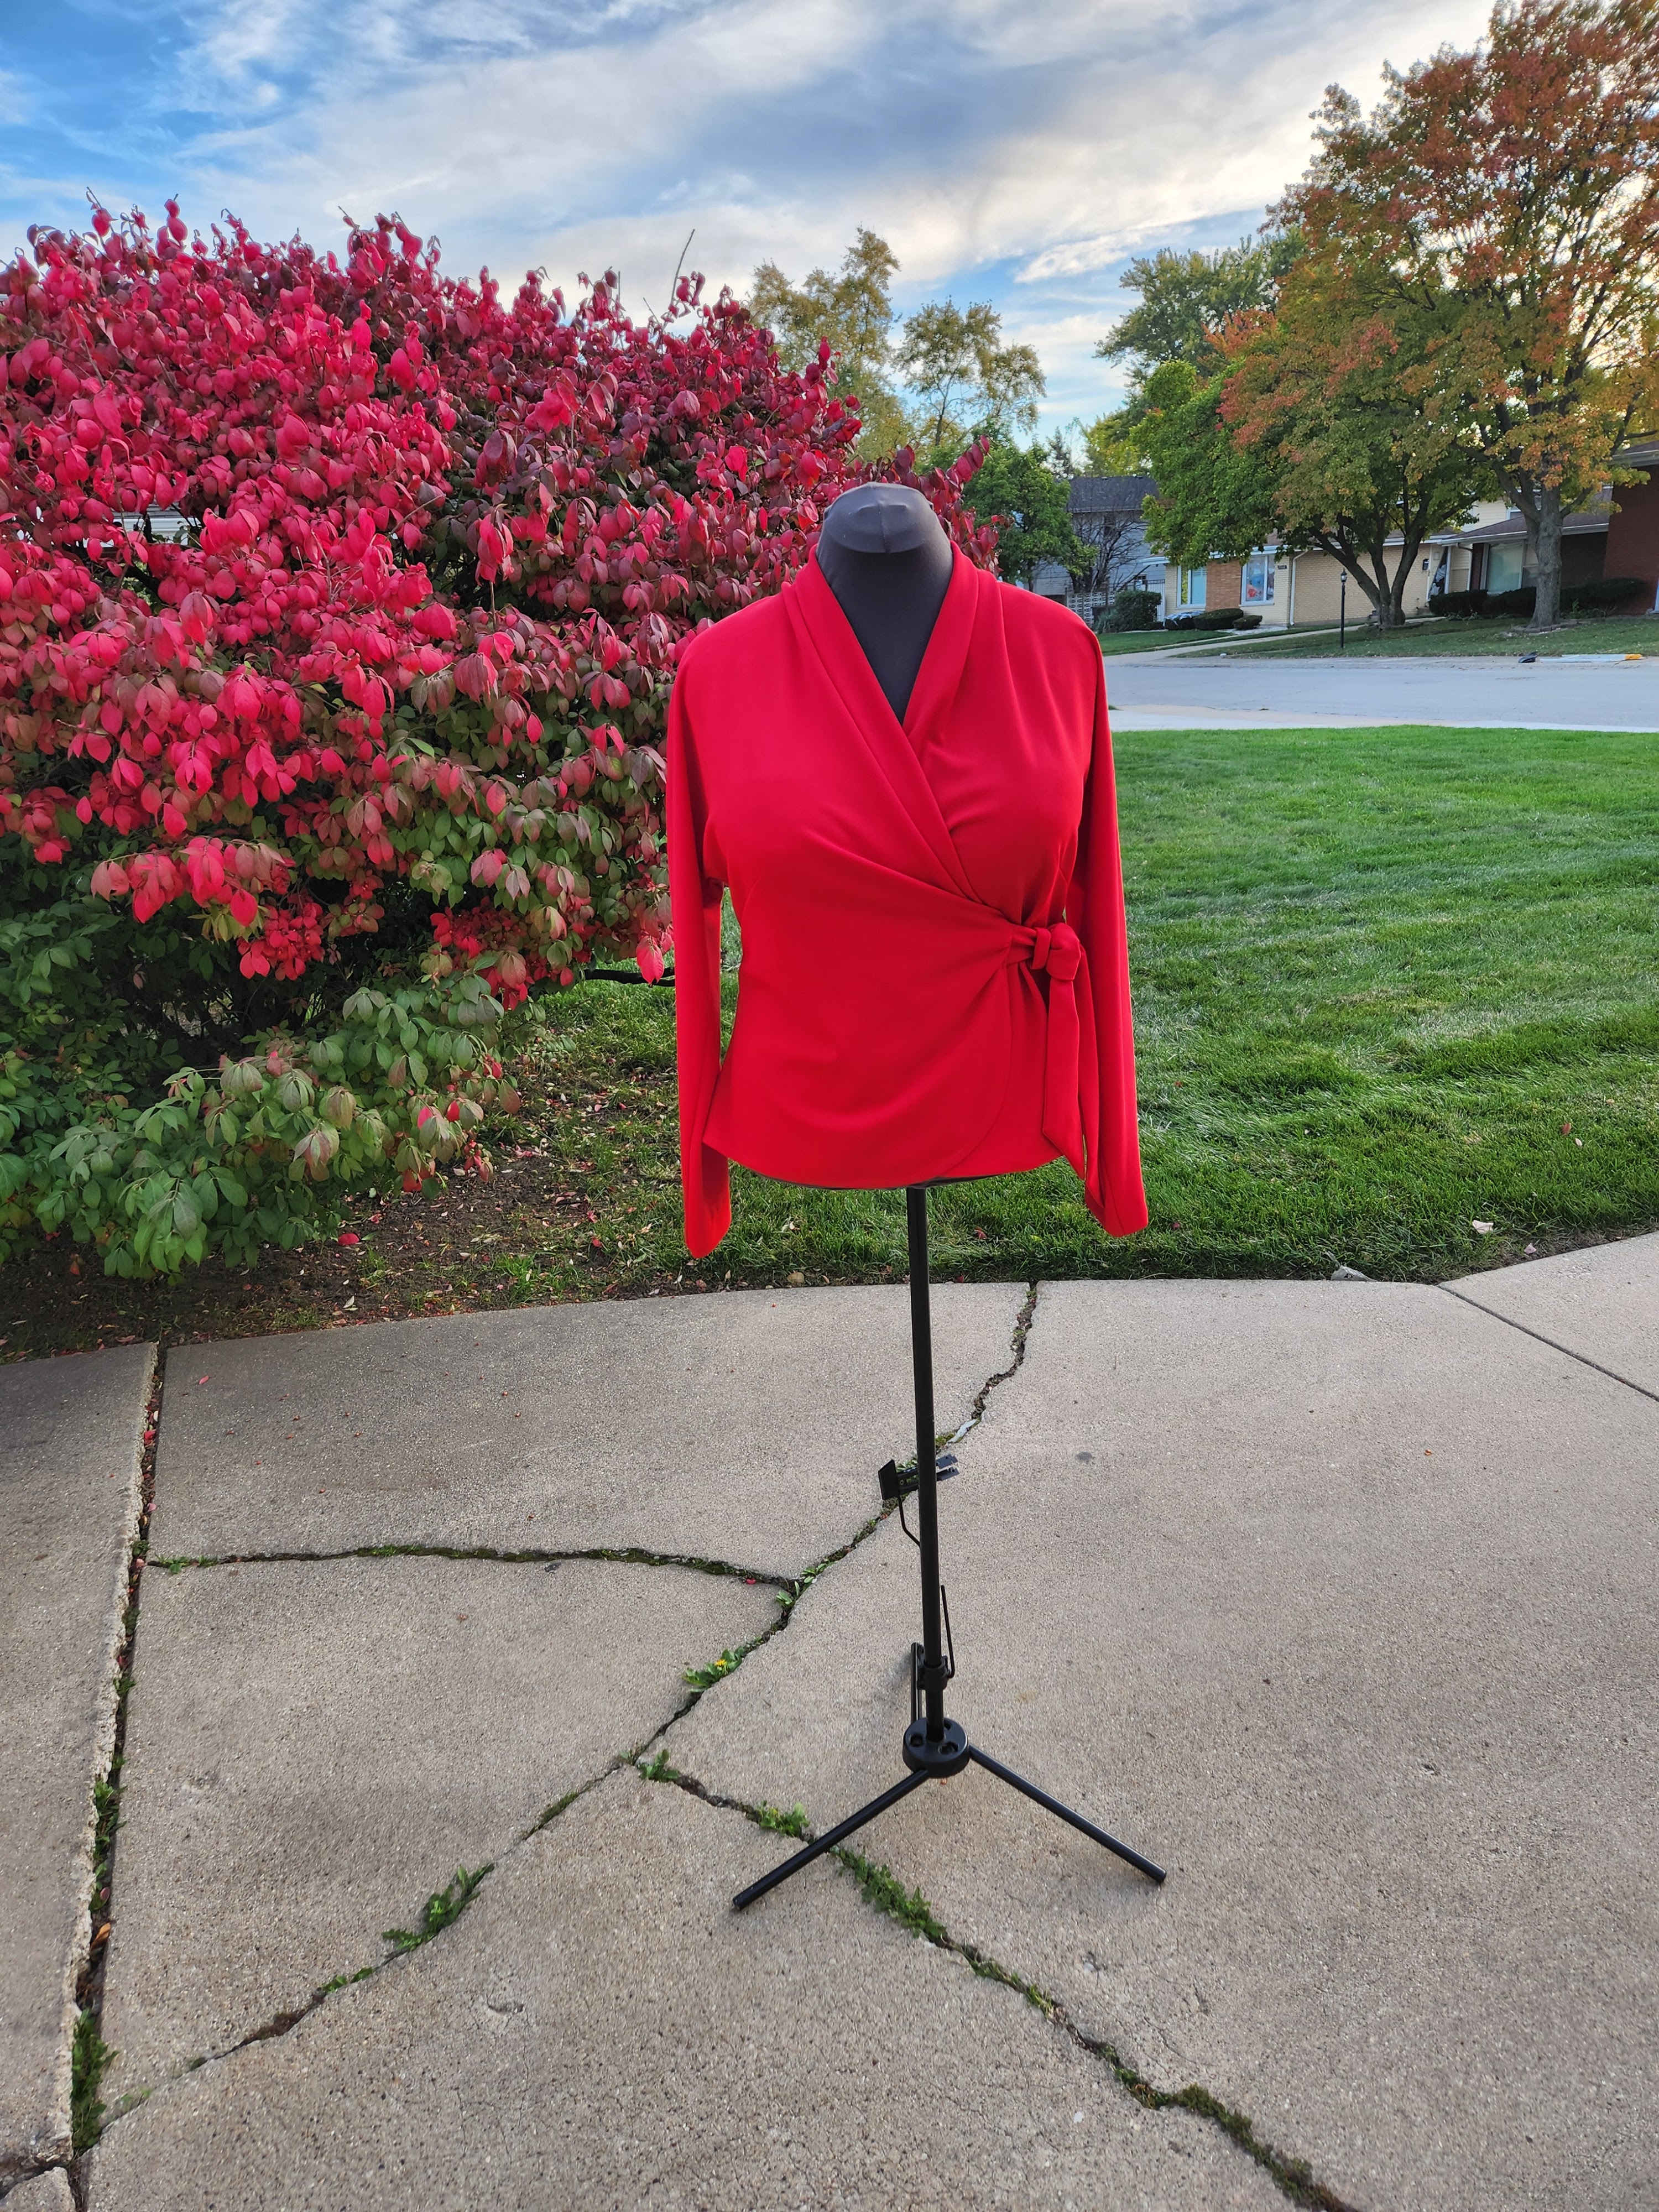

I used a ITY polyester/lycra knit from Fabric Mart Fabrics.  Love this fabric.  I purchased multiple yards in multiple colors.  Anyway, it was perfect for this bodysuit.

The instructions were clear and very easy to follow and so was the construction techniques.


After I examined my top and noted all of the issues, I looked back at the top modeled on the envelope and saw some of the very same issues.  My initial thoughts were, I didn't allow enough for the FBA.  But the model doesn't appear to need an FBA; yet the issue exist for her as well.

My first and most visible problem was the yoke.  I had adjusted it to include a partial FBA.  When I tried it on, it didn't fit across the upper chest.  My initial adjustment is below.

Yoke over the front top to show adjustment for FBA
 So, I ripped out the yoke.  Removed the adjustment from the yoke pattern, then cut another. To guarantee no gapping, I added clear elastic along the hem edge of the yoke before hemming.  That seemed to work.


Below is a picture of the modeled top on the envelop.  Take a look at the hem of the yoke.  So, it might be good  idea to add the elastic to help keep the shape of the yoke.  Again, another solution, may be to to lengthen it.  Maybe that will resolve the issue.


Next, I have vertical drag lines pointing to the shoulder.  My thought was the FBA and not enough length along the torso could be the cause.  Again, the modeled top has the same issue when the arm is in a relaxed state.

 
On my dress form the bodysuit looks perfect.  But on me a different story. I was talking to my friend, Rhonda, about the fit issues.  She suggested, cutting it off below the waist and then adding a new panty section with a little extra length.  Testing the adjustment to see if that works.  Well, I had already gifted this one to my sister.  She came over, tried it on, and it fit her with no problem. 


Sorry this is not a happy review.  I struggled with this one.  It took me hours to get it to a better state.  And I was still not totally pleased with the results of my efforts.  To complete the adjustment section of this post, my other adjustments are below:  FBA, prominent shoulder blades, and slightly forward shoulder.  No swayback or center back seam added.  It's a bodysuit and will be held close to the body.


I used the Sandra Betzina's FBA (no dart method).

I did make one design change, which I am very pleased. I used Rhonda's shirred wrist design to create a shirred forearm.  It looks great.  That will be the very next post.

I've put a lot of time into the bodysuit already, but I feel like giving it one more try!

Parting Shot:  I was gifted this snap fastener tape over fifteen years ago.  Never knew how I would use it.  So, instead of placing individual snaps on the closure, I used the tape.  Perfect.


Happy Sewing!
C

Tuesday, July 2, 2019

Another Sew Camp Project - McCall 7890 - View C


I wanted to plan my projects for this SewCamp experience.  I attempted to prepare by completing all steps pre-sewing before arriving at the Carriage Corner B&B.  I selected fabric and patterns, cut the patterns out and made fit adjustments, cut and sewed some muslins before bagging everything into individual ZipLoc bags.  Sounds good, right?


But even with all the prep work, there is still a chance of something not working out.  In this case, it was more my selection of fabric.  The second problem was way too much added for the FBA.  The first fabric was a nice medium weight denim.  It was too stiff and really not the best fabric for this dress.  With regards to the FBA, I actually made a muslin before cutting into my fashion fabric.  From that I just saw a few little tweaks.  The muslin fabric was lighter and softer.  The pleats worked just fine in the muslin fabric.

Now let's fast forward to SewCamp.  I'm at the sewing machine, ready to start making this cute dress.  I put the front and back together pieces together and finished the seams hong kong seam binging style.  So at this point, I'm ready to try it on.   The front of the dress was a hot mess with fabric bulging out in the bust area. So I tried and tried to make it better.  No good.  Next, I changed the pleats to gathers.  Still, no joy.  After hours of trying to make it work, I decided to move on to something else.


The next day, I only spent a little time on the denim dress before I decided to try making it in another fabric.  I purchased a medium light weight twill at JoMar shortly after arriving in Philadelphia.  I started out with the idea of making gathers instead of pleats and reducing the FBA even more. 

In the end, I was able to complete View C of this pattern.  So after that long story, let me give you some of the typical pattern review information.  So here goes.
McCall m7890

Pattern Description: Fitted tunic and dresses have asymmetrical button-front opening with band, double yoke, slightly dropped shoulder and shaped hem with length and sleeve variations. A, B: Elasticized sleeve. D:Purchased bias tape for armhole.

Pattern Sizing:  Available in sizing 6 to 22; I used size 16 with modifications.

Did it look like the photo/drawing on the pattern envelope once you were done sewing with it? Yes, it did.

Were the instructions easy to follow? There was nothing confusing in the instructions or the construction of the garment.  My problems were with the fit and with the pleats.

What did you particularly like or dislike about the pattern? 


Likes:
  • Asymmetrical button-front opening
  • Sleeve of view C; something different.  I could use it in other garments.
  • Side slits and back yoke
  • Pleats.  I really wanted them to work for me.  Maybe in a lighter fabric.
Dislikes
  • Pleats.  Grr..,
  • The upper part of the front band.  It gapes open a bit even on the model on the envelope.  I shorten it about 1/2", but that wasn't enough.

Fabric Used: First fabric used was a denim from Mood.  The second fabric, pictured here is a medium/light weight twill that I purchased at JoMar's in Philly.  It has just a little stretch in it.  My original plan was to make a circle skirt out of it.  But oh well.  I have some other textiles that I can use for that project.

Pattern alterations or any design changes you made: My pattern alterations were a messy FBA, a swayback adjustment with a center back seam and to shorten the upper front band by 1", a half on each side.  With my back adjustments there is still a few wrinkles across my back.  My only design change was from pleats to gathers on the upper front.

Would you sew it again? Would you recommend it to others?  I have a gingham that I thinking about trying.  Maybe the third version will be perfect.  And yes, I recommend it to others.  Each of us has different fit issues.  So that's something that always has to be worked out.  Some may have to work a little harder  than others to make it work.  But, it's not a difficult dress to make.

Conclusion: All was not lost.  I think I ended up with a decent dress, not perfect, but wearable.  BTW- My first attempt at making the dress didn't completely go to waste.  I gave it to Gaylen.  She has a little one (grand-daughter) that she can make something for.


That's it for now.  I do have a few more pattern reviews.  And I want to, at least, post a mini review of the first six months of 2019.

Happy Sewing!
C

LinkWithin

Blog Widget by LinkWithin