Some patterns include zippers as a design element on the garment. Sometimes the design element has no other function. It's simply for visual appreciation. The pattern (S5102-View A) that I used had seven zippers: six for "decoration" and the other to get in and out of the pants. I decided to only use three. And all are functional.
The first step to making the two front, hip zippers functional is as follows:
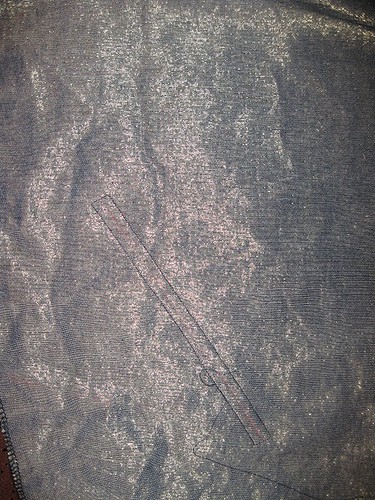
Step 1 - I traced the zipper line on the wrong side of the pants. This is my guide for sewing the rectangle for the zipper. (Sorry it's a little hard to see here, but I hope you get the picture.)

Step 2 - On the right side of the pant, I place the pocket square. (You can determine the size of the square based on the position of the pocket and size of the opening.) This is done before sewing the rectangle for the zipper.

Step 3 - I stitched a rectangle where the zipper would be positioned. (shorten the stitch length 2.0.) Start stitching in the middle of one of the long sides of the rectangle. Make sure you complete the rectangle.
Step 4 - 4. After the rectangle is stitched, cut along the line through the pant and pocket layers stopping about 1/4 inch away from the short sides of the rectangle. At each corner, make diagonal cuts to form a small triangle. Be careful not to cut through the stitching.
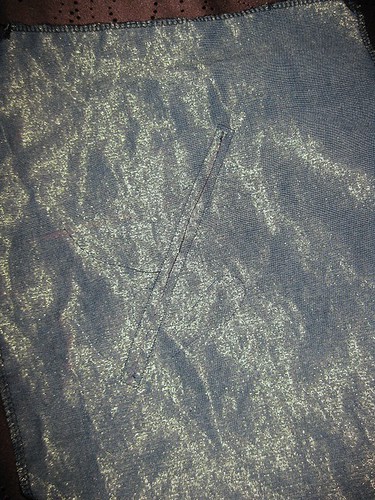
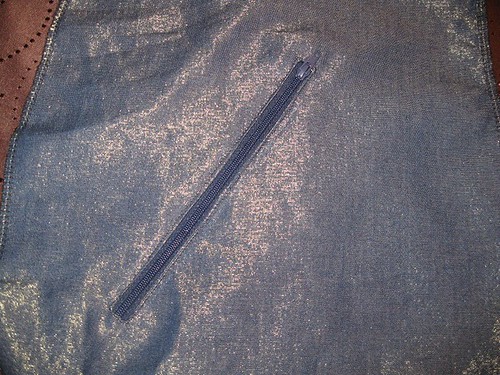
Step 5 - Pulled pocket through the opening and form the rectangle with your fingers. Then press.
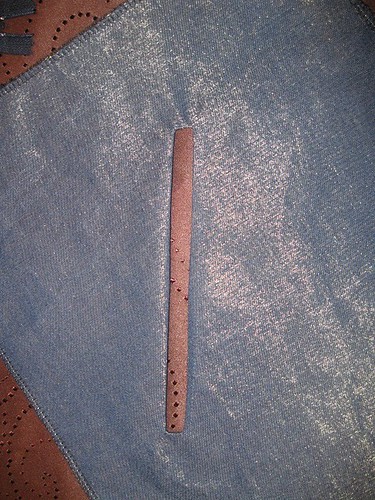
Step 6 - Place zipper under pant.
Step 7 - When the zipper is correctly positioned, pin it to the opening.
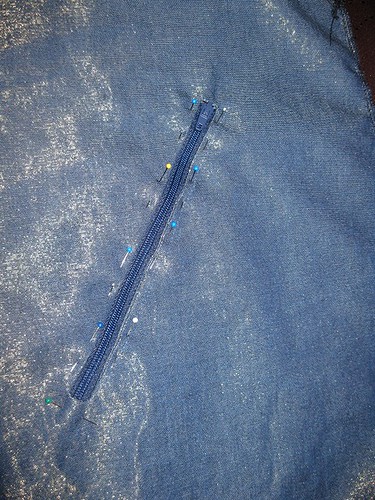
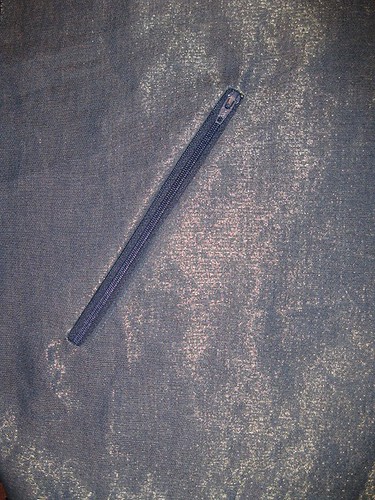
Step 8 - Sew the zipper in place.
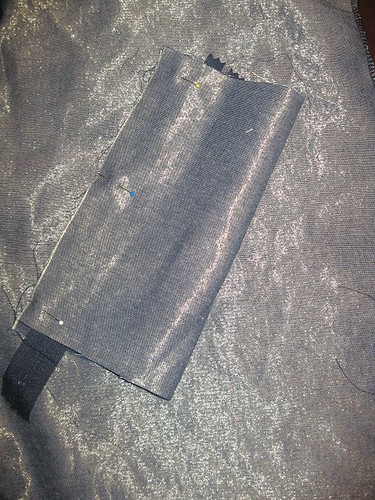
Step 9 - Turn pant to the wrong side. Pin the lower edge to the upper edge making a nice little pouch. Sew the two side and the upper edge of the pocket. If the zipper is extended past the pocket, trim the excess.
Step 10 Serge around the stitch edges. Your done.

Next, my review of pants and skirt made using Simplicity 5102.
Happy Sewing!
C
Great tutorial! Thanks!
ReplyDeleteThanks for such a great tutorial!
ReplyDeleteYour tutorial is crystal clear. Thanks for taking the time to share it!
ReplyDeleteGreat tutorial. Very clear! I will try this on my next pair of pants.
ReplyDeleteGreat tutorial and a great pair of pants too!!
ReplyDeleteExcellent Tutorial. Thanks
ReplyDeleteYou're a great teacher!! Very nice instruction and awesome pants!!
ReplyDeleteGreat tutorial. Thank you. I'd like to try this on a skirt.
ReplyDelete