Good evening my friends and followers,
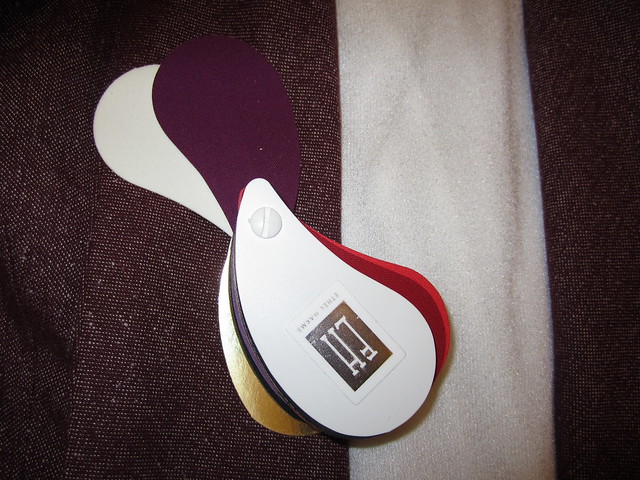
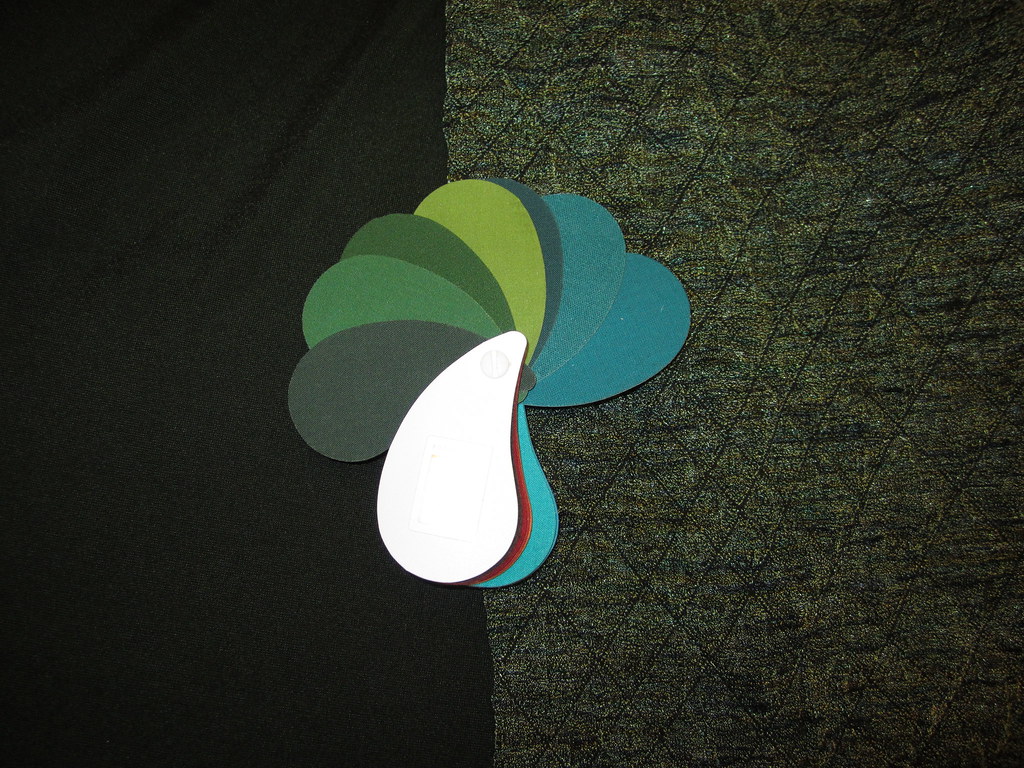
Last year I had a color analysis at the Palmer/Pletsch retreat. I just love the handy little color palette. It conveniently fits in your pocket or purse. I carry with me when I shop for fabric. It is also handy for creating color palette combinations.
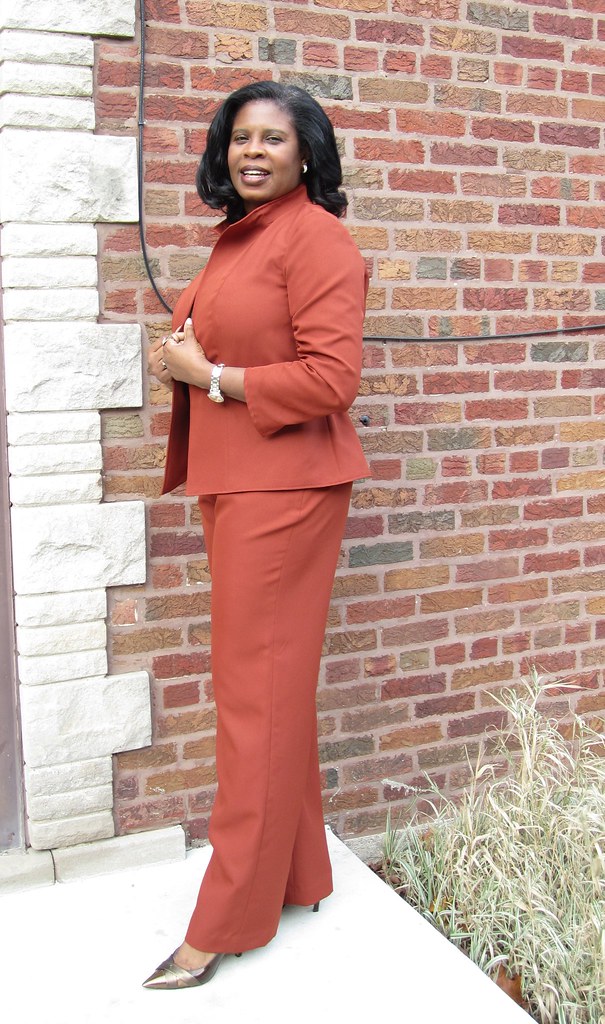
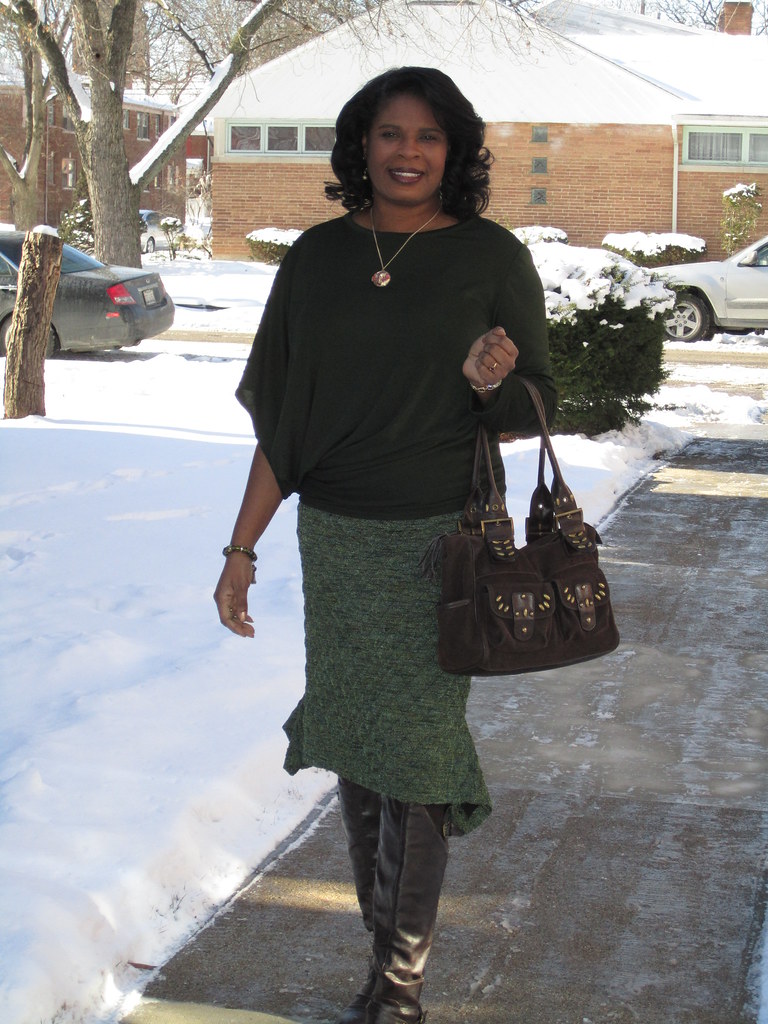
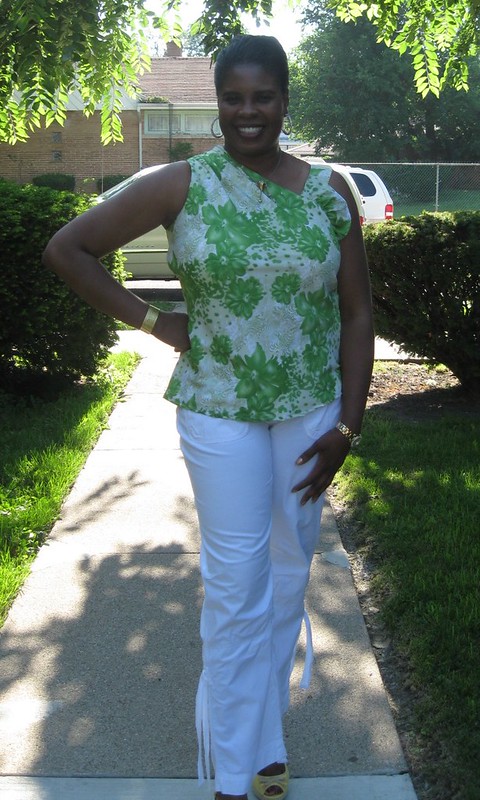
Anyway, while shopping at Vogue, I found a couple of beautiful green fabrics. Perfect for a quick outfit. So I decided to make
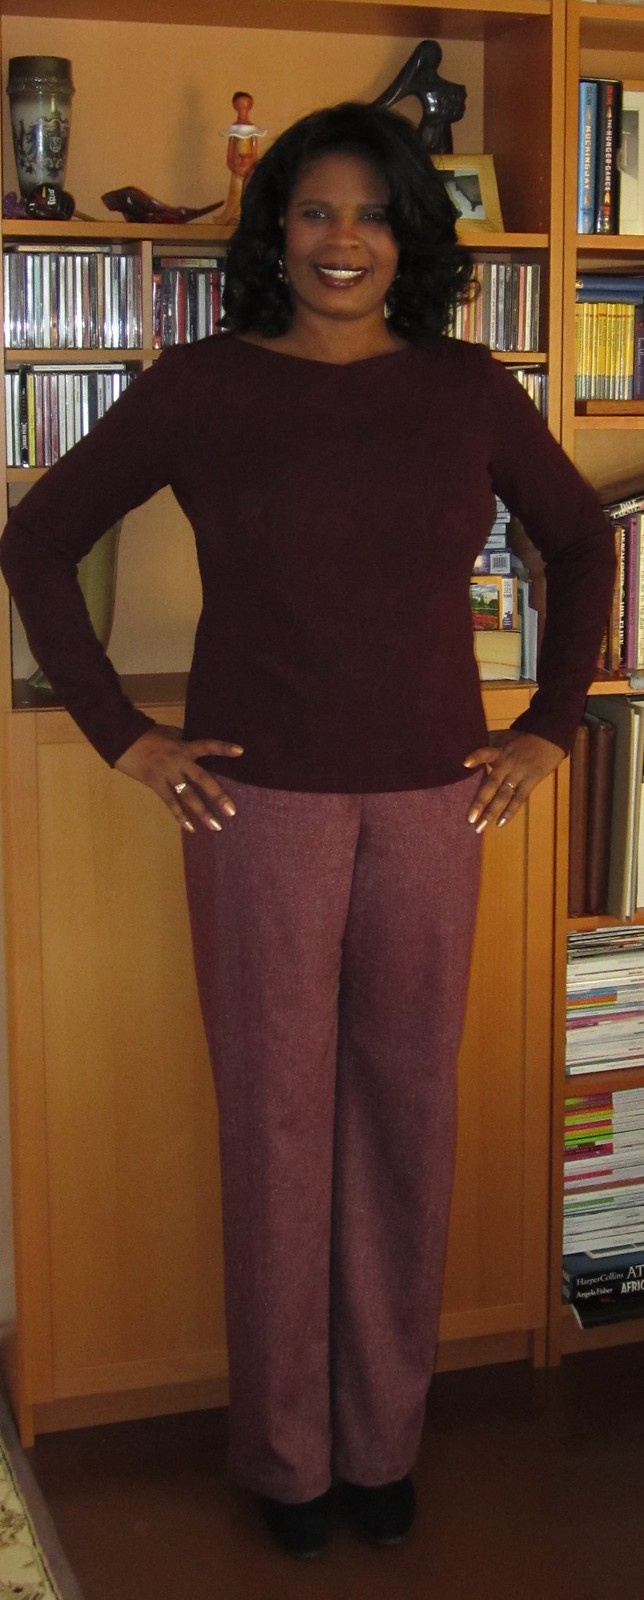
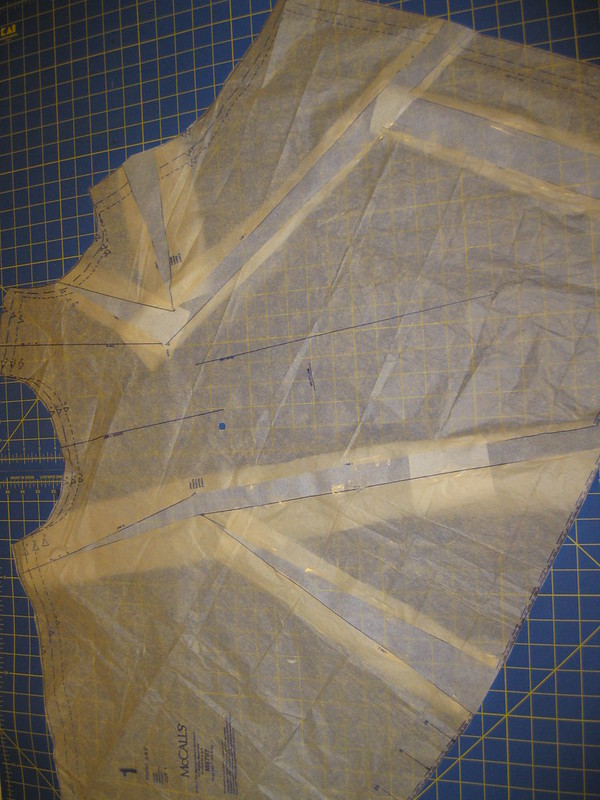
McCall's 6797 and try another Rhonda Buss design. Today's reviews are in the green.
BTW-Getting decent pictures is becoming more of a challenge. The ole work schedule is still getting in the way of sewing and all things related. McCall's 6797 has been on my list since I saw it on the McCall's catalog last spring.
I am very pleased with the results. It turned out better than
McCall's 6400, which I made three times in 2011. Palmer/Pletsch did a great job with explaining how to do a full bust adjustment. Additionally, it includes a back pattern. So without further delay, here is my review of McCall's 6797.
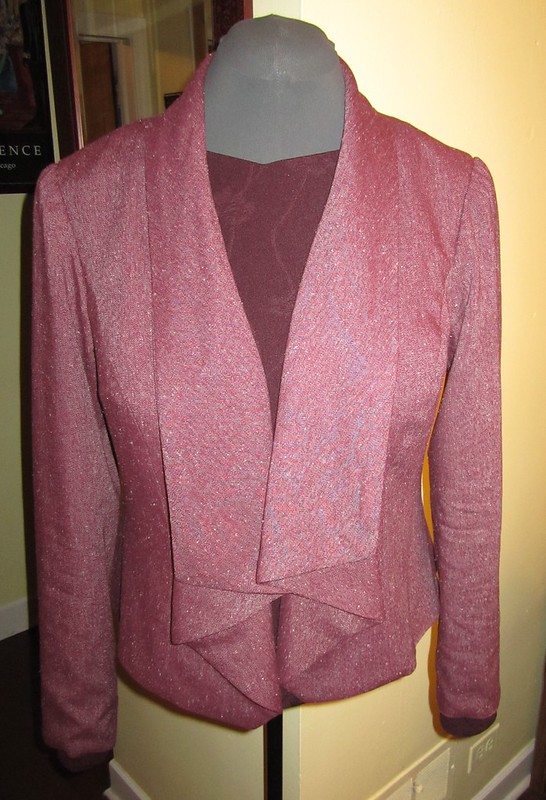
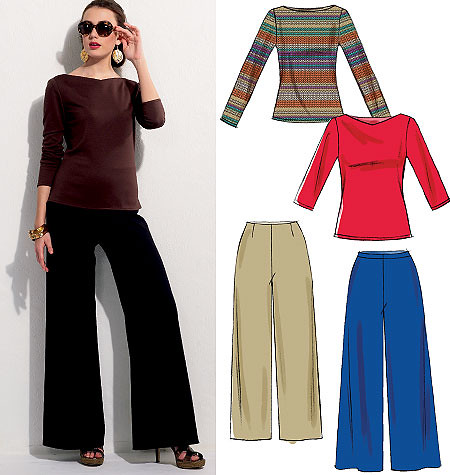
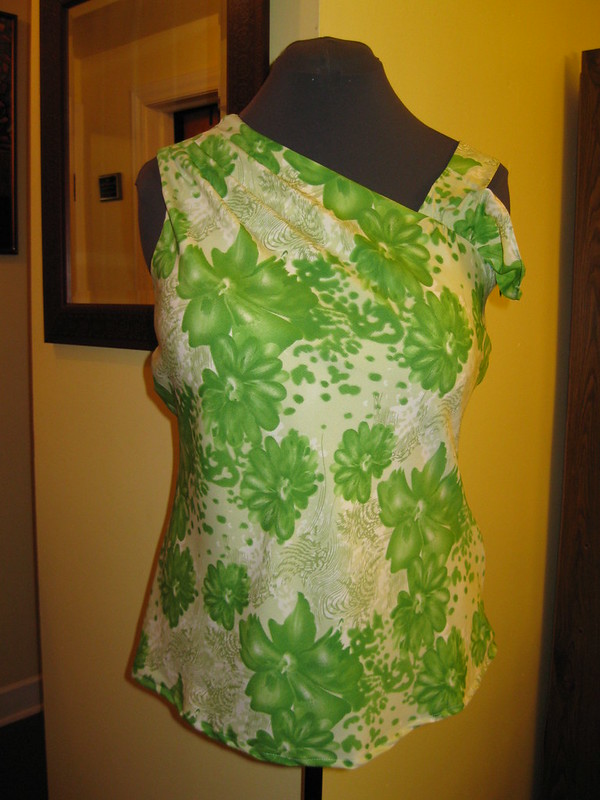
Pattern Description: MISSES' TOPS: Pullover tops (loose-fitting through bust) have
neck band, front/back extending into right sleeve forming drape, shaped
hemline and narrow hem.
A: armhole band.
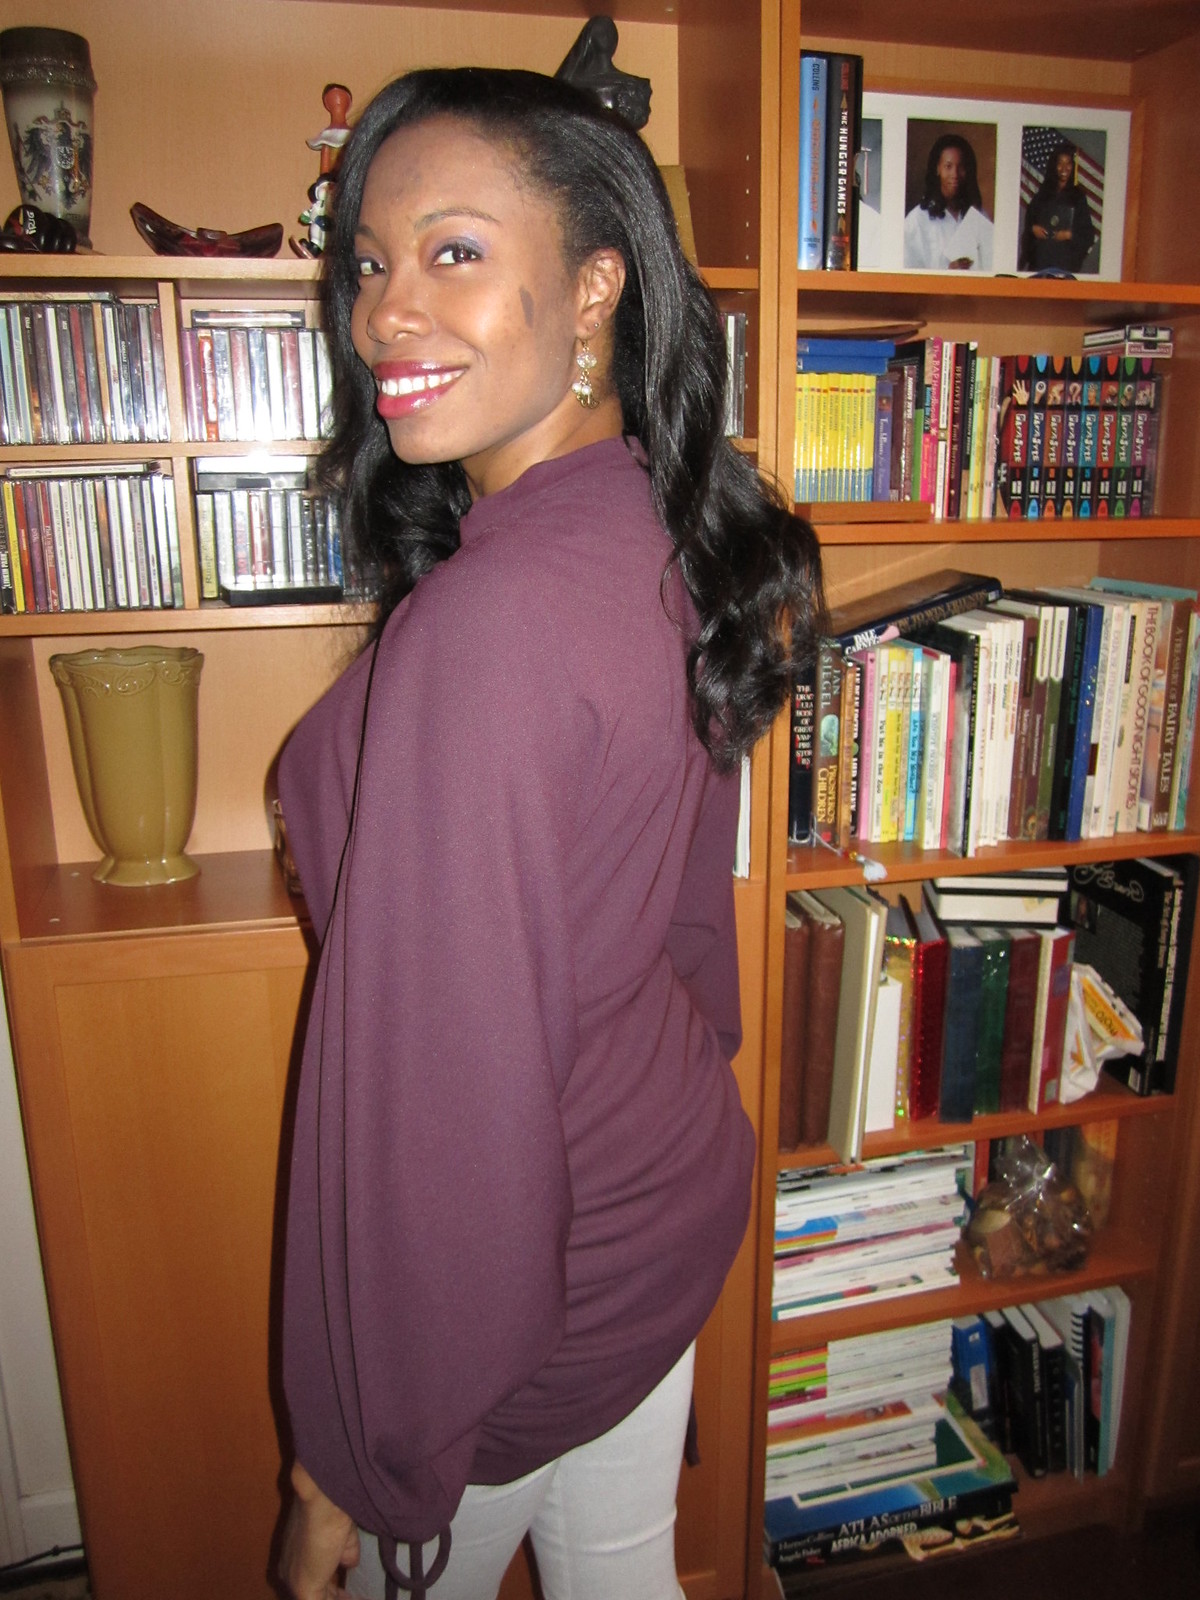
Pattern Sizing: XS to XXL; I used size M. Review B.
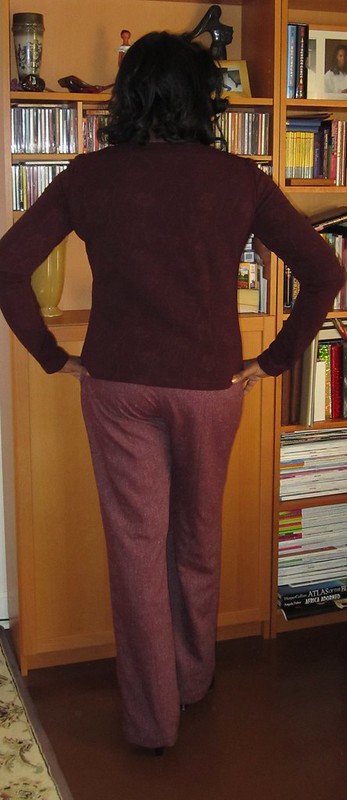
Did it look like the photo/drawing on the pattern envelope once you were done sewing with it? Yes it did. I compared my top to the photo on the envelope. I noticed that shoulder seam is slightly beyond the shoulder bone on the model. My fits the same way. For the next top I'll reduce the length of the shoulder so that the end of it rest on the bone. I think the extended length is good for view A.
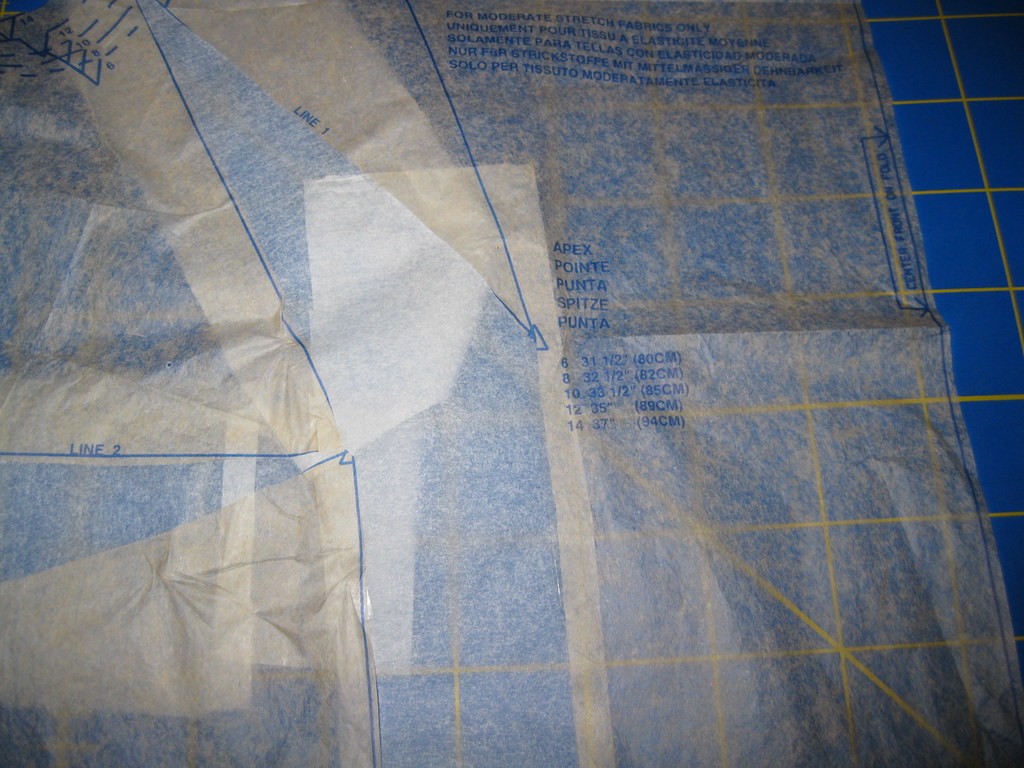
Were the instructions easy to follow? Yes, they were. Excellent instructions with some great tips. I've always loved how they include detailed instructions on how to do the FBA. In this case, they were very helpful.
What did you particularly like or dislike about the pattern? My likes: the style, the instructions, and how easy it was to construct the top. No real dislikes - I mentioned to shoulder seam being a little long but that easy to fix.
Fabric Used: Novelty polyester knit from Vogue on Roosevelt Road.
Pattern alterations or any design changes you made:I made if FBA. I reduced the alterations for my bust because this is a stretchy knit. Unlike woven fabrics I find that if I do the usual alteration, it's too much excess fabric across the bust area. I also added about 1 1/2" to the sleeve length. It's a little too much and I had to tuck it under. I'll make the adjustment later.
Would you sew it again? Would you recommend it to others? Oh yes, I will definitely sew it again and I do recommend it to others. It's a great top for beginners, especially those who want to understand how to make adjustments. Palmer/Pletsch includes them for front and back fit adjustments.
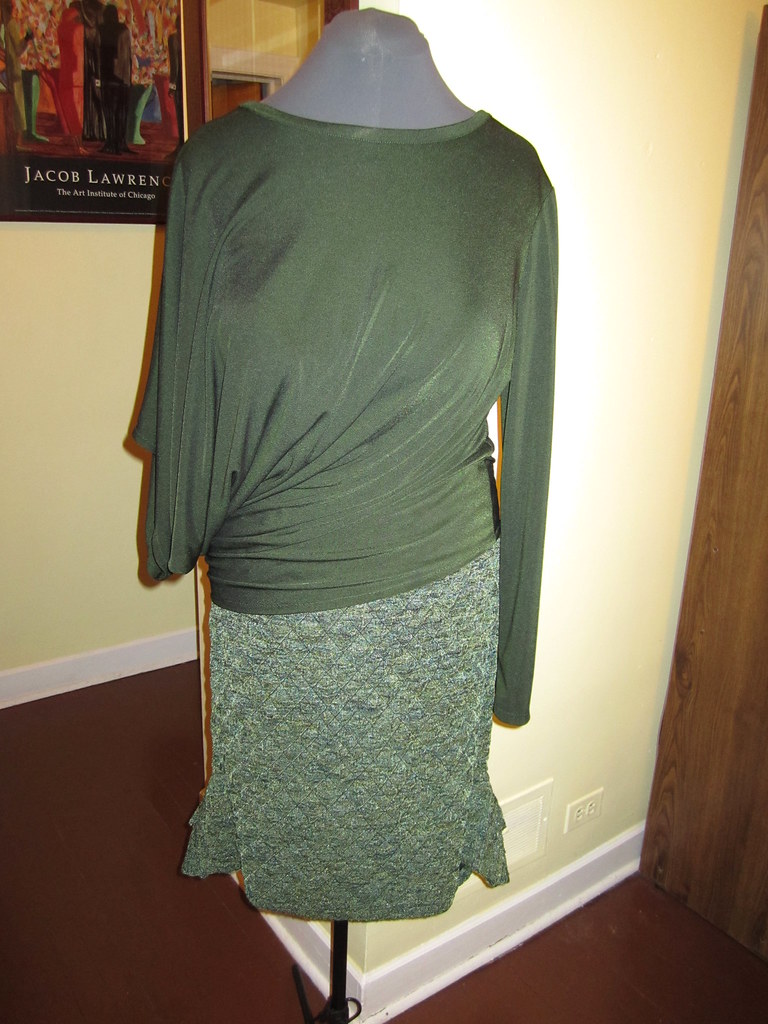
Conclusion: I really like how this top fits and looks. It was easy to adjust the pattern and PP provided good instructions and great tips.
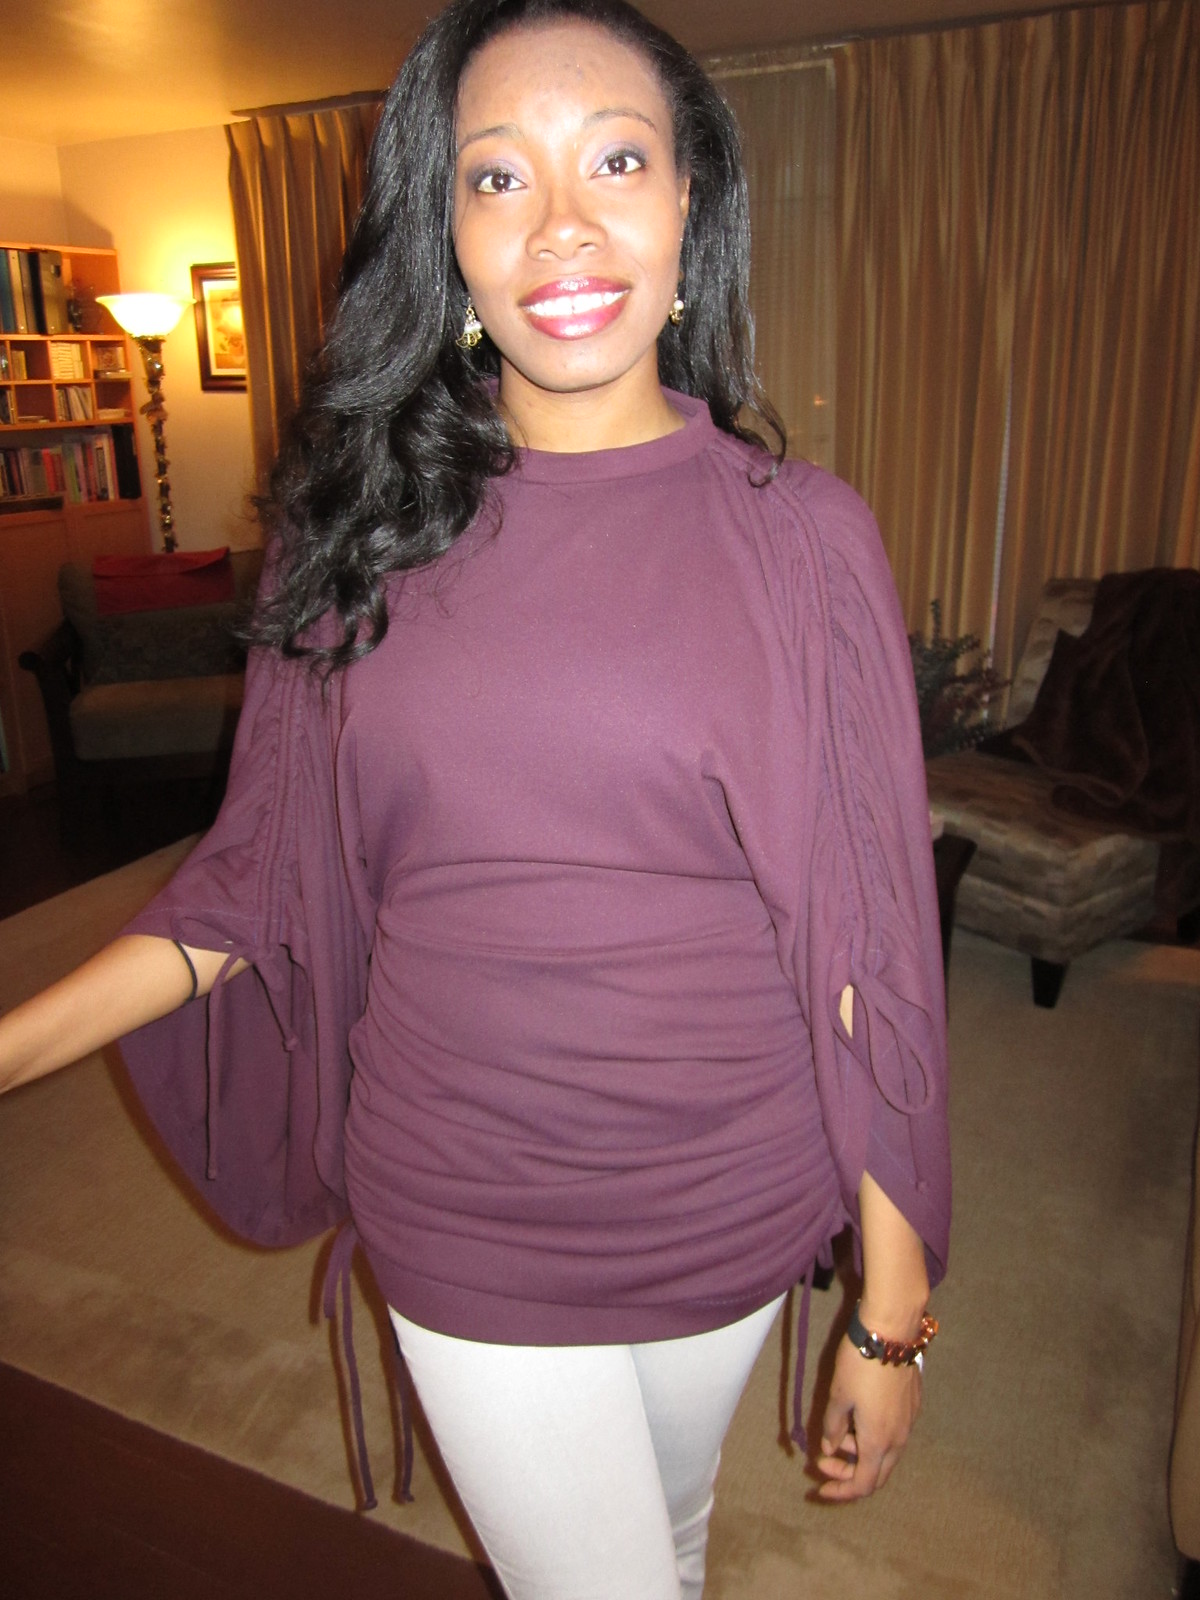
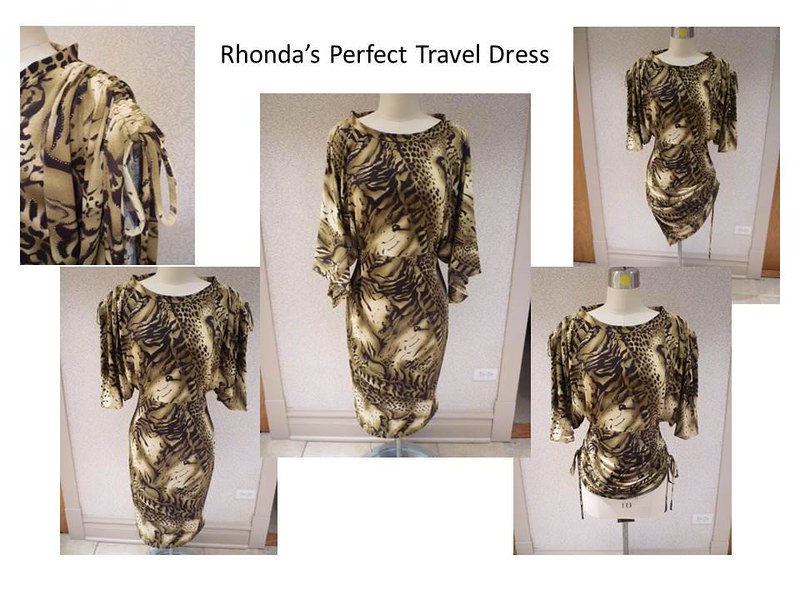
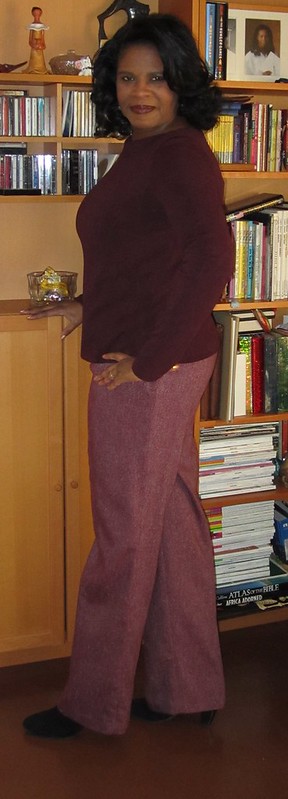
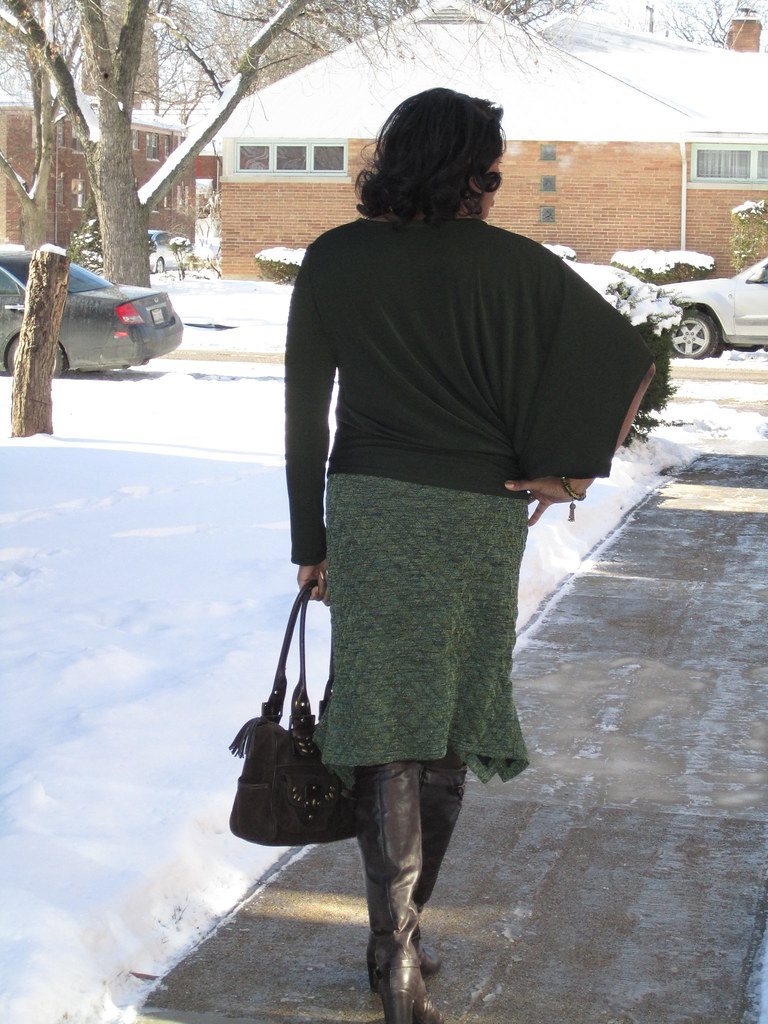
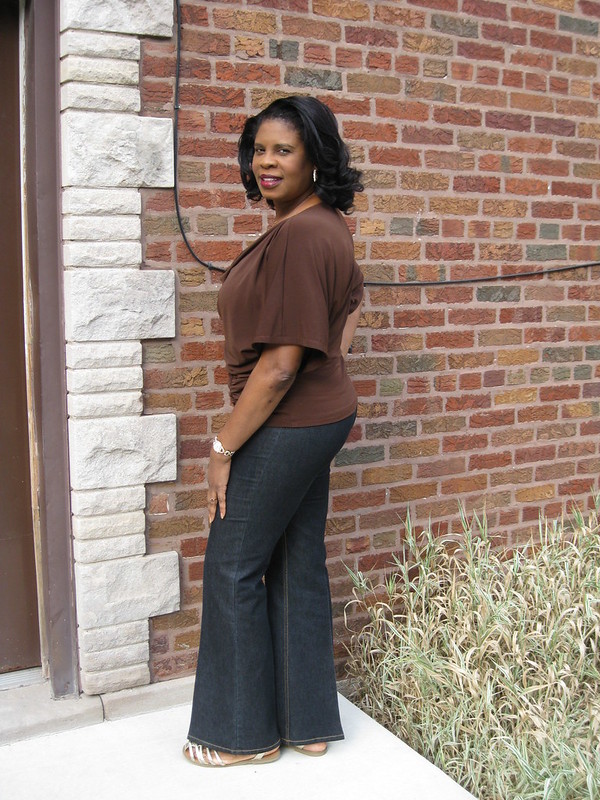
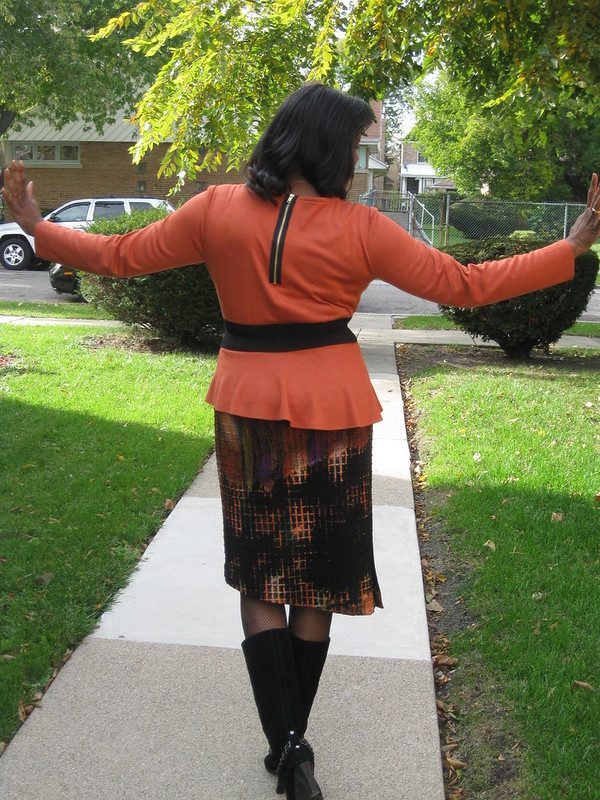
My second review is on another Rhonda Buss design. A few months ago, Rhonda wore this cute skirt to the Haute Couture Club meeting. I really liked it and wanted to try it for myself. When I asked about how she made the godets at the hem, I forgot to ask about the waist and how she finished it. I just assumed she added elastic to finish the waist.
Here's my review on how I made my rendition of Rhonda's Godet knit skirt.
First, I wanted to make sure I make the proper reference to the style and details of the skirt. I looked up
godet. It's basically an extra piece of fabric added to the hem of a dress or skirt to add fullness.
Pattern Description:
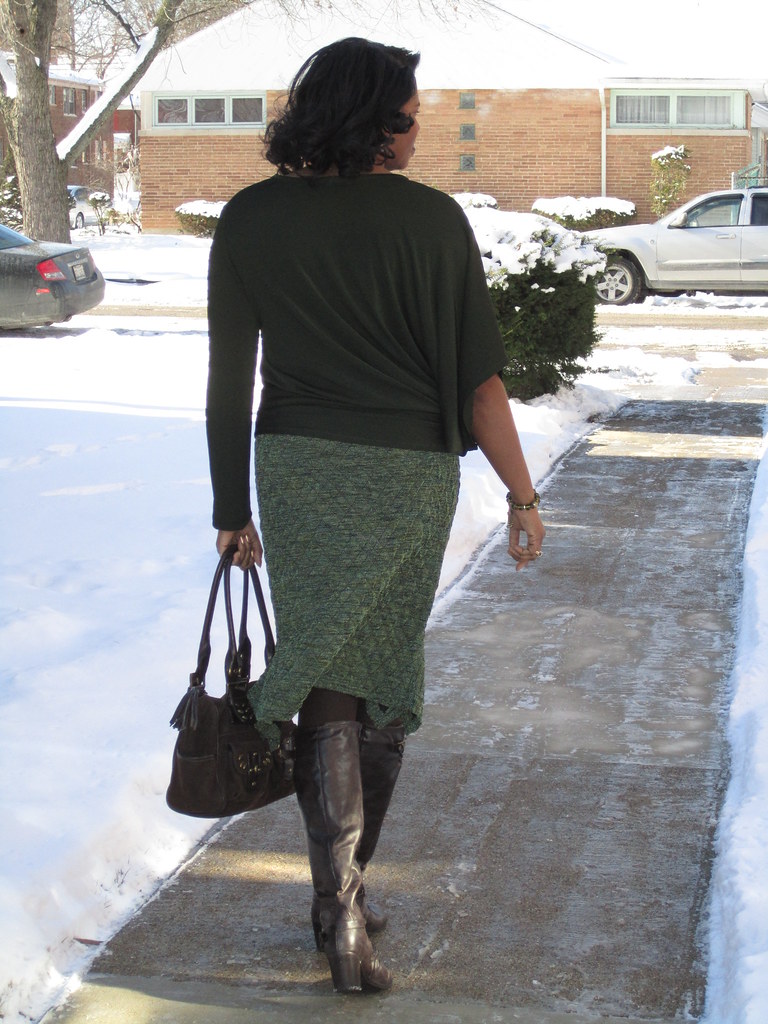
I describe this skirt as a below the knee, knit skirt with an elastic waist; rectangle godets at the hem.
Pattern Sizing: You measure it. I started with my hip measurement as the fullest part of the skirt. From 10 inches below the waistline, I tapered up to the waist reducing it by 2 inches on each side. The front and back are cut the same. The length is just below my knee.
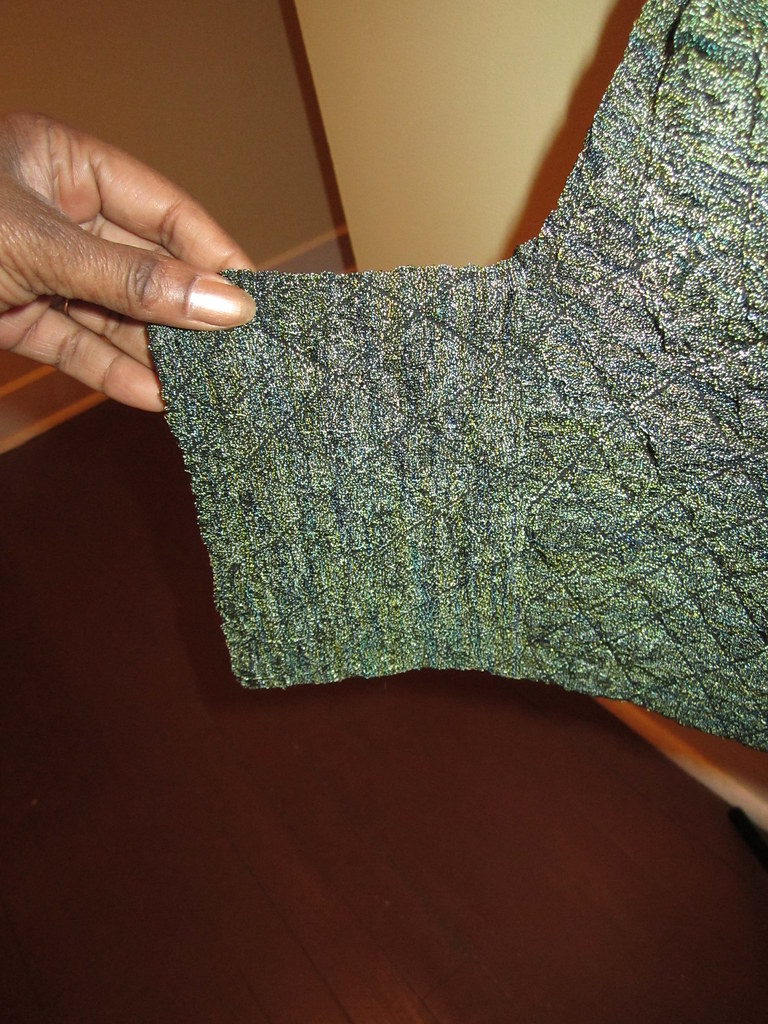
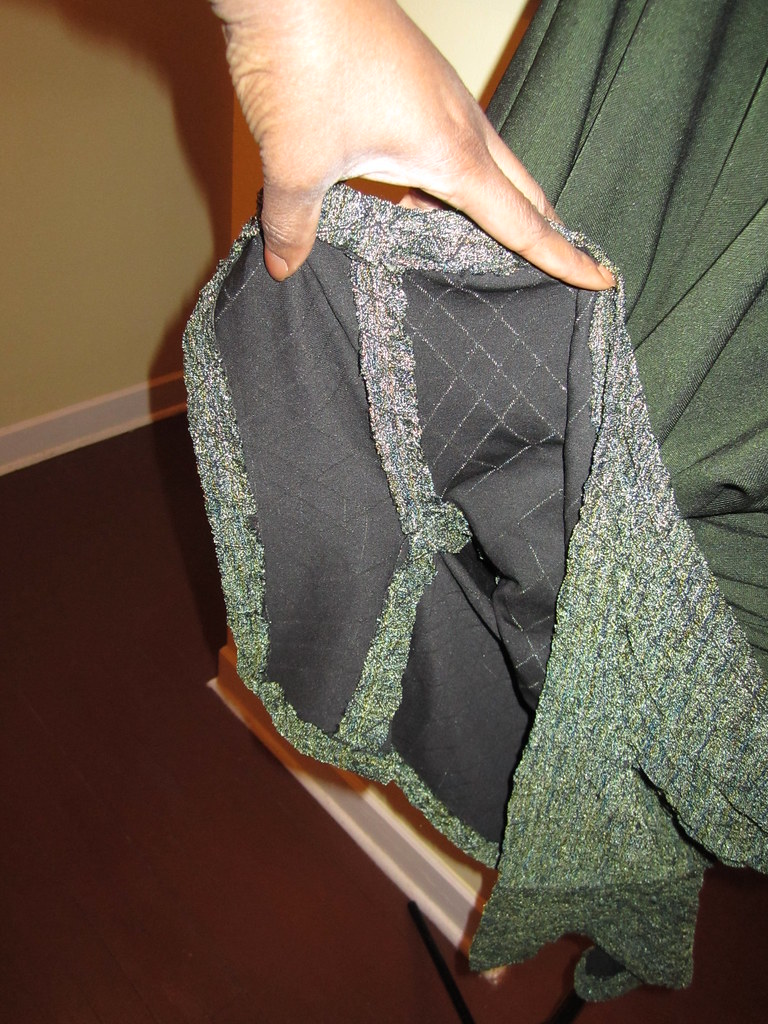
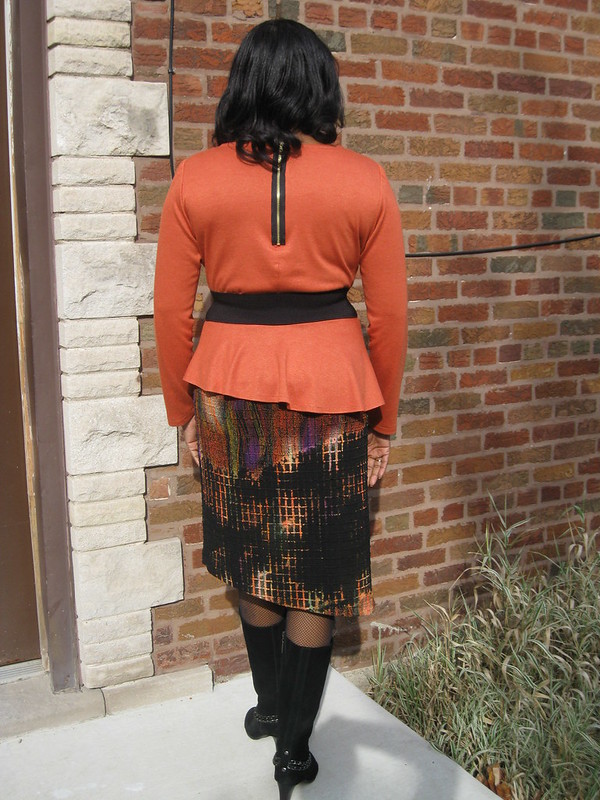
The instructions I sewed the front and back together from the top to about 8" from the bottom. This is done to both sides. The godet size that I used was 16 1/2" X 7". I cut a little slit to mark where I wanted to stop/start sewing at the side slits on the skirt. This is the half mark in the godet. I attached half of the godet to each side of the skirt front and back on both sides. Press all seams open. Next, I finished the hem using
mitered corners for each side of the godet. To finish the waist, I made a casing leaving about 3 inches to insert 1" unroll elastic. The length should be 2" smaller than you waist. I just wrapped the elastic around my waist to fit then reduce the length by the about 2". Thread elastic through casing, overlap and stitch. Then close opening in casing.
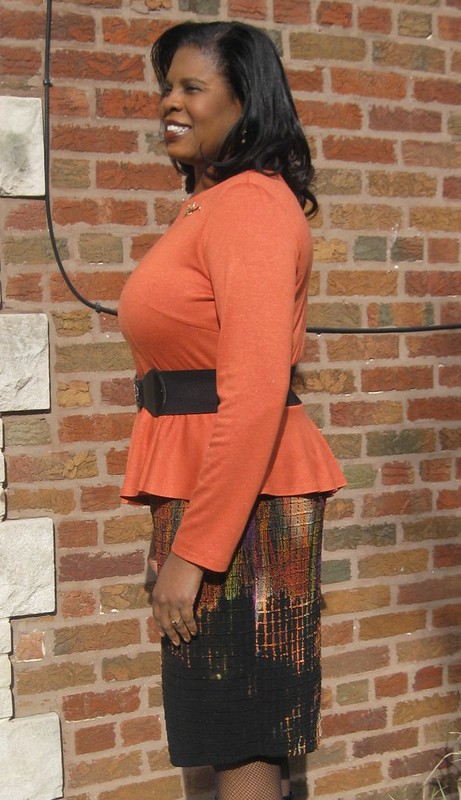
I love how the skirt turned out and will definitely make it again. Try it. Play around with the length of the skirt and the width and length of the godets. I used a novelty knit from Vogue. It's similar to the knit that Rhonda used.
I recommend drafting your own little knit skirt. It's easy and takes very little time. I was able to finish mine from start to finish in 1 1/2 hours.