Friday, January 17, 2014

Full Bust Adjustment and Dart Rotation - Tutorial


I wondered if it was worthwhile to post an entry on full bust adjustment (FBA) and dart rotation.  The internet has tons of guides for FBA.  But, I haven't seen many FBA and dart rotation tutorials.  At the Palmer/Pletsch retreat, Marta Alto taught a segment on dart rotation and how it could be used as a style element as well adding form and shape to a garment. 

Although, I tried dart rotation in the past, her lesson helped build my confidence to try new ways to use this technique when making a FBA.  It is most challenging to make a FBA on a one piece front bodice.  Sometimes the dart is too large and it is difficult to form without dimpling or sharp points.

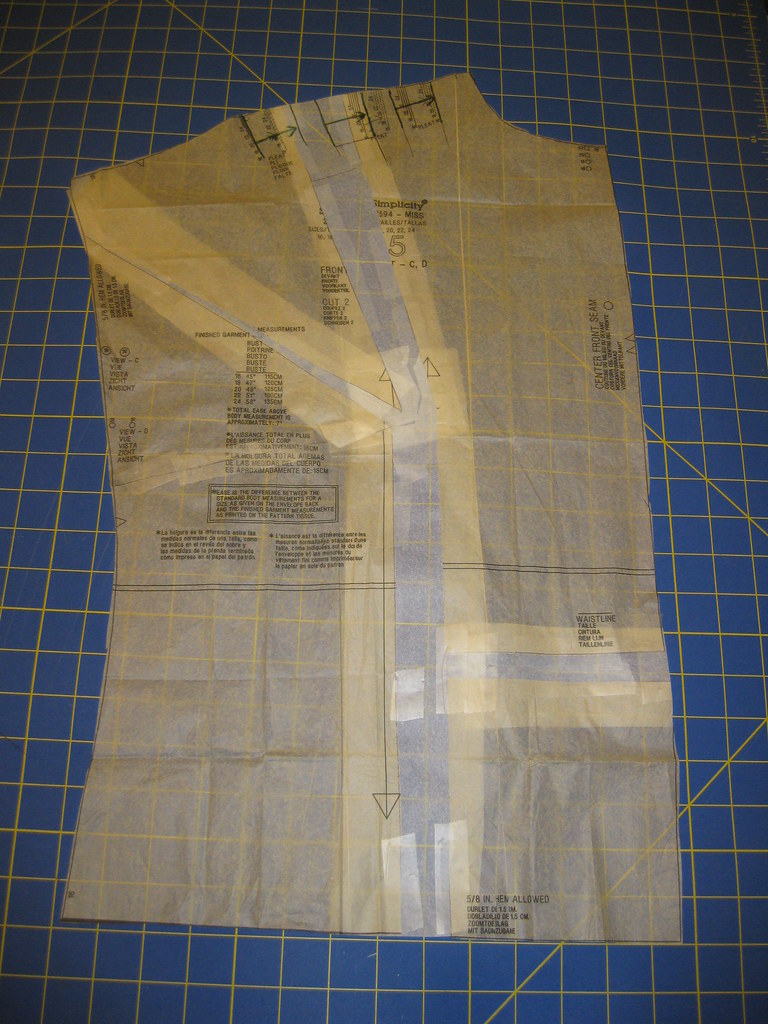
Today I'd like to share some examples of how I made a FBA combined with dart rotation.  My first illustration is a simple one.  It is Simplicity 2594-C, top with pleats below the yoke.


1. Make the standard FBA on the bodice.  I used the Palmer/Pletsch "Y" method because the FBA was greater than 1 inch. 


2.  Fill in the FBA with tissue paper, leaving one lege of the "Y" and the dart open.


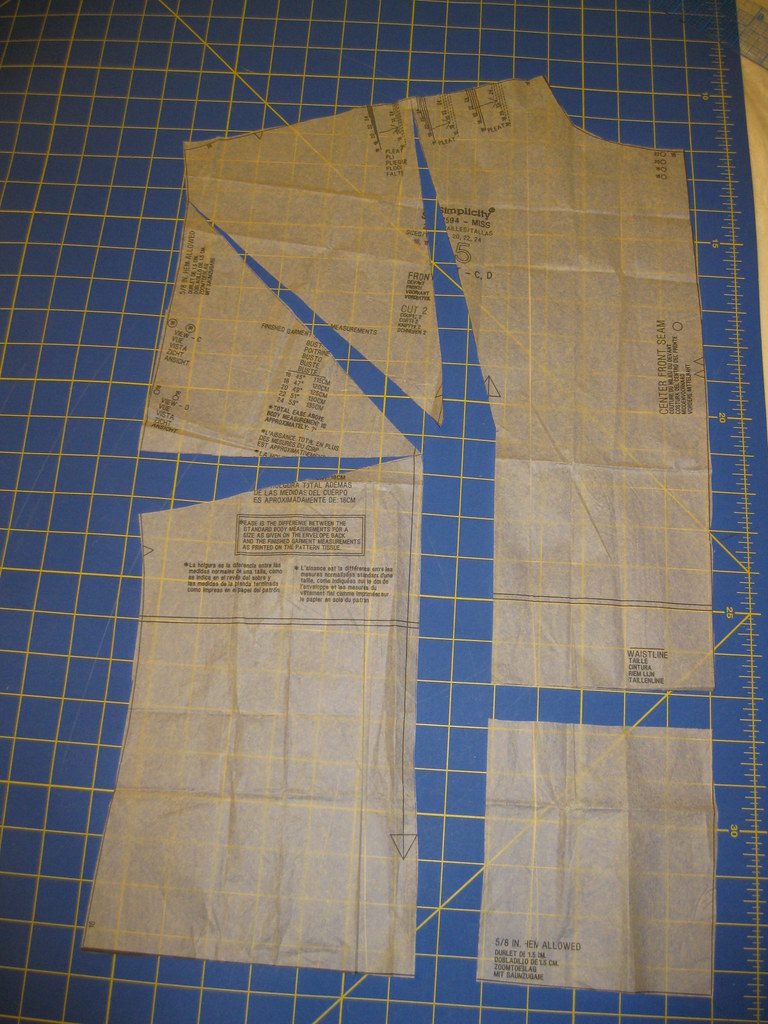
3.  To close the dart, slash the second leg of the "Y" to open the end at the second pleat.  Next  close the dart and tape it together.  You may need to cut/tear the added tissue to fully rotate the dart into the
4. Next fill in the rotated dart, which is now part of the pleated area of the top.  Redraw the stitching lines for the pleats, evenly distributing the excess.


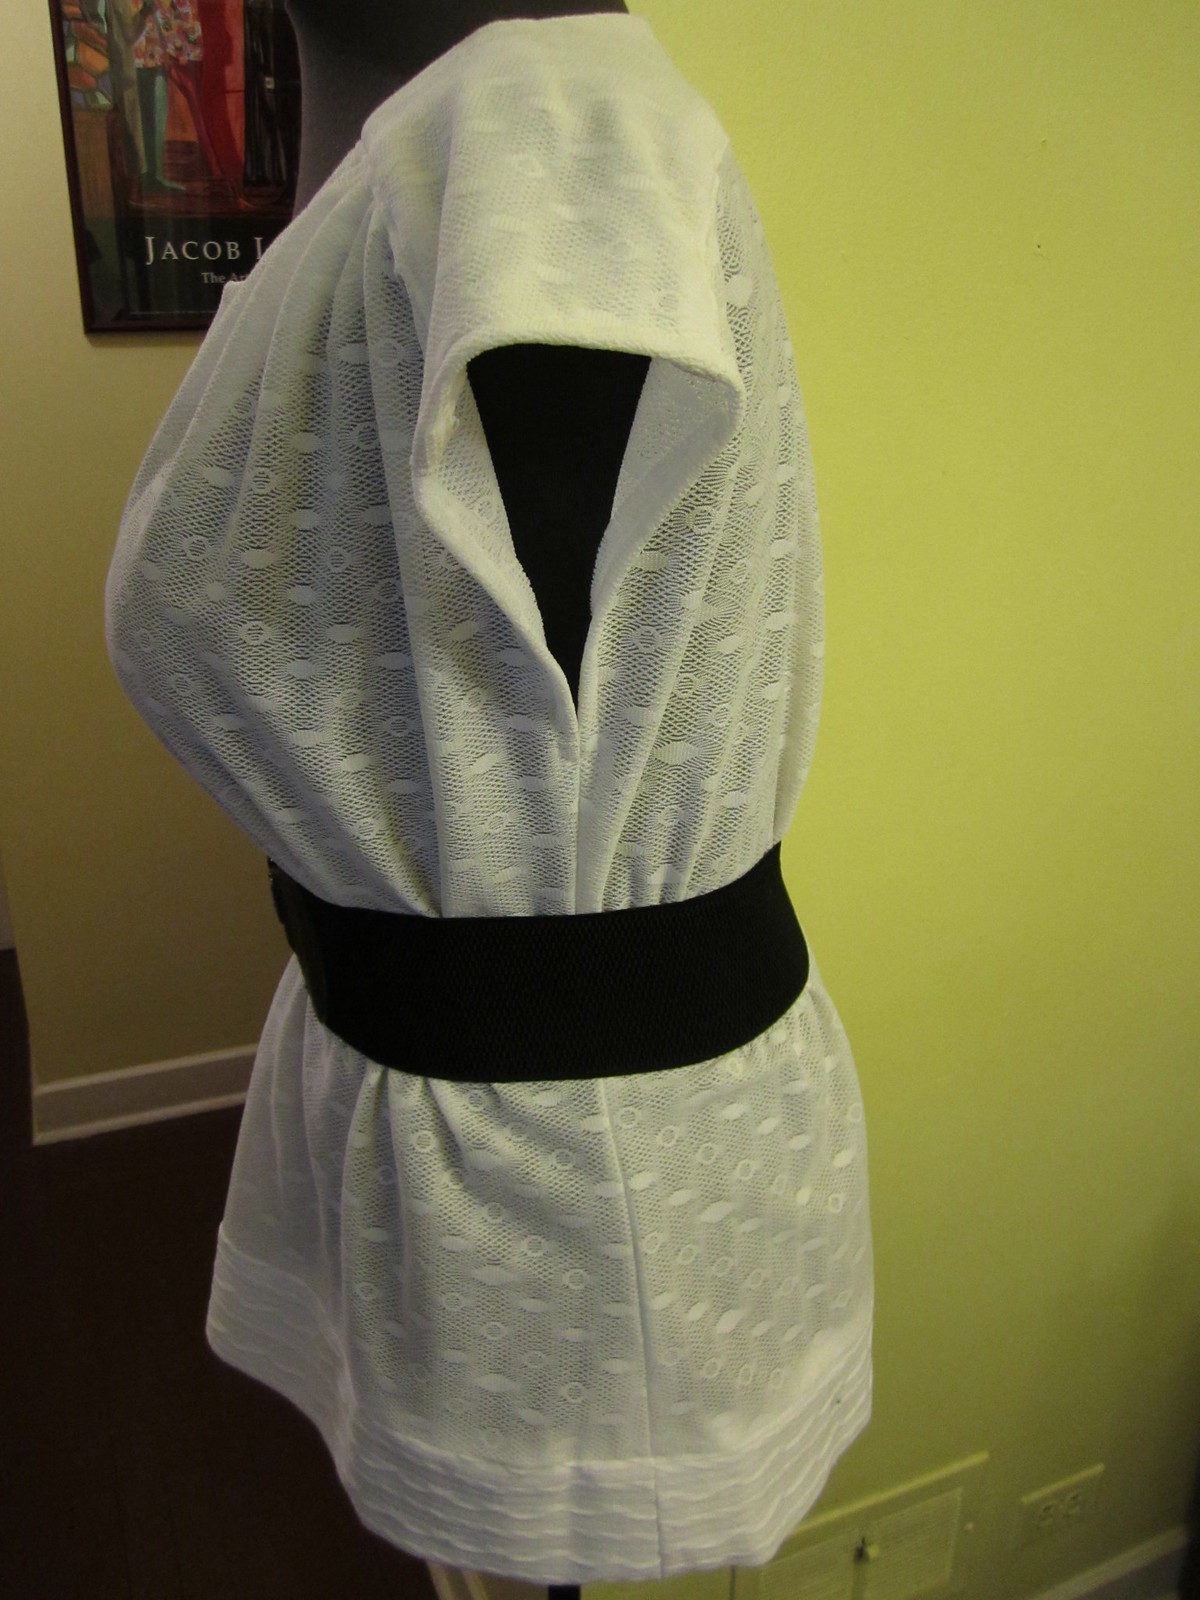
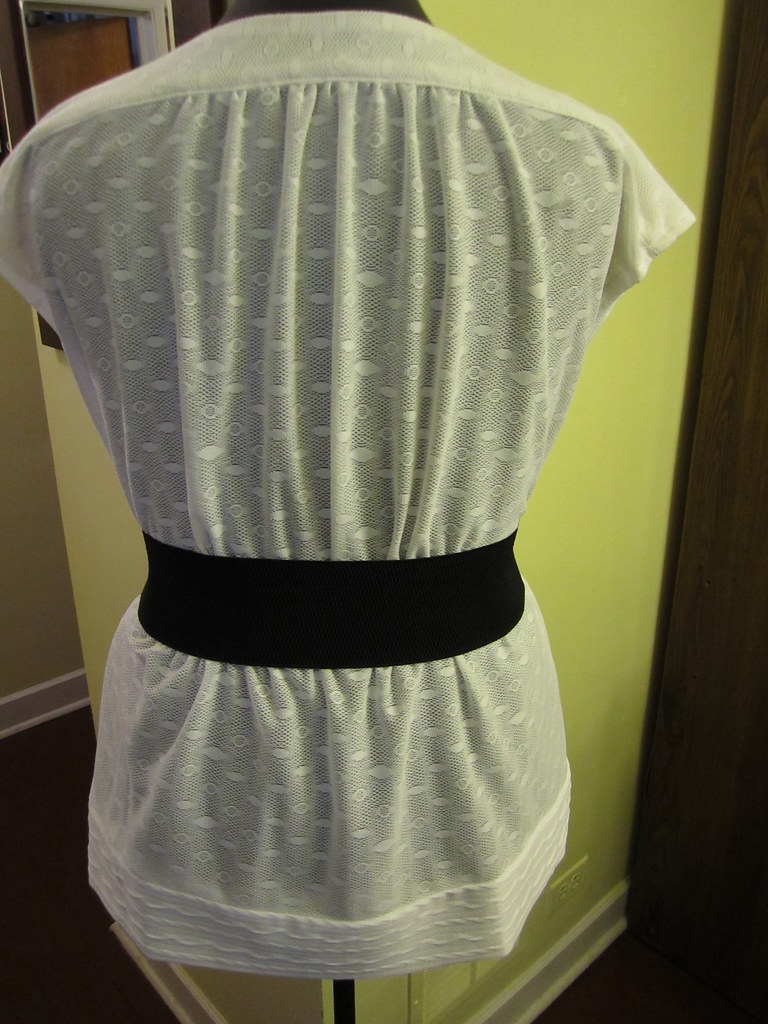
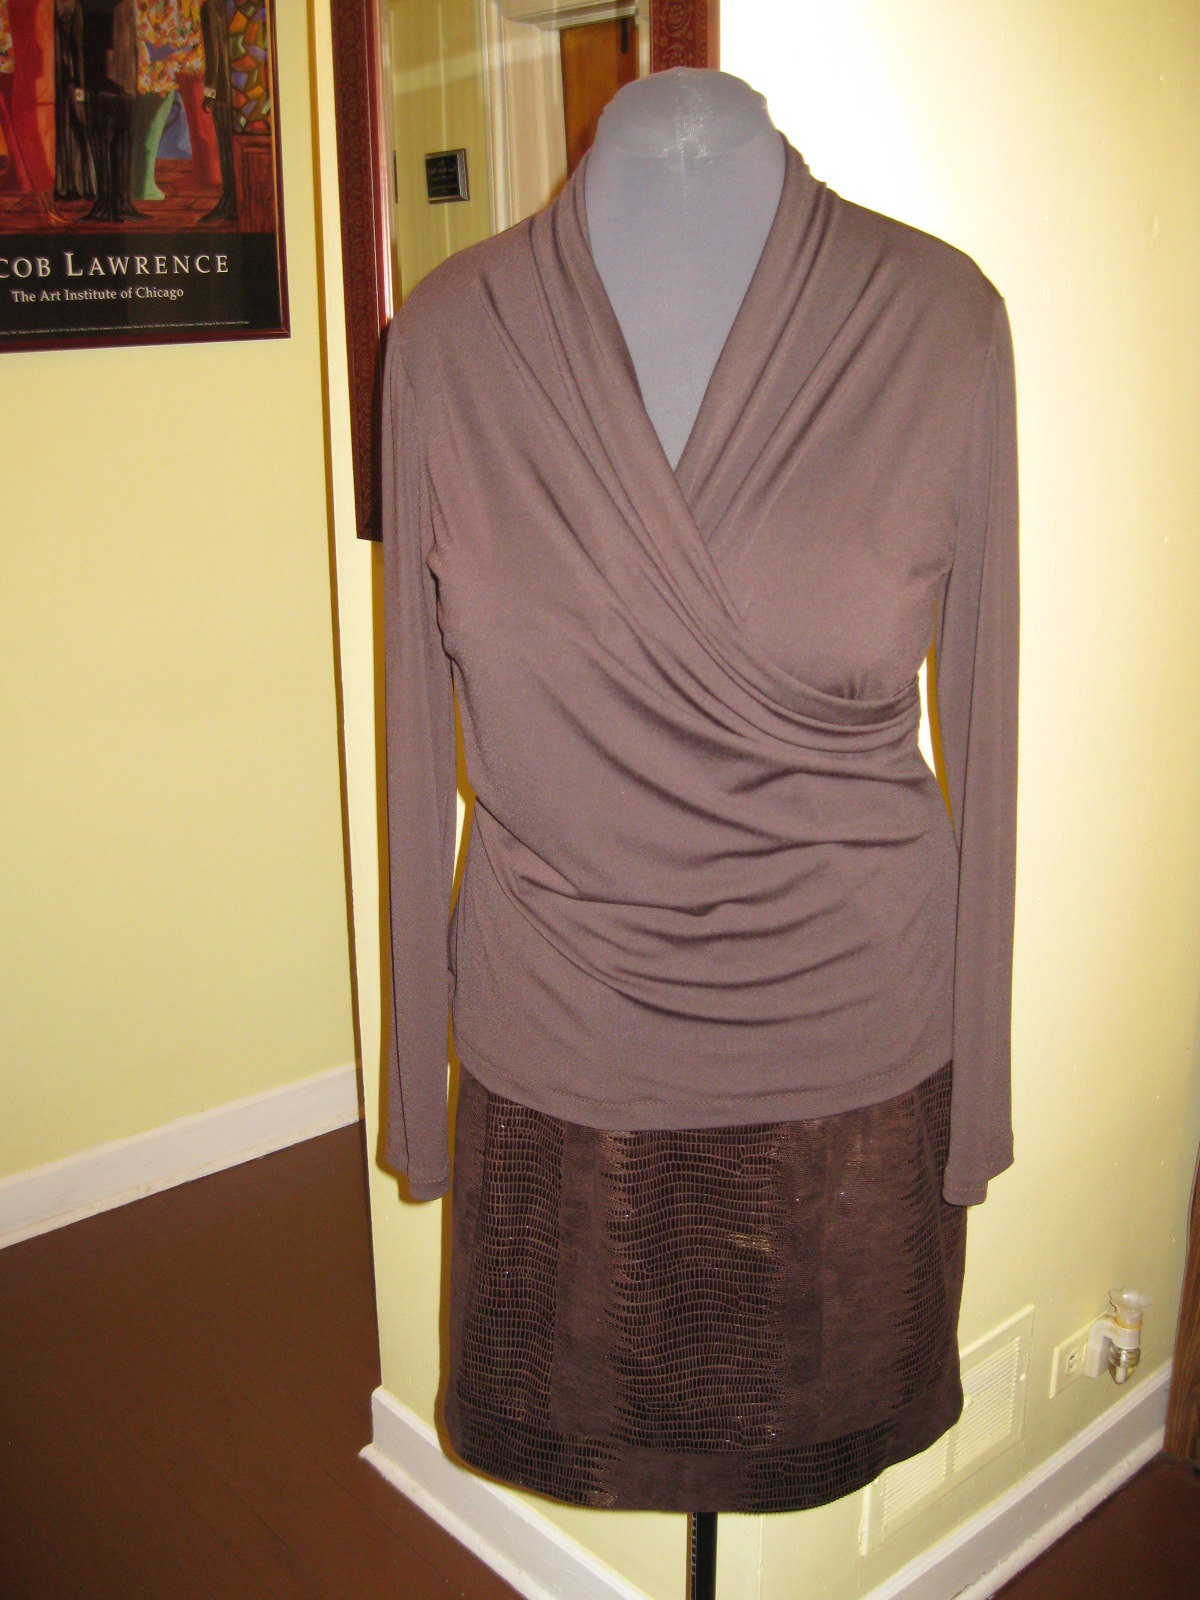
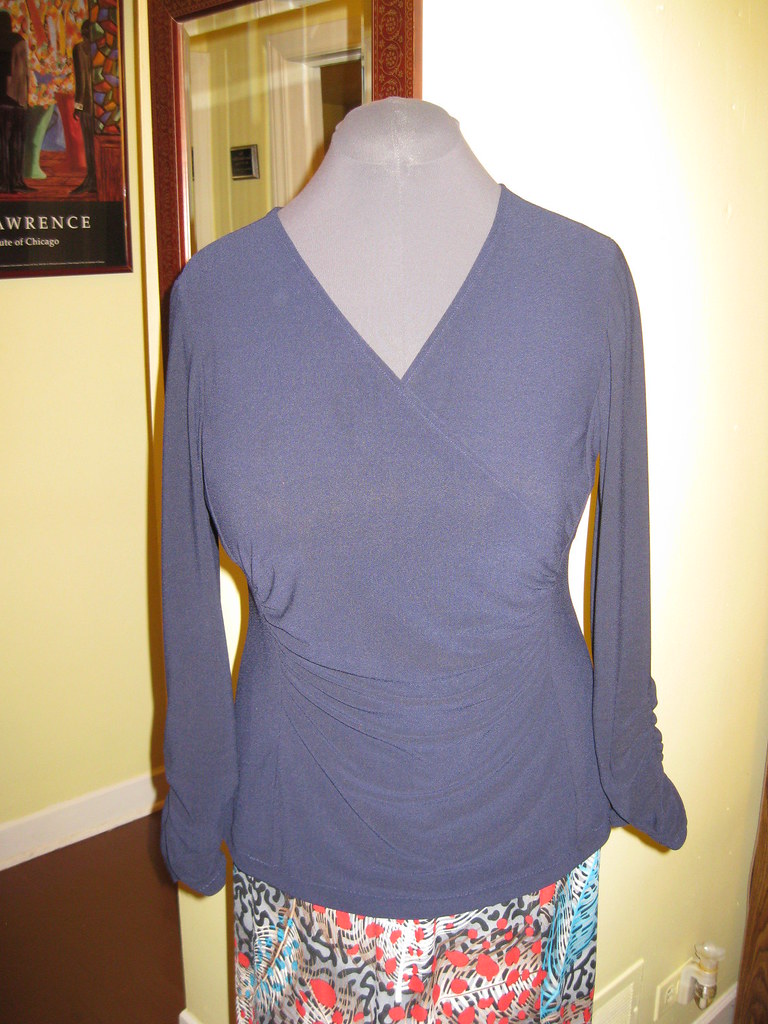
5.  No bust darts on top pictured below.


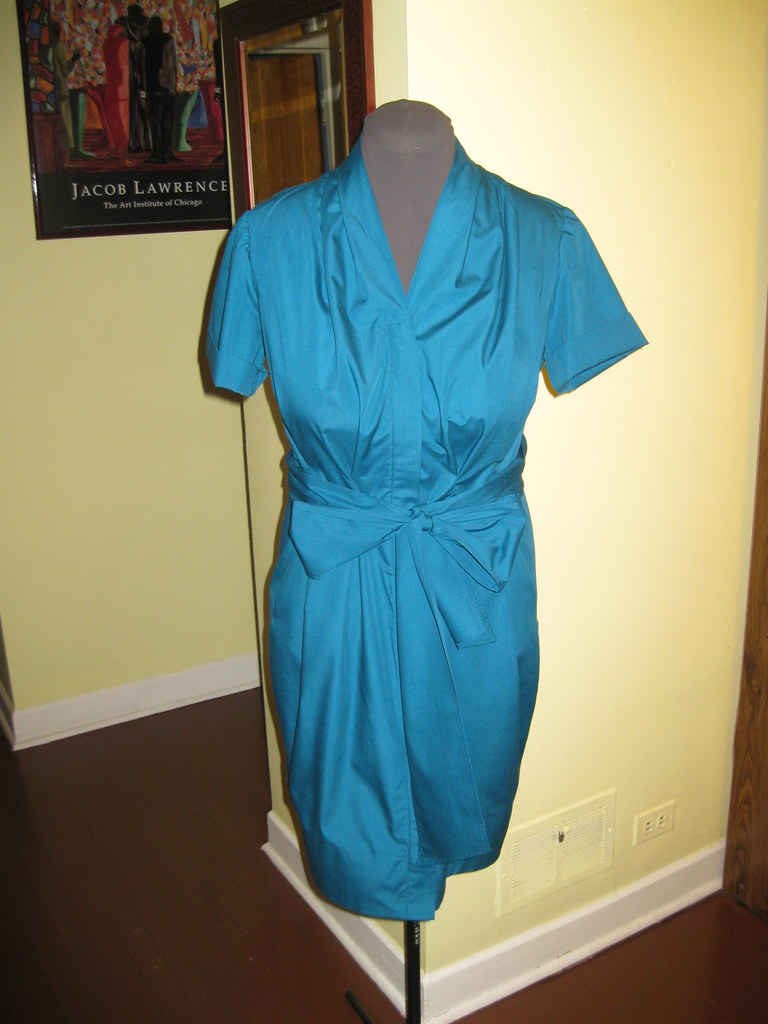
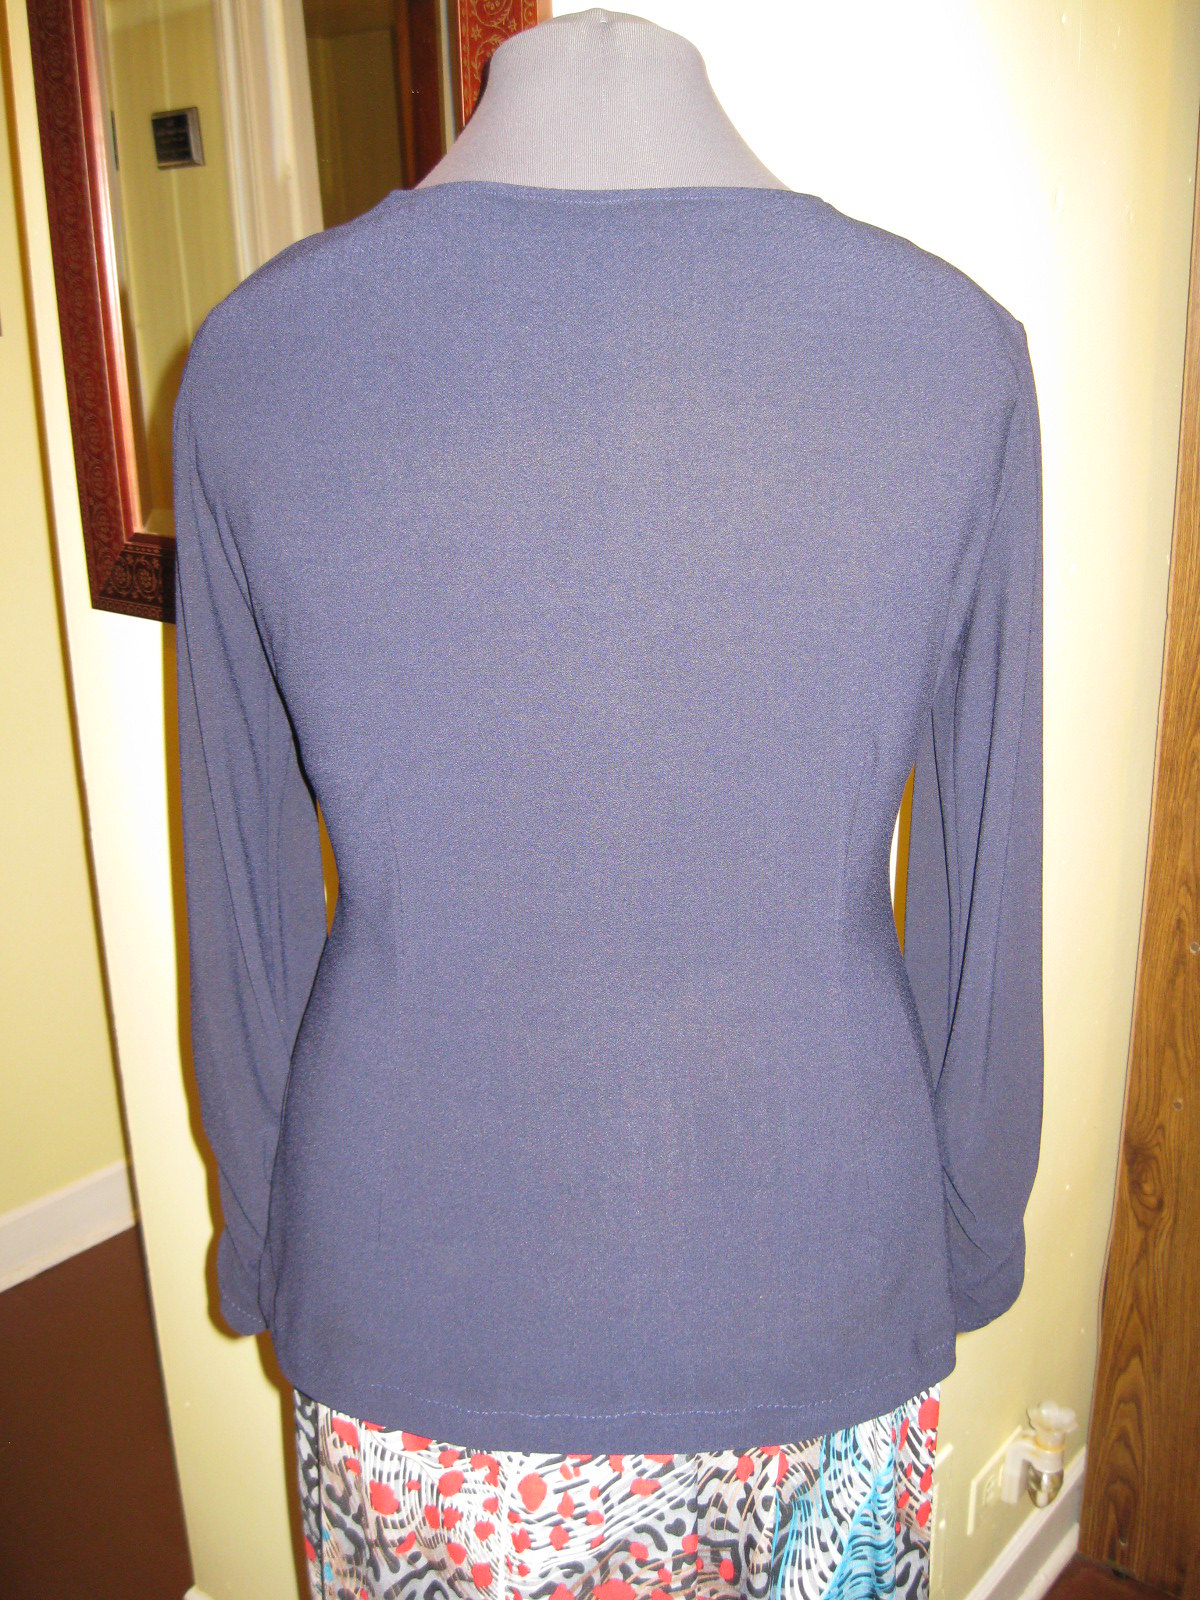
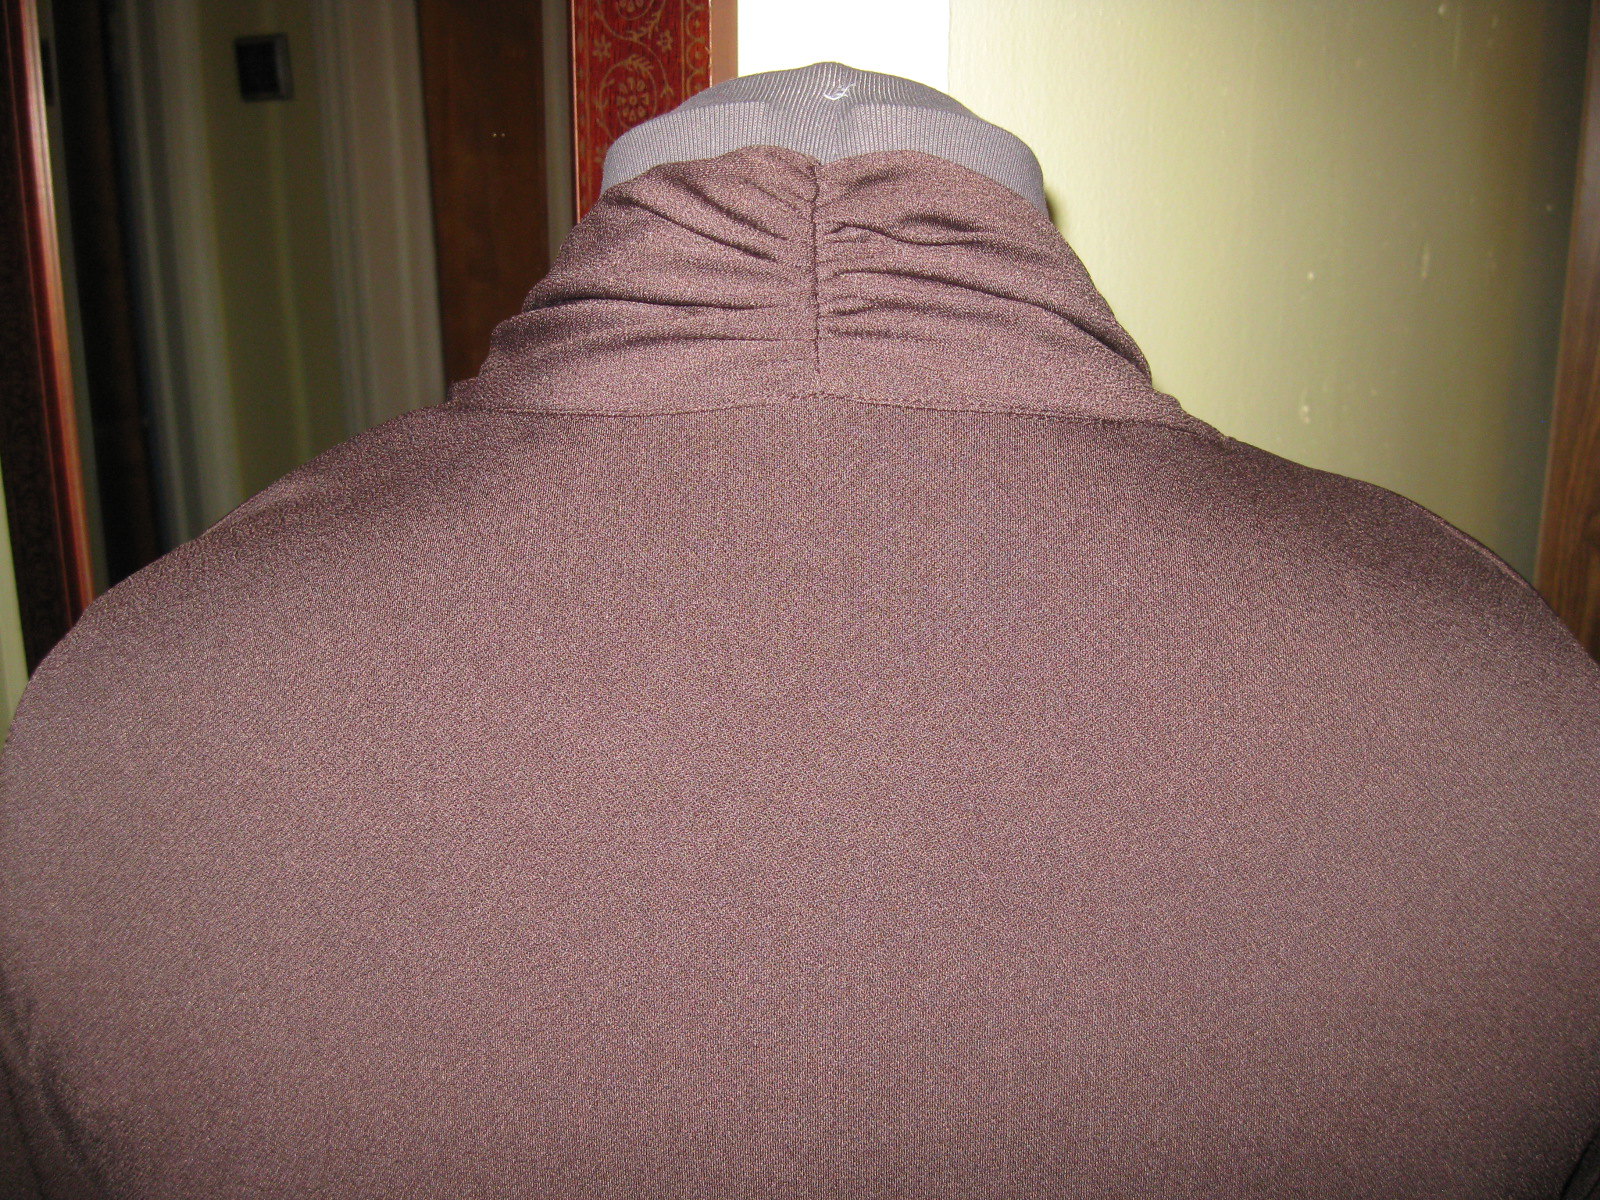
Next example is FBA dart rotation on Vogue 1127.  A gathered neckline blouse with bow tie.  This was fitted at the Palmer/Pletch workshop in 2012.


1.  Make the standard FBA on the bodice.  Do not fill in the new bust dart with tissue.


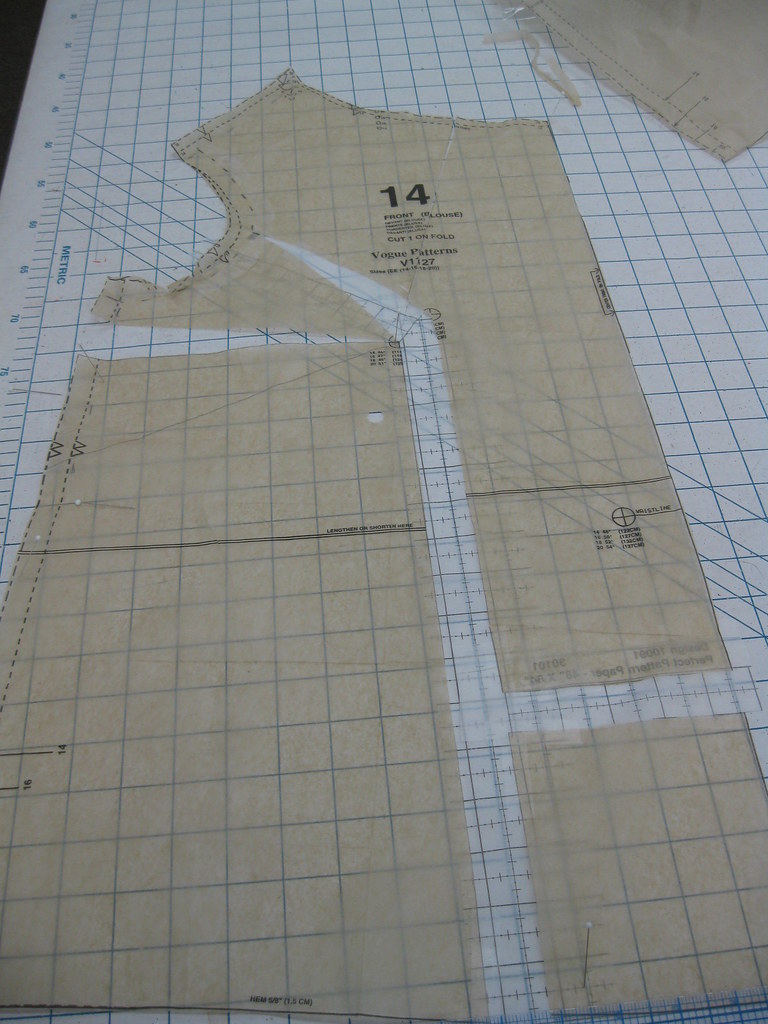
2. Next, slash the neckline to rotate the dart.  Now tape the slash made for the bust together.


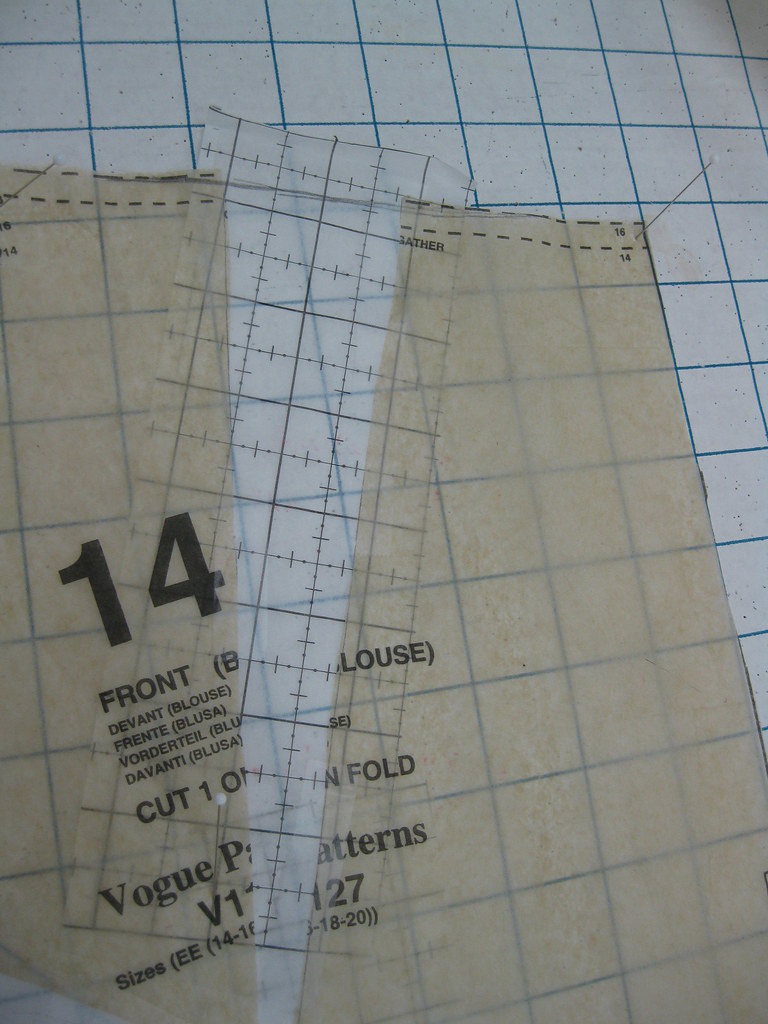
3.  Fill in the slash at the neckline with tissue.

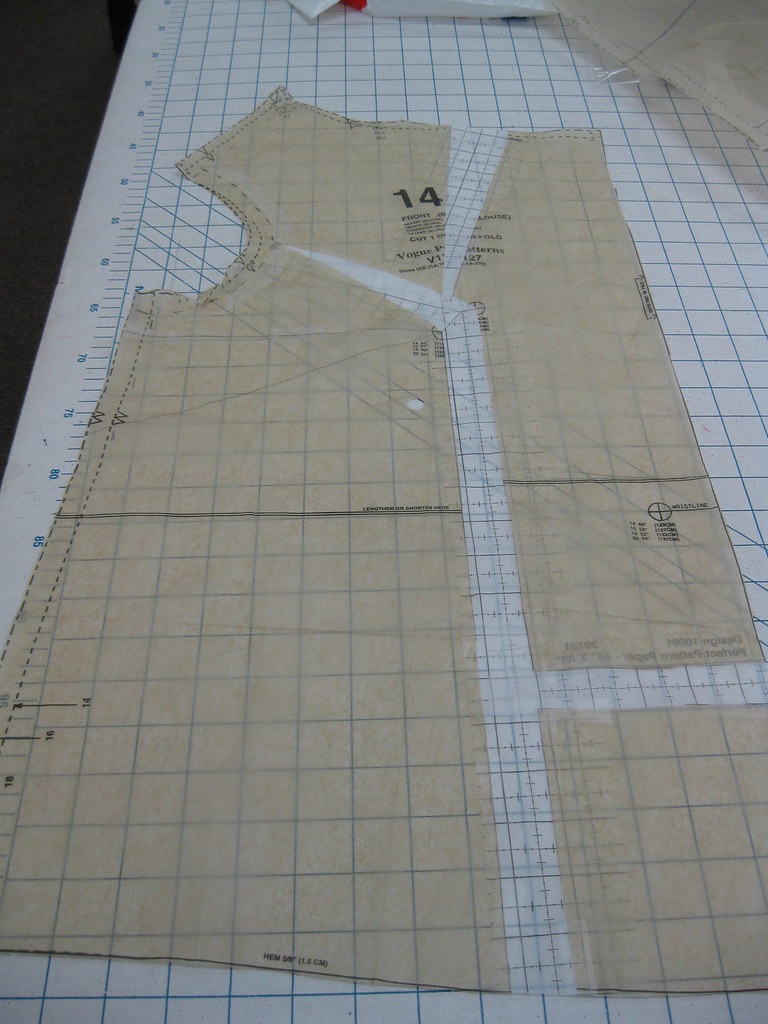
4.  Rotated dart becomes part of the gathered neckline. I haven't made this one yet. Soon...


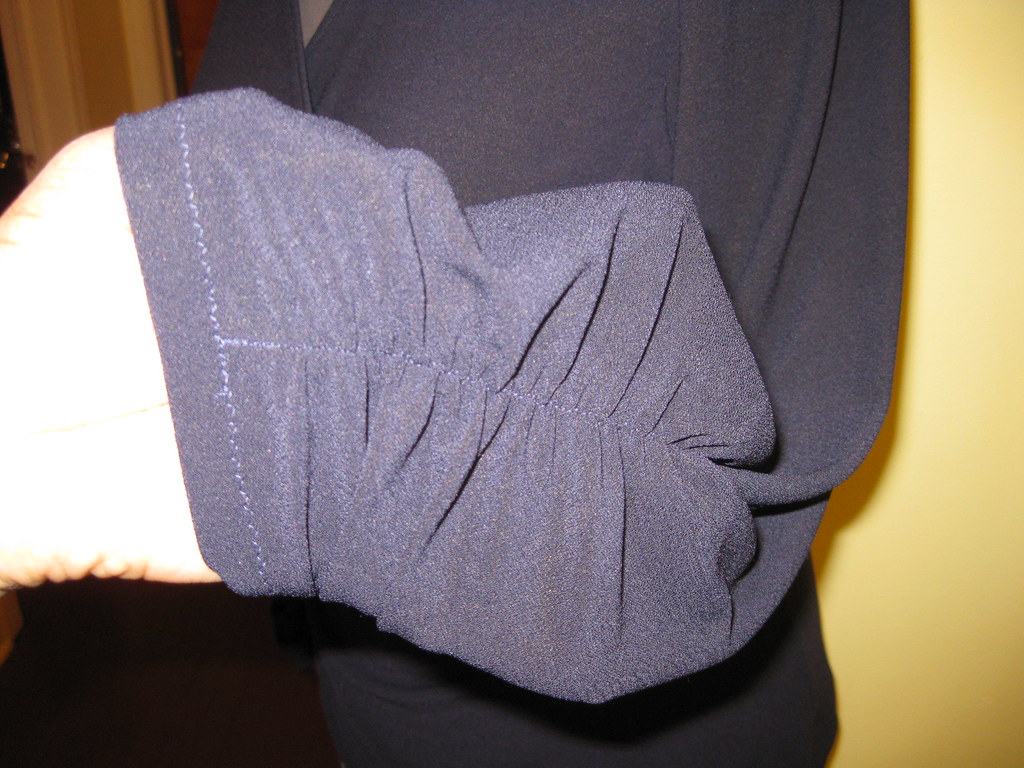
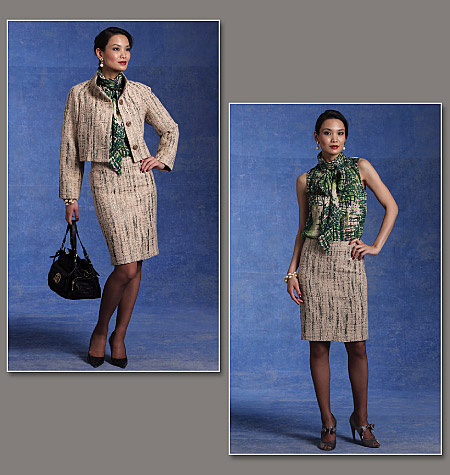
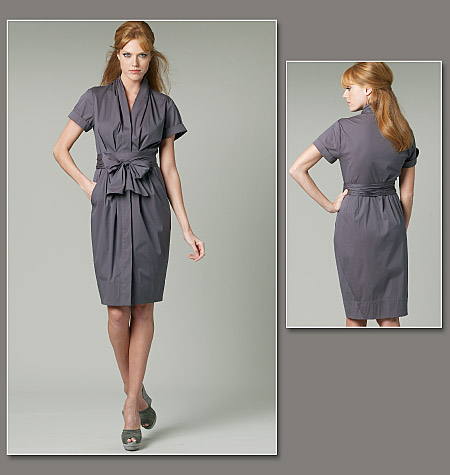
And my final example, is Vogue 1220.  This example does not include all of the steps for making the FBA.  I think you'll understand how to make the FBA and rotate the dart to the shoulder pleats.


1. Remove the side back bodice from the front bodice and set it aside until the FBA and the rotation are complete. 


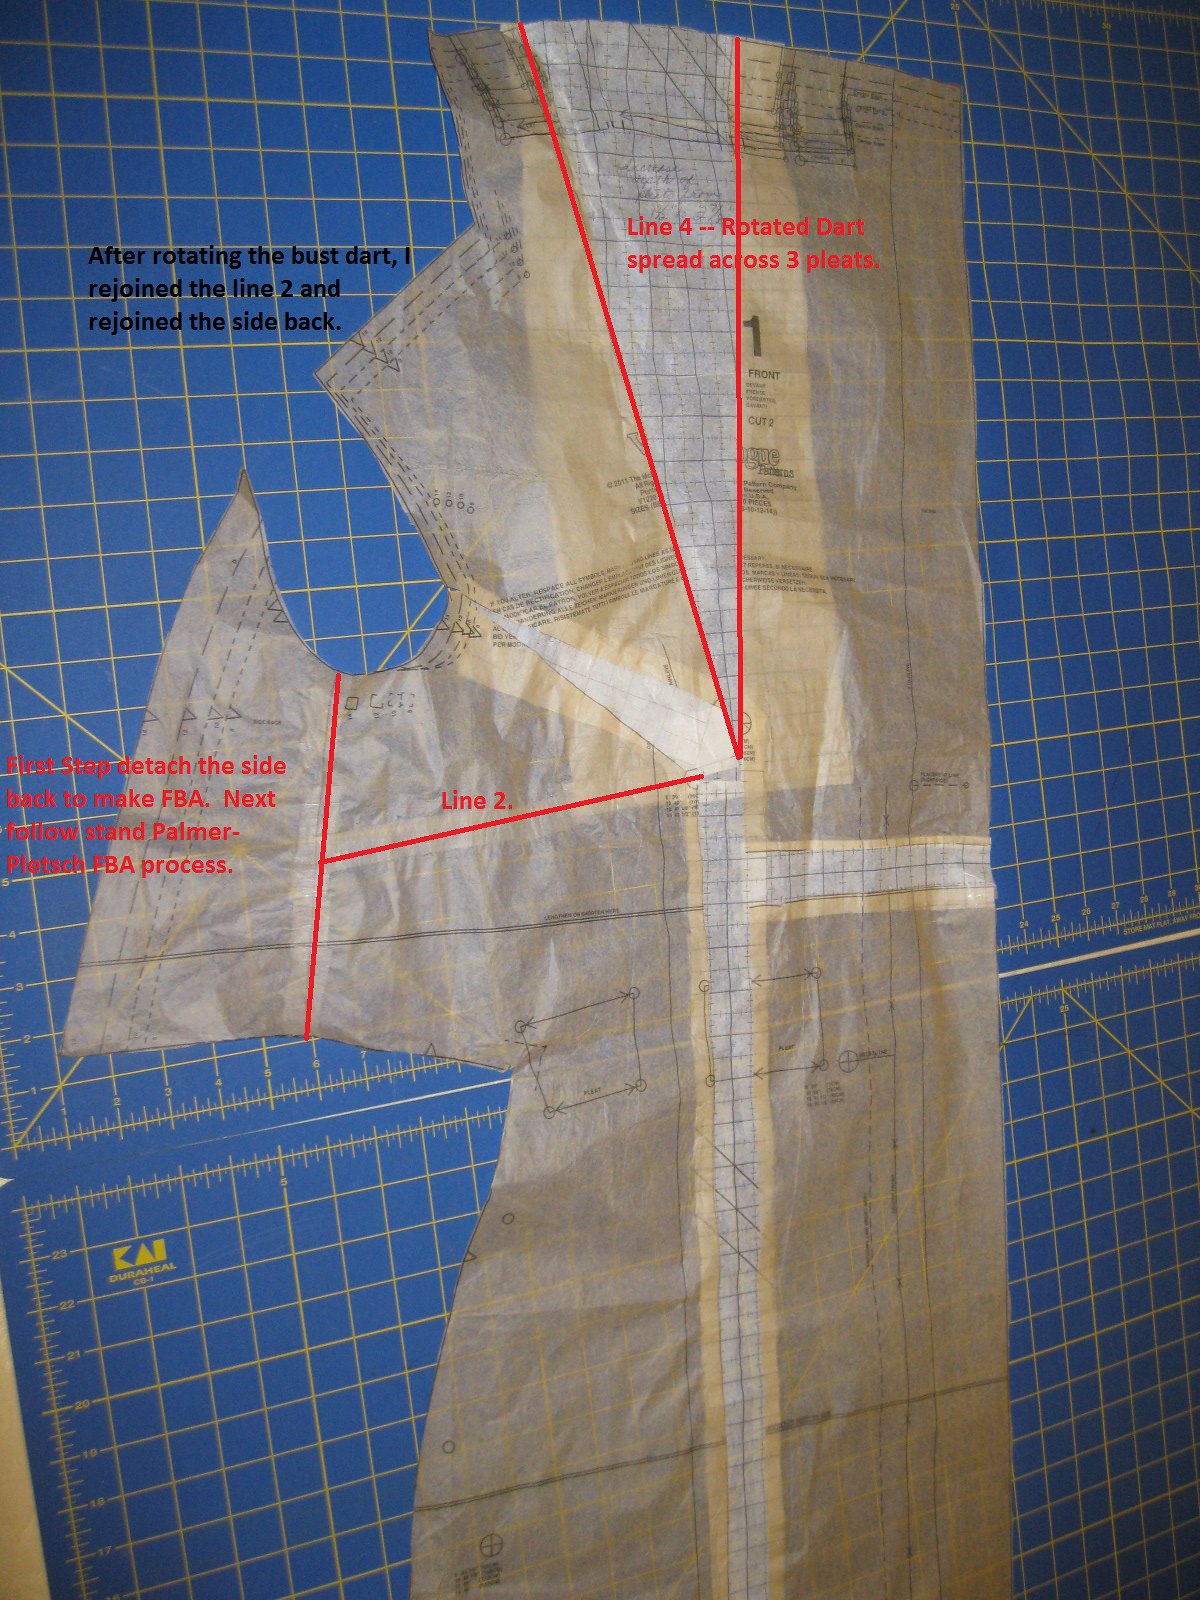
2.  Follow the steps for making a standard FBA and rotate the dart to the pleated area of the bodice.  Tape the slash for the bust dart together and tape the side back bodice in place.


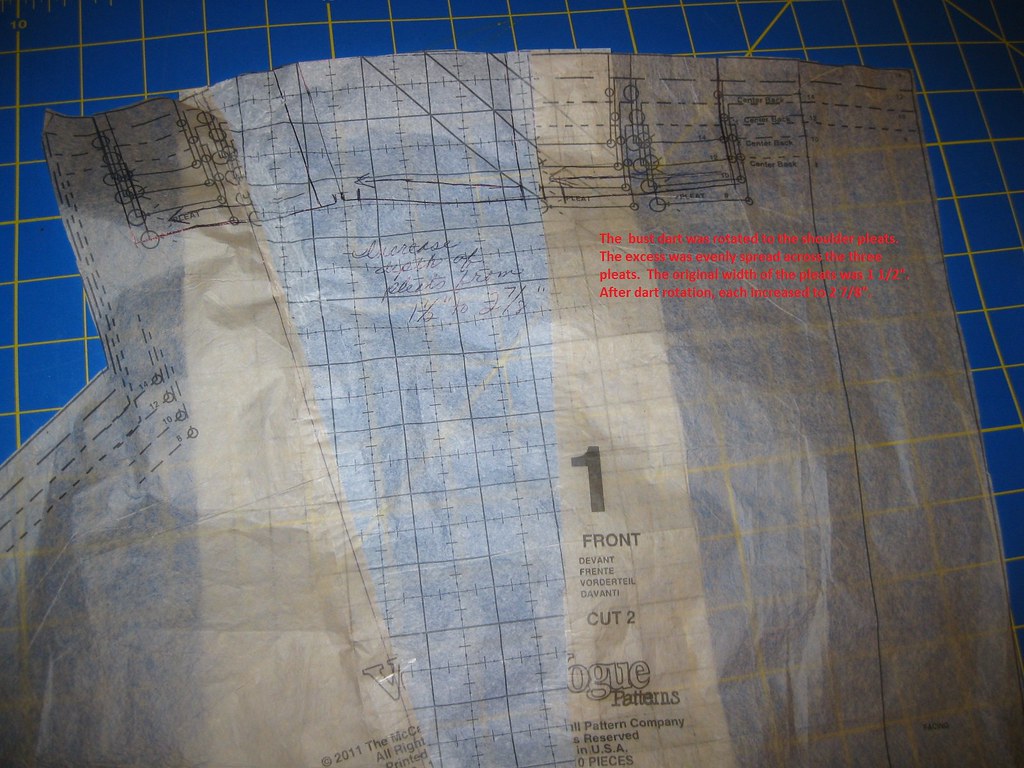
3.  Redraw the pleats so they are evenly distributed at the joining edge.  That's it.


Happy sewing!
Cennetta

Wednesday, January 8, 2014

Colors! Colors! Spring 2014


I'm sure by now everyone knows the Pantone "It Color" for Spring 2014 is dazzling blue.  It's not your regular ole dark blue or navy.  It's bright, bold and fresh.  This eye catching hue is the perfect catalyst to jump start your 2014 wardrobe. 


I'm sure we will be seeing many of the other Pantone colors for Spring 2014.  There are four colors from this palette that are in my own personal color palette: dazzling blue, radiant orchid, celosia orange and sand.


That brings me to my next thought:  Do you follow the colors trends?  Or do you base your seasonal color palette on the colors that best suit your skin tone?

Last week I started playing around with different color combinations in my personal color palette.  Most of them are fall-ish, but the work well with my skin tone.


The next group of palettes are colors I want to incorporate into my wardrobe.


So what color combinations are you thinking about adding to your wardrobe?


 Happy Sewing!
C


Monday, January 6, 2014

McCall's 6513 - Views B and D


Hi!

I hope everyone is keeping warm. Today it is -17 degrees in Chicago. I haven't left the house in two days and am happy not to go out tomorrow or the next day. Both tops were finished late November, 2013. Finally, I'm reviewing them.

 I jotted down a few notes about this project and other 2013 projects for fear of forgetting something important. These tops are not short on reviews as there are many posted on Patternreview.com. About 15 reviews. It's funny how the big four recycle the pattern numbers. There is a New Look and another McCall's pattern with the same number. You'll see those reviews at the bottom of the linked list.
  

McCall 6513

Pattern Description:
MISSES' TOPS: Close-fitting, pullover tops have gathered front and narrow hem. B,C sleeves and C,D back collar: elasticized. Designed for lightweight to medium weight moderate stretch knits.


Pattern Sizing:
6 to 22; 14 with modifications.


Did it look like the photo/drawing on the pattern envelope once you were done sewing with it?
Yes, they did. I made both long sleeves instead of 3/4 length.

Were the instructions easy to follow?
The instructions were easy. Nothing confusing.

What did you particularly like or dislike about the pattern?
There are a few things I like about the tops. First, everyone knows I am a fan of the Palmer/Pletsch fitting techniques as well as their pattern designs. I really like that the fit instructions are built in the guide sheet along with some helpful tips. I also like the ruching on the sleeves, front, side, and neck. This detail adds style to two simple knit tops. I don't have any dislike.


Fabric Used:
I used moderate knit fabrics with a pebbly texture. Both purchased at Vogue Fabrics on Roosevelt Rd.

Pattern alterations or any design changes you made:
I made my usual fit adjustments: FBA, swayback, and prominent shoulder blade adjustment. I also added about 1" to the length of the sleeves. My seam allowances were 1 inch plus. My FBA was a bit too much. Once I got the fit down pat, I noticed a few little wrinkles on the side of the bust (view B (blue)). But I see the same issue on the model in the orange top. For the brown top, view D, the FBA resulted in a bust dart. A horizontal swayback adjustment was not enough on the blue top. I also added vertical darts to the back to take up the bagginess in the lower back area. I always forget to mention that I use steam a seam or stitch witchery to hold my hems in place for care free hemming by machine. This method was used for the neckline of view B, hems for the sleeves and the top.

Would you sew it again? Would you recommend it to others?
Yes, I will probably sew view C again. I especially like this style.

Conclusion: Both tops turned out great. All level sewists should be able to make these tops.

All photos on Flickr.

LinkWithin

Blog Widget by LinkWithin