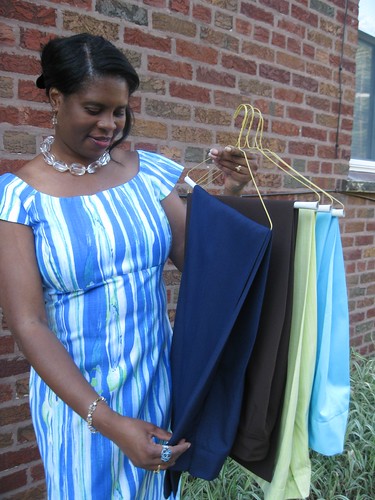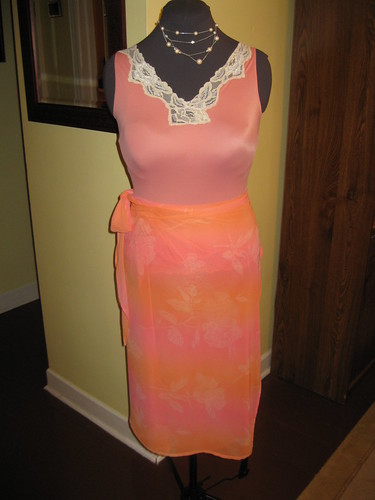
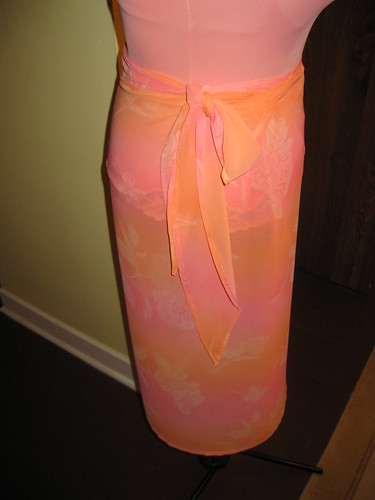
About a month ago, my cousin asked me to make two wrap skirts for her upcoming vacation. I selected Butterick 4526 because the wrap skirt could also convert into a halter coverup. The swimsuit aren't bad either. This patterns includes cup sizes A to D which is always good.
Pattern Description: MISSES’ SWIMSUIT AND WRAP: Lined one piece or two piece swimsuit has neckline variations, front darts, low back and panty shield. A, B: braless. C, D: size A, B or C, D bra cup. Wrap laps in front and ties at back neck.
Pattern Sizing: 6 - 20
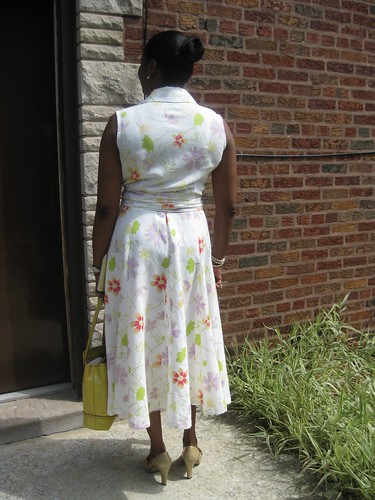
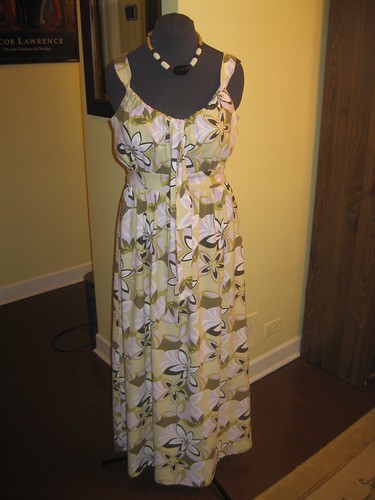
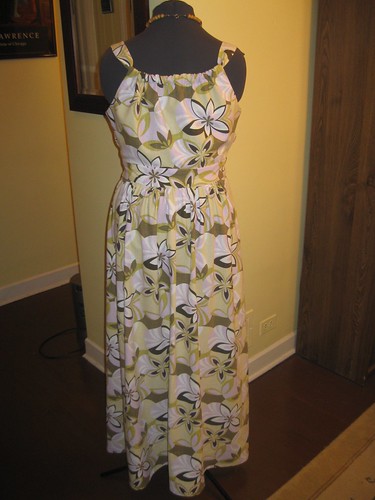
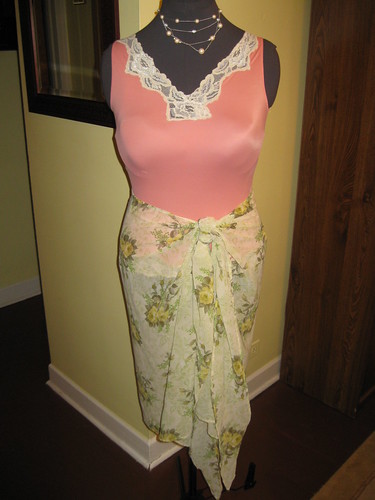
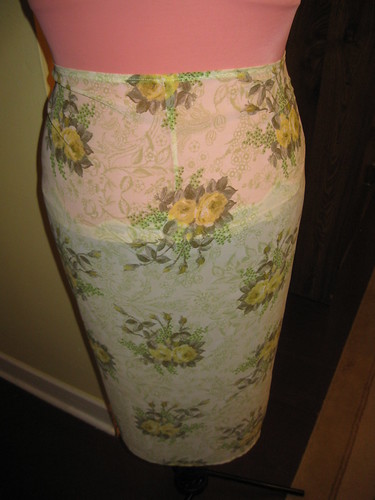
Did it look like the photo/drawing on the pattern envelope once you were done sewing with it? Pretty much. I shorten it by four inches.
Were the instructions easy to follow? I didn't read them until after I made two skirts. Lol They are simple.
What did you particularly like or dislike about the pattern? I like the style options wrap skirt or halter coverup.
No dislikes.
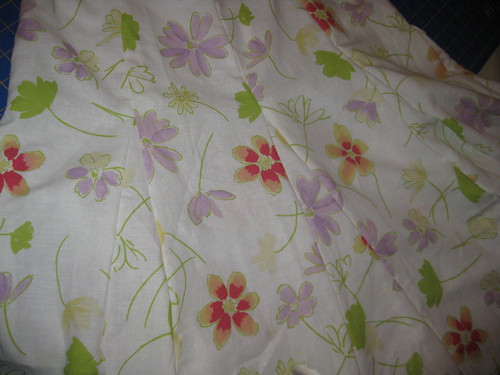
Fabric Used: Georgette and chiffon from Vogue Fabric.
Pattern alterations or any design changes you made: I made a few changes.
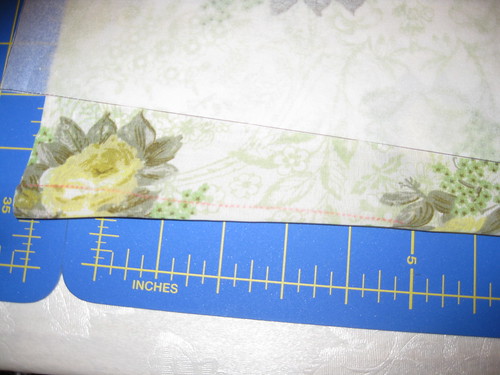
- I cut both skirt crosswise as I would not have had enough fabric otherwise.
- It's about four inches shorter.
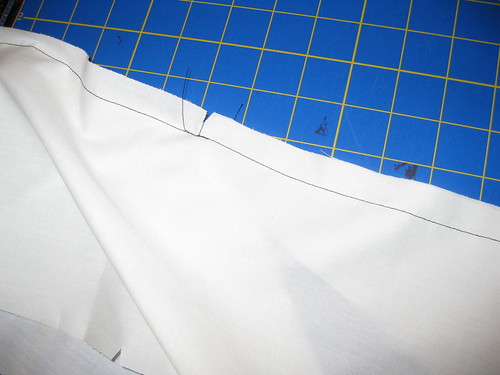
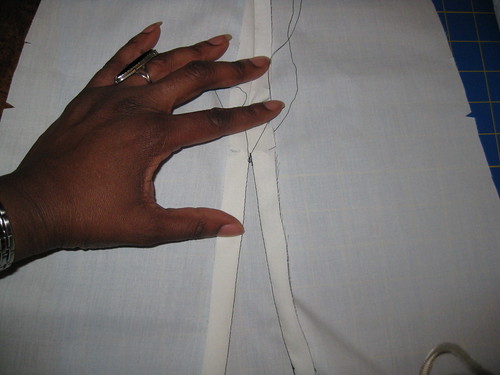
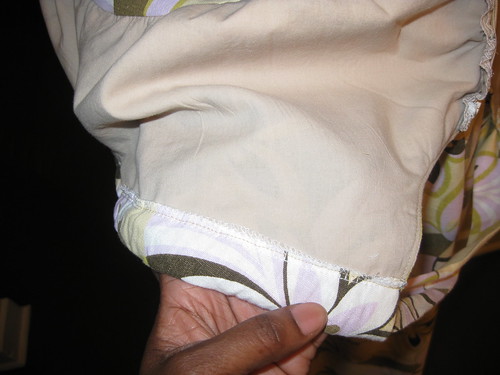
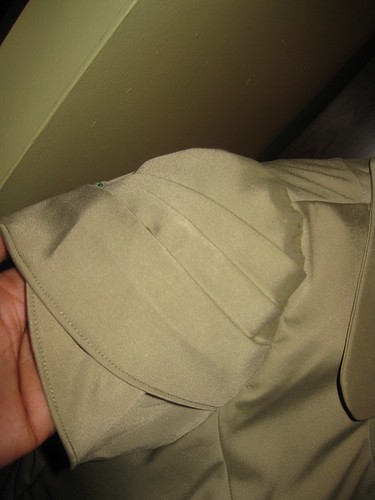
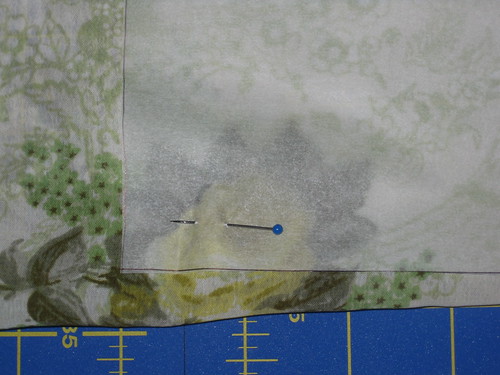
- The center back was placed on the fold. I didn't see the need to add another seam to this clear skirt. I added a dart for shaping at the waist. This looks better to me.
Would you sew it again? Would you recommend it to others? Yes. I'm going to make myself a few and at least one for my sister. Yes I do recommend it. It's easy to make and you have a few style options.
Conclusion: Quick, easy wrap skirt with a few style options.
Pattern Sizing: 6 - 20
Did it look like the photo/drawing on the pattern envelope once you were done sewing with it? Pretty much. I shorten it by four inches.
Were the instructions easy to follow? I didn't read them until after I made two skirts. Lol They are simple.
What did you particularly like or dislike about the pattern? I like the style options wrap skirt or halter coverup.
No dislikes.
Fabric Used: Georgette and chiffon from Vogue Fabric.
Pattern alterations or any design changes you made: I made a few changes.
- I cut both skirt crosswise as I would not have had enough fabric otherwise.
- It's about four inches shorter.
- The center back was placed on the fold. I didn't see the need to add another seam to this clear skirt. I added a dart for shaping at the waist. This looks better to me.
Would you sew it again? Would you recommend it to others? Yes. I'm going to make myself a few and at least one for my sister. Yes I do recommend it. It's easy to make and you have a few style options.
Conclusion: Quick, easy wrap skirt with a few style options.