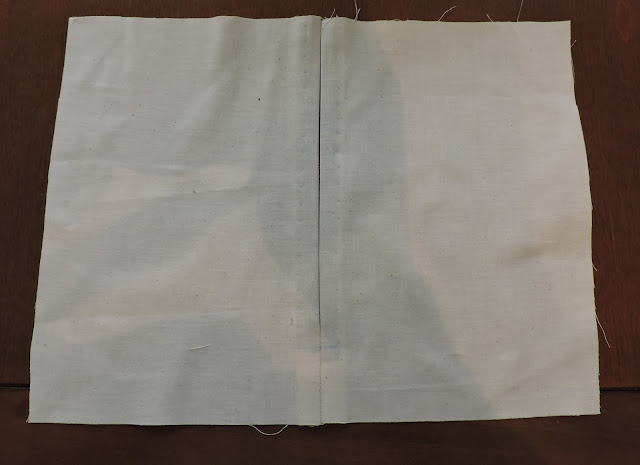
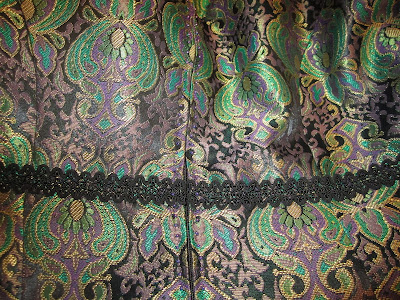
A few years ago, Susan Khalje and Rhonda Buss did a workshop in Chicago where they shared some couture and some pattern drafting techniques. It was a great workshop and I learn quite a few things. Susan shared some tips on how to hand-pick a zipper. I discovered that in some of my garments I didn't quite master the process for concealing the zipper teeth. While lunching with Rhonda on Thursday, I told her about my plan to post a tutorial. She further explained that if the garment has a few inches on wearing ease, it's not necessary to create overlap between the two sides or create a rise at the center of the zipper. And that butting the sides is fine. But on the other hand if the garment fits very close to the body, the overlap is appropriate. So when the garment fits around the body, there is room for the overlap to relax and spread a little without showing the zipper teeth.
Today, I will provide steps for hand-picking a zipper and adding seed beads along the stitching line.
The supplies needed are listed below:
Supplies-
- fabric (garment)
- thread
- needles (I prefer the sharp thin ones)
- bees wax
- fusible interfacing or organza
- zipper
- pins
- pencil
- ruler
- seed beads
- scissors
- Apply Interfacing to edge of opening where zipper will be sewn.
- With right sides together, sew the garment up to the point where the zipper is to end.
This next step is optional. Explanation -Typically I do not mark where to stitch. I do free hand stitching. You may also use the ridge in the zipper tape as a guide for your stitching line. In the illustration, I marked the locations where the stitches should be made. (Note: some chalks may not wash out. So carefully consider how to mark and/or stitch. Tip from Rhonda)
- The stitches should be about 3/8" apart. The markings are very light.
- To overlap, bring the edge of the opening even with the zipper teeth as shown above.
- Pin zipper in place. Do this to both sides.
- Before you begin to stitch, thread a few needles, run them through some bees wax, and press the thread. This is done to help reduce tangling.
- Stitch the zipper in place using a stab stitch. I start at the top of the zipper.
- Now, add beads using the previous stitches as a placement guide. Start adding the beads about 1" below the top of the garment. You are literally stitching on top of the first stitches. (I used to different types of beads for the illustrations. You can use whatever you want.)
- Press after finishing the zipper.
Here are a few options for bead size and shape. I hope this is clear and helpful.
Happy Sewing!
C


I'm there for you sister, but I wouldn't take the time to do this. Much respect!!!
ReplyDeleteThanks, Andrea. I certainly understand.
DeleteNever thought to stitch and then add beads. I always skip that part and wonder why my nerves are shot and my beads are off! Now I know why!
ReplyDeleteI had my first experience with hand picking a zipper last fall when I did my first Marfy pattern. You have given me reason to revisit the technic with the beads! I live is a very casual atmosphere and have little reason to get very dressed but will certainly bookmark this blog edition for future use!
ReplyDeleteWonderful tutorial Cennetta. Thanks for sharing.
ReplyDeleteGreat tutorial and pinned to my zipper board on Pinterest. Thanks, so Cenetta. We can always count on you for expert advice.
ReplyDeleteWonderful tutorial, hats off to you and your patience! Thanks for sharing.
ReplyDeleteGreat article. Just sewed an entire exposed zipper tape to outside back of a high waist skirt. Can't wait to bead the tape. :-)
ReplyDelete