Showing posts with label hand sewing. Show all posts

Thursday, June 5, 2025

The Thimble


Sewing by hand..., Is it still a thing that sewists do a lot of? Or is it a sewing skill that is less preferred and is rarely used? 


A few weeks ago, a longtime friend asked me if I had ever used a blind hem foot? I had to admit that i had not. I revealed that my refer to hand sew invisible hems. After my answer,  we continued to just talk about sewing and other things. But later that day, I pulled out the many, many sewing machine feet that I own, thinking I should try it. Soon, I pushed them aside and started to pull out my thimbles. I have a few functional and for show ones. 


I actually love handstitching. Beading is a favorite.


One of the first things that I teach young sewing students is some basic handstitching. I also teach them that you can make an entire tailored suit by hand, but you can not make one by machine. 


One of our first projects is to make a needle book by hand. A few examples.


My second question is, what are your thoughts on handstitching? Machine vs. Hand sewing? 


Happy Sewing!

C


Friday, September 28, 2018

Style Maker Fabric Fall/Winter Tour


It's feeling much like fall these days.  I love the cool crisp mornings and the sunny afternoons that the Autumn season brings.  Fall also marks a new season to start a new wardrobe.  My first two fall garments are made with Style Maker Fabrics.  They have an entire store of new, beautiful textiles to start your new fall wardrobe with.

I'm new to Style Maker Fabrics.  Michelle contacted me to join the SMF Tour group and I'm glad I did.  It was a good introduction to work with her great fabric.  Through Instagram I learned about SMF and their textiles.  But had never made a purchase.  Now I will definitely use their fabrics again.

The new fall collection has so many lovely fabrics to pick from.  It was so hard for me to pick something; I wanted about 10 different fabrics at first look.  Forcing myself to select two (my choice), I focused on my color palette for fall.  Fall colors earthy; deep and vibrant colors like burnt orange, chocolate brown, firm and ever greens, and golden yellows.  These are some of my colors for fall.


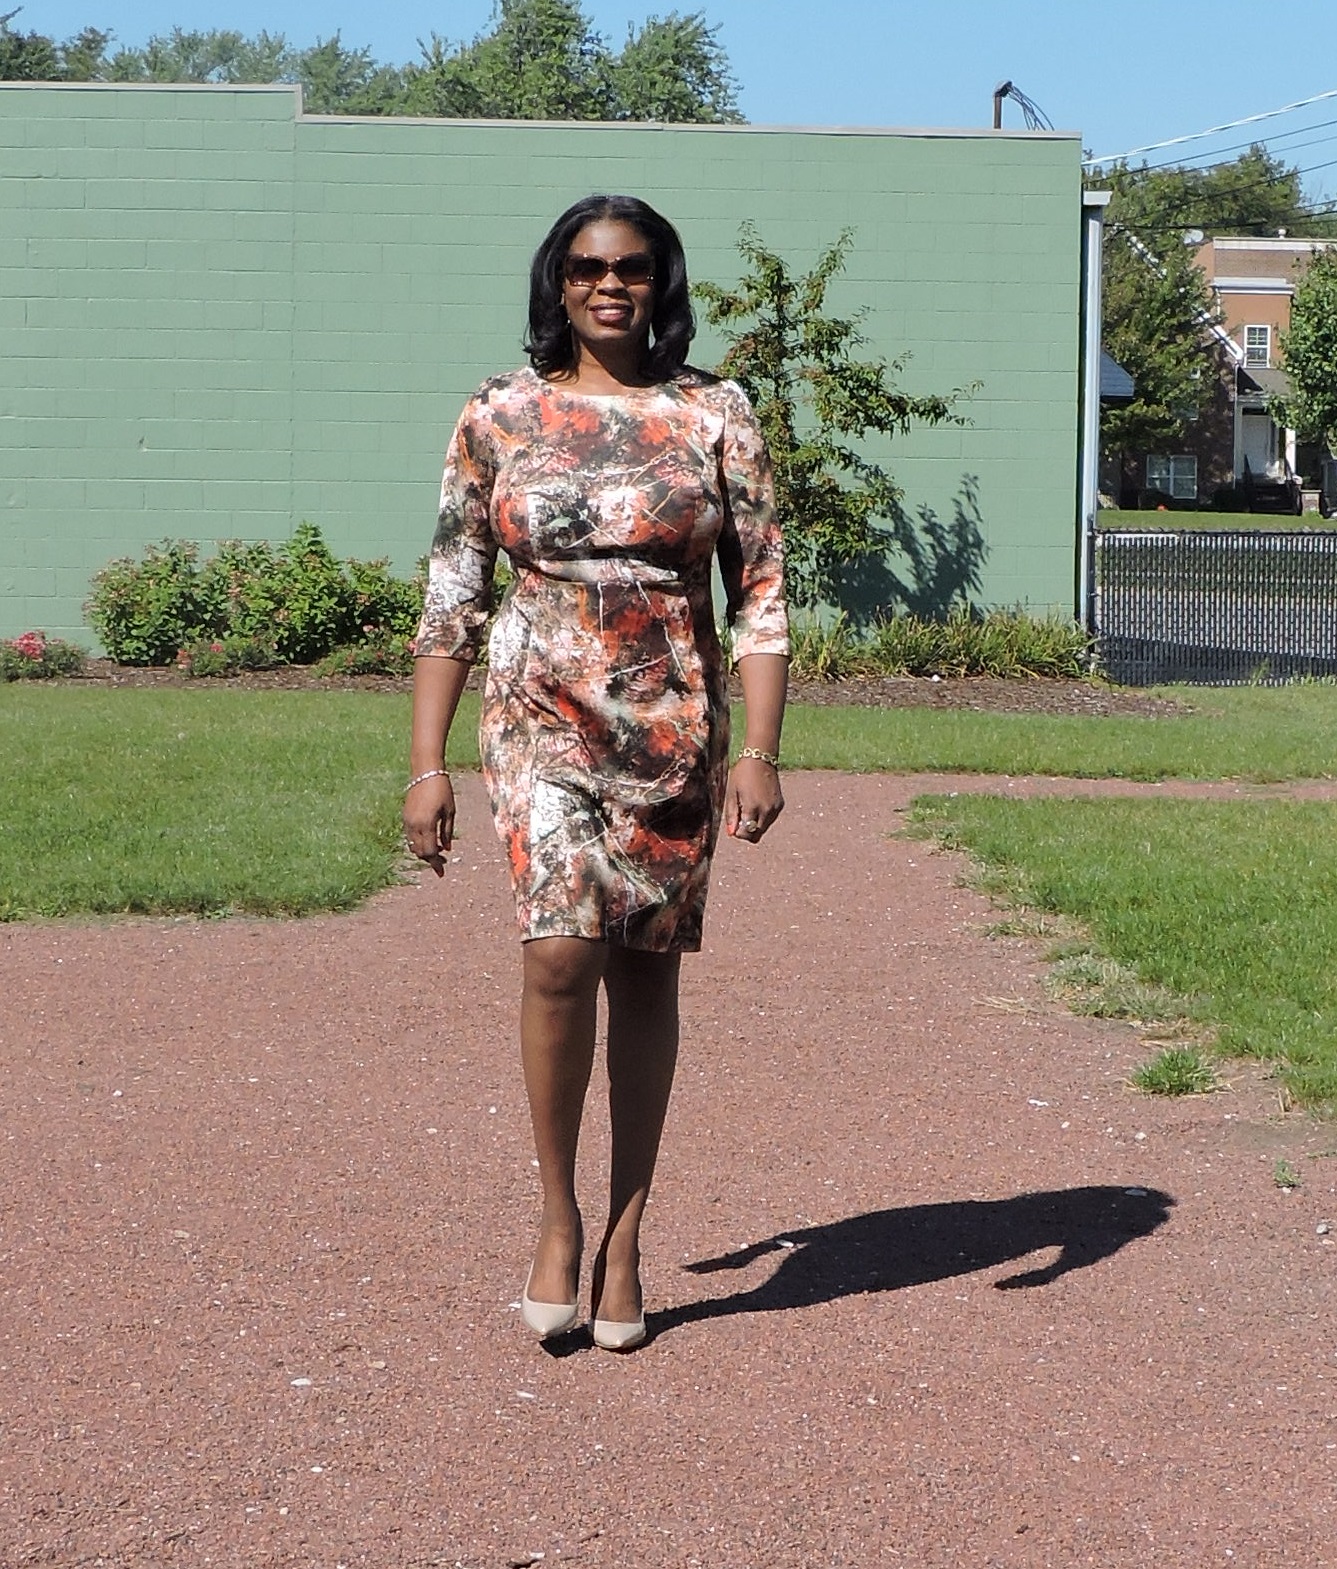
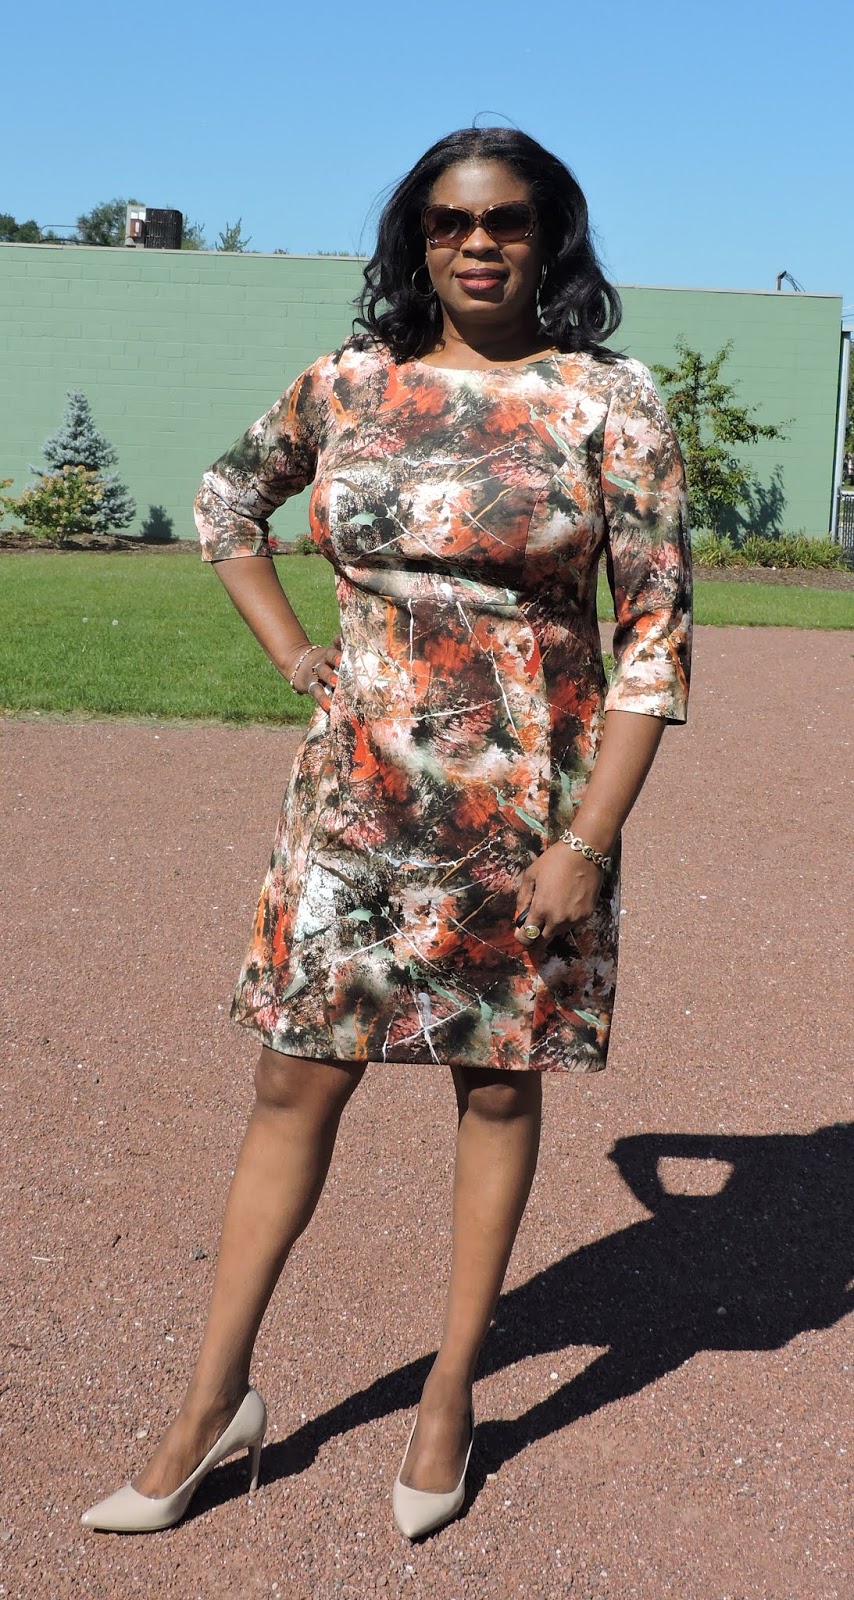
I love a good print and I love sewing neoprene/scuba knit.  So, I just couldn't pass up the splattered paint rust, black, and sage scuba knit. The scuba knit was great to work with.  It has an impeccably smooth hand. The stretch is tight and great for active wear as well as fit and/or flare coordinates.  I love it.


My pattern an oldie but goodie Simplicity 1314.  I've made two other dresses using it.  So I decided to add a handpicked beaded zipper.  Luckily for me, I finished it in time to make it my annual "birthday dress".  More on pattern adjustments here


My second choice was a rust medium weight textured cotton cloth; soft and a dream to sew.  Amy also selected this fabric making the cutest cuffed pants.


I wanted to start by fall wardrobe sewing with a jacket/cardigan to help fight back the early morning or the night chill of the Midwestern winds.  I also wanted to make something that was special.  This fabric has a very rich color with the right and wrong sides looked the same.  So I chose a unlined jacket, Butterick 6329, view D.

This jacket is described as an unlined jacket with a snap closing.  It's relatively easy to sew and the style line is relaxed and had quite a bit of wearing ease.  I was able to skip my usual fitting adjustments only making slight changes along the side seams and adding 1/4" to the center front.  Because of the simplicity of the pattern, I decided to add something special to this piece as well.  Hong Kong finished seams was the perfect element.  This additive made the inside pop.  Every edge of the jacket sections is finished except for seam the that joins the facing to the jacket.


I really love how this jacket turned out. And I hope to make a few more possibly using the recommended medium weight moderate stretch knit fabric.  For the most part, I constructed the jacket as indicated omitting the topstitching around the front and neckline.  I did not add a snap either.  The instructions were easy and typical.  If you decide to make it, make sure you carefully mark the large circles and match them as instructed.


The sewing process was great for both projects.  I used a microtex schwertz needle, size 12. The pressing was easy and resulted in a crisp finish.  Both garments will be in high rotation this fall and winter.  I've already worn my dress on Sunday.


So in conclusion, I highly recommend that you take a look at the selection of new fall fabrics at Style Makers Fabrics.  I also recommend both patterns:  Simplicity 1314 and Butterick 6329.

Happy Sewing!
C


Friday, March 18, 2016

Tutorial: Hand Picked Zipper with Seed Beads

A few of my followers on periscope asked me to do a tutorial on hand-picked zipper.  This is a beautiful accent to add to a special dress or skirt.

A few years ago, Susan Khalje and Rhonda Buss did a workshop in Chicago where they shared some couture and some pattern drafting techniques.  It was a great workshop and I learn quite a few things.  Susan shared some tips on how to hand-pick a zipper.  I discovered that in some of my garments I didn't quite master the process for concealing the zipper teeth.  While lunching with Rhonda on  Thursday, I told her about my plan to post a tutorial.  She further explained that if the garment has a few inches on wearing ease, it's not necessary to create overlap between the two sides or create a rise at the center of the zipper.  And that butting the sides is fine.  But on the other hand if the garment fits very close to the body, the overlap is appropriate.  So when the garment fits around the body, there is room for the overlap to relax and spread a little without showing the zipper teeth.

Today, I will provide steps for hand-picking a zipper and adding seed beads along the stitching line.
The supplies needed are listed below:

Supplies-


  • fabric (garment)
  • thread
  • needles (I prefer the sharp thin ones)
  • bees wax
  • fusible interfacing or organza
  • zipper
  • pins
  • pencil
  • ruler
  • seed beads
  • scissors
Process-


  • Apply Interfacing to edge of opening where zipper will be sewn.
  • With right sides together, sew the garment up to the point where the zipper is to end.

This next step is optional.  Explanation -Typically I do not mark where to stitch.  I do free hand stitching.  You may also use the ridge in the zipper tape as a guide for your stitching line. In the illustration, I marked the locations where the stitches should be made.  (Note: some chalks may not wash out.  So carefully consider how to mark and/or stitch. Tip from Rhonda)


  •  The stitches should be about 3/8" apart.  The markings are very light.


  • To overlap, bring the edge of the opening even with the zipper teeth as shown above.
  • Pin zipper in place.  Do this to both sides.
  • Before you begin to stitch, thread a few needles, run them through some bees wax, and press the thread.  This is done to help reduce tangling.
  • Stitch the zipper in place using a stab stitch.  I start at the top of the zipper.


  • Now, add beads using the previous stitches as a placement guide.  Start adding the beads about 1" below the top of the garment.  You are literally stitching on top of the first stitches.  (I used to different types of beads for the illustrations.  You can use whatever you want.)


  •   Press after finishing the zipper.


Here are a few options for bead size and shape.  I hope this is clear and helpful.


Happy Sewing!
C


Thursday, July 16, 2015

White Party in Jamaica - McCall 7048


One of the few things that I made for my summer vacation was this outfit for Anita's birthday celebration.  Everyone was asked to wear white for the party.  It was left up to each individual to decide to wear something casual or dressy.  I chose to dress it up a bit. 

Recently, I shared an inspirational post that featured sequins.  To my surprise, JoAnn's Fabrics has stocked a few sequins fabrications.  One of them happened to be ivory on ivory mesh.    Not to fancy, just rows of single sequins stitched onto mesh.

For my outfit, I decided to use McCall 7048, which is similar to an inspirational designed I saw in a fashion magazine.  There were only a few changes required to achieve the look I was going for.  With that being said, let me start the review of my two piece sequined dress.


Pattern Description: MISSES' TOP, DRESS AND SKIRT: Close-fitting top and dress have self-lined yokes and bodice with princess seams, and back zipper. A: exposed zipper. B: lined skirt with princess seams and side pockets. Purchased trims and flower. A and C: overlay. B and C: horsehair braid on hemline.

Pattern Sizing: This pattern is available in sizes 6 to 22.  I used between  12, 14 and 16 with modifications.


Did it look like the photo/drawing on the pattern envelope once you were done sewing with it?  My dress is similar to the drawing (views A and C).

Were the instructions easy to follow?  This is a Designer Joi pattern which includes some fitting tips.  The instructions were easy to follow. I omitted some construction steps though.  More on those changes later. 


What did you particularly like or dislike about the pattern?  I selected this pattern because it was similar to the designer inspiration. Other likes:  princess seam top with yoke and full skirt.  No dislikes.


Fabric Used:   Sequins on mesh, Casa special occasion polyester crepe. and China silk from JoAnn's Fabrics.   I used tricot interfacing.  Use a sharp needle to sew the sequins fabric.

Fabric dislikes - handling China silk, but love the polished look of it.  I wish for better crepe.  The polyester gets the job done.  Does anyone sale wool or silk crepe anymore?


Pattern alterations or any design changes you made:  
Changes and Alterations-

Top:  Overlay added to the front yoke, back yoke, and center back; FBA; broad shoulder and swayback adjustments; lengthen the top an inch; hand picked the zipper; and omitted trim to lower edge of top.

Skirt:  Added nine inches to the length of the skirt and overlay; hand picked the zipper; omitted the trim on the overlay; and omitted the horsehair braid to lower edge of lining.

Fit Observation:  The bodice fitting across the bust isn't as smooth as I'd like.  The width below the bust is a little loose. Also, lengthen the top caused some pooling in the lower back area.  These issues can be easily corrected.


Would you sew it again? Would you recommend it to others? I may make this again.   The skirt is common and is the same in many patterns on similar styles.  It can be used as a slopers.

Conclusion: I enjoyed making this outfit.  Adding the sequins as the overlay gave it a little "bling".

Parting shot:  Here is a cropped head shot of me in a group photo at the party.  Sorry I don't have any pictures on my wearing the outfit at the event.


LinkWithin

Blog Widget by LinkWithin