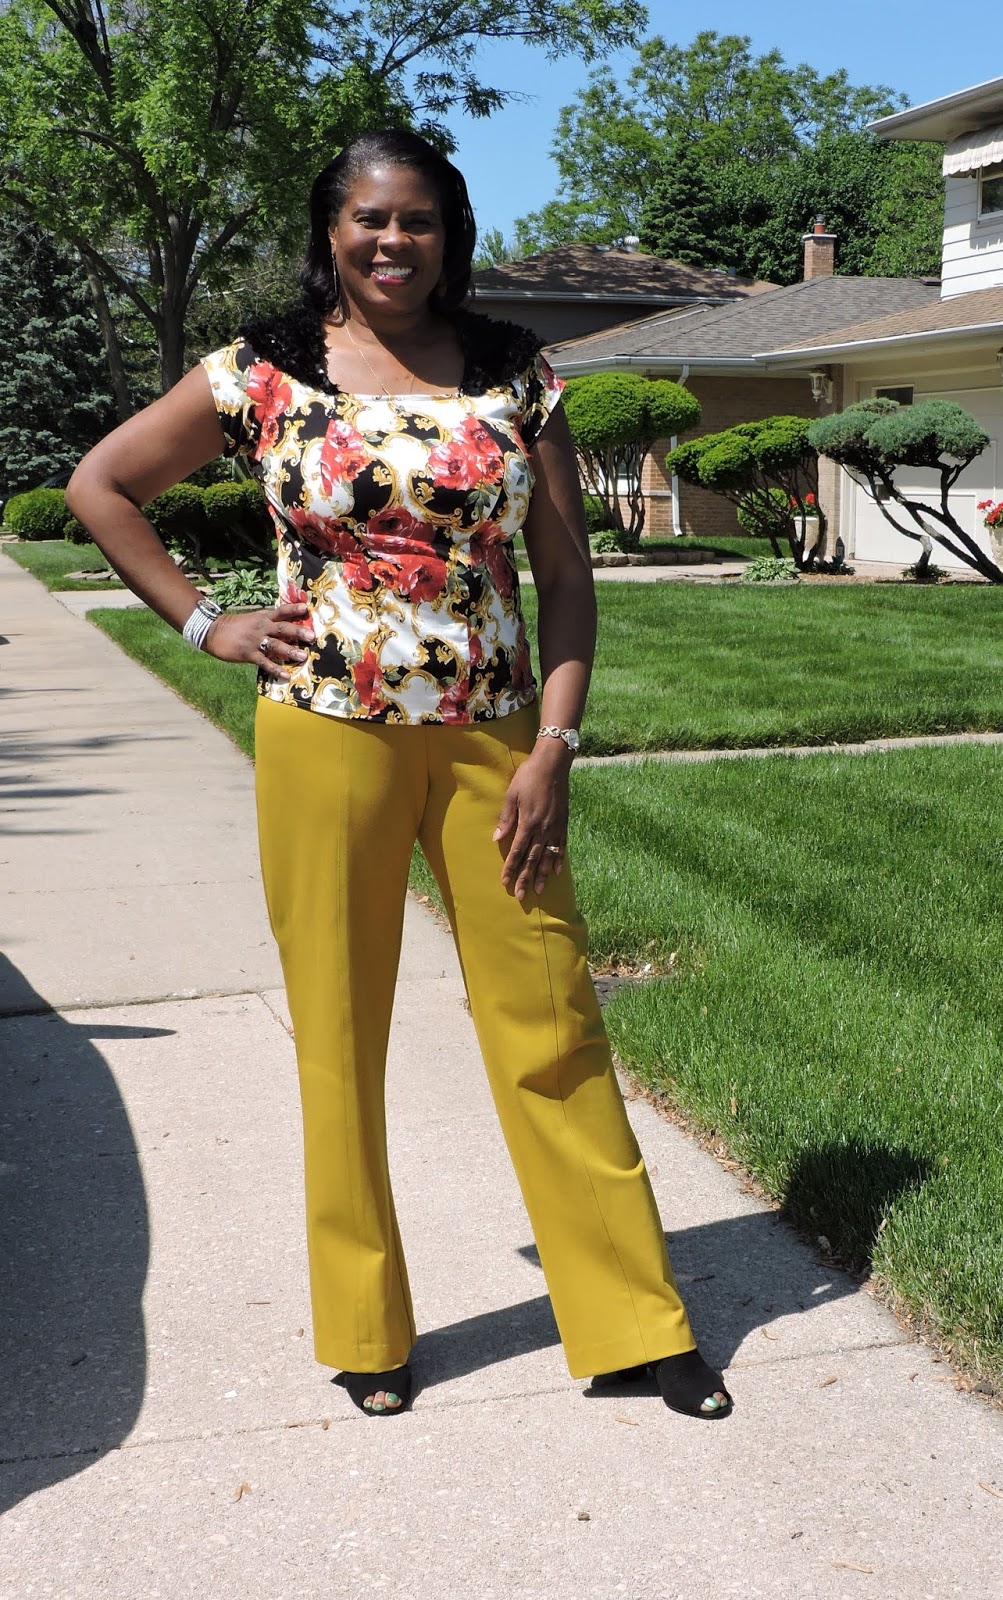
I must admit that I was a little apprehensive about making this top. It was on the "to make list" for about three years. The neckline and the trim seemed to be quite intimidating at first look. To get pass that, I had to simply pulled out the guide sheet and the tissue pattern; then get to working on it. Throughout my sewing adventures, there has been multiple occasions when I thought the construction of something was more than I bargain for.
I think many sewists shied away from this one because it appears to be more labor intensive than it really is. I only found four online postings: two on Pattern Review and two in blog land. Anyway, I am very pleased with how my version of view B turned out.
This pattern is designed by Sandra Betzina. It is described as Misses' top: close-fitting, pullover top has neck binding and optional stitched hem on lower edge. A: Ruched front and elastic forms ruched effect on sleeves. B: Self-lined sleeves with ruffles.
The sizing is A to J. I found that in many cases I do not have to do my usual full bust adjustments with Sandra Betzina's patterns. For starter, I used size E. But end up doing quite a bit of tweaking during the construction process particularly below the bust area. At the waist and upper hip areas I stitched somewhere between C and D. So my sizing was a little all over the place between E and C.5.

My top looked like the drawing as far as style lines and shape of the top. The princess seaming on my top is more pronounced than in the drawing. I did change some of the construction techniques and continued to modify the seaming for fit purposes. The instructions were pretty clear. There were a few steps that made me pause though. The first was step 9. I wish the placement lines for the trim were indicated on the tissue pattern. I didn't follow step 6 to mark the line; I just laid the top on a flat surface and carefully pinned the trim in place. Then I basted it to the shoulder area. Finally securing it by machine. The neck binding instructions weren't completely clear. I didn't really indicate how the finished neckline should appear and it was a little wide for my taste. So, for that step, I trimmed off about .75 inch along the long edge of it. And I trimmed off 1.25 inches of the short edge. Next I folded it in half, pressed, and attached it to the neckline of the top. To finish it, I turned the binding to the inside of the top and stitched it down covering the raw edges. The center front was turned in twice, stitched down, and anchored to the neck binding. So my binding does not show on the right side the top.
My fabric came from FabricMart Fabrics. The floral knit is actually a remnant
from this dress that I made in July 2018. Because I only had 1.25 yards left, I used a black jersey for the lining of the sleeves. Also from FabricMart Fabrics. I didn't use the ruffle tissue pattern. I simply purchased some trim that I liked from JoAnn Fabrics, which saved me a little time.
My Likes:
- Princess seam front - easy for fitting.
- Bust dart - it eliminated pooling of fabric along the bust area.
- The Fancy shoulder trim treatment. I love it! This is a nice embellishment.
My Dislikes:
The only other change that I made was to do a swayback adjustment resulting in a center back seam. No big deal there.
In conclusion, the construction process was really easy. It was just a little time consuming with placing the trim. I preferred my method of attaching the neck binding for this view. Maybe if I make view A, I'll have exposed neck binding.
This pattern was published in 2011 and it is out of print. So if you have it, give it a try.
BTW- I'm still working on my neutrals garments. This was the last top that I made in May. And I wanted to get a post up on the blog this weekend. There are two other tops that I made in May that I will soon post. One is a neutral, warm beige.
So that's all for now.
Happy Sewing!
C