Showing posts with label trim. Show all posts

Tuesday, March 31, 2020

Summer Dresses In The Making - Butterick B6674


This fabric is a Mood Exclusive Abstract Concepts Stretch Cotton.  What drew me to it was the delicate outline of printed faces.  I'd seen similar prints but would not seen them in a fabric store.  So this one was just right for me.  It's 97% cotton; 3% Elastane.  The fabric has a slight sheen to it with a smooth hand.  Easy sewing and pressing helps speed up the construction process.  I used a universal sewing machine needle, size 12.

I it with Butterick B6674 which includes separate pattern pieces for cup sizes.  A plus and is helpful to me.  Because it decreases the amount a time I spent making pattern adjustments.  The FBA is the most involved adjustment I made.  Butterick pattern description: " A, B, C close fitting through bust, front self facings, sash, flared hem. A: Above mid knee length. B, C: Below mid knee length. C: Self ruffle. A/B, C, D Cup Sizes. D: Lined bag, bias tape seam finish. Note: Separate pattern pieces are included for cup sizes A/B, C, D."  I used size 16 with some modifications.


This was the first garment that I made while in quarantine. I spent two days making this dress.  The first, finishing everything except the buttonholes, buttons, and hem.

This is a very simple skirt waist dress.  Another example of a fit and flare style.  This style is very appealing to me.  And I hope to make more similar dresses this year.  The ruffled neckline adds a little more interest to a simple silhouette and no pockets because the print was enough of an attraction.  So view C was perfect for my project.

My dress does look like the drawing, except I did not make a belt.  I have a RTW belt that would be perfect for the dress.  The instructions were typical but very easy to follow.  No part of the dress requires interfacing.  In general, a very quick sew.

Before I cut into my fashion fabric, I made a muslin.  I actually made it last summer.  So I tried it on again to make sure the fit was still okay.  It was good.  My usual pattern adjustments were also made last year.  So I checked them again since I hadn't looked at this pattern in awhile.

My fit changes:
  • Tweaked the D cup bodice pattern to fit.
  • Lengthen the bodice a bit
  • Swayback adjustment
  • Prominent shoulder blade at the shoulder seam, which produced a little dart.  I should have made it along the neckline.  I think it would look better. Next time.
  • Added a bit to the bodice back a the shoulder seam for my forward shoulders.
  • Lengthen the skirt a bit
My construction changes:
  • The fabric was too thick to follow the construction of the ruffle.  I decided to use Mood Italian Black Venise Lace trim .   I cut the lace the length of the ruffle.  Then I cut a piece of 1/4" black elastic the length of the finished neckline.  Stretched and sewed the elastic to the lace.  Then I sewed the trim to the neckline of the dress being careful not to stretch it.  NOTE:  A little stretching did occur, but it did not deform the neckline.  It actually helped it lie flat with no gapping.
  • For the neckline and armholes, I make bias tape from fashion fabric.
  • I used hem tape and hem the dress by hand instead of machine stitching it as instructed.

I am very please with how this dress turned out.  It is a classic silhouette.  And I can see myself making it again.  Next time with pockets and matching bag.  Isn't that tote cute?

This is a relatively easy dress to make once you have gotten past your fit adjustments.  You can also have some fun with trims to change it up a bit.  I recommend this pattern to all level sewists.  Have fun building your summer wardrobe.  Now is the time if you are quarantined or on coronavirus lock down.

Happy Sewing!
C


Friday, October 18, 2019

A Little Sporty Fun with Royal Blue Liverpool Knit - McCall M7873


It's about time for a little fun sporty outfit.  Mood Fabric is well stocked with all types of fabrics and trims that can help make your vision a reality.  For my active wear outfit I chose Mood's reorderable Royal Stretch Liverpool Knit.  There are a total of eight gorgeous colors available, from bright white to mustard yellow to neutral black.  Liverpool knits have a crepey texture with a somewhat dry hand.  The malleable weft-wise stretch and subtle warp-wise give was perfect for this project.


And please don't sleep Mood's online inventory of great trims.  There is a HUGH variety of all types:  stretch, woven, textured, feathered, leather, etc.  So for more interest, I added Mood's Red and Ivory Stretch Grosgrain trim.  Love this stuff.  Both are also regularly stocked at Mood.

I used McCall's M7873, a relatively new pattern made popular by Monica's "Sew Your Own View" sewing challenge several months ago.  I wasn't ready to try the pattern back then, but this summer it was on my short list.  It is described as:  "loose-fitting knit tops feature sleeve, length and fabric variations and cold shoulder detail.  Close-fitting pull-on pants have elasticated waist and leg openings, contrast side panels with no side seams, and side front pockets.   Note: No provisions provided for above waist adjustment."

The pattern is available in two size groupings:  (XS-M and L-XXL)  I used the large with some modifications.

The technical drawing is spot on.  In my version, I tried the emulate the contrasting fabric with adding the stretch grosgrain.  More on that later.


The instructions were typical with nothing confusing in them.  The top and bottom came together with ease. There was only two design/construction steps that I didn't like; that is, the length for the cold shoulder.  It's too long for my taste.  So on the front of the top, I closed it about 1.5".  I should have made the same adjustment to the back too.  I'll take care of that later. Sometimes I wear the garment to get of feel for the wear and comfort before making my final tweaks, especially with unique style elements. The second one was the neckband.  I actually cut it 1" shorter than the pattern piece.  It's still not close fitting as I would like.

No other dislikes.  A more of my usual adjustments:   lengthen of the pants leg 3" and lengthen the sleeve about 1" ( I didn't need the later.).  I came up with the idea of adding the stretch trim, trying to copy the look of the contrasting fabric.  The stretch trim was easy to apply.  I used stitch witchery to hold it in place while stitching it to the Liverpool knit (no pins).


I'm pleased with the overall project. I can definitely see myself making the pants again, but the top is unique enough for me to only have one in my wardrobe.  This pattern is one that I think almost everyone can wear.  It's easy to make, and you can come up with different fabric combinations to use to make it uniquely yours.


The Liverpool knits are an excellent choice of fabric for the outfit.  I think a rib knit trim would work best for the neckband though.  And of course, Mood has plenty to choose from. 


Parting Shots:  Okay, these last two photos are just for fun!


Happy Sewing!
C


Sunday, June 2, 2019

Vogue 1275 - Fancy Shoulder Knit Top


I must admit that I was a little apprehensive about making this top.  It was on the "to make list" for about three years. The neckline and the trim seemed to be quite intimidating at first look.  To get pass that, I had to simply pulled out the guide sheet and the tissue pattern; then get to working on it. Throughout my sewing adventures, there has been multiple occasions when I thought the construction of something was more than I bargain for. 


I think many sewists shied away from this one because it appears to be more labor intensive than it really is.  I only found four online postings:  two on Pattern Review and two in blog land.  Anyway, I am very pleased with how my version of view B turned out. 

This pattern is designed by Sandra Betzina.  It is described as Misses' top: close-fitting, pullover top has neck binding and optional stitched hem on lower edge.  A:  Ruched front and elastic forms ruched effect on sleeves.  B:  Self-lined sleeves with ruffles.


The sizing is A to J.  I found that in many cases I do not have to do my usual full bust adjustments with Sandra Betzina's patterns.  For starter, I used size E.  But end up doing quite a bit of tweaking during the construction process particularly below the bust area.  At the waist and upper hip areas I stitched somewhere between C and D.  So my sizing was a little all over the place between E and C.5.


My top looked like the drawing as far as style lines and shape of the top.  The princess seaming on my top is more pronounced than in the drawing.  I did change some of the construction techniques and continued to modify the seaming for fit purposes.  The instructions were pretty clear.  There were a few steps that made me pause though.  The first was step 9. I wish the placement lines for the trim were indicated on the tissue pattern. I didn't follow step 6 to mark the line; I just laid the top on a flat surface and carefully pinned the trim in place.  Then I basted it to the shoulder area.  Finally securing it by machine.  The neck binding instructions weren't completely clear.  I didn't really indicate how the finished neckline should appear and it was a little wide for my taste.  So, for that step,  I trimmed off about .75 inch along the long edge of it.  And I trimmed off 1.25 inches of the short edge.   Next I folded it in half, pressed, and attached it to the neckline of the top.  To finish it, I turned the binding to the inside of the top and stitched it down covering the raw edges.  The center front was turned in twice, stitched down, and anchored to the neck binding.  So my binding does not show on the right side the top.


My fabric came from FabricMart Fabrics.  The floral knit is actually a remnant from this dress that I made in July 2018.  Because I only had 1.25 yards left, I used a black jersey for the lining of the sleeves.  Also from FabricMart Fabrics.  I didn't use the ruffle tissue pattern.  I simply purchased some trim that I liked from JoAnn Fabrics, which saved me a little time.


My Likes:
  • Princess seam front - easy for fitting.
  • Bust dart - it eliminated pooling of fabric along the bust area.  
  • The Fancy shoulder trim treatment.  I love it!  This is a nice embellishment.
My Dislikes:
  • No note worthy dislikes.
The only other change that I made was to do a swayback adjustment resulting in a center back seam.  No big deal there.


In conclusion, the construction process was really easy.   It was just a little time consuming with placing the trim.  I preferred my method of attaching the neck binding for this view.  Maybe if I make view A, I'll have exposed neck binding.

This pattern was published in 2011 and it is out of print.  So if you have it, give it a try.

BTW-  I'm still working on my neutrals garments.  This was the last top that I made in May.  And I wanted to get a post up on the blog this weekend.  There are two other tops that I made in May that I will soon post.  One is a neutral, warm beige.

So that's all for now.

Happy Sewing!
C


Friday, July 17, 2015

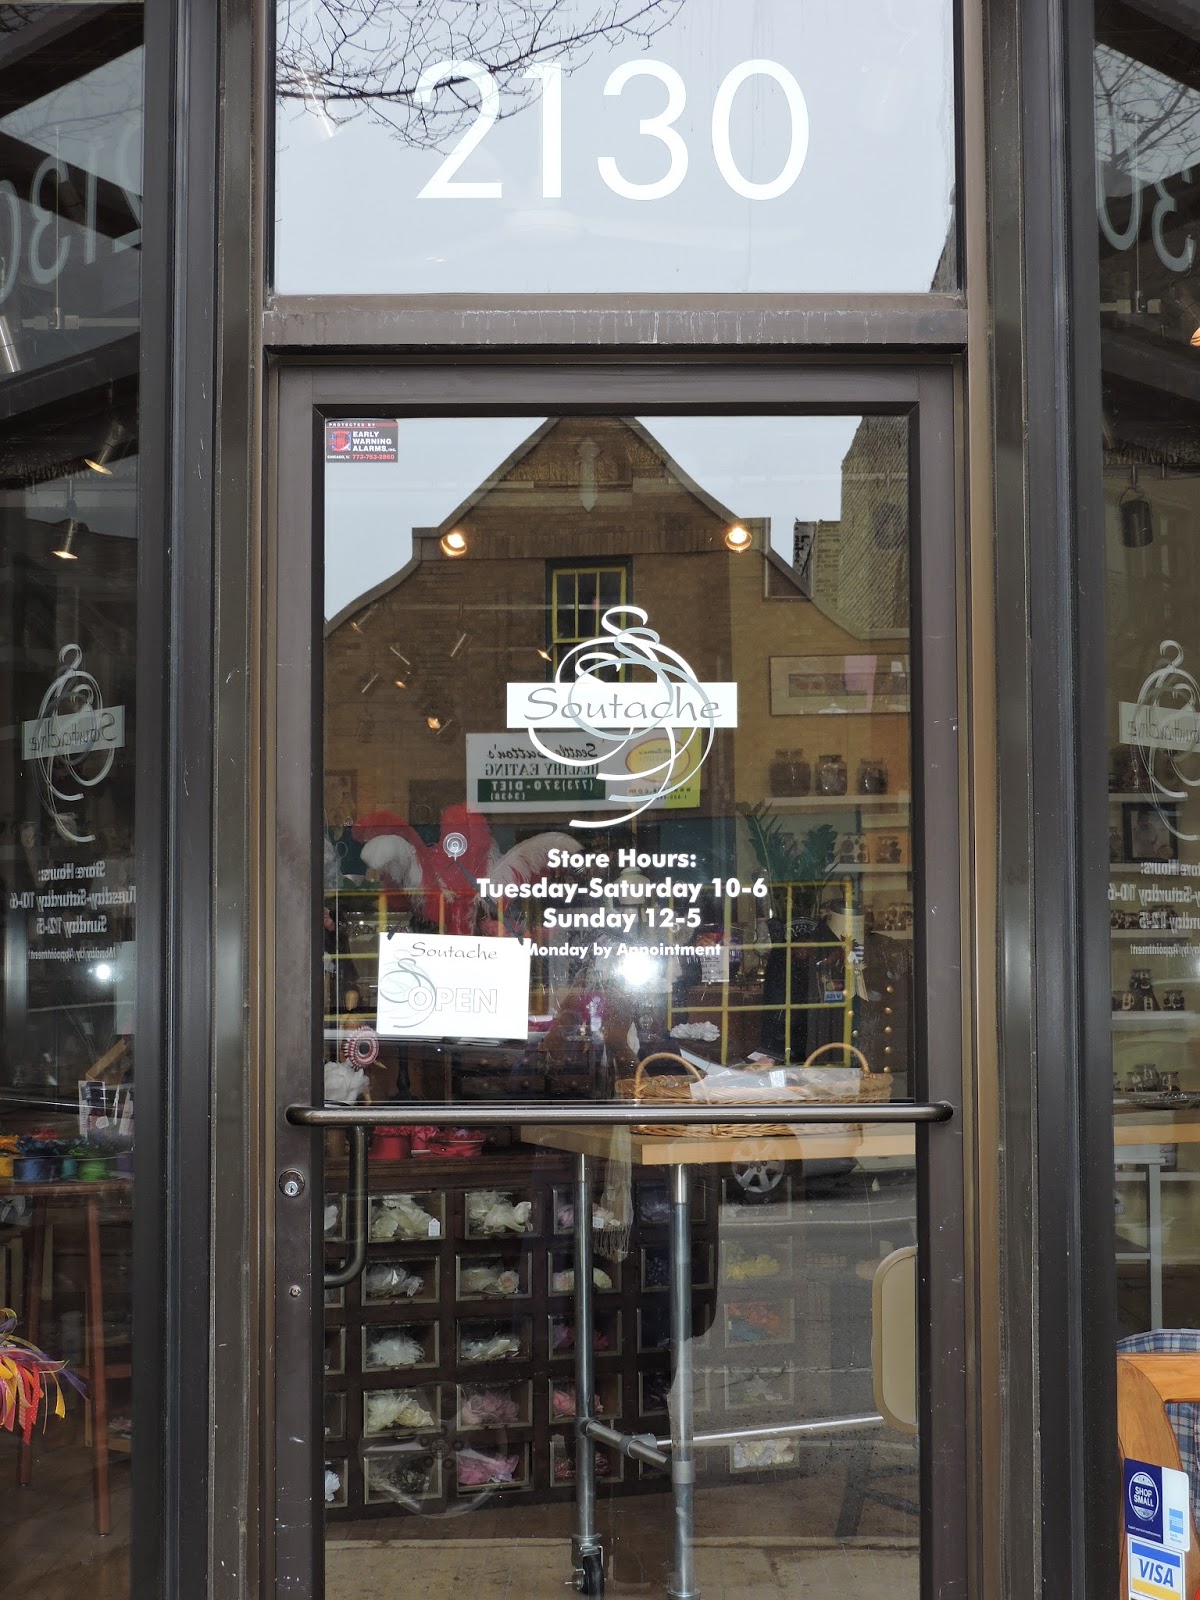
Soutache - The Cutest Little Victorian Button and Trim Shop


I have the pleasure of working at Soutache this month and in April.  Now that I'm retired from the University, I am able to do something related to my favorite hobby.  Soutache is located on the near north side of Chicago.  Maili has moved across the street from her previous location.


If you remember, I mentioned Soutache in the Chicago PatternReview post back in 2011.  I didn't really review the shop at that time but would like to share a few thoughts on it now.


First, I'd like to say that I love the layout of the store and presentation of the goods.  It's vintage style reminds me of a Victorian shop.   At the front of the store, one side of the store is ribbon/trim and the other is buttons.  The middle of the store is displays and floral.  At the back feathers, bridal, and findings.  Upstairs is a large work/storage room where small classes can be held.  Rhonda Buss and Susan Khalje hosted their winter workshop there


I bought ribbon, feathers, and buttons.  The prices are competitive considering the quality of the goods.   Maili is the sole proprietor and occasionally has part-time staff come in to help out.


Shoppers are like kids in a candy store.  Some come into the store looking for something unique and special for a custom garment or fascinator/hat.  Last Tuesday, an author of a sewing book came in to buy buttons for a military style jacket featured in her new book.  She bought $65.00 worth of metal buttons.  Everyone who stops by appears to have a great appreciation for the quality of goods that Soutache carries.


If you are in the Chicago land area, consider stopping by Soutache.  The address is:

2130 North Damen Avenue
Chicago, IL  60647
773-292-9110


Happy Sewing!  I mean Happy Shopping!
Cennetta


LinkWithin

Blog Widget by LinkWithin