Showing posts with label drafting. Show all posts

Saturday, September 23, 2017

Draped Cowl Sleeve - Rhonda Buss Sleeve

Top made by Rhonda Buss


Early summer I posted a blog on four sleeves designed by Rhonda Buss that I want to try.  This week I started with drafting the draped cowl sleeve.  I want to make a dress and top with this sleeve.  Rhonda makes it so easy to do.  I was able to complete my first attempt in less than an hour from coping a basic sleeve using McCall 6963.  I'll use the draped front to following the design of Rhonda's top.


I'm not going to trouble you with repeating the steps that Rhonda shared in her tutorial.  So here is the link to it.  

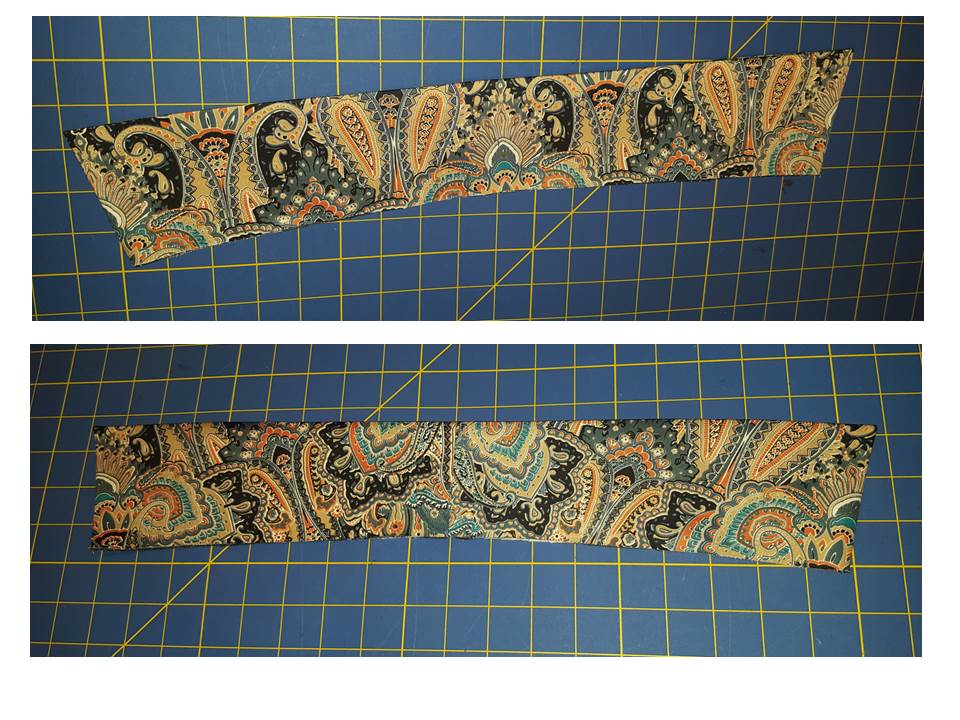
In pictures, here is how I did it.


I posted my test on Instagram and Rhonda gave me a helpful tip on enhancing the drape by spreading the cap of the sleeve.  I will to do that.  But for now, this is my first attempt.


Happy Sleeve Drafting!
C

Thursday, June 29, 2017

Sleeves, Sleeves and More Sleeves


This spring there has been an explosion for sleeve designs to hit the garment market and the garment sewing market.  From cold shoulder designs to ruffles and multiple layer flounces, both marketplaces are saturated with interesting sleeve designs.  

Of course, this didn't just start.  I begin to noticed the focus on sleeves about five years ago.  One of my first recollection was when Rhonda Buss begin to post "Sleeves on Saturday".  Immediately, I was intrigued and wanted to try my hand at it; but felt a little intimated by the whole process.  So, I downloaded the instructed and stored them on the bookshelf for safe keeping.  I started feeling a little courageous a few days ago, I decided to take another look at what Rhonda posted in 2012. 

I belong to two groups on Facebook called:  "Pericrafters" and "SewMuchTalent".  For the month of June, our challenge is to hack McCall M6886.  Usually, I start early in the month deciding what I'd create for the challenge.  This month, I did not because there is such a saturation of sleeve design options available.  So why hack as if sleeves are the only thing to hack.  Anyway.


This brings my back to Ms. Rhonda.  She has created some very interesting sleeves.  Perfect for any sleeve hacking you or I may want to do. And I haven't seen her designs in any patterns yet.
Butterfly Sleeve

Rhonda - Cowl Draped Sleeve

Rhonda - Cowl Sleeve

Rhonda - Shirred Wrist Sleeve

So to share with all of you, here are a few sleeve options from her series that I am considering. No date in sight for doing these. I do plan to try at least one of them.  Join me if you please. ;-)

Happy Sewing!
C


Saturday, June 17, 2017

One Piece Collar Tutorial Part II with McCall 7575


Today's tutorial will illustrate how to actually make the one piece collar. I used McCall 7575 collar, which was originally designed to cut two collar pieces (upper and lower) to form the shirt collar. I folded the original collar in half, copied the half minus the 5/8" seam allowance at the edge. Read the previous post to draft the pattern.

Making the collar 

Step 1 - Place the tissue pattern on the fold to cut one fabric and one interfacing.  Below is a picture of all three (fabric and interfacing still folded in half.


Step 2 - Fuse the interfacing to the wrong side of the fabric collar.


Step 3 - With both ends together, sew 5/8" seam allowance.  This seam will be at the center back of the collar.


Step 4 - Press the seam allowance open and fold the collar so that the seam is at the center of the collar.


Step 5 - Stitch along the outer edge of the collar (5/8" seam allowance), press and trim the seam allowance (1/4").  Photo before trimming of the seam allowance.


Step 6 - Turn the collar to the right side, press, and edge stitch.  Below shows the collar with the center back seam as the under collar.  The second picture shows the collar with the center back seam as the upper collar.  You can install it either way.  It's up to you.  But for this shirt the center back seam side will be the under collar. (Note: sorry the photo is not as bright as the others.)

This is the finished collar.  From cut to finish, it took less than 10 minutes to complete.  That's it!  I hope this tutorial is helpful.

Happy Sewing!
C

LinkWithin

Blog Widget by LinkWithin