Showing posts with label stripe challenge. Show all posts

Saturday, June 17, 2017

One Piece Collar Tutorial Part II with McCall 7575


Today's tutorial will illustrate how to actually make the one piece collar. I used McCall 7575 collar, which was originally designed to cut two collar pieces (upper and lower) to form the shirt collar. I folded the original collar in half, copied the half minus the 5/8" seam allowance at the edge. Read the previous post to draft the pattern.

Making the collar 

Step 1 - Place the tissue pattern on the fold to cut one fabric and one interfacing.  Below is a picture of all three (fabric and interfacing still folded in half.


Step 2 - Fuse the interfacing to the wrong side of the fabric collar.


Step 3 - With both ends together, sew 5/8" seam allowance.  This seam will be at the center back of the collar.


Step 4 - Press the seam allowance open and fold the collar so that the seam is at the center of the collar.


Step 5 - Stitch along the outer edge of the collar (5/8" seam allowance), press and trim the seam allowance (1/4").  Photo before trimming of the seam allowance.


Step 6 - Turn the collar to the right side, press, and edge stitch.  Below shows the collar with the center back seam as the under collar.  The second picture shows the collar with the center back seam as the upper collar.  You can install it either way.  It's up to you.  But for this shirt the center back seam side will be the under collar. (Note: sorry the photo is not as bright as the others.)

This is the finished collar.  From cut to finish, it took less than 10 minutes to complete.  That's it!  I hope this tutorial is helpful.

Happy Sewing!
C

Thursday, May 18, 2017

McCall 7445 Pants and Vogue 8747 Shirt


Finally, I'm posting photos of me in my new pants made using McCall 7445.  I posted way back in March (tee hee) on my fitting and sewing of these pants.  Now, that I have tweaked the pattern I'm moving this gem to my TNT basket for easy hands on access.


All of my changes are indicated in the first post.  But I'd like to state again that you may need to stitch of the vertical line of the pocket to eliminate any gapping in the tummy area.  Also, I re-enforced the pocket opening to reduce any stretching.  These pants are made of a stretch woven polyester blend, which I love.


I'm wearing my wearable muslin of Vogue 8747, View D.  I love this blouse and will be making it again very soon.  It's a winner.  This pattern has been review over and over again on blogs as well as on Patternreview.  One of best things about it is that there are separate pattern pieces for cups sizes A through D.  This made the fit process easier.


My changes were minimal:

  • I made a small adjustment in the bust area by increasing the length of the front band by 1/2".
  • On the front I added about 1" or so in the gathered area.  
  • For the side front, I added about 1/2" width in the bust area.
  • I made my usual sway back adjustment on the back and side back pieces.
  • Lengthen the sleeve by 1".
  • The neckline was slightly larger the than the length of the collar stand.  So I ease in the difference.
  • Also, I interfaced the upper and lower front band, collar, and collar stand.


The list seems long, but the changes were really minimal. Overall, the shirt is well drafted.  The fit in the arm, chest, and neck areas is great.  At least for me.
 

I used a polyester blend that I purchased years ago from a local store.  I think Vogue, but I'm not sure.
I didn't tag it. :-(  It was easy to work with sewing wise, but difficult to press.  I'm pleased with how this shirt turned out.  Now I'm ready to make more.

These striped pants are my kick off point for adding more stripe garment to my wardrobe.  More to come on stripes and button down shirts.


Happy Sewing!
C

Tuesday, February 7, 2012

The Many Lines of My Jacket - HCC Stripe Challenge - Part III

Happy Tuesday!

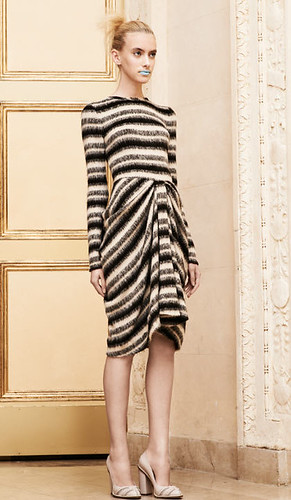
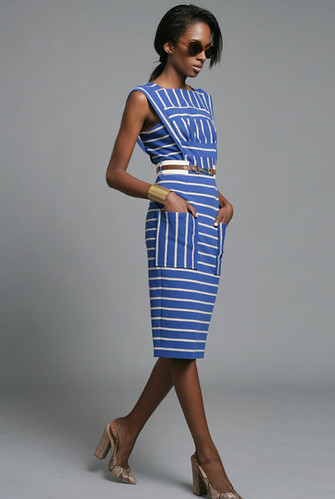
The Haute Couture Club - Stripe Challenge was held on Saturday. There were over a dozen participants. The ladies came up with some interesting outfits.  (All will be showcased at the May fashion show. wink, wink) 

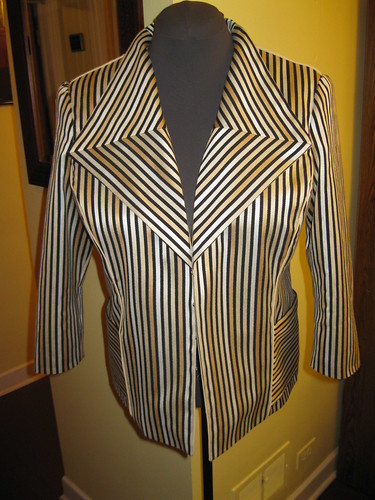
But as for me, I used McCall 6294. This my garment serves a dual purpose:  HCC Stripe Challenge and the Palmer/Pletsche contest.

My review:


Pattern Description:

MISSES' LINED JACKETS IN THREE LENGTHS: Jackets A, B, C have princess seams, back yoke, two-piece self-faced lapels with collar band, sleeves in two lengths with elbow dart, hook and eye closure; jacket A has long sleeves; jacket B has three-quarter length sleeves, unlined patch pockets; jacket C has long sleeves, unlined patch pockets with top stitching.


Pattern Sizing: 4 through 18.  I started out with a size 16; but ended up scaling it down to a 14 with my usual adjustments.

Did it look like the photo/drawing on the pattern envelope once you were done sewing with it? Yes, it look like the basic design as illustrated on the envelope.


Were the instructions easy to follow? Easy.., No problems.

What did you particularly like or dislike about the pattern? The design of the collar and the back yoke. No dislikes.

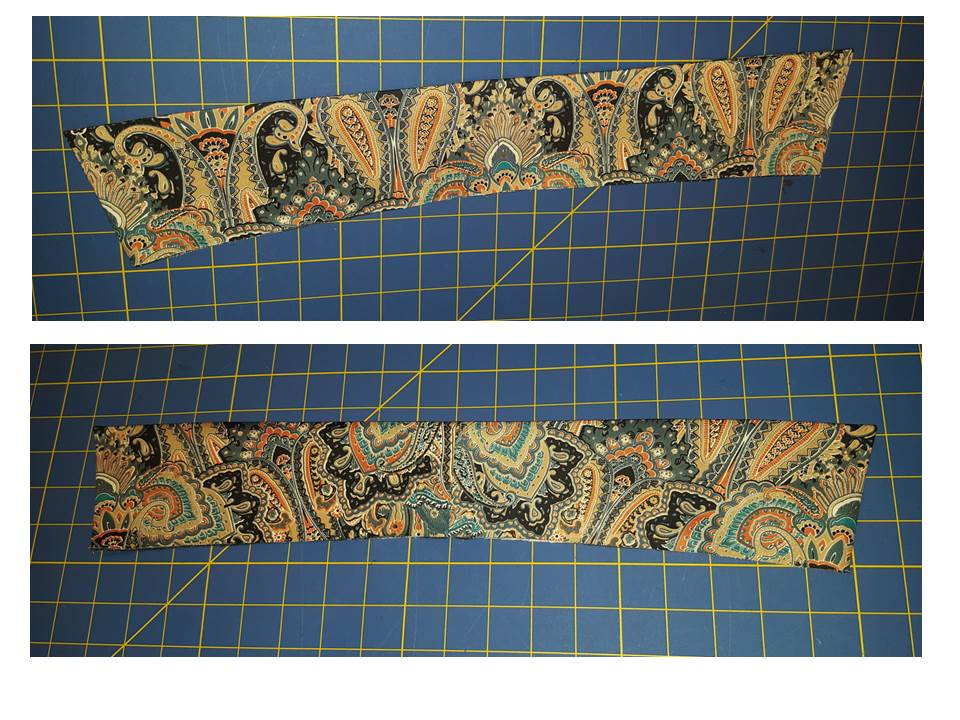
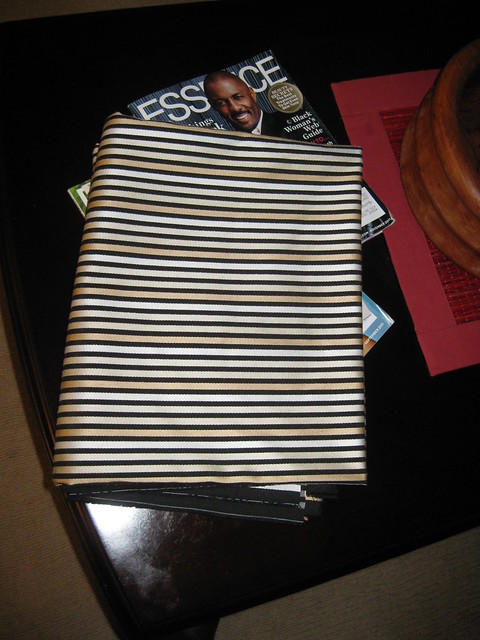
Fabric Used: The challenge organizers picked this beautiful striped fabric and made it available for members at a previous club meeting. Not sure of the fabric content, but I think it does have some rayon in it. It very easy to work with; sews and presses well. I only bought two yards; and after playing tetris with the pattern pieces on the fabric, I finally admitted I didn't have enough fabric for the entire jacket. So the under collar and the front facing is a stretch woven woolen (Rainbow). My DD gave me about 2/3 yd for my sleeves. The lining is china silk.

Pattern alterations or any design changes you made:

Before cutting into the fabric, I made several adjustments to the pattern:

- FBA – I omitted the small dart in the front
- Sway back adjustment - Then I added that same amount to the bottom of the back and side back pattern. Sometimes when I make the sway back adjustment the jacket/dress is slightly higher in those sections
- Prominent shoulder blade adjustment

Design changes:

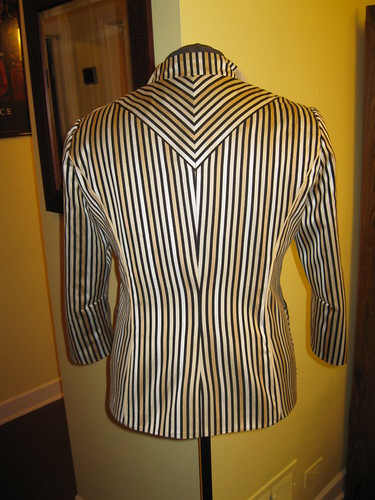
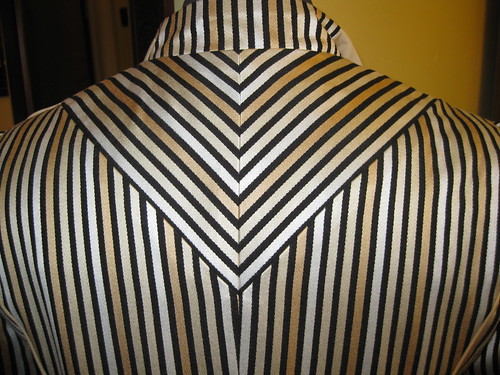
- The back yoke was cut along the center. I added 5/8” seam allowance to one of the halves along the cut edge. This created the chevron effect in the back of the jacket.
- Added piping to the shoulder, front, and back seams. The pattern of the stripe was uneven so I wanted to break up the stripe a little bit.
- Contrasting fabric for the front facing and under collar. I had a limited amount of fabric.
- Lined the pockets. I like a clean finish.


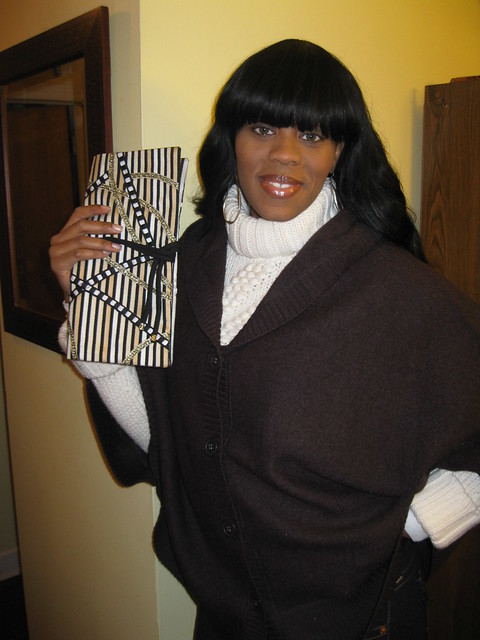
For the upcoming fashion show, I will make M5818 (TNT) pants and a simple t-shirt (ivory) to complete the outfit. Of course the ensemble with include the 
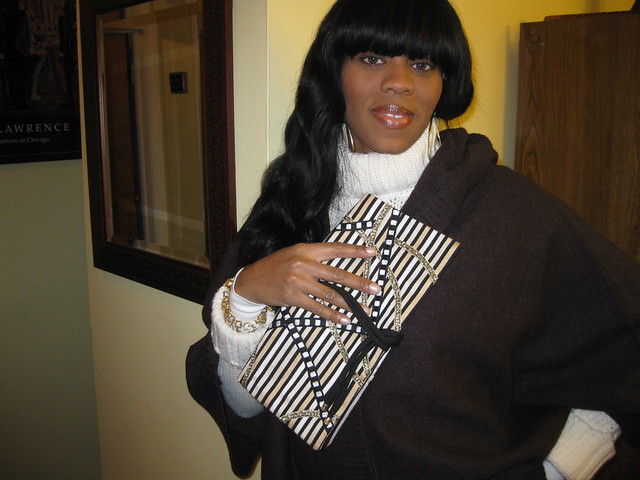
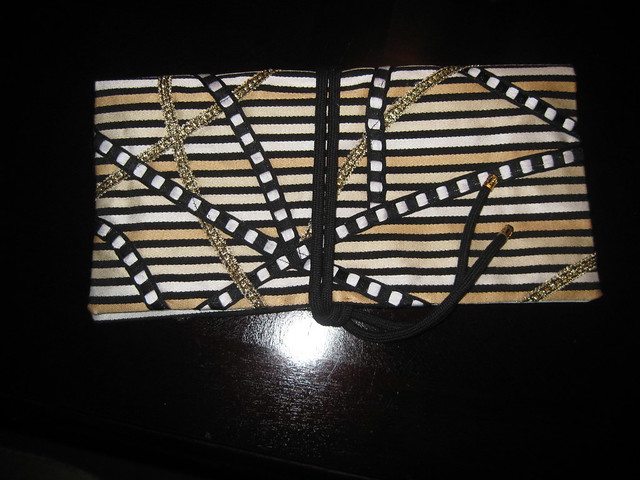
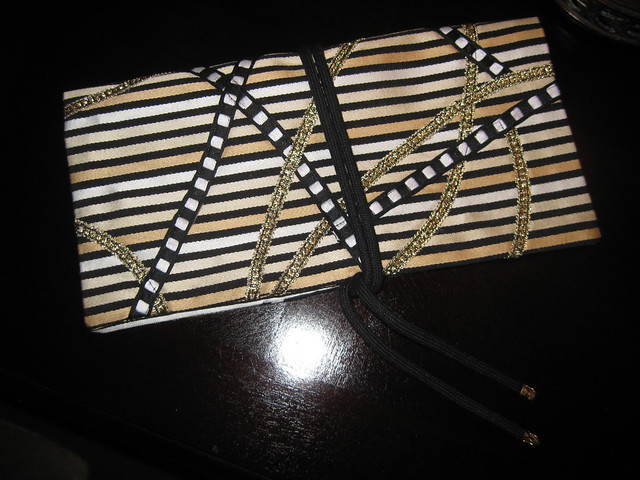
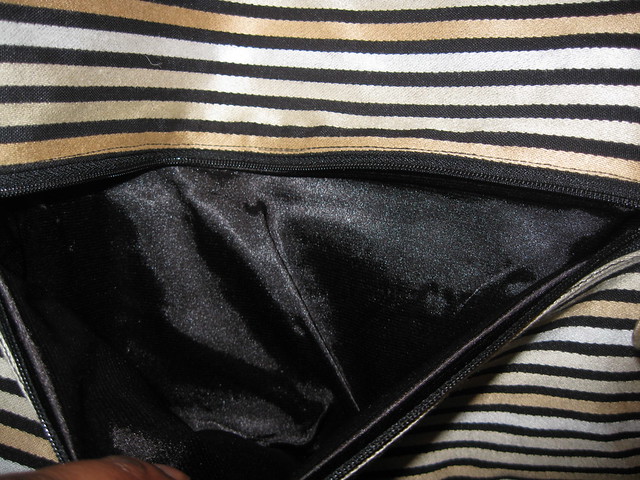
Simplicity purse I had a few months ago.


Would you sew it again? Would you recommend it to others? I don't think I will sew it again, but you never know. I have a few more jackets I'd like to try. But I do recommend it to others.

Conclusion:
This was a great pattern to use for the stripe challenge. It allowed me to create an interesting garment for the Palmer/Pletsche contest as well.

Happy Sewing!
C

Tuesday, December 27, 2011

Haute Couture Club - Stripe Challenge It's In the Bag Part II


Happy Holidays!

Now that the hustle and bustle of the holiday is over, I have time to sew and blog. About fifteen minutes ago, I finished my matching clutch for the Haute Couture Club Stripe Challenge outfit.  (My baby sis was over when I made the purse so I asked her to model it for me.)

I used Cynthia Rowley's Simplicity 2350 pattern, view C.

Pattern Description: It includes patterns for three different bags: bucket, tote, and clutch. All have can be made with decorative trim, which you can purchase on the simplicity website.

Front of Bag

My finished clutch matches the design illustrated on the envelope. I applied the decorative trim slightly different, but the basic design is the same. The instructions were a piece of cake. Step 1 states to pin the novelty trims, I used stitch witchery to hold the trim in place. Once all trim was applied to the bag, I sewed each strip to the bag. I couldn't find the "right" cord ends. So I used two hair ornaments that I bought from a local beauty supply store. This bag is really easy. It took less than two hours to make.

Back of Bag


I like all three bags. Adding decorative trim makes it easy to make a one of a kind bag. And I recommend that you give them a try.

Of course, I used the stripe challenge fabric for this. It's a rayon, wool, poly blend. There is enough left to make an interesting outfit for the fashion show. More on that later.
Inside Bag

The quick and easy clutch is an attractive bag to add to your wardrobe. Try it.

Parting Shot:
My little black dress made the March issue of Threads magazine. What an honor.


Happy Sewing!
C

Tuesday, December 20, 2011

Creative Stripes - Haute Couture Challenge

One of the big trends of 2012 is stripes. Everything is striped: dresses, suits, tops, pants, handbags and shoes. Truth be told, every season stripes show up on the runway. But this season they are front and center in many of the designer collections.


No wonder the Haute Couture Club of Chicago included a Stripe Challenge for this 2012 Fashion show. This beautiful fabric was selected for the upcoming challenge. Each participating member purchased yardage to create a garment for the challenge. Now I am faced with the opportunity to create something beautiful to showcase in the fashion show.

Katherine Hepburn with Spencer Tracey


Of course, I turned to the fashion blogs and fashion sites to help stir up the creative juices. Then to top that off, Turner Classic Movies featured four films starring Katherine Hepburn and Cary Grant. Guess what? Ms. Hepburn sported several striped outfits. So I have several idea to help me come up with an eye-catching striped outfit.

Just in case, you want to follow along here are some inspirational garments made by some of my favorite designers.

10 Crosby Derek Lam


Thakoon


Tracy Reese


10 Crosby Derek Lam


10 Crosby Derek Lam


Tracy Reese


Michael Kors


10 Crosby Derek Lam


Tracy Reese

Happy Sewing!
C

LinkWithin

Blog Widget by LinkWithin