Showing posts with label collar. Show all posts

Friday, May 15, 2020

Shirt Making Project Spring/Summer 2020 - Simplicity S1166


Sometime in January, I decided to do another "Shirt Making Project".  To start, I cut out three shirt using Simplicity S1166.  These shirts were in a bag in the UFO bin that I had almost forgotten about.  This week I decided it was about time I made them.  This is a pattern that I used before.  The initial review and project here.

I like the shape of the collar and design of the sleeves.  These details make it a little better than your average button down shirt (to me).  They can  also make or break the project as they are focal points of the garment. Making this batch of shirts was an opportunity to do a lot of top-stitching and paying attention to the simple details and construction processes.

Tip 1:  Construction of the Collar

The collar is large and curvy ending in the typical point on each end.  There are a few approaches to making the point just right.  I posted Sandra Betzina's method of redrafting the collar pattern.  The details:  Part I and Part II. 


For these shirts I used another method.  Sorry I don't know what it is called.  But, instead of sewing the seam and pivoting at the corner.  I made it "squared" at the corner then I pivoted to continue.  This is done in addition to "not" interfacing the corners of the collar.


The next few steps are critical:  Use a pointer/creaser to help turn the collar inside out using the point to push the tip of the collar out.

Next, this is key:  Pressing.  I made sure I gave that collar a great press.


My last step is the top-stitching.  I use thread at each point to help guide the collar under the needle.  Often, at the corners of a garment it is difficult to get the end to move through the stitching area.


This method is also good for the cuffs.


Tip 2:  Construction of the Buttonholes

These days I'm making a lot of garments that button down the front.  This is another focal point and I want it to look as good as possible.  I've said this many times before.  I test before I do it on my actual project.  And for each shirt, each type of fabric I tested making the buttonholes.

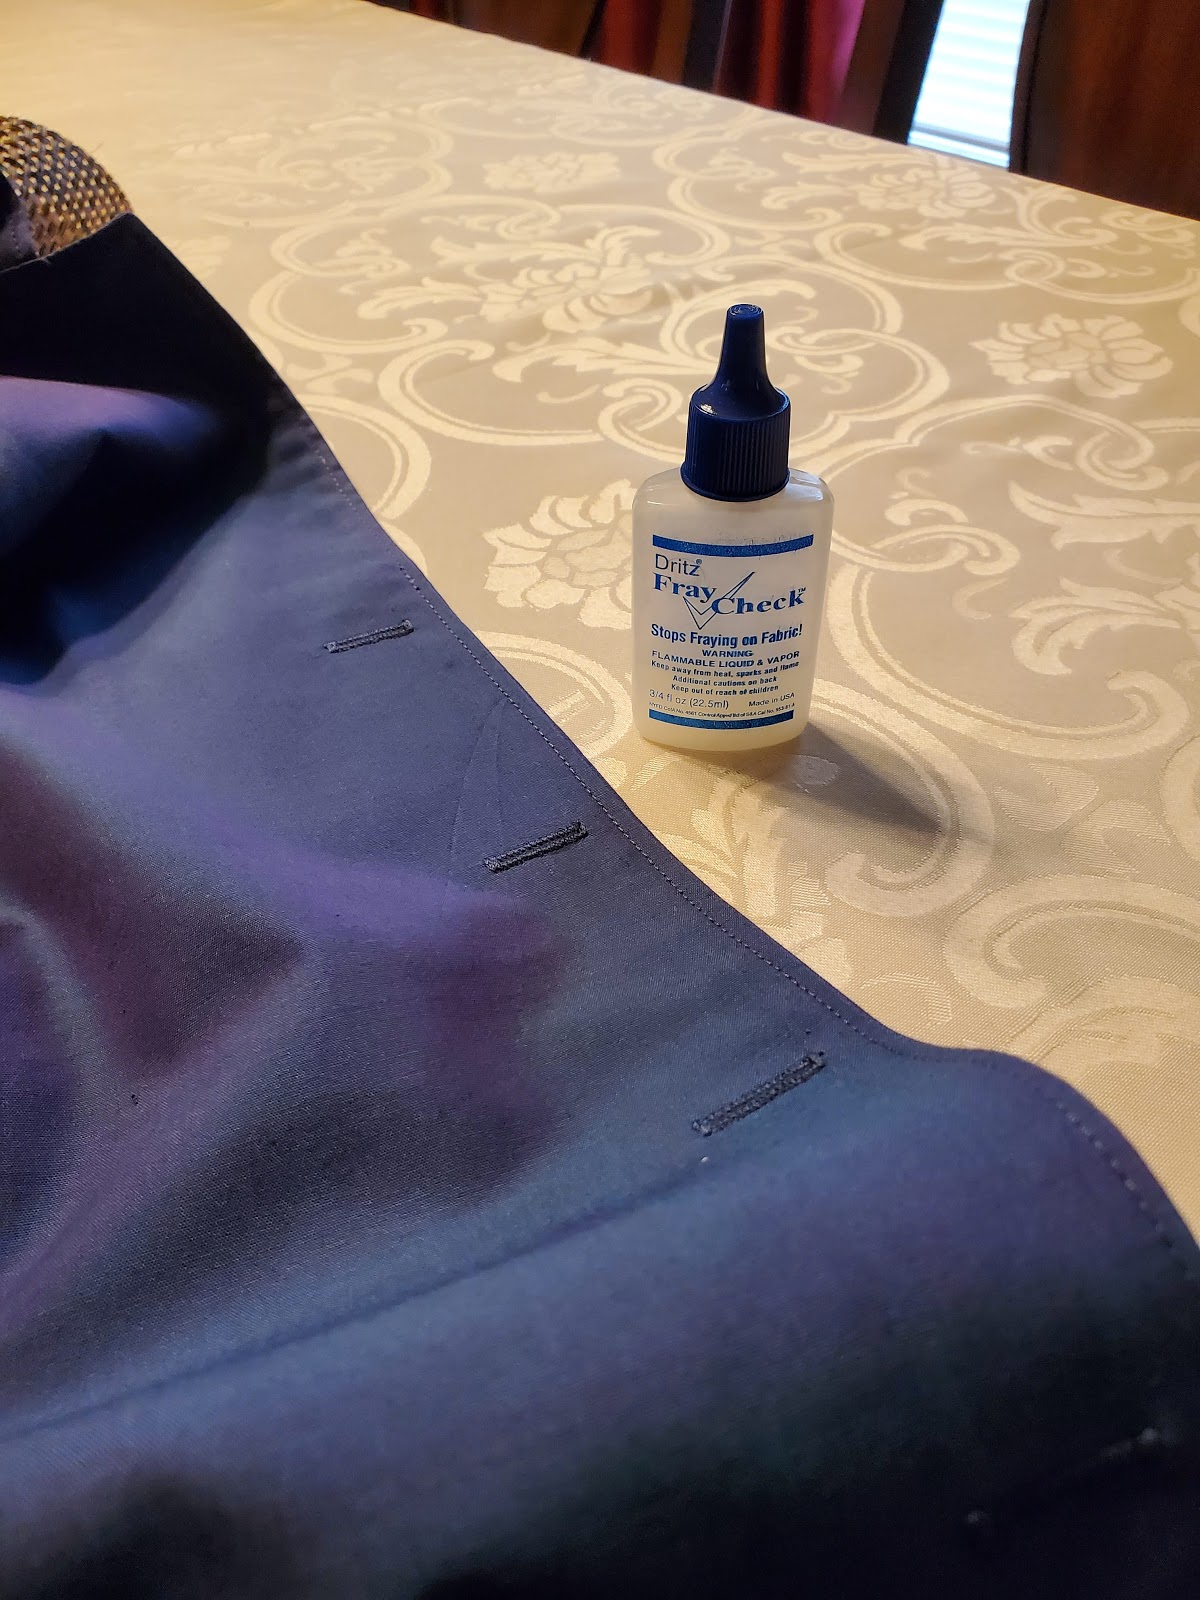
After successful testing, I sew the buttonholes on my garment.  They are not complete without some Dritz Fray Check.  After the buttonholes are constructed, I apply fray check and allow it to completely dry before opening the buttonholes.

So that's it for my tips.  I hope this information is helpful.

Happy Sewing!

C

Saturday, June 17, 2017

One Piece Collar Tutorial Part II with McCall 7575


Today's tutorial will illustrate how to actually make the one piece collar. I used McCall 7575 collar, which was originally designed to cut two collar pieces (upper and lower) to form the shirt collar. I folded the original collar in half, copied the half minus the 5/8" seam allowance at the edge. Read the previous post to draft the pattern.

Making the collar 

Step 1 - Place the tissue pattern on the fold to cut one fabric and one interfacing.  Below is a picture of all three (fabric and interfacing still folded in half.


Step 2 - Fuse the interfacing to the wrong side of the fabric collar.


Step 3 - With both ends together, sew 5/8" seam allowance.  This seam will be at the center back of the collar.


Step 4 - Press the seam allowance open and fold the collar so that the seam is at the center of the collar.


Step 5 - Stitch along the outer edge of the collar (5/8" seam allowance), press and trim the seam allowance (1/4").  Photo before trimming of the seam allowance.


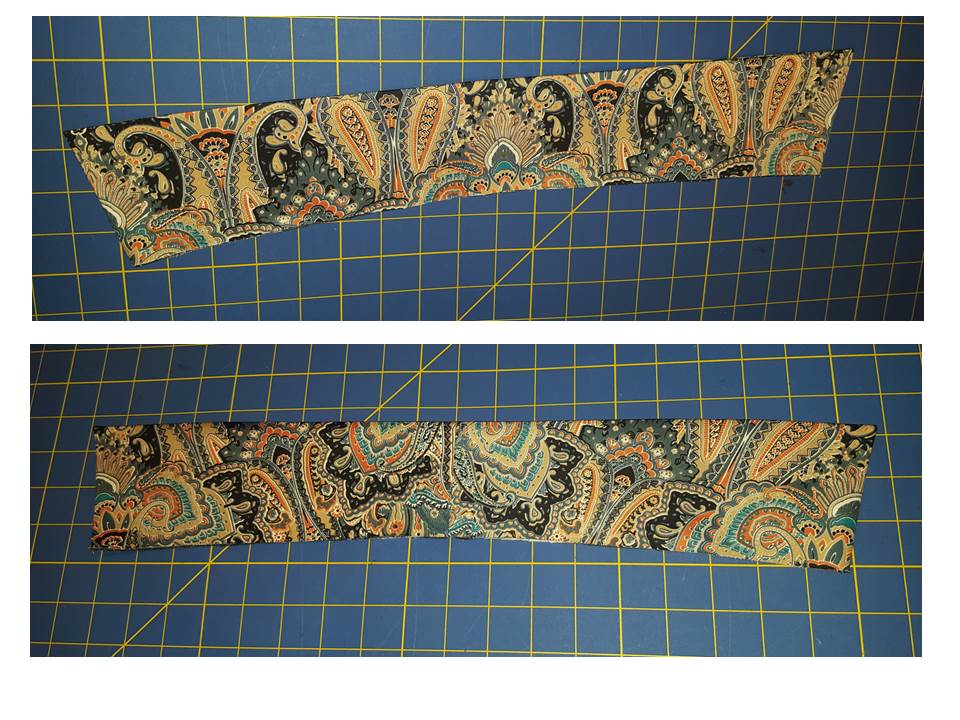
Step 6 - Turn the collar to the right side, press, and edge stitch.  Below shows the collar with the center back seam as the under collar.  The second picture shows the collar with the center back seam as the upper collar.  You can install it either way.  It's up to you.  But for this shirt the center back seam side will be the under collar. (Note: sorry the photo is not as bright as the others.)

This is the finished collar.  From cut to finish, it took less than 10 minutes to complete.  That's it!  I hope this tutorial is helpful.

Happy Sewing!
C

Wednesday, June 7, 2017

Tutorial - Drafting One Piece Collar - Crisp and Sharp Corners Part I

There is always something new to try in sewing.  I have a library full of sewing books, full of ideas and techniques to try and possibly incorporating into my sewing practices. But, these days I rarely do.

This year I'd decided to try a few new things to improve and refine current my practices.  There is always room for improvement.    So today I'm sharing a technique published in Sandra Betzina's book, "Sewing Tool Box".  This technique produces perfect crisp, sharp corners on a shirt collar.  The following tutorial gives you step-by-step instructions on how to re-draft the collar pattern so that it is one continuous piece.  Part II will illustrate how the actual collar is made.

Here goes:


Step 1 - First you want to copy the collar onto tissue paper.  Include the notches.  For this example, I used Vogue 9029.  This collar is placed on the fold.  So it is only half of the collar.  If you are using a full collar, fold it in half, then trace it.


Step 2 - Cut it out and draw a line to mark the 5/8" stitching line.  Count off the seam allowance.


Step 3 - This picture show the half collar without the seam allowance.


Step 4 -  Now you want to take another sheet of tissue paper.  It should be at least 18 inches wide and 18 inches long.  Note: I double the paper to show you how the collar will look when it is cut out of fabric.  Place the center of the collar on the left lower edge of the tissue paper and trace the other three sides.


Step 5 -  Next, flip the pattern over to extend from the right end where the collar ends. Trace the three remaining sides.


Step 6 - This picture shows the two collar traced on the tissue paper.


Step 7 - Now on the right end, add 5/8" seam allowance to the new pattern.


Step 8 - Cut the new pattern out.  It should look like the pattern above.


Step 9 - Note - to show how the "fabric" collar will look, I cut the pattern on the fold.


Step 10 - This step shows how you would fold and sew the fabric collar, which has only one center back seam to create the upper and lower collar.  The second seam is along the long edge shown on the lower section of the following picture.


Happy Drafting!

C

PS - Next post actual collar being constructed.
Thanks!

Wednesday, October 19, 2016

Red Is One of My Favorite Colors - Vogue 8871 and Butterick 5727


Every once in awhile I inventory my closets to see what needs to be retired and what needs to be added.  I noticed that I only have only red dress in rotation.  That was kind of odd, since red is one of my favorite colors.  So I decided it was time to add a little warmth to my wardrobe.


This is the perfect time.  The holiday season is around the corner, and I may as well get a head start.  So I began with a simple princess seam red dress.  Vogue 8871 is perfect:  it's simple; it's fit and flare; and it's cute.  Mood's red stretch rayon-nylon ponte knit is a perfect match for this dress.

Initially, I made view B adding the sleeve from Vogue 1314. I tried it on several times before and after hemming it.  Something wasn't right.  So I call in my little consultant, my darling daughter.  Immediately, she said, "It's too long.  Take a few inches off."  Still I was trying to make the length work, trying on various belts.  I didn't want to cut it off after all that hemming.  Tee hee.  So finally I gave in, cutting about 3.5 inches off the dress.  Now, I'm happy.

I made a few more changes:
  • Full bust adjustment
  • Sway back adjustment by adding a center back seam, folding out the access at the waist and curving the center back seam to fit.
  • I don't like to do a narrow hem at the neckline. So I made a neck band about two inches wide and two inches less than the length of the neckline.
  • I didn't top stitch around the armhole, nor did I double stitch the seams.  I stitched once and finished the edges with the serger. 
In the end, the dress did look like view A with long sleeves. I barely looked at the instructions, as this is a very easy dress to make.  The instructions were less than a page after the layout information.

My only dislike was the narrow hem for the neckline.  I like a narrow neck band that is attached then turned in for a clean sturdy finish.

Call me crazy, but I think I will try View B in a print, like the one the model is wearing on the website.  ;-)


This is a very easy pattern that beginners can sew, and it is flattering on most body shapes.  It's worth a try.


Part II:  Adding Interest to a Simple Classic Silhouette - Butterick 5727 Fur Collar

Medium Brown Lamb Shearling, Chocolate/Black Iridescent Twill Lining, and Butterick 5727.

So sorry the medium brown lamb shearling is sold out.  I was able to grab two pieces around this time last year.  Way back then, I did not know what I'd do with it.  When I saw it, I wanted it; so I got it.  The good news is, Mood has other shearlings that may interest you.  You can see them here.   As for the Chocolate/Black Iridescent Twill Lining, they have it in stock and it is perfect with the lamb shearling fur collar.

You can easily make it without a pattern, but I had it on hand.  So why not use it. ;-)  I made size medium.  The only change made: I double the ties.  It looks much nicer then the narrow hem method.
So you never see the wrong side of the fabric.

Easy..,

That's all for now.

Happy Sewing!
C

LinkWithin

Blog Widget by LinkWithin