Showing posts with label shirt. Show all posts

Thursday, August 14, 2025

The Shirt Project Continuous with McCall's ME2052


It's been almost a decade since I started my little "Shirt Project".  And I've made a variety of button down or button up shirts since it all begin.  The process is similar from shirt to shirt; but occasionally, there is something new and interesting about it.

Today's installation of "The Shirt Project" is McCall's Know Me ME2052.  It is designed by Beaute' J'Adore.  The point of interest is the longer sleeve double cuff.  


Pattern Description:  Misses' button down shirt with collar and collar stand.  It has longer sleeves with double cuff.  The pants are a jean style cropped pants with inlay patches on the front and back legs. 


Pattern Sizing:  I used a size 16 with very small modifications

Did it look like the photo/drawing on the pattern envelope once you were done sewing with it?  Yes, it did.  


Were the instructions easy to follow?  The instructions were pretty easy to follow.  I did a few things different.  
  • Burrito method for completing the back yoke.
  • Finished the top stitching on the front before completing the hem.
  • I followed my own method for placing the buttons and buttonholes making the sure a button was placed at the fullness of my bust.  Then continuing with the rest at an appropriate spacing.

What did you particularly like or dislike about the pattern?  I really like the double cuff and the oversize style.   


Fabric Used:  The fabric was purchased at the Discount Warehouse on west 21st in Chicago,  It has been in my stash for a year or so.  I bought is to make a shirt. I pre-washed and dried it shortly after I purchased it.  So, it was ready to sew when I pulled it from my stash.

Pattern alterations or any design changes you made:  I really didn't change much.  I just added my usual inch to the sleeve length.  NOTE:  these sleeves fall slightly over the hand.  

Next time:  I will interface half of each cuff to reduce thickness.  Also, I'll reduce the circumference of the collar.   

Would you sew it again? Would you recommend it to others?  Yes and yes.  I already have another cotton blend ready to cut and sew.  


Conclusion: I enjoyed making this shirt.  I also, recommend it to others.  It is an average sewing level shirt.  Great wardrobe builder with a unique twist.

Happy Sewing!
C

Monday, May 18, 2020

The Shirt Project 2020 - Simplicity S1166 In Review


The making of these three shirts is the beginning of my second Shirt Project.  About two weeks ago, I found the shirts in a bag while inventorying my UFO bin.  Everything was already cut and marked.  All I needed to do was sew them.  This was the perfect project to finish while I wait for my button order to arrive.

I made this shirt once before, but I didn't do a full pattern review.  So today I'd like to share my thoughts on this pattern. 

Simplicity almost never gives a good description of the pattern views. For this one they just said, "Misses' blouse, skirt, and bra top.  How vague is that?


My description for view B - Misses' blouse with dolman like 3/4 length cuffed sleeves with wide collar and curved hem.


The pattern comes in sizes 6 to 24. The sizes are grouped: 6-14  and 16-24.  I used size 14 with modifications.

This drawing and the envelope photo do not match.  The drawing is the same silhouette as my blouse, but the blouse on the model is different.  Either the blouse she is wearing  is three sizes too big or the pattern design is for an all together different pattern than what is provided in the envelope.


The instructions were easy, and I didn't see anything confusing in them.  I did make some fit adjustments and minor changes for my versions.

My likes:
  • Sleeve design
  • Wide collar
  • Cuffs
No real dislikes other than the misinterpretation of the design modelled on the envelope.


I used three different fabrics from three different sources:
The pattern alterations are some of my usual adjustments:  FBA plus I lowered the bust dart; and I lengthen the blouse about a few inches.

Design/Construction changes:  I did something a little different for each blouse
  • White - No top-stitching except for the cuffs.  I didn't do a rolled hem.  I serged, turned and sewed the hem.  Added darts to the back.  Stitched in the ditch of the shoulder seams instead of tacking the facing to it.
  • Stripe - Followed the instructions except for the hem and tacking the facing to the shoulder seams.  The collar design change for this one was due to limited amount of striped fabric.  I didn't have enough for both upper and lower collars.  So I used some of the white pima for the under collar.
  • Blue - Same as the stripe blouse. No design change.

So far I've made a total of four blouses using this pattern.  Why stop now?  I can see myself using it again.  And I do recommend it to others.  It's an easy sew.  All level sewists can enjoy making this blouse.

I noticed a few areas where I could tweak the fit a little more.  But overall I'm pretty pleased with how these turned out. They are good wardrobe staples and will be in high rotation.  Perfect pairing with jeans and pull-on pants.  


My tips:

Buttonholes
Collar

My first blouse made 2016.


Side Note:  Whenever I make shirts, I include at least one white one.  You can never have too many. ;-)


Happy Sewing!
C


Friday, May 15, 2020

Shirt Making Project Spring/Summer 2020 - Simplicity S1166


Sometime in January, I decided to do another "Shirt Making Project".  To start, I cut out three shirt using Simplicity S1166.  These shirts were in a bag in the UFO bin that I had almost forgotten about.  This week I decided it was about time I made them.  This is a pattern that I used before.  The initial review and project here.

I like the shape of the collar and design of the sleeves.  These details make it a little better than your average button down shirt (to me).  They can  also make or break the project as they are focal points of the garment. Making this batch of shirts was an opportunity to do a lot of top-stitching and paying attention to the simple details and construction processes.

Tip 1:  Construction of the Collar

The collar is large and curvy ending in the typical point on each end.  There are a few approaches to making the point just right.  I posted Sandra Betzina's method of redrafting the collar pattern.  The details:  Part I and Part II


For these shirts I used another method.  Sorry I don't know what it is called.  But, instead of sewing the seam and pivoting at the corner.  I made it "squared" at the corner then I pivoted to continue.  This is done in addition to "not" interfacing the corners of the collar.


The next few steps are critical:  Use a pointer/creaser to help turn the collar inside out using the point to push the tip of the collar out.

Next, this is key:  Pressing.  I made sure I gave that collar a great press.


My last step is the top-stitching.  I use thread at each point to help guide the collar under the needle.  Often, at the corners of a garment it is difficult to get the end to move through the stitching area.


This method is also good for the cuffs.


Tip 2:  Construction of the Buttonholes

These days I'm making a lot of garments that button down the front.  This is another focal point and I want it to look as good as possible.  I've said this many times before.  I test before I do it on my actual project.  And for each shirt, each type of fabric I tested making the buttonholes.

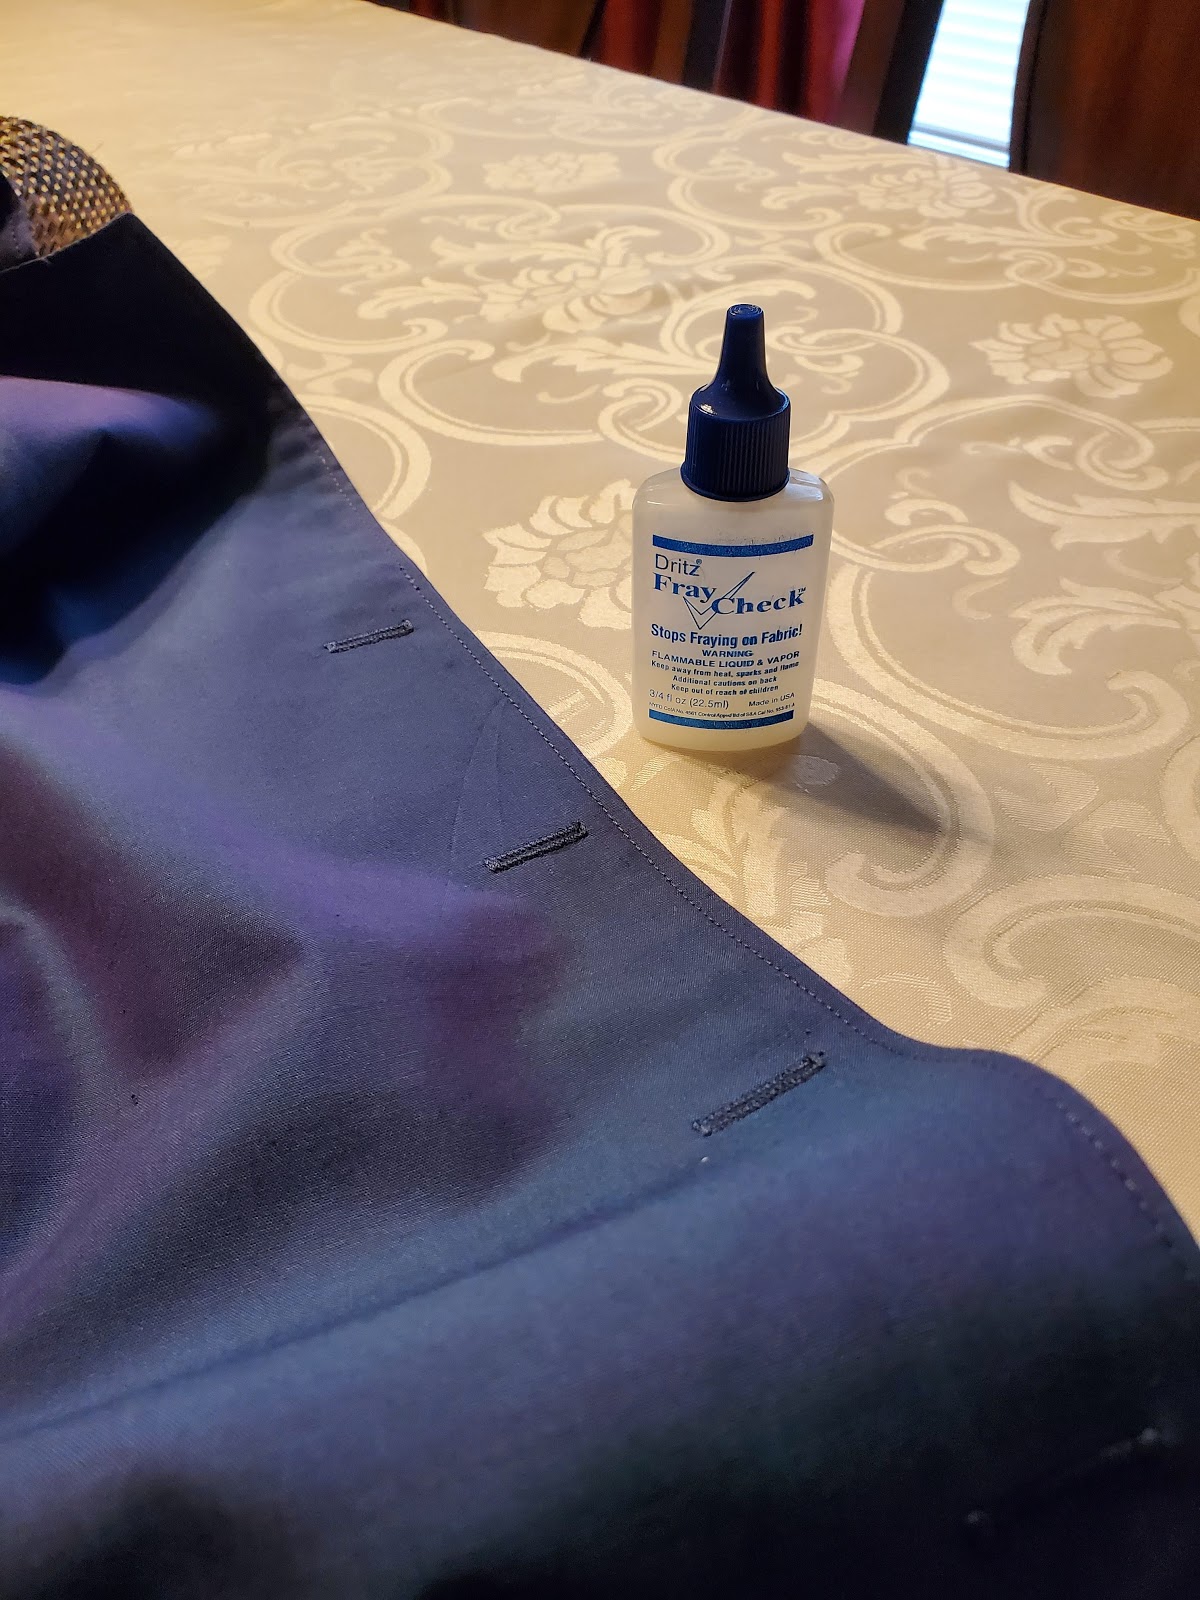
After successful testing, I sew the buttonholes on my garment.  They are not complete without some Dritz Fray Check.  After the buttonholes are constructed, I apply fray check and allow it to completely dry before opening the buttonholes.

So that's it for my tips.  I hope this information is helpful.

Happy Sewing!

C

Thursday, May 14, 2020

This and That

Hi everyone,

It's been awhile.  I hope everyone is well and staying safe.  I only go out to the grocery store and to the park for walks.  This week has been very productive for me.  I've been spending a lot of time in my sewing studio, and I'm loving it!

Several weeks ago, I posted about making masks.  Well I'm still making them.  I've received so many requests for them!  And it's so hard to say no.  So, I worked out a strategy for sewing masks and sewing for myself: make several masks, make two dresses for myself.  Or make several masks, make three shirts for myself.  It's working. :-)

So hopefully, I'll have pictures and reviews to post soon.  Sometimes it takes awhile for me to get the photos needed to complete a post.  In the meantime, I'll continue to enjoy the extra sewing time.


I received the best gift for Mother's Day.  My DD knows that I'm a Prince fan, like forever.  So she created a Prince gift basket for me.  It included Prince's autobiography "Prince, The Beautiful Ones", The "Prince Fashion" book, and "When Doves Cry" body scrub and wash.  Great gift!

Today, I wanted to include some photos of the costumes designed for Prince.  Great eye candy and inspiration for any sewing enthusiast.  The costumes are SPECTACULAR!  Enjoy!


Saturday, June 29, 2019

About Last Week - SewCamp


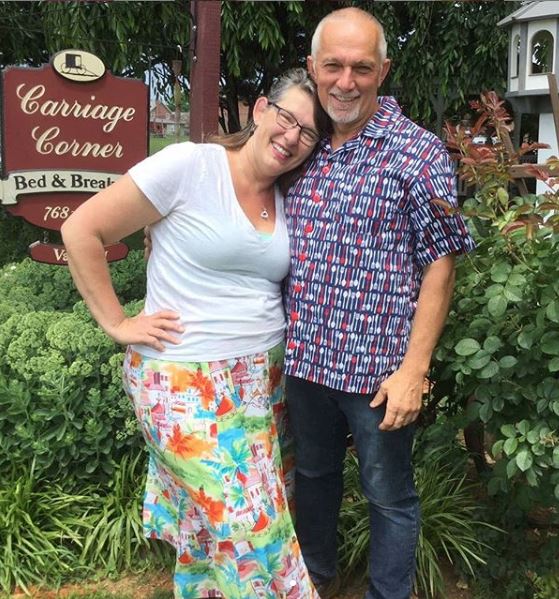
Gaylen and Jay Owners' of the B&B


Some of the lovely ladies at Breakfast

SewCamp was so much fun!  I had an opportunity to see some old friends and make some new ones.  I headed for Philadelphia early Thursday morning.  Andrea picked me up at the airport.  We went to get Philly Steak and fries.  Then off to JoMar for our first fabric shopping experience of the weekend.  After that, we picked up Laquana (of course, we had to bring her a cheese steak too. Lol)

Andrea

Laquana with her sewing projects


Group after the shopping
Next stop Carriage Corner for our four day Sew Camp!  Within an hour of our arrival, we were all gathered in the sew studio selecting sewing stations and pulling out projects to sew.  On Friday after breakfast, we quickly got into the van and headed to Fabric Mart fabric.  Look at the group fabric haul.
Just a few pieces from my fabric haul.

Over the next few days, we did some serious power sewing.  Everyone enjoying the process and the company of fellow sewists.  There was all kinds of buzzing in the sew studio. We were helping fit each other, doing tutorials, snacking, and talking about the news of the day.  Gaylen and Jay are the best.  Hosting a Sew Camp is a big deal.  The preparing of the accommodations, meals, and sharing a lovely studio is a lot of work.  But Gaylen and Jay never failed to make this the most enjoyable experience.
Me with my sewing projects

On Saturday afternoon a few of us decided to take a walk to the local Quilt shop were they sold high end quilter's cotton and notions.  On the way, we stopped a fudge shop to pick up some treats.  After shopping back to Carriage Corner to continue with our sewing marathon.


Lady in the fudge shop

Fudge Shop

Carolyn kindly did photo shoots for each of us on Sunday and Monday.  Each of us have a series of photos to select from for Instagram and blog posts.  I think she took over 100 pictures of three outfits for me.  Great start for blogging my pattern and sewing project reviews.

Monday afternoon, my kind friend, Andrea, drove me and Laquana back to the airport for our flights home. I love everything about Sew Camp:  the location, the hopping, and the sewing with friends.  I'm looking forward to my next Sew Camp in 2020.

For more Sew Camp stories, check out these posts:

Carolyn, Diary of a Sewing Fantatic
Gaylen, gMarie Sews 
Andrea, Knit-Knac
Laquana, Made by Laquana 


Happy Sewing!
C

Wednesday, September 19, 2018

It's Not Too Late - August, 2018 Sewing Projects


It's incredible, I wrote this blog on August 28, 2018; but didn't publish it.  Why?  I think because I became disappointed with the last project to finish in August.

I was almost finished with the dress when I tried it on again and decide it's just not for me.  It's, it's.., something..,  What I couldn't exactly pin point.

Anyway, after two weeks, I decided to try it on again.  This time, I saw renewed hope of finishing the dress. With a few more adjustments, it's wearable. 

Now, what's left to do is:
  - take it in where needed
  - finish attaching the facing to the dress
  - Make buttonholes and sew in buttons
  - Hem dress
and finally,
  - Decide on a different color belt.  I think that will improve the look.

This will be the last of five projects started in August.  To recap my sewing projects for August, 2018.  Blue is the common color theme for August; I really didn't notice before.


Vogue Top 1247 - I haven't worn this top yet.  I want to pair it with a red or white denim skirt for vacation.


Simplicity 8014 Gingham Dress - Love the 1" inch gingham squares. Perfect for this style shirt dress.


Simplicity 8014 Crane Shirt for DD - She really appreciated this little summer top and will get a lot of wear out of it.


Vogue 9260 Hacked Dress -  This floaty challis dress is my least favorite of my August makes.  But it won't be hidden in the back of the closet.  I've worn it and will wear it some more.


Stay tuned for notes and reviews.  I should finish the dress this week.   BTW - I still have a few projects from earlier this year to review.  They will be added to the September and October reviews.

Thanks you for following me and special thanks to those who continue to post comments.  They are much appreciated.

Happy Sewing!
Cennetta

LinkWithin

Blog Widget by LinkWithin