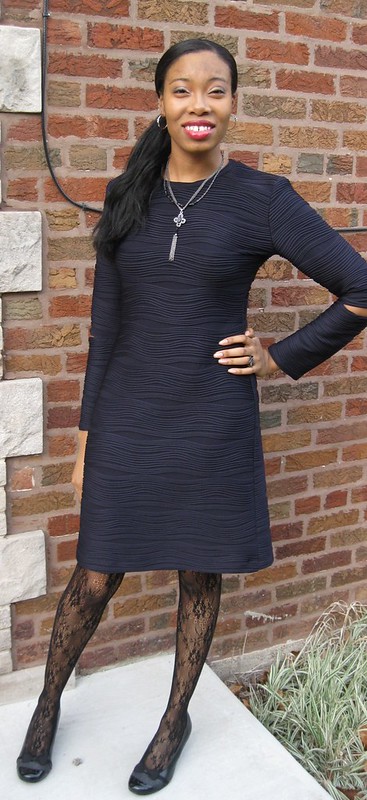
For Christmas I decided to make my daughter I few new dresses. I also wanted to sew a simple knit dress to help her learn to
fit and sew garments for herself. I chose Simplicity 2054 because it is
very simple and gives options to make a crew or turtleneck top.
I
started with making the usual adjustments for my daughter. There are
three basic adjustments: pigeon chest, sway back, and decrease width
across the center back.
Simplicity describes this
pattern as a Misses' knit dress with a cowl collar.
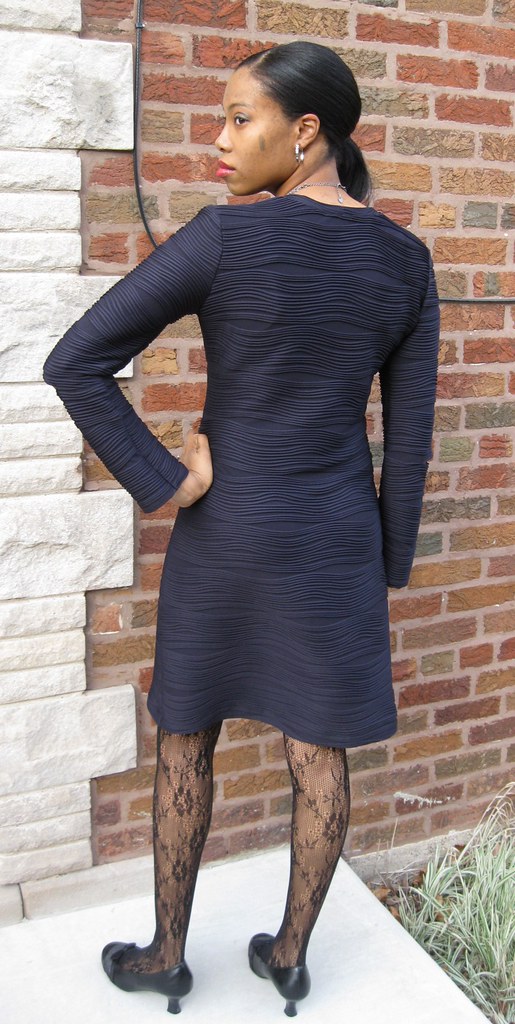
It comes in sizes 6 to 22. I used size 10 with modifications.
I
changed the style of the dress. It was a loose fit. For the fabric I
selected, the loose fit would not work. So my version, didn't
exactly look like the picture or drawing.
I only looked
at the instructions to be able to comment on them in this review. They
were typical and straight forward. Nothing confusing about them.
There
are a few reasons why I selected this pattern. The first is I liked
that it was simple. The fabric that I chose is the "speaker" in this
garment. So a simple pattern worked best. The second reason was to
alter a pattern for DD that she could try to make it for herself.
Throughout the adjustment phase of the process, I told her why I made
the adjustments. I also talked a little about the sewing process. I'm
sure I'll have to give her another lesson when she is ready to try it on
her own. And the third and final reason why I selected this particular
pattern is because it can serve as a great sloper for future garments
of a similar style. It can also be used to make t-shirts and
turtlenecks.
The navy fabric was purchased at Stone
Mountain and Daughter (San Francisco). It's a medium weight knit with
raised waves running crosswise. It has about 30 percent stretch and was
very easy to sew.
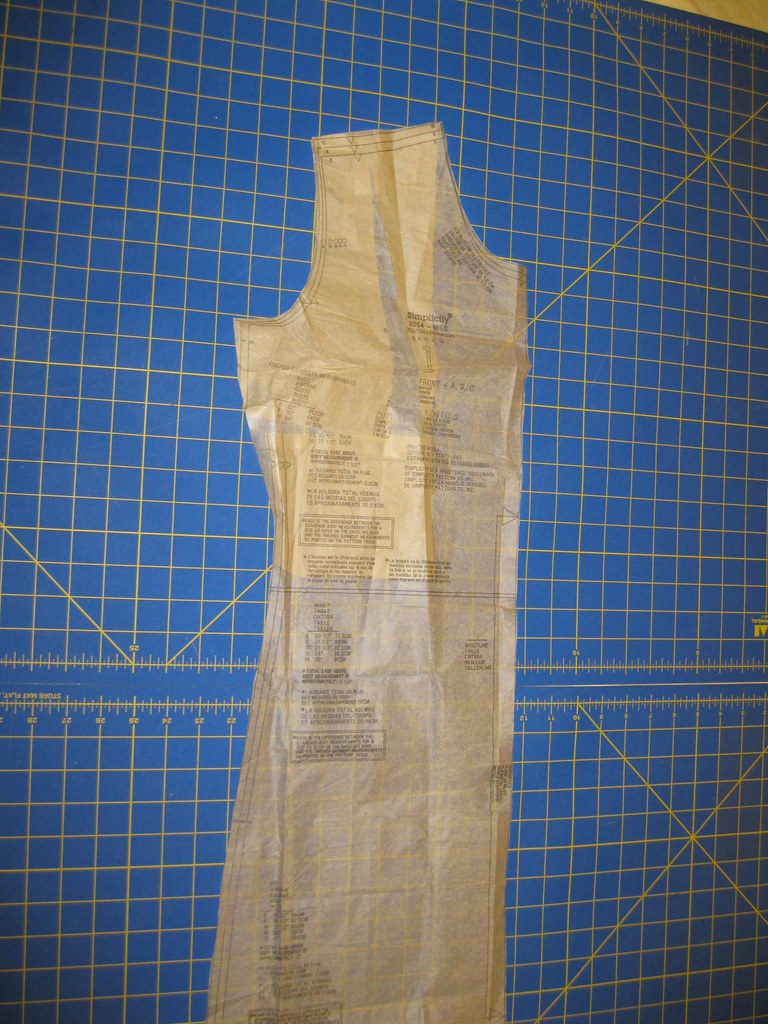
The first adjustment I made was to the
front dress. DD's upper chest is slightly rounded, like a bird. Her RTW
tops and dresses pull across the shoulders and upper arm. Vogue Sewing
describes this alteration as a pigeon chest adjustment. I made the
horizontal slash a few inches below the armhole, to give her a
little more room across the bust area. Then I made a vertical slash up
to the shoulder seam then spread the pattern as needed. This adjustment
increases the length of the side seam of the front. I just eased the
difference in above the notch. No dart needed.
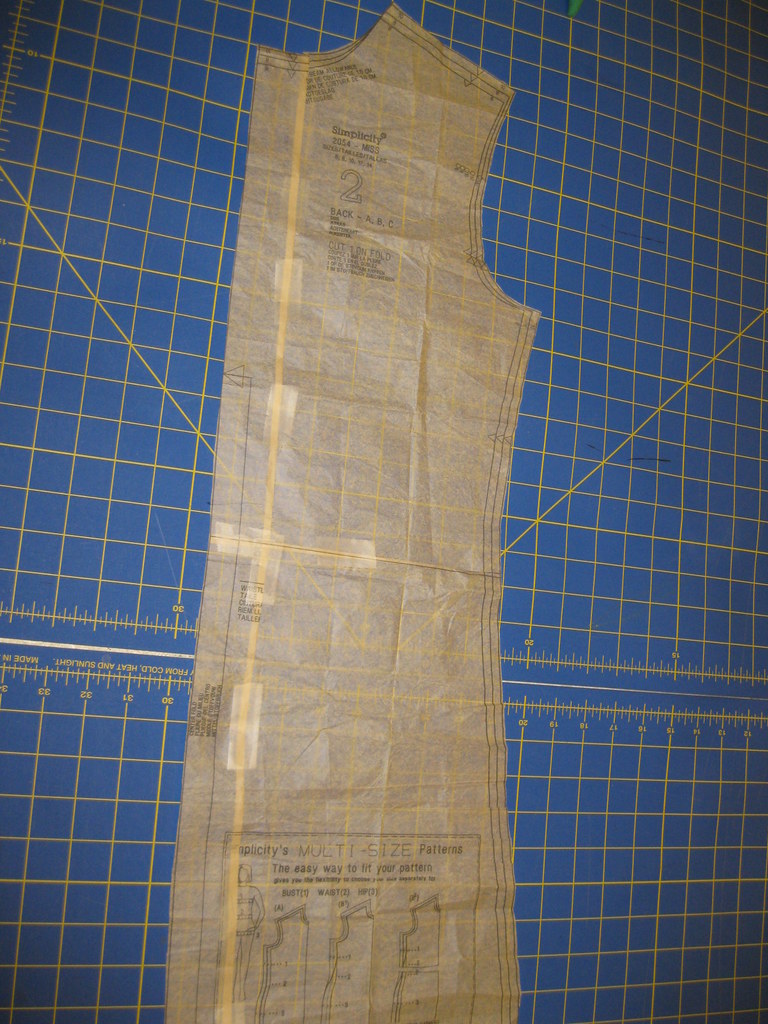
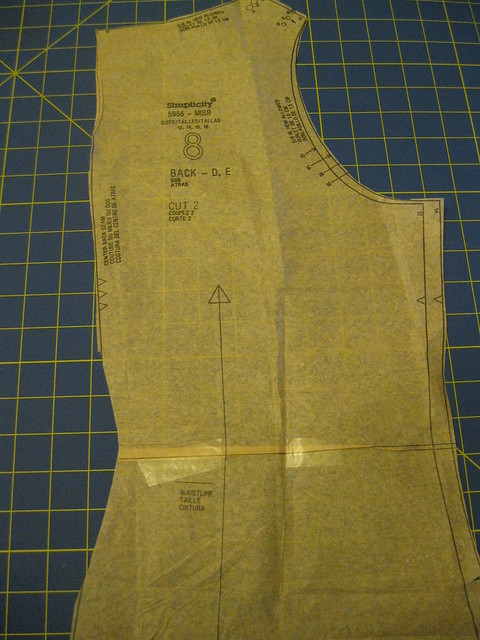
The next
adjustments are to the back. I started with the sway back adjustment.
It's a small one, which consists of a horizontal tuck across the lower
back. I think because DD's chest protrudes, her center back is slightly
concave. So I have to make a vertical tuck within the neckline curve
of the back of the pattern. This adjustment removes the pooling that
occurs. The tuck is only needed for the back area. So I have to add to
the sides to make sure there is enough ease/room in the hip area. This is
usually done as I cut. For this dress I didn't add to the side seams. There was enough ease built into the pattern.


After I cut
the front and back dress out, I pin fit it to see how the dress would
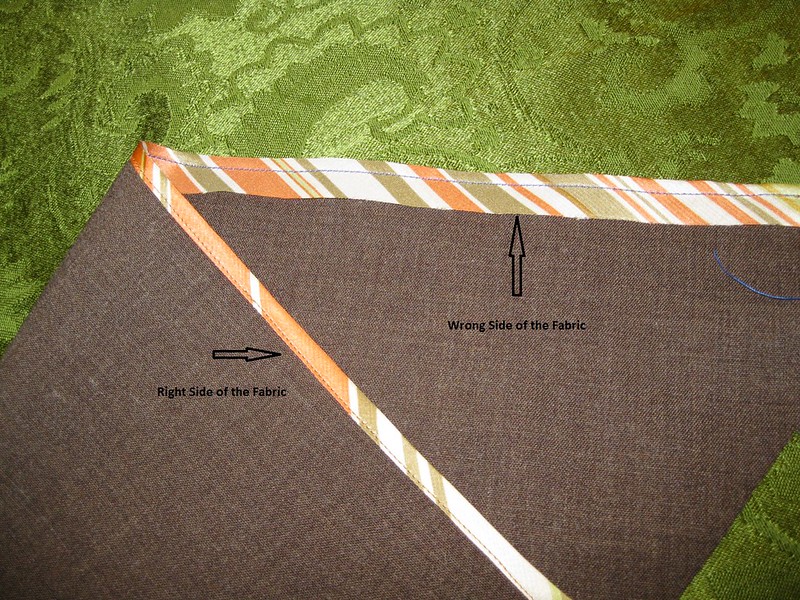
fit and look on DD. It was shapeless, like a sack. So I created shape. I pinned
the silhouette I envisioned. Then I used tailor chalk to mark the
stitching line on both sides of the dress (wrong side of the fabric).
After that was done, sewing it together was a piece of cake.
We will probably use this pattern over and over. It's a great sloper for other garments and we can modify it to make tops.