Tuesday, October 25, 2011

M5752 - The Perfect Knit Dress


M5752

I don't know why I waited so long to make this dress. The pattern has been in my stash for three years. At some point, I cut the pattern out and returned the pieces to the envelope. It's been on my list of things to make, but never made it to the top until last Wednesday.

Here again I'm reviewing a pattern that is liked by so many sewists on PR. It's been reviewed 36 times. Is it worth reviewing again? Maybe.., Someone may have a similar body type and would like to read about my experience. So here's my review on the perfect knit dress. Oh yeah, It's a classic and has a bit of a vintage look.

Pattern Description: Misses' dresses with gathered wrapped bodice, gathered self-lined midriff, A-line skirt and sleeve variations in two lengths; dresses A, B have gathered shawl collar and extended overarms; dresses C, D have gathered shoulders; dresses A, D have gathered drapes; dress C sleeves are three-quarter length; dresses A, B, C, D lengths are mid knee.

Pattern Sizing: 8 -22; I used 14 with modifications.

Did it look like the photo/drawing on the pattern envelope once you were done sewing with it? It certainly did.
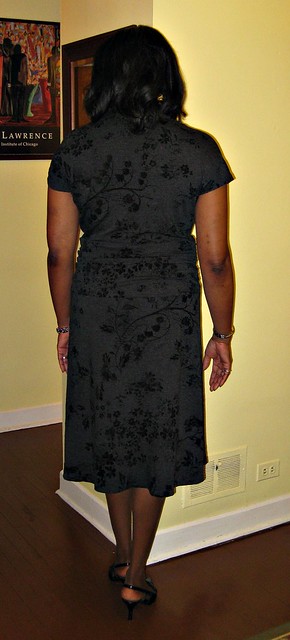

Were the instructions easy to follow? I love the Palmer/Pletsch instructions. They make it easy for beginners to experiment with making fitting adjustments. Also, the cutting lines for many of the adjustments are printed right on the pattern. Over the years, I've found that the Palmer/Pletsch instructions and cutting lines help to make adjustments to similar styled garments. There were no confusing steps in the instructions. I didn't sew them in the same order. I try to put as much of the garment together before going to the ironing board. ie., sew the skirt(F and B) together, midriff, belt, front and back bodice at side and center back collar together before making my first trip to the ironing board. This saves me a little time.

What did you particularly like or dislike about the pattern? I liked everything about this dress, both views. Nothing to dislike.
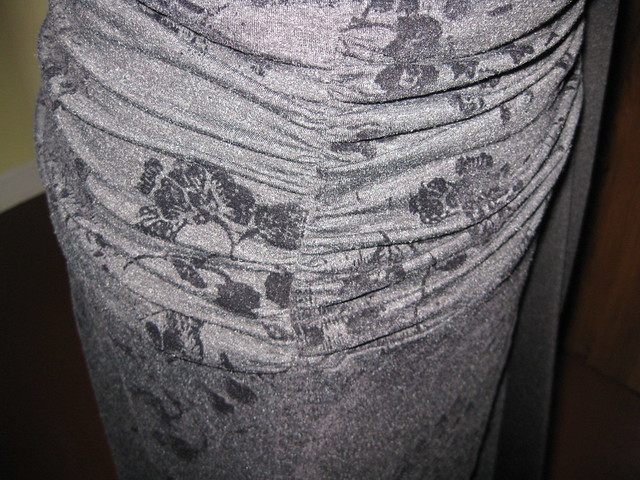
Ruching at the side.

Fabric Used: Charcoal/black knit with velvet floral print. This is one of the gifts that I received from Andrea. Nice fabric. Originally, I thought about making view D, but I didn't have enough fabric. So I quickly switch to view A. I used a black knit from my stash for the belt. I used a thin tricot for the midriff stay and lining to reduce bulk. The last thing I need is thickness around my mid section. :-)

Needle used: embroidery. The velvet floral seem to cause skipped stitches. So I switch the needle to an embroidery one hoping it would solve the problem. It did.

Pattern alterations or any design changes you made: Yes, I made my usual adjustments: FBA, prominent shoulder blade, sway back, and a few inches to the length of the skirt.

I did notice the collar is a little too big. Next time I'll trim the center back seam to size 12.

Would you sew it again? Would you recommend it to others? Yes. I want to make view D and view A again (Summer). Yes. The design speaks for itself. Great design and easy to sew.


Conclusion: This is a great knit dress and Palmer/Pletsch makes it easy to handle fitting issues. From beginning to end I was able to finish it in six hours.

All pictures here.

Parting Shots: DD and friends hiking at Starved Rock.


Sunday, October 16, 2011

Inspired by Salvatore Ferragamo - Simplicity 2812

                                                        Oops forgot to press the loops on the sleeves.  Easy fix.

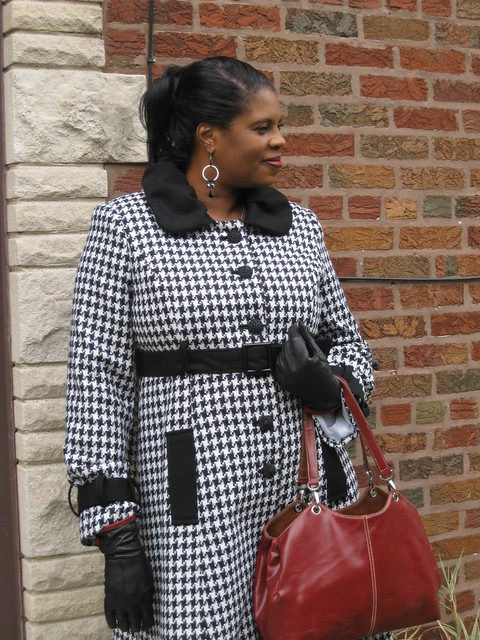
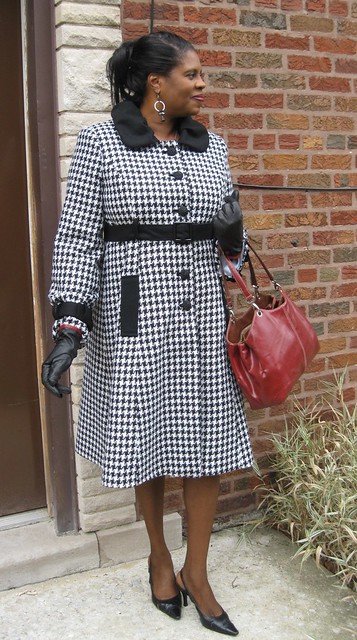
Today I was able to wear my first made-by-me coat of 2011. Believe it or not, this coat was a UFO. I first thought of making it back in February 2010. The fabric was a gift from Marji.


Salvatore Ferragamo's collection is all about black and white houndstooth. His designs are featured in all the top fashion magazines and are also posted on the Style.com website. Both Carolyn's and Erika B.'s recent creations inspired me to finish this coat sooner rather than later. And I'm glad I did. I'm very pleased with the results and am eager to get some wear out of this coat before the Chicago winds become bitterly cold. The black and white pattern can be worn with some of my favorite colors: red and purple. And of course black.


I used Simplicity 2812 to design my coat. Although it's not a new pattern, it is still current and has a lot of nice design elements. This pattern has been reviewed about 18 times on PR. So, my use of the pattern may not give any new information about how the pattern comes together or how well the instructions are written. But I did want to share my experience on making this coat.

Pattern Description: Misses' lined coat in two lengths and jacket with collar and sleeve variations. (Simplicity's descriptions are so vague. Seeing the drawing gives you a better idea of what's available in this pattern.)

Pattern Sizing: 4 - 22; I used size 14 with modifications.

Did it look like the photo/drawing on the pattern envelope once you were done sewing with it? Yes. My finished coat was close to the cranberry (drawing) version on the envelope.


Were the instructions easy to follow? Yes. For the parts I read. At a glance, none of the instructions were vague or confusing. Typical construction of a princess seam coat.

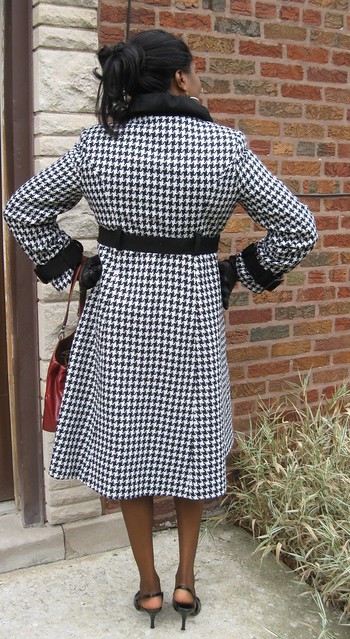
What did you particularly like or dislike about the pattern? There are quite a few things I like about this pattern: the gathered collar, welt pocket, empire waist, princess seams for easy FBA, and the tabs on the sleeves. I have no dislikes.

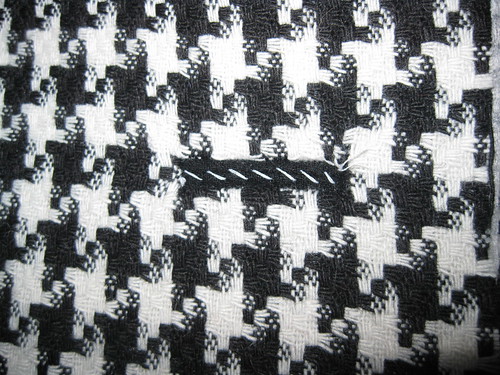
Fabric Used: Woolen black and white houndstooth and for the contrast a black woolen. Lining - basic polyester lining from JoAnn's in white. Before cutting fabric I preshrunk it by pressing with a lot of steam.

Pattern alterations or any design changes you made: Many changes:

- I wanted to maximize the use of the fabrics. The houndstooth is a loose weave woolen. So I decided to make bound button holes in the contrasting black fabric (tighter weave). I made them using a combination of Summerset and Sherry's tutorials.


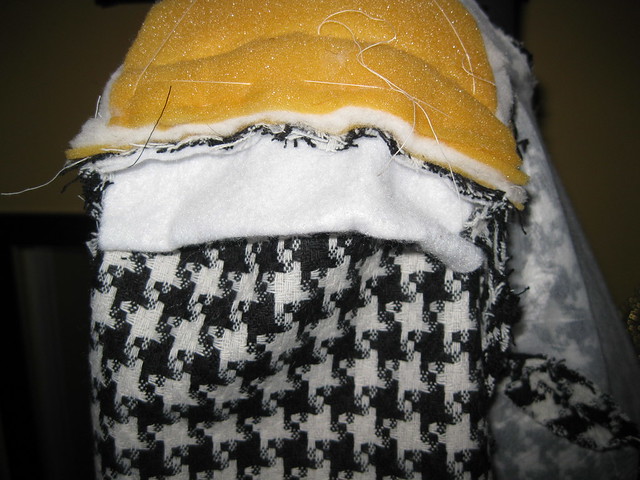
- I interfaced the entire coat except for the sleeves for more support and body.
- Sleeve heads were added.


- Contrast fabric tabs, loops, front facing, collar, buttonholes and pocket welts. The contrast makes the coat pop.
- My standard FBA
- Lengthen the sleeves about 1 1/2" and the coat about 2".
- Added about 1/2" to the center front of the coat. I like a little more overlap at the front closure of my coats.
- My standard prominent shoulder Blade and swayback adjustments

Challenges: Matching the pattern of the fabric across all seams with the given fabric yardage.

Learning: Making this particular coat, I noticed that my right hand is significantly larger than the left. (Got to exercise the left arm a little more.) And this is my first time making bound buttonholes. The tutorials made it easy.

Would you sew it again? Would you recommend it to others? I may make another view of this pattern, and I do recommend it to others.

Conclusion: I love, love my new coat. This was the perfect time to make it. Pairing the simplicity pattern with the fabric was great foresight on my part. It's classic and just in time share in the Ferragamo fashion sewing sphere.

All pictures are here.


Monday, October 10, 2011

Bag in Hand - Clutch Purses for Every Occasion

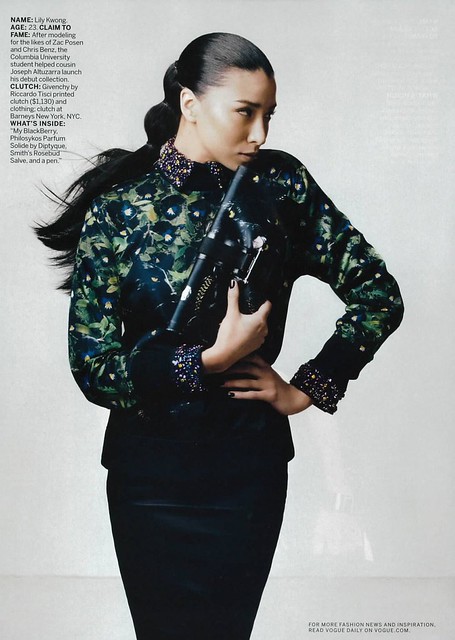
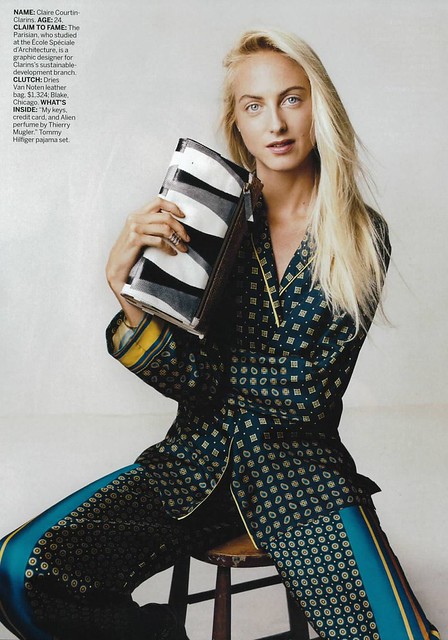
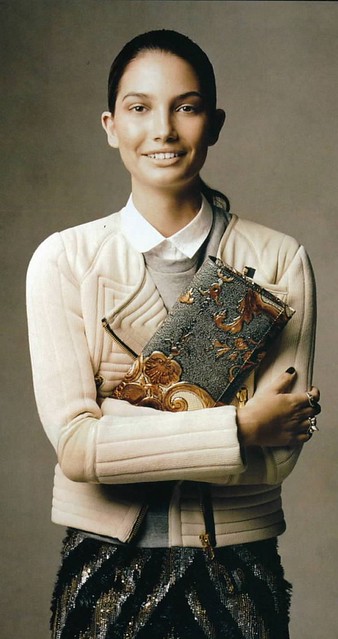
How many of you are glad to see the come back of the clutch purse?  Well, now they are hot.  Do you think clutches are way too small and very inconvenient?  Not to worry, they come in a variety of sizes and styles.  Some even have a shoulder strap to free up your hands.  I like the idea of clutching my purse every once in a while.  Here are a few jazzy pocketbooks that caught my eye.


I know some of you style goddesses will make you own purse this season.  Happy Creativity!
C
Inspiration comes from Vogue magazine.

Friday, October 7, 2011

Snake, Rattle and Roll


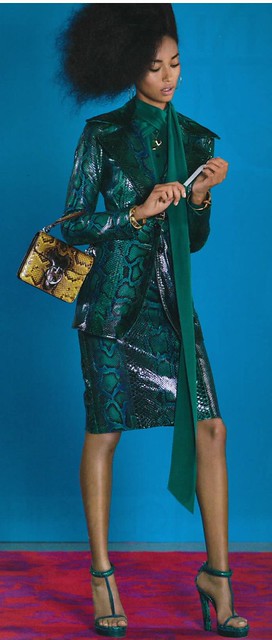
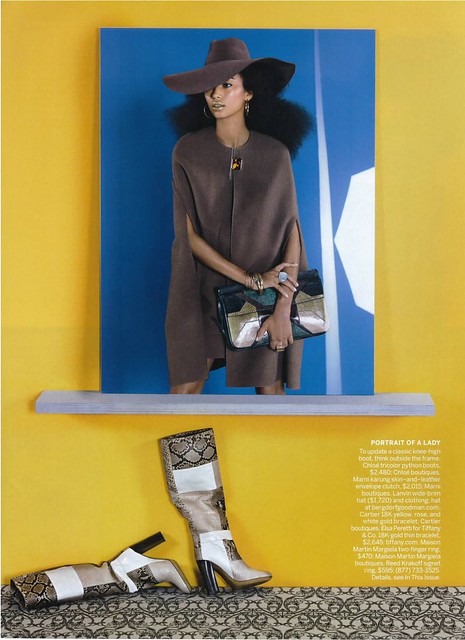
Snakeskin is big this fall, heavily featured in magazines and on the runway. I've always loved snakeskin. It's exotic and beautiful.

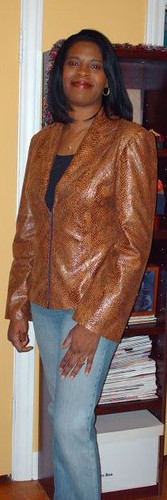
A few years ago, I made a faux snakeskin jacket that I'm still wearing this fall season. It's a great jacket to throw on with jeans or a skirt.


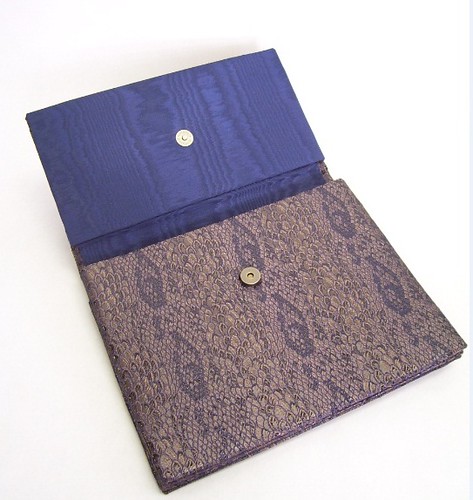
Last month, I made my first structured purse using a snakeskin print fabric from Vogue Fabric. Later I will make a matching jacket. This fabric only cost $4.99 per yard. It's reversible and rich in appearance. I think Vogue had it in three different colors.


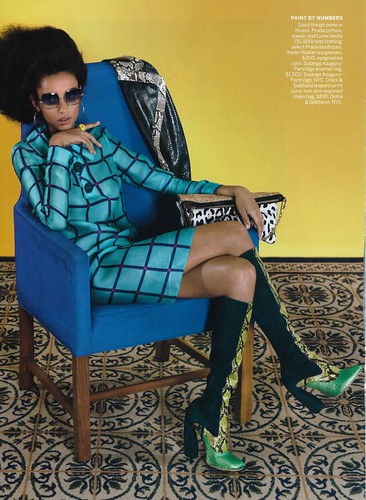
Today's snakeskin inspiration comes from magazines: Marie Claire and Vogue. Enjoy and have a wonderful weekend!

Love, love the killer boots.  And check out the mixed media on the purse and jacket.


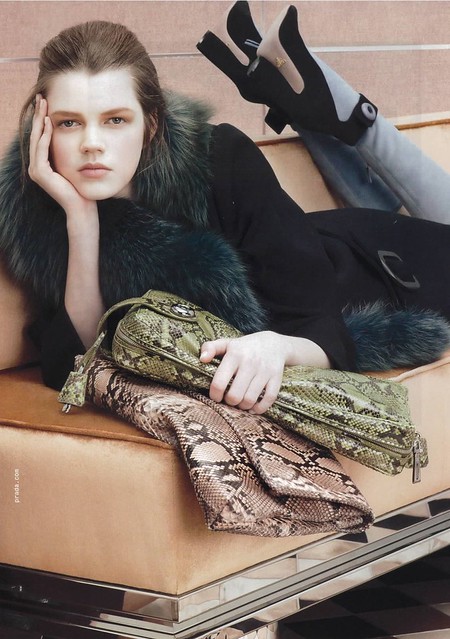
Interesting colors on these snakeskin clutches.  Off topic - Kewl boots that look like shoes.

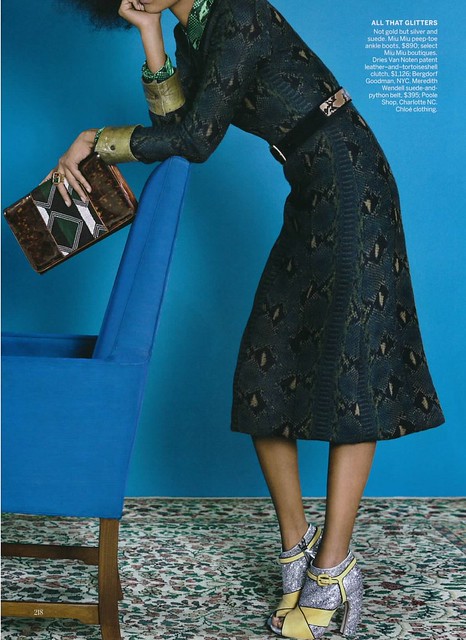
Dress and blouse -  Snakeskin on top of snakeskin.  Interesting..,

Wednesday, October 5, 2011

This and That

Happy Wednesday!

It's been too long since I last blogged. But finally, I'm able to post a response to comments on the structured hand bag workshop that I attended. As always, thank you for your comments. Unfortunately, I won't be able to post the hand bag tutorial. John instructional materials are copyrighted. Can't tell you how that works exactly, but I don't want to do something to cause confusion. Again, I'm really sorry about this. I was so excited about sharing, I didn't think about how this may impact John. So, if you are interested in the class, give John a call and make some arrangements for a class. He is more than happy to give instructions. So here is his contact information again:

John Koch
1070 West Berwyn Avenue
Chicago, Illinois
773-275-4151

Two weeks ago, I received a great surprise from the postman. A package filled with Spandex House fabric from Andrea (Knit-Knac). She was fortunate to meet up with my home girl,Robin (Yarn Crawl) and Elizabeth (Sewn) in New York to, you know, fabric shop. Thank you, Andrea.


Coming, reviews on McCall 6433 and Simplicity 2812. The dress was made four weeks ago. Picture day was gloomy and the pictures didn't turn out to good. So I will try to get some decent pictures to go along with the review. In the meantime, I'm planning to use the bodice to make another dress. Simplicity 2812 is on the sewing table and almost finished. So far so good. This is another UFO that I started over a year ago.

Finally, more inspiration to come. There is quite a few fashion trends that I want to explore. So I will share my thoughts on them. The list:

  • Tan 
  • Capes
  • Snake Skin
  • Clutch bags
  • Blue
  • Red
  • Lace
  • Graphics
  • Varsity Jackets
  • Shine
  • Accessories

Wednesday, September 28, 2011

John Koch - Creative Genius at Montrose Studio


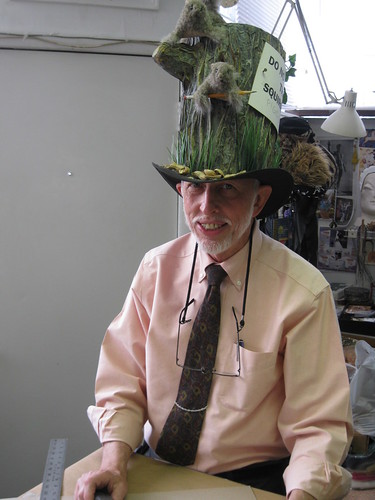
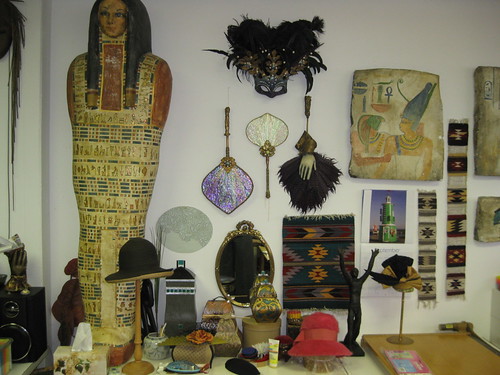
Last week I had the distinct pleasure of participating in a two day workshop at the Montrose Studio. John Koch is the owner and propetier of this eclectic studio located on West Berwyn Street. The location is unassuming, but when you enter your eyes are on visual overload. John makes everything. Customes, stage props, purses, shoes, hats.  You name it. John makes it.


John made almost everything on this wall. The shop is filled with sculptures, pictures, hats, purses, beads and all the supplies and equipment needed to produce beautiful works of art.


John has degrees in Art and Design and Art History. He has dressed windows for Carson Pirie Scott and actors of stage plays. His work has been featured in newspaper and magazine. Looking through his portfolio is a sweet treat that you should not pass up if you happen to stop by his shop. Seriously, I could just watch him work.

Below, Sandy Young working her purse. This lady is a pro at making purses. She gets orders for her custom made bags.


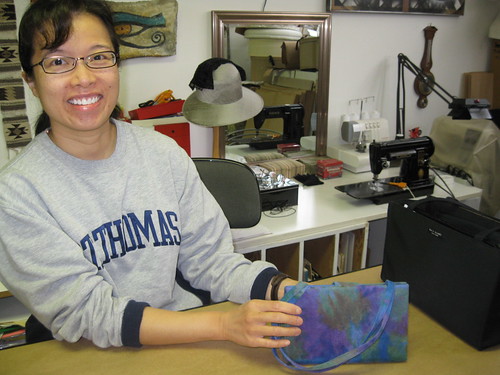
Janice pictured here with one of John's petite purses.


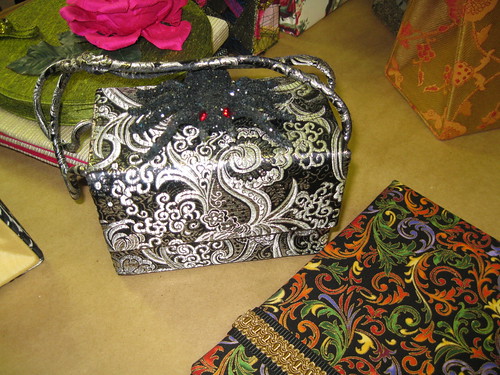
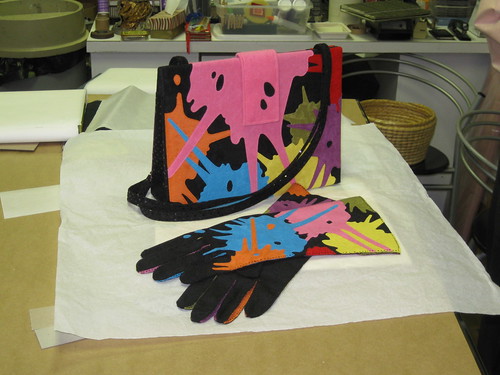
Below are several purses designed by John. Many shapes, sizes and types to fit the occasion.

The Haute Couture Club coordinates workshops and seminars with local and national artisans to help us hone our creative skills. John Koch regularly gives workshops on designing purses, hats, and gloves. This was my first time attending one of his workshops and it was worth every cent.

So if you have a group or club in the Chicago land area that wants to take classes at Montrose Studio, give John a call. He would be happy to share his talent with your group.

      Montrose Studio
      1070 West Berwyn Avenue
      Chicago, IL 
      773-275-4151


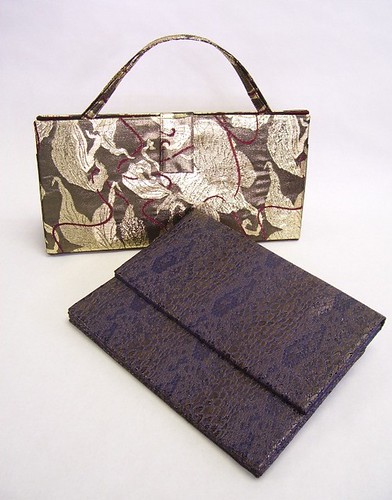
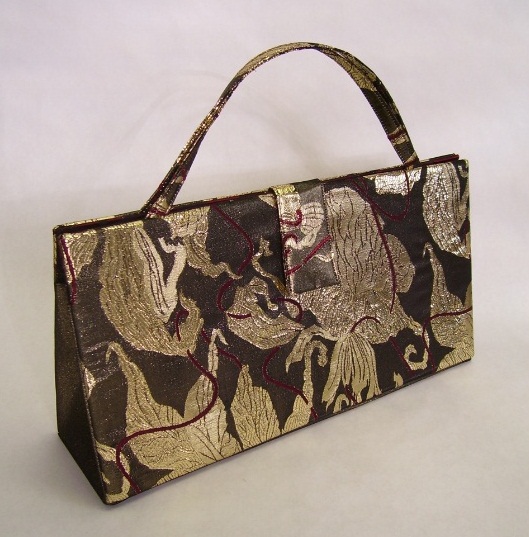
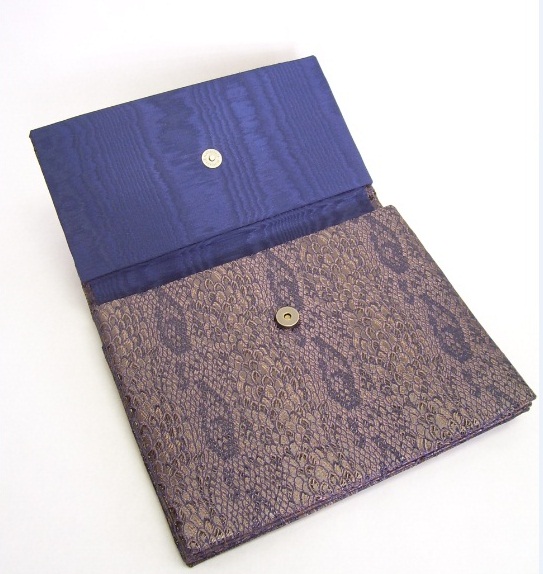
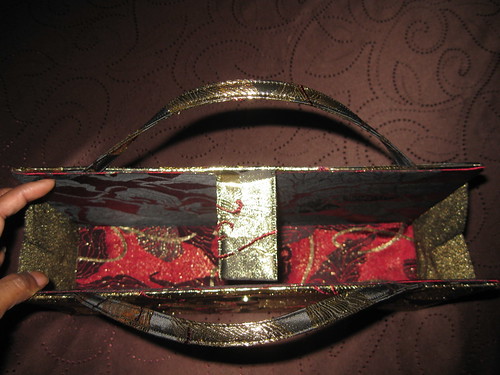
At the end of the workshop, I had made two purses: clutch and clarinet type bags. Both taking less than a yard of fabric, plus lining, and a few other notions. All in all, I enjoyed the experience and look forward to the next class.

I thought about doing a little tutorial on making the clutch bag, but I am not sure yet. Believe me, it's easy and you can modify the process to a very nice portoflio.

So here are pictures of my bags. The insides are just as beautiful as the outsides.


More pictures can be found here.

Happy Sewing!
C

Monday, September 19, 2011

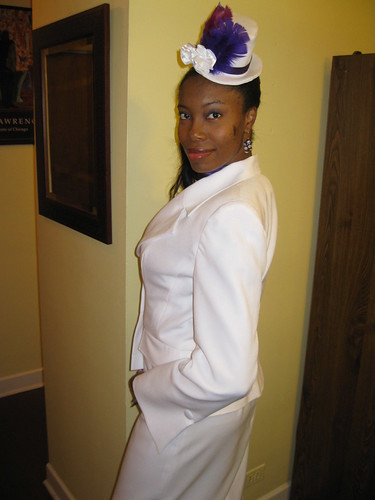
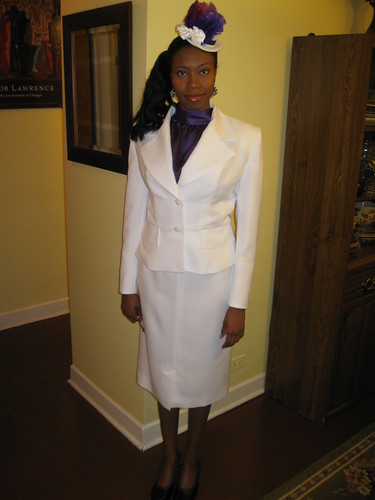
Lady in White - Unity Conference 2001 - Burda 7576


I originally considered using Butterick 5263 to make DD's Unity Conference outfit. But there were too many changes needed to bring the pattern up-to-date. So I decided to go with Burda International 7576.

This review will be on all three coordinates available in this pattern. So this is a long review.


Pattern Description: Often Burda is vague about descriptions and instructions. Their description reads: Coordinates - A: fitted B: Close fitting and C: Semi-fitted. My description - Fitted lined jacket with notched collar, pocket flaps, and peplum. Lined pencil skirt with front slit. Top with gathered neckline and collar, back loop and button closure.

Pattern Rating and Other Information: This pattern is rated average which I think is pretty accurate. I wondered about the description of the jacket. It states fitted. But after sewing it I noticed that there is quite a bit of wearing ease across the chest area. I wondered if my pigeon chest adjustment was too much (usual) amount. But I looked at the model wearing the jacket again and noticed that she was holding the left lapel and that there was a little more room across the chest area in the jacket.

Pattern Sizing: 10 -20; I used size 10 with modifications

Did it look like the photo/drawing on the pattern envelope once you were done sewing with it? Yes it did. I added another button above the waist button.

Were the instructions easy to follow? Everyone knows how Burda does it. But enough to follow without getting confused. On page one - Interfacing. There is an illustration showing what needs to be interfaced. They forget to include information on interfacing the hem of the jacket. I did as I interfaced the noted pieces. It's not mentioned/shown until instruction 14. Step 38b - placement of the loops and basting. The illustration shows the loops too far apart. I've seem this illustration in other patterns as well. I like to put the ends closer together.

What did you particularly like or dislike about the pattern? I like the outfit. This was a pattern that I selected for myself. But this became plan B when plan A (Butterick 5263) fail through. Jacket - the sleeve detail, lapel, and peplum. Skirt - front slit, tapered hem. I love the draft of Burda pencil skirts. Great silhouette. Top - Gathered neckline and back closure.


Oops.., It look uneven; but it's not.  I just didn't properly lay it down.

Outside of wearing ease of the jacket, the pattern is pretty well drafted. All of the pieces went together with no problems. Attaching the lining to the skirt slit was a breeze.

Fabric Used: Polyester crepe and lining from Vogue's (white) and a purple/violet silky polyester (special occasion) from JoAnn's.

Pattern alterations or any design changes you made:

Jacket -
First, I wanted to get a visual on how the pieces would go together. Then I made a square shoulder and pigeon chest adjustments to the appropriate pattern pieces. See those changes here on Flickr.

I also added a button above the waist. It just looked better to me. I covered the buttons using the same fashion fabric as the suit.

Skirt -
After attaching and sewing the ends of the waistband, I hand stitched it to the inside of the skirt. My closures are a skirt hook and eye where the two ends meet at the zipper plus and button and buttonhole wear the waistband overlaps.

Top -
No adjustments for fitting. I moved the ends of the loops closer together for a nicer finish. And I didn't have three of the same button for the back closure. There were only two in the stash that were alike. I made a trip to Hancock's to buy more. And guess what.., they changed the materials used for that style. Didn't like them. So I just used what I had, having two button alike and one different.

Would you sew it again? Would you recommend it to others? Yes, I will sew it again for myself next time. And yes I do recommend it to others. It's a great outfit and the pattern goes together with no problems. Nice design lines and well drafted pattern. Make sure you work on fitting the front jacket to your comfort level.

Conclusion:
This is a great little suit pattern that can be sewn by someone with intermediate sewing skills. The look is clean and sophisticated.


Happy Sewing!
Cennetta

LinkWithin

Blog Widget by LinkWithin