The preliminary work - Finding the appropriate zipper. Of course the replacement zipper has to match the other "hardware" on the coat. I ordered the zipper from the zipperstop.com.
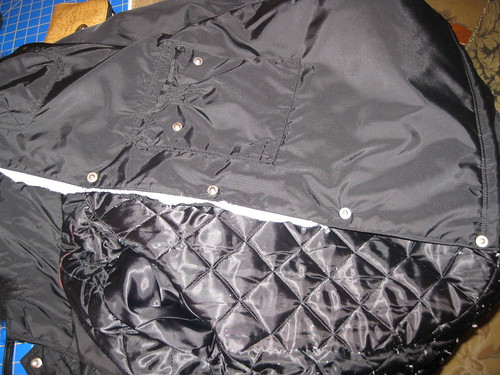
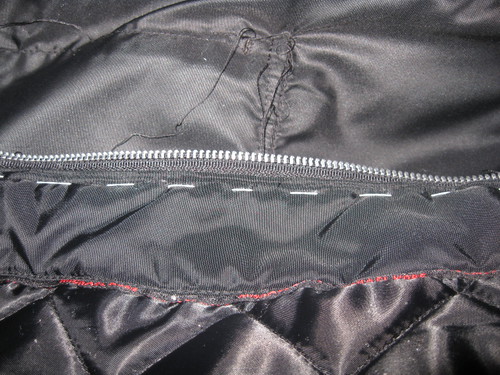
Missing zipper teeth. First replacement zipper was poorly sewn.

Multiple seams to hold zipper in place. Zipper was unevenly inserted between the lining and coat. It's clear the snaps were an obstacle when it came to sewing the zipper.
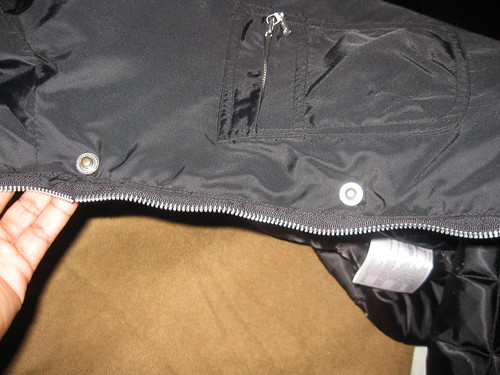
Carefully removed old zipper.
The purchased zipper was two inches too long. One of the customer rep's at Vogue suggested that I go to I. Sach's for a zipper. I ended up getting some zipper stops complements of the owner. Here's DD removing the zipper teeth and adding the new zipper stops.
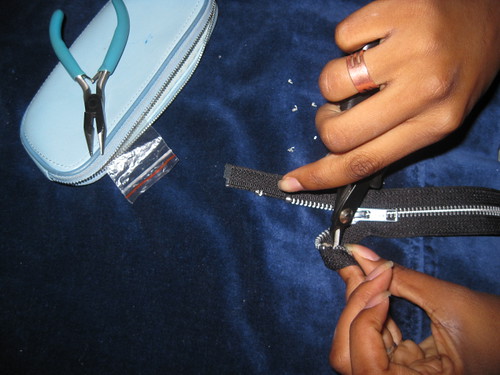

Teeth removed and stops in place. Next I cut the extra zipper tape to the desired length.

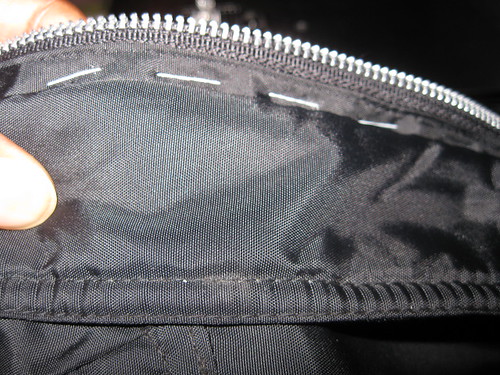
Next,I pinned zipper to the coat lining to help keep it aligned as I basted it in place.
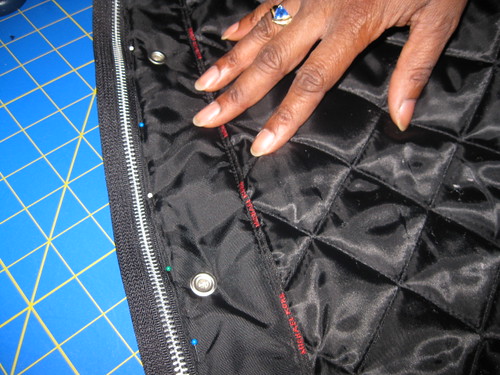
Hand stiched it then removed the pin. This made it easier to sew the zipper by the machine.
Next I basted the coat to the zipper and the lining. Again, this help control the stitching of the permanent seam.
Finally, I sewed the zipper to the coat by machine. Here is the coat with the basting removed and the zipper securely installed. This process took about 3 1/2 hours. The broken zipper was a bear to remove.

Job well done! And by the way you are a great sister.
ReplyDeleteAll I can say is, PHEW! And well done!
ReplyDeletelooks great!! :)
ReplyDeleteOh my goodness... you (and your DD) did a fantastic job!!
ReplyDeleteNicely done.
ReplyDeleteI am so glad you posted this. My sister has a Kenneth Cole Jacket with the same problem. Your tutorial is very helpful
ReplyDeleteYou are a good sister!
ReplyDeleteGreat Job! I am impressed. I know I would have thrown out the jacket before fixing the zipper. I hate mending, which is pretty hilarious considering how much I love to sew. It's only when I am tired of hearing family members whine for weeks that I finish mending their clothes....
ReplyDeleteI am majorly impressed!
ReplyDelete