

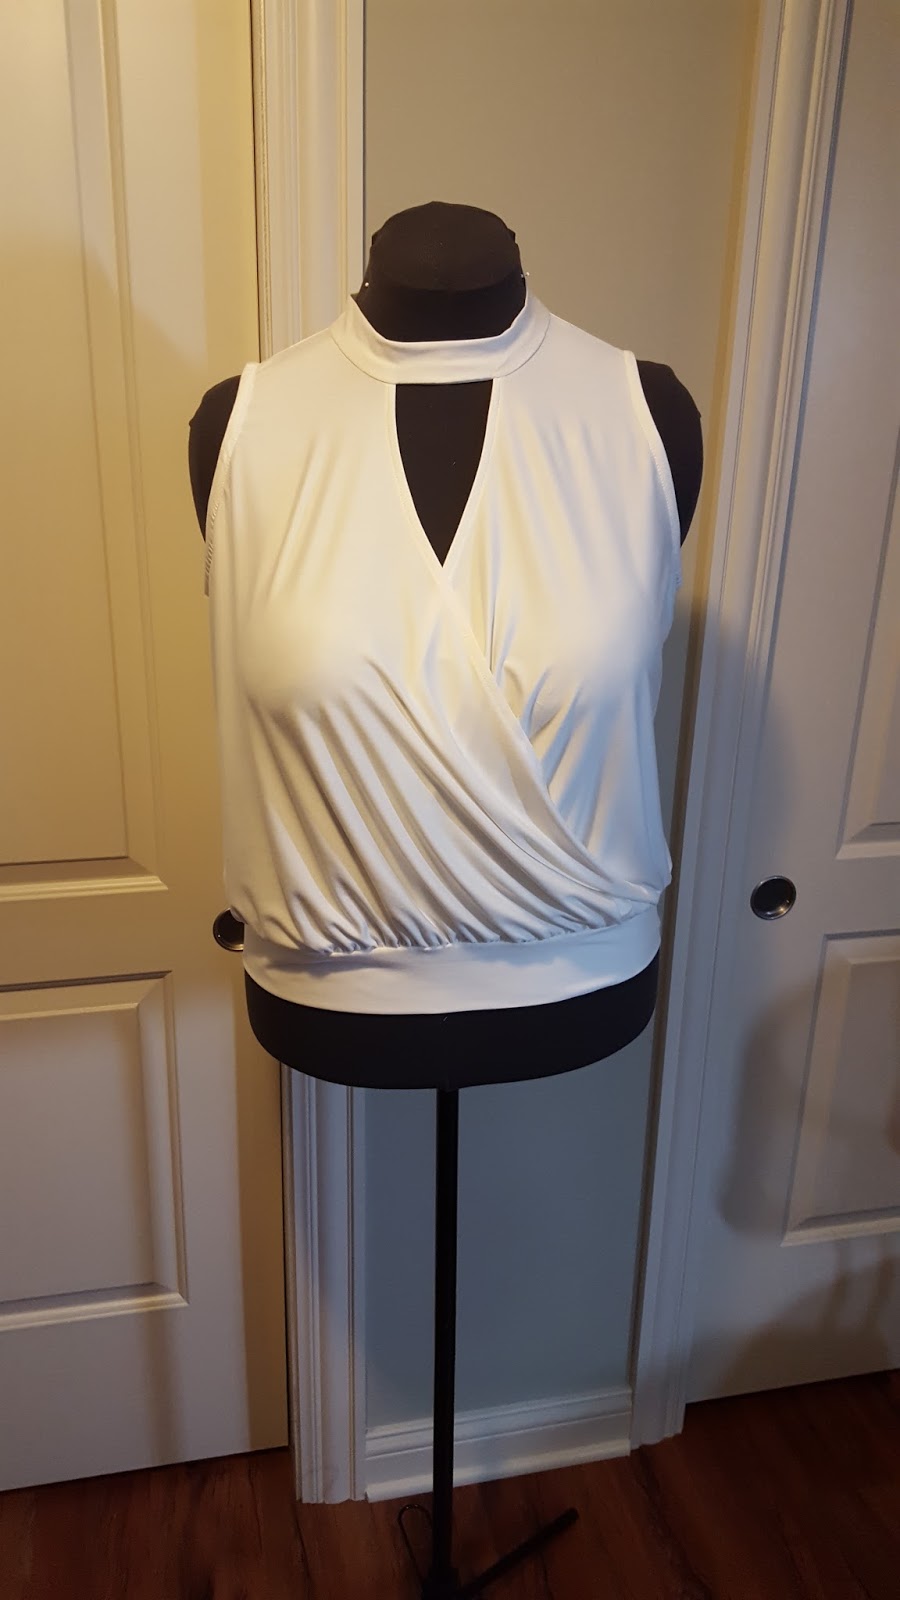
View A is why I bought this pattern. Why? I love the collar band, "V" and the mock wrap style. Cute.., The other two views I've been in other sewing patterns. It's a nice grouping of styles to sew.
View A
Notes on Fitting and Sewing:
- How well will the collar band fit? Will it gap or lie smoothly against the neck?
- Will a FBA affect the slight drape across the front of the top?
- Will the FBA make the front look frumpy?
- Can I skip the swayback adjustment since it has a waist/hip band?
- What about the armhole band? Is it visible or is it sewn to the inside of the armhole?
These are the questions I asked myself before and/or during the sewing process. Before I attempt to answer them, let me provide some information about this pattern.
As always, Simplicity's pattern descriptions are vague. But sometimes the pictures, if on a live model along with the line drawing can express a 1000 words. For view A; it is a sleeveless mock wrap knit top with a waist/hip band. The collar band is attached to the "V" neckline that forms a tie at the back. The armhole are finished with a thin band. This pattern comes in sizes 4 to 20. I used size 16 with modifications.
FBA-
FBA-
I started the with making a FBA. The bottom of the front top has three small pleats. The resulting FBA created more width at the waist. I decided to gather the access to fit the lower band. I also added an extra inch to the length of the top. It is a little hard to see, but right below the word Simplicity and the pattern number, I made a small tuck to reduce gapping at the chest area. Still I hoped that the gathering or easing would not make the top look frumpy. See photo below for the FBA.

Back Adjustment-
For the back, I chose not to make a swayback adjustment because of the lower band. I added 3/4" width for my prominent shoulder blades and I added an inch to the length. The 3/4" was eased in because I did not want to sew a dart. The additional inch makes the side seams front and back the same length. Also notice, the center back has a "V" too.

Typically, I read the instructions before I make the garment. But I forgot about how to finish the armhole bands. So instead of attaching them to the armhole, I did an extra step of turning and stitching the bands to the inside of the top. After completing the step, I looked over the instructions again and noticed the difference. It's all right, though. Next time I'll make the top with the band exposed.
The Collar Band -
I had to tweak it just a little bit to get rid of a small gap of the side of my neck. I just made the length between the notches about 1/2" shorter.
Lower Band -
You may need to adjust the lower band. Measure it and determine whether or not you need more or less width. Also, take into consideration the length of the top and where you want the lower band to rest.
Fabric -
The fabric recommended are knits with at least 25% stretch. I used a lovely bamboo knit from Mood Fabrics. It's so silky and smooth. Definitely a premium knit that was great to work with.


Happy Sewing!
Cennetta
Only people who sew know how much work it is to get a cool knit top to fit. Thanks for all the details they are always so helpful
ReplyDeleteLove your new top Cennetta!
ReplyDeleteGood review with lots of details about fit. That top certainly doesn't look frumpy at all.
ReplyDeleteGood looking top!
ReplyDeleteDefinitely NOT a frumpy top! It's gorgeous.
ReplyDeleteJob well done. Your top looks amazing!
ReplyDeleteThank you so much for detailing the fitting adjustments that you make. This is very helpful, also the questions you asked yourself are indispensable in helping me go through a similar process. Thank you for your blog, I always learn so much
ReplyDeleteMarie