

I hope everyone had a great holiday weekend. Happily I spent sometime in my sewing room where I made two shirts, Simplicity 8416 views B and D.


A twist on a classic shirt design. The shirt design is loose fitting like a camp shirt, but it has long sleeves, cuffs, and a collar band. There is no center front band. Back options include vent with ties or lace, pleated back with or without tab. It can be worn like a camp shirt with jeans unbuttoned with a tank top or T-shirt underneath. Of course, you can button it, tuck or tie the shirt tails.


These two shirts wrap up my shirt making project for the summer. Initially, I planned to only make a few during the summer; then later make more. But when Sue and Rhonda asked me to do a presentation, I needed a few more shirts to show and talk about. My goal was to practice and learn, hone my skills. I chose this pattern to test sizing, fit, and drape trying to determine if it was loose enough to eliminate my normal fit adjustments. At first sight, I was interested in trying some of the back variations. So this one quickly fell into my shopping basket with several other Simplicity patterns during a JoAnn's pattern sale.
I made my usual size and determined that a slight FBA is still needed. The sides seams are not perfectly perpendicular to the floor.
I also noticed that the cuff is longer and the spacing of the button is wider, beige shirt on the pattern envelope. The armhole seam starts below the ball of the shoulder. These observations are not a big deal, just things I noticed.
Of course I changed a few things.
- I squared the collar band at the end
- Plaid - I turned the edge to the right side of the center back hem then pressed. Next the lace was stitched along the folded edge, then I sewed another row just before the scalloped edge of the lace to secure it. This created a clean finish.
- Plaid - I added 1" to the length of the shirt.

- Plaid - I made the loops for the back closure instead of using elastic. I simply cut a bias strip, sewed, turned, cut desired length, and apply to edge of instructed. To make the loops narrower, I sewed a few stitching to hold the ends together.
Adding a little something, something -


- White - I copied the contracting design element from a article in "Threads" magazine. The contracting fabric adds some color to what would be a plain white over sized shirt.
I literally made almost no fit adjustments. The neck is a little too big for me (hardly noticeable). When I tried the shirt on, I
noticed the shoulder seam was not completely vertical from neck to
shoulder. At the ball of my arm, it is off centered. So for the plaid
version, I added 3/4" to the height at the end of the yoke and the
subtracted that same amount from the front. That resolved the issue. You may not need the same adjustment. Check it before you cut into your fashion fabric.
Fabric -
White - I used a tissue weight cotton from Mood Fabrics and a cotton blend print gifted to me by Andrea Birkan (Haute Couture Club member).
Plaid - A lightweight silk that I was gifted over 25 years ago. The lace came from JoAnn's.
Fabric -
White - I used a tissue weight cotton from Mood Fabrics and a cotton blend print gifted to me by Andrea Birkan (Haute Couture Club member).
Plaid - A lightweight silk that I was gifted over 25 years ago. The lace came from JoAnn's.
My dislikes -


- The construction process for creating the finished opening above the cuff.
- The lack of a front band. It's a little more work but worth it.
- Press, press, and press throughout the construction process. It makes the sewing easier.
- Trim (3/8") seam allowances of the collar and collar band. It eliminates bulk, making the top stitching easier.
- Basing - I prefer basing over pinning before top stitching and finishing bands and cuffs. Another option is to use glue sticks.
- One collar piece. I like Sandra Betzina one piece collar method. It can be found in her "Tool Kit" book. My tutorial is here.
- Don't be afraid to change it up a bit. Surf the internet and magazine for ideas.
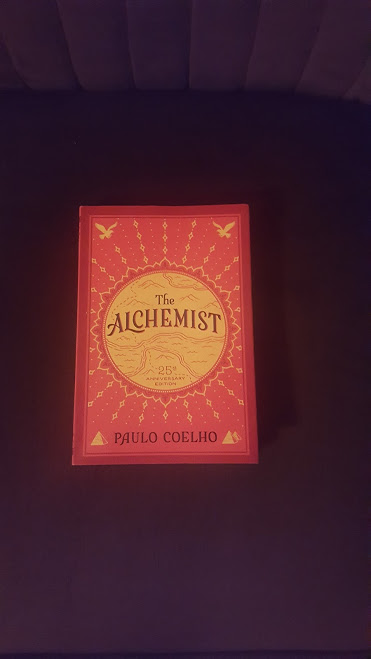
Parting Shot: Last book read: "The Alchemist" by Paulo Coelho . This is a powerful little book. Check it out.
Happy Sewing!
C
Great shirts. I,too, am on the same quest to perfect my shirt-making skills. When you shifted the shoulder seam forward 3/4 inch did you also rotate the sleeve forward by that same amount?
ReplyDeleteThank you, Karen. I did not rotate the sleeve.
DeleteThis comment has been removed by the author.
DeleteThe shirts are beautiful!! I am so impressed with your attention to detail: the contrast collar facing, the little insert, the tab!! You are pretty fabulous!! Thank you for sharing.
ReplyDeleteThank you, ypsiknitti.
DeleteYou know I love both of these...came here from Instagram to get more info on the pattern and what you did. Thanks, definitely buying this pattern now!
ReplyDeleteThanks, Carolyn. I hope this information is helpful.
DeleteBoth shirts look great.
ReplyDeleteVery Impressive plaid matching! These shirts are gorgeous and your hints are spot on. Pressing is the secret to a beautifully made garment - even if the sewing is perfect, the garment looks 'off' if meticulous detail to pressing has been neglected. Thanks for sharing!
ReplyDeleteBeautiful shirts! I can't wait to see you model them. Plaids are in for the Fall this year. You matched the plaids perfectly. I love how you added a touch of color to the white shirt too. Nice work as always!
ReplyDelete