Friday, March 12, 2021

Sweater Knits - A Difference In Sizing Burda Style 6990


Of course,  you all already know that all knits are not alike.  Sometimes I have to remind myself. Especially when I'm making multiple versions of a given pattern.  Way back in January, I made two turtleneck tops using sweater knits from So Sew Fabrics.  The graduated color knit is just a basic weave sweater knit with a slightly course hand and about 30 percent stretch.  While the tan ribbed sweater knit is very soft and has about 60 percent stretch.


My original plan was to make the Burda Style 6990 turtleneck top for me and my daughter.  I traced off size large for me and medium for DD.  Of course, I wanted the brown knit for myself; and DD gladly took the tan ribbed knit.  As it turned out, my top was perfect.  But when DD tried on her top, it looked like she was wearing my top. Lol


So I tried it on. It fits me almost perfectly.  The armsyce needed a little adjustment.  I ended up with two new turtleneck tops.  Unfortunate for DD. Lol  I'll make her something later.

These new turtlenecks fit into my brown wardrobe capsule.  They go well with pull-on pants and jeans.  I'm pictured wearing the brown top with my TNT Vogue V8859 pull-on pants.  I love this pattern.

No pictures of me wearing the second top yet.  I hope to post that soon.

Notes on the pattern -

This was a very easy top to sew.  I especially like the cut on the sleeve.  It fit well under the arm and looks good in the shoulder area.  This pattern does have great bones.  I could make a hundred of these.

There is nothing complicated or confusing about the construction of the top.  And it has three other views that look great too.  I think I will also try the shawl collar view.

Parting Shots:  Because it was a sunny day, we wanted to take some pictures outside.  But it was windy and cold.  Anyway, we tried.  I couldn't keep a straight face or hold a good pose.  So here are a few fun/silly shots.


Happy Sewing!

C


Sunday, March 7, 2021

Two New Patterns, Two New Athleisure Outfits, and Two Different Knit Fabrics - S8529 & M7610


This post is about two's.  I'm reviewing two patterns, two athleisure outfits, and two different types of knit fabrics.

I didn't realize Simplicity had a version of the Sew House Seven Toaster Sweater until a few months ago.  So I grabbed a copy to try it.  I was most interested in the funnel neck oversized tops.  The others views are available in other big 4 patterns.  I do support indy pattern makers.  But for this one, I figured it were be a savings on a very simple pattern.  I bought it at JoAnn's for $1.99.


Many sewists have posted their version of the Toaster Sweater on Instagram.  That is actually where I became interested in trying it.  I didn't use any sweater knit to make views A and B.  Instead for view A I used a very soft French terry that I purchased from Company Name on Amazon Prime.  This company  is new to me so I only purchased enough for the top and a matching pair of joggers. The jogger review follows this one.  The French terry is amazingly soft, it is slightly lighter than the average French terry used in most hoodies/sweatshirts garments.  Before cutting into it, I pre-shrunk the yardage and dried it.  Out of the dryer it was extra soft.  Perfect for lounge wear.  


My second fabric is from Mood Fabrics.  It is a medium weight cotton knit that I purchased a few years ago.  This textile is stiffer and has a dry hand.  While I love the color, the stiffness does reduce the comfort level of this set.  I made matching joggers for this top as well.  These fabric was pre-shrunk as well.

With the different fiber, weight, and weave of the two, there is a noticeable difference in how each top wears on the body.  The purple top is fluid falling close to the body.  But the orange top stands away from the body.  Note the funnel is stands up all on it's own.

I used size large for both tops.  There is a lot style ease in them.  For view B, I could have reduced the length of the waistband by a few inches.  It does not rest on my waist.

Both tops look like the drawing and the pictures on the envelope. I just glance at the instructions. Very typical; off hand nothing confusing in them. For view A I did change how I finished the slit.  Instead I made mitered corners.  This finish looks better to me. 

I think I was interested in how the funnel neck tops would look on my frame.  My favorite is view A. I discovered that this style of neckline isn't a favorite.  The funnel does not fit close to my neckline.  I prefer the funnel of the Christine Jonson Trio set.  Everything else is fine.  

I don't think I'll make these views again for myself.  I have lots of other tops to try.  But I do recommend the pattern to others.  

Overall, I am pleased with how these tops turned out.  My favorite is the purple one.  Because of a few things:  the funnel neck drapes a little, the softness of the fabric, and the hemline.  These tops are very easy to make and sew up fast.  


For the joggers, I used McCall's 7610.  This is other pattern grab that was "encouraged" by Instagram sewists.  These really turned out well. The joggers fall a few inches above the ankle.  So, I added several inches to lengthen them.  I may make the shorter version later in the spring.  


Like most sewists, I already have several jogger pants patterns in my collection.  The design of these were slightly different than any I own.  It's the pockets.  And I liked the curve of them.  I wanted to try them to see how the pockets would lay on the curve of my body.  They do lay flat. :-)  The waistband is nice too. 


I used size large with a little modification.  My joggers do look like the picture on the envelope except for the length of the pants.

The instructions were typical and easy to follow.  There was nothing confusing in them.  The pants were another easy project.  

I will make these again.  There are a few things I will change though.  First, I won't make them as long.  Often I add too much to the length occasionally having to cut off an inch or so.  I guess I can attribute this to always having a difficult time finding any pants that were long enough in the stores.  Second, the width of the leg is a little wider than excepted.  I will definitely taper the legs a bit and reduce the height of the cuffs.


It's a good jogger pattern, and I do recommend it.  If you are looking for comfortable outfit to wear around the house, to the gym, or to run errands, the combination of the Toaster Sweater and these joggers is perfect.

So, this completes the new athleisure outfits that I made in February.  I hope this review was helpful.

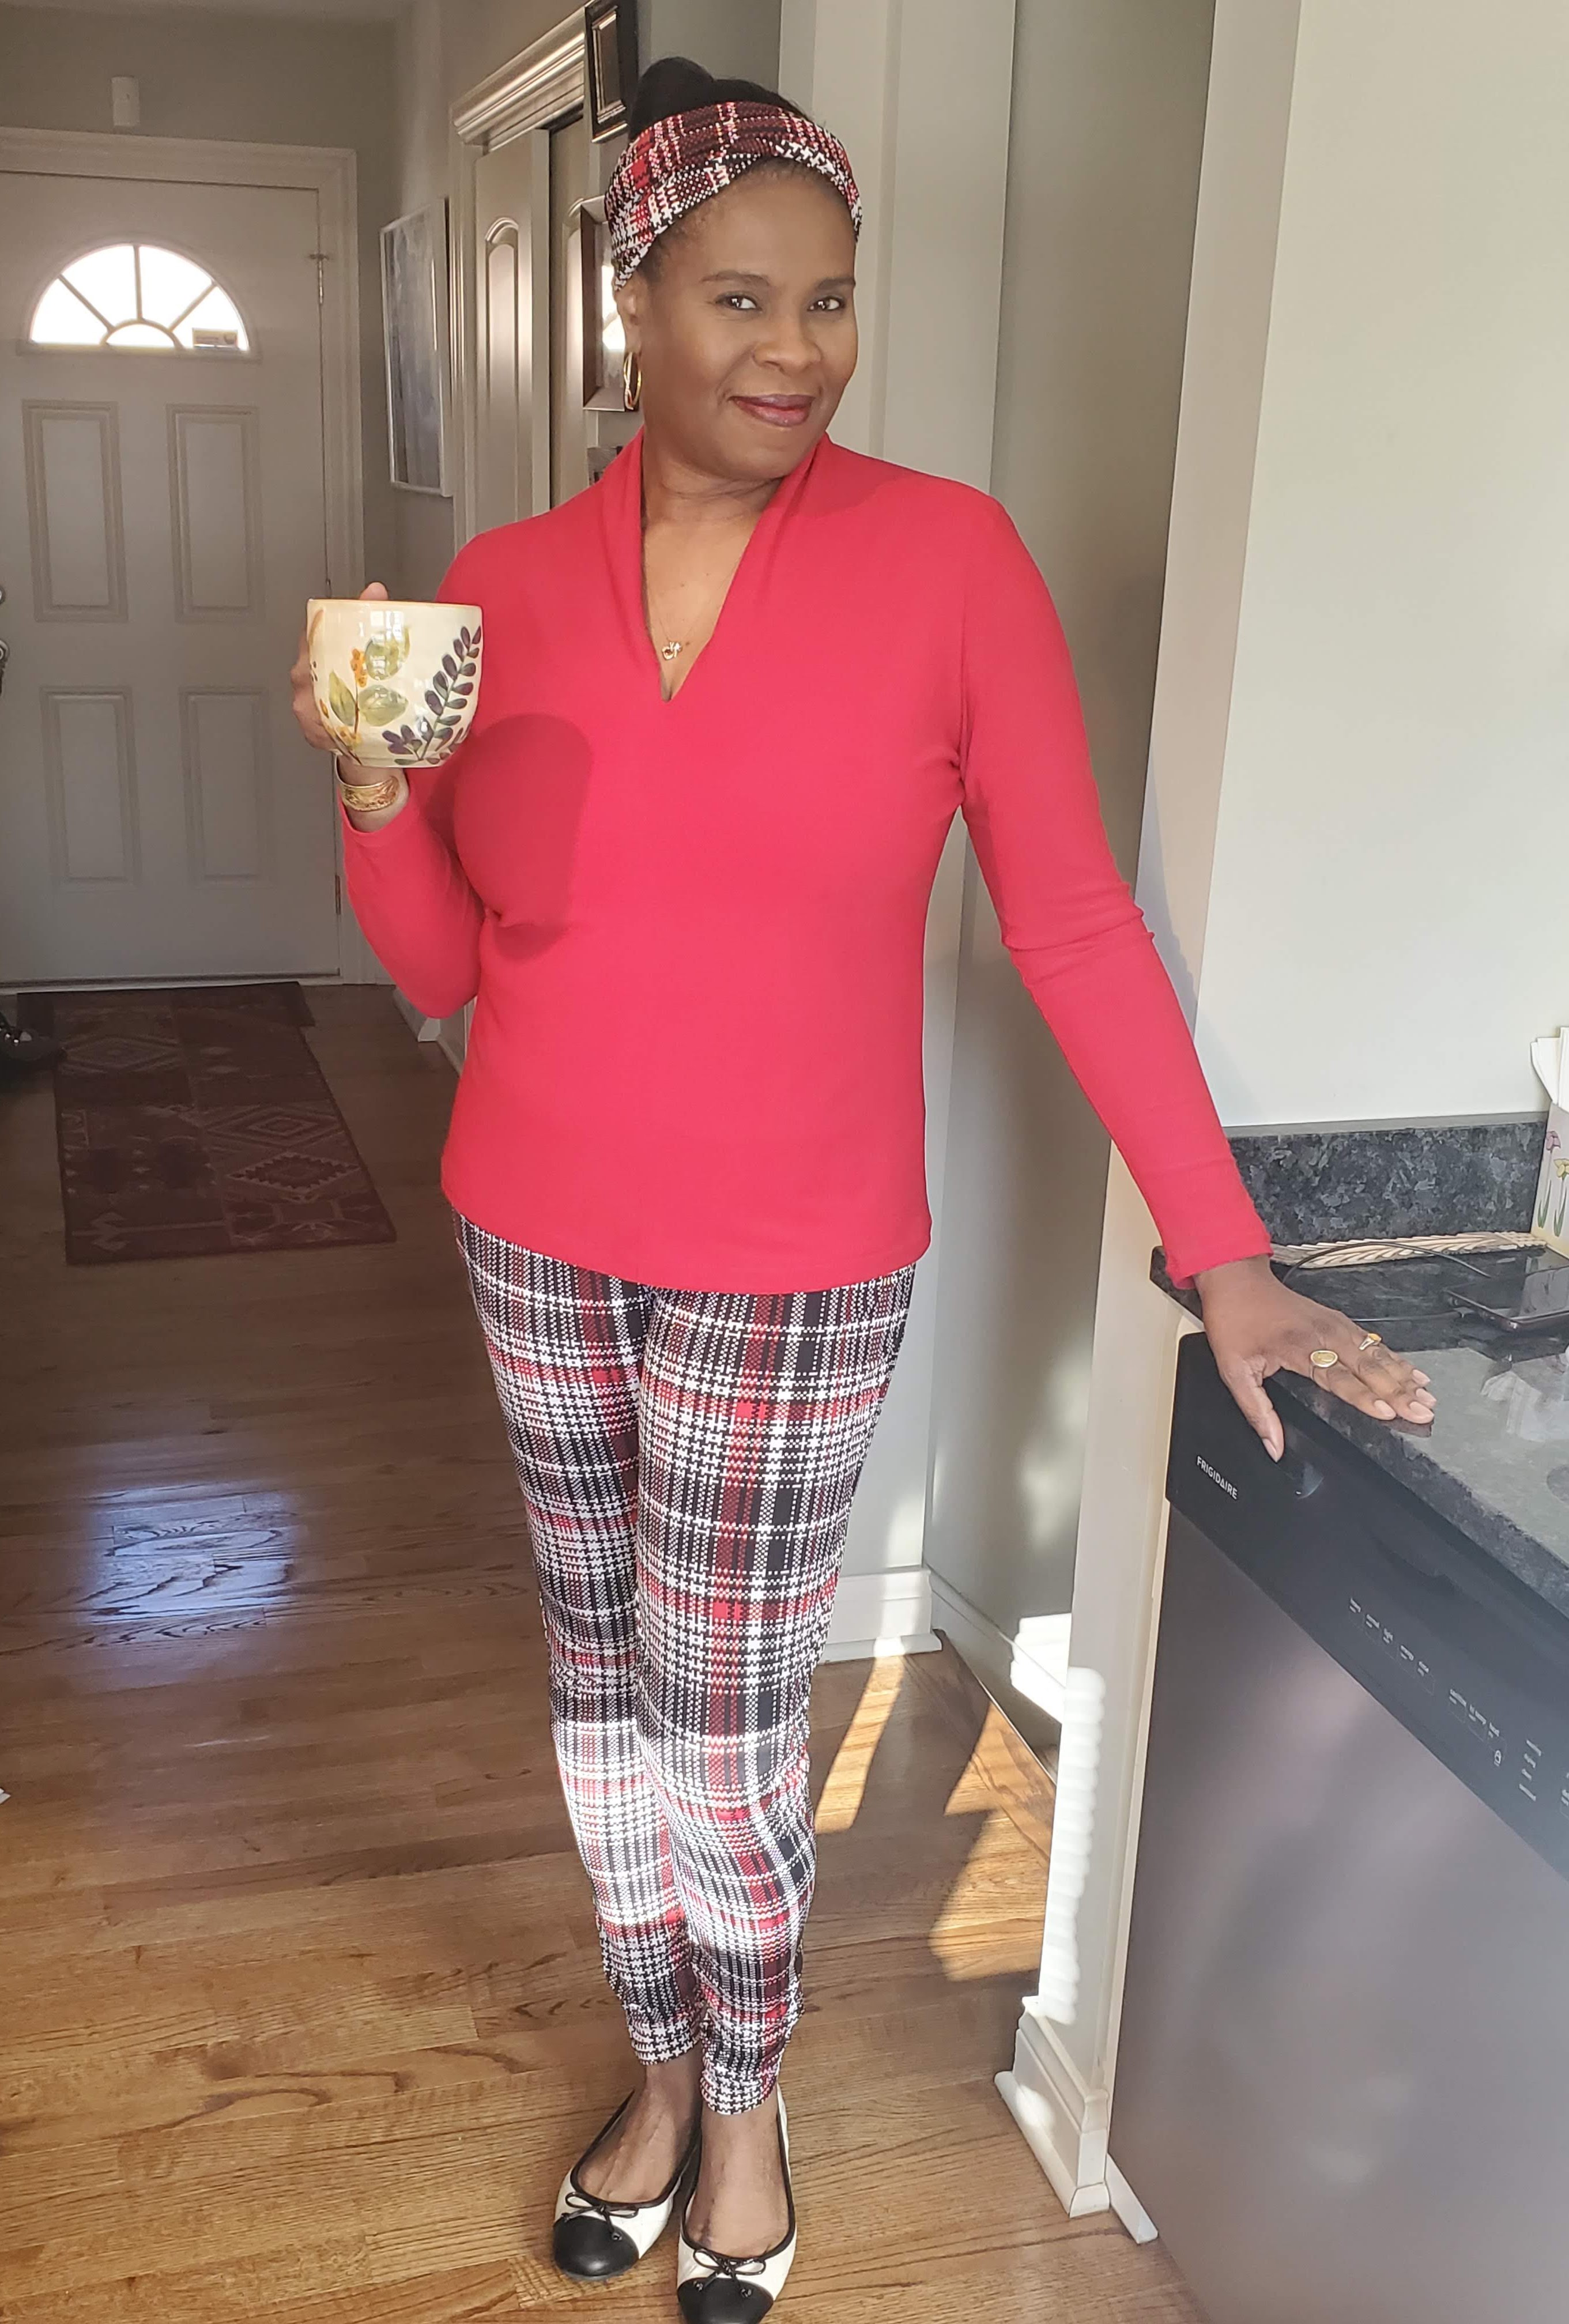
Closing Shots:  I actually like my new MiMi G. S9182 top with the peachy orange joggers.  


Happy Sewing!

C


Tuesday, March 2, 2021

New Athleisure with Simplicity S9210


I proclaimed that I will burn all of my "highly worn" athleisure and lounge wear when Covid-19 is under control.  These outfits have been worn every week since there are very few places to go.  I joke about it with family and friends, often calling this set of outfits Covid-19 wear.  


Truth be told, I'm anxious get out of this "rut".  I want to get back to going to book club, Haute Couture club, and other gathering places that I enjoy.

Anyway, back to athleisure and lounge wear.  Athleisure is trending, and there are dozens of pattern designs available. Because I'm going to need replacements very soon, I decided to make a few new ones. My first outfit is made using Simplicity S9210.  It has seven views; a complete wardrobe of lounge wear include slippers.  From the picture on the envelope, these coordinates are designed for home wear.  But these designs can be also crafted for outfits to wear running errands to running in the park.


Simplicity describes the pattern as:  Misses' lounge tops, dress, shorts, pants and booties.  It is also described as "easy to sew".  The pattern is available in sizes XS to XXL. I used size large with modifications.

My views of A and F look pretty much like the basic design lines.  I did make a few changes.  

The construction is described as easy to sew.  Really it is.  I read the instruction when I first bought the pattern.  They were typical and easy to follow.  During my construction process I only glance at them.  

There are several things to like about the pattern:

  • Complete wardrobe in one envelope
  • Coordinates easy to construct
  • The pattern has pretty good bones
  • Comfy
I really don't have any real dislikes.  

My fabric is from a new company to me.  This was my first time ordering from them.  ISee Fabrics
They specialize in organic fibers.  They have great French terry and ribbed knits. I pre-shrunk my fabrics before cutting into it.  It washed well and sewed up with no problems.  The French terry is soft and comfortable.  I will purchase from them again.


Changes
  • ViewA -
    • Added an inch or so to the sleeve length.
    • This view does not have the front pocket, but I wanted a front pocket for this hoodie.  I also added an inch to the bottom of the pocket.
    • Used contrasting ribbed knit for the cuffs and waistband.
  • Observation - I used size large.  I could have used between the medium and large at the neck and below the bust area.   The hoodie is huge.  Not a problem; just an observation.


  • View F -
    • Lengthen the pants a few inches.  
    • I used ribbed knit for the waistband and the cuffs.
    • Added elastic to the waistband.  I wanted to maintain the width.  I omitted the top stitches below the waistband.
    • Added pockets: in-seam and back.  I used the in-seam pocket from another pattern and cut the back pocket without a pattern.
  • Observation - The legs of the pants are more close fitting than mine.  The cuffs had to be stretched quite a bit to match the hem of the pant leg.

None of the observations created any obstacles with making the set.  They are just notes for what I experienced with making view A and F.  


I like how my new athleisure set turned out.  I'm sure I get plenty of wear out of it.  And I do recommend the pattern to others who are interested in replacing or adding to their athleisure wear.  This was a fun outfit to make.  I actually wore it yesterday.  I have lunch with a very good friend of mine most Mondays.  Yes, even in the face of Covid-19 we have tried to keep our standing lunch date.   So these days, we call the order in and bring it back to my house to eat.

So, I hope this review is helpful.  Thank you for stopping by my little place in cyberspace.

Happy Sewing!
C

Tuesday, February 16, 2021

Cute Comfy Top - Simplicity S9182


This morning I woke up to over 12 inches of snow!  Yesterday afternoon we thought we had a head start on clearing it off driveway and the side walk.  But when I peaked out of the window, there it was more of the fluffy white stuff.


Surprised?  Nope.  It is to be expected.  We hoped for a lighter snowfall over night. So, while the mini blizzard was taking place, I spent the evening cooking and sewing up Mimi G.'s Simplicity S9182 top, view A.

I grabbed a copy of the pattern at Hobby Lobby on Saturday for 99 cents.  I couldn't wait to try it.  The the collar and the center front zipper were what that sold me on this one.  So, today I'm reviewing View A.

This pattern includes three views: two tops and a slim skirt.  Simplicity has very little descriptive information.  So here is mine.  Knit tops with center front zipper, dropped sleeves with sleeve bands and large sailor like collar.  The waist is finished with or without a waistband.  The skirt is a pencil skirt with waist darts, center front and back seams.  Large hip pockets with flaps and a center back zipper.  

This pattern is available in sizes 6 to 24.  I used a size 16 with a few modifications.

My "first version" looks like the drawing.  The instructions were typical.  Most of them I followed as stated and others I changed a bit.  Nothing complicated though. 

I used a tie dye french terry knit that I purchased from Sew So English Fabrics.  I ordered this yardage along with a few others months ago.  The same day that I received the fabric, I tossed it in the washer so it would be ready to sew when I decided what to make.  The fabric came from the dryer soft and fluffy ready to sew.   

The few changes are:  


  • The first few steps are related to sewing the zipper to the center front of the top.  This is the major focal point.  So I really wanted to get this right.  First, I marked the cutting lines.  Then, I fused a strip of fusible tricot interfacing to the wrong side where the zipper would be placed.  Next, I stay stitched along the lines where the zipper would be stitched.  Carefully I cut the center front and each side of the triangle where the base of the zipper would rest.  Next, placed the zipper with the right side facing the right side of the top, the bottom of the zipper pointing to the top edge of the top. Stitched horizontal seam. Then flipped the zipper up with the zipper pull at the neck edge.  Using the stay stitching as a guide, I turned the edges in along the vertical sides of the zipper.  Pinned and hand based in place.  Finally, I machine stitched the zipper to the top.  I used this method because I was sure it would work for me.  It was very important that the zipper looked perfectly centered and stitched to the top.


  •  I did a small FBA (,75") for comfort.  This FBA does not result in a bust dart.  Instead I eased in the difference to maintain the original look of the top.  It worked well.  The adjustments added 1.5" to the width of the top.  I eased it in when I attached the waistband as I only need the extra width in the chest area.  I actually could have reduce the length of the band maybe a inch or so.
  • Instruction #15 indicates stitch stretching band to fit.  The sleeve opening is several inches wider than the opening of the sleeve band.  So I decided to gather it instead.  It worked.
  • I lengthen the sleeve two inches.  I have long arms. 
  • After stitching the under collar to the top, I folded the upper collar over the top sandwiching the top between the two collar layers  pinning only to the front neckline.  The rest of the collar was hand stitched to the back.  I like this finish better.


These are my changes.  The first change was the most time consuming.  But not difficult to do.

I want to make this top again for sure.  It came together very well and I like how it looks on me.  When I searched online to see if others made the top.  Only a few post so far.  Don't sleep this one.  It's a great top and it's not difficult to make.  

I enjoyed making this top and will make another soon.  

Parting Shot:  This is my block after the Monday night big snow.  It's a beautiful site.  But to shoveling.., Now that is another story. Lol


Thursday, February 11, 2021

Rewind - First Project of 2021 - Leggings Simplicity S1280


Simplicity S1280 Leggings, S8423 Turban,  and Naughty Bobbin Presto Popover top 


I almost forgot to post my first project made in 2021.  These leggings were easy.  But I did need to tweak the pattern a bit to make actual leggings.  This is the same pattern I used for the Christmas knit pajama pants.  These pants fit more like a pair of knit pull on pant.  So, I had to taper the legs on the in and outer seams to make them leggings.

My preference is the Papercut Ohhlala leggings, but for this fabric I need a one or two piece pattern to do the fabric justice.

Pattern


The fabric is a plaid jersey knit that I purchase from Mood Fabrics a few years ago.  I finally got around to making the leggings.  

I pretty much follow the pattern instructions with the exceptions of my changes to taper and lengthen the leg.  Super easy and simple.


This was a short post.  Stay tune for more on my sewing adventures.


Happy Sewing!

C


Wednesday, February 10, 2021

Presto Popover Top - Naughty Bobbin Pattern


This was my first time using Naughty Bobbin patterns.  And I decided to try the Presto Popover top.  

Pattern Description from the website: The Presto! Popover Top is designed specifically for knits for the wash and wearability your daily life needs.  Knits with 5% or more stretch, especially ITY knits and rayon/elastane come in all colors and patterns, so make more than one and get on with your life.  Good bye washday blues!  With it’s clever double-front V-neck collar construction and the always comfy 3/4 sleeve the Presto! sews up quickly on the serger, but can be made on a zig-zag machine, too.  Can be made in heavier knits for winter, lighter knits for summer. Excellent choice for sheerer knits.

For its ease, comfort and a fast sewing project, you’re gonna love the Presto!


Pattern Sizing: It comes in sizes small to 4 x-large.  I used large with a few tweaks.


This is the first version made.  I call this my wearable muslin.  For the other three tops, I added a few inches to the bottom.  I could use a little more move in the bust area.  So when I make it again, I do a little FBA (no dart) to have a better fit.


My tops look exactly like the drawing and the photos.  The instructions were very good and easy to follow. 


I really like the construction of the front of the top. The double layers of fabric and hide "body details" that aren't as flattering.  The seam down the center front also has a slimming affect.  Another detail that I like is the neckline.  You can choose to lower it and bring it up a bit.  Your choice.


All of the fabrics that I used were from FabricMart Fabrics.  The red and blue are a crepe knit that has a beautiful drape. The purple/pink print  and the black are jersey knits.  All fabrics have about the same amount of stretch.

My alterations were minor.  And like I said, I need a little more room in the bust area. When I make it again, I think I make it into a dress.  Rhonda gave me that idea when I saw her dress version on Instagram and on her blog.

This is a neat pattern that is flattering on most figures.  Try it. It easy and doesn't take a lot of time.

Happy Sewing!
C  


Tuesday, February 9, 2021

Simplicity Accessories S2508 - Tackling UFO's in 2021 - Part I


In the past six months I have made so many hats!  This next post adds two more to the list of completed toppers.  I'm pleased with getting off to a good start with accomplishing my sewing goals for 2021.  I'd like to complete at least one UFO per month.  So for January and February, I finished three things:  two hats and a scarf.  

Oh, it's so amazing how time flies.  These projects were cut and stored from over seven years.  Incredible..,  It only seems like yesterday.  

Often I'm so excited about sewing, and I want to make everything.  Then I see something on social media that inspires me to try even more things.  Thus, I end up with so many projects to make and/or finish.  This year, I'm making an effort to slow down the excitement and focus more on the project before me and get it done.


Simplicity S2508

This pattern is out of print.  It's loaded with goodies: jacket, scarf, hat, shawl.  Nice accessories and coordinates to try.

I made view E and F  The pattern has grouped sizes 6-14 and 14-22.  The hats come in sizes small, medium, and large.  I made a large.  The fabric I used is anti-pill polar fleece.

My hats and the scarf look like the illustrations on the envelope and guide sheet.    The instructions were typical and easy to follow.  Nothing confusing.


I found the construction of the hat interesting.  The brim has cording incased to form a ridge.  I like the affect.  I didn't follow step 5 for the bow.  I just machine stitched it to the hat.  I enjoyed making the flower and leaves for the scarf.  I do like making those little extras.


Overall, there was nothing to dislike in the construction or the finish projects.  I enjoyed making both the hat and scarf.  It took me less than two hours to make all three pieces.  

I like how these accessories turned out.  Really quick projects.  Good for all level sewists.  And I do recommend this pattern if you have it.  


My UFO bind is getting smaller.  wink, wink. I have to figure out what will I finish next.  So in the meantime, I hope you are having a great day.  Do something that brings you happiness.  It's the little things that seem to count the most these days.


Parting Shots:  Facial masks - I apply at least one per day.  During these cold, blustery winter months, stay hydrated.  Drink plenty of water and keep you skin moisturized too.  Masks are a great additional to my facial routine. 


Enjoy and Happy Sewing!

C

LinkWithin

Blog Widget by LinkWithin