Showing posts sorted by relevance for query shirt project. Sort by date Show all posts

Thursday, August 14, 2025

The Shirt Project Continuous with McCall's ME2052


It's been almost a decade since I started my little "Shirt Project".  And I've made a variety of button down or button up shirts since it all begin.  The process is similar from shirt to shirt; but occasionally, there is something new and interesting about it.

Today's installation of "The Shirt Project" is McCall's Know Me ME2052.  It is designed by Beaute' J'Adore.  The point of interest is the longer sleeve double cuff.  


Pattern Description:  Misses' button down shirt with collar and collar stand.  It has longer sleeves with double cuff.  The pants are a jean style cropped pants with inlay patches on the front and back legs. 


Pattern Sizing:  I used a size 16 with very small modifications

Did it look like the photo/drawing on the pattern envelope once you were done sewing with it?  Yes, it did.  


Were the instructions easy to follow?  The instructions were pretty easy to follow.  I did a few things different.  
  • Burrito method for completing the back yoke.
  • Finished the top stitching on the front before completing the hem.
  • I followed my own method for placing the buttons and buttonholes making the sure a button was placed at the fullness of my bust.  Then continuing with the rest at an appropriate spacing.

What did you particularly like or dislike about the pattern?  I really like the double cuff and the oversize style.   


Fabric Used:  The fabric was purchased at the Discount Warehouse on west 21st in Chicago,  It has been in my stash for a year or so.  I bought is to make a shirt. I pre-washed and dried it shortly after I purchased it.  So, it was ready to sew when I pulled it from my stash.

Pattern alterations or any design changes you made:  I really didn't change much.  I just added my usual inch to the sleeve length.  NOTE:  these sleeves fall slightly over the hand.  

Next time:  I will interface half of each cuff to reduce thickness.  Also, I'll reduce the circumference of the collar.   

Would you sew it again? Would you recommend it to others?  Yes and yes.  I already have another cotton blend ready to cut and sew.  


Conclusion: I enjoyed making this shirt.  I also, recommend it to others.  It is an average sewing level shirt.  Great wardrobe builder with a unique twist.

Happy Sewing!
C

Tuesday, September 16, 2014

Jean Pool 2014 - A Back Story of a Practicing Sewists

Good morning everyone,

Thank you for commenting on the previous Jean Pool post. Lately, I haven't been able to sew much, but wanted to keep posting about upcoming projects and overdue reviews.

Today I wanted to post a short back story about a refashion project that I did 40 years ago. The thought occurred to me that this may be a good post for a number of reasons:

  • To encourage a new sewists.  Often new sewists have challenges with very basic sewing processes and sometimes give up on sewing far too soon.
  • To document my thoughts one of the first projects I made when I was  about 11 years old. I keep this jacket/over shirt because I was proud of myself.  Proud that I completed it.  And I'm glad I continue to sew.
  • Patch work denim is on trend now.  It's everywhere and there are patterns you can use to make your very own trendy denim shirt.

Now my little back story -

I had been sewing about two years when I tried to make a patch work denim over shirt using old jeans that would have ordinarily been tossed in the can.  But the little creative me decided to use them to make a shirt.  I can't remember the pattern I used back then, back I can almost guarantee it was a McCall pattern.  Those were my favorite patterns at that time.

Truth be told, I had no idea how to make the shirt or how it would turn out.  But I was excited about the project and, in my mind, this would be a special project once it was completed.  Although my execution of simple sewing processes and techniques were less the stellar, I was proud to say I made:

  • Button holes
  • Attached a collar
  • Patched pockets
  • Made tabs for the sleeves and shoulder
  • Installed in-set sleeves


Did I wear it?  Oh hell yeah, I did.  I was proud and felt I accomplished a lot with my refashion project.  Was it polished?  No way.  It looked homemade.  Because it was a first of many things, I thought I should keep it to remind me of the project.  Every five or so years, I pull it out to look at it again.  Which each survey I compare were I was then and where I am now with perfecting my sewing skills.  Needless to say, I've come a long way from the 11 year old girl who wanted to make all of her clothes.  I happy that I stayed the course and didn't let anyone detour me from that goal.

Did people (peers) comment about the flaws?  All the time.  That did not stop me.  I was determined and knew that someday I would be much better at sewing.  So I pressed on.  Now today, I am able to make a variety of shirts and jackets.  I'm still learning new skills and techniques.  Sewing is still a huge source of enjoyment for me.

Jean Jacket of 2012 M5860


Now, for part two:

If you are interested in creating your own patch work shirt, try McCall's 6649.  This pattern gives many style options for a button down shirt.


Thursday, September 7, 2017

Simplicity 8416 In Review - The Shirt Project


I hope everyone had a great holiday weekend.  Happily I spent sometime in my sewing room where I made two shirts, Simplicity 8416 views B and D.


 I can't believe it!  Fall is almost here!

A twist on a classic shirt design.  The shirt design is loose fitting like a camp shirt, but it has long sleeves, cuffs, and a collar band.   There is no center front band. Back options include vent with ties or lace, pleated back with or without tab. It can be worn like a camp shirt with jeans unbuttoned with a tank top or T-shirt underneath.  Of course, you can button it, tuck or tie the shirt tails.


These two shirts wrap up my shirt making project for the summer.  Initially, I planned to only make a few during the summer; then later make more.  But when Sue and Rhonda asked me to do a presentation, I needed a few more shirts to show and talk about.  My goal was to practice and learn, hone  my skills.  I chose this pattern to test sizing, fit, and drape trying to determine if it was loose enough to eliminate my normal fit adjustments.  At first sight, I was interested in trying some of the back variations.  So this one quickly fell into my shopping basket with several other Simplicity patterns during a JoAnn's pattern sale.

I made my usual size and determined that a slight FBA is still needed.  The sides seams are not perfectly perpendicular to the floor.

I also noticed that the cuff is longer and the spacing of the button is wider, beige shirt on the pattern envelope. The armhole seam starts below the ball of the shoulder. These observations are not a big deal, just things I noticed.

Of course I changed a few things.
  • I squared the collar band at the end
  • Plaid - I turned the edge to the right side of the center back hem then pressed.  Next the lace was stitched along the folded edge, then I sewed another row just before the scalloped edge of the lace to secure it.  This created a clean finish.
  • Plaid - I added 1" to the length of the shirt.

  • Plaid - I made the loops for the back closure instead of using elastic.  I simply cut a bias strip, sewed, turned, cut desired length, and apply to edge of instructed.  To make the loops narrower, I sewed a few stitching to hold the ends together.
Adding a little something, something -


  • White - I copied the contracting design element from a article in "Threads" magazine.  The contracting fabric adds some color to what would be a plain white over sized shirt.
I literally made almost no fit adjustments.  The neck is a little too big for me (hardly noticeable).  When I tried the shirt on, I noticed the shoulder seam was not completely vertical from neck to shoulder.  At the ball of my arm, it is off centered.  So for the plaid version, I added 3/4" to the height at the end of the yoke and the subtracted that same amount from the front.  That resolved the issue.  You may not need the same adjustment.  Check it before you cut into your fashion fabric.

Fabric -

White - I used a tissue weight cotton from Mood Fabrics and a cotton blend print gifted to me by Andrea Birkan (Haute Couture Club member).

Plaid - A lightweight silk that I was gifted over 25 years ago.  The lace came from JoAnn's.
My dislikes -


  • The construction process for creating the finished opening above the cuff.
  • The lack of a front band. It's a little more work but worth it. 
 Finally, a few tips for making your own shirts.

  • Press, press, and press throughout the construction process.  It makes the sewing easier.
  • Trim (3/8") seam allowances of the collar and collar band.  It eliminates bulk, making the top stitching easier.
  • Basing - I prefer basing over pinning before top stitching and finishing bands and cuffs.  Another option is to use glue sticks.
  • One collar piece.  I like Sandra Betzina one piece collar method.  It can be found in her "Tool Kit" book.  My tutorial is here.
  • Don't be afraid to change it up a bit.  Surf the internet and magazine for ideas.
Note: I'm no expert.  This is only my explanation on how I made Simplicity 8416.  Sorry no pictures yet. later..,


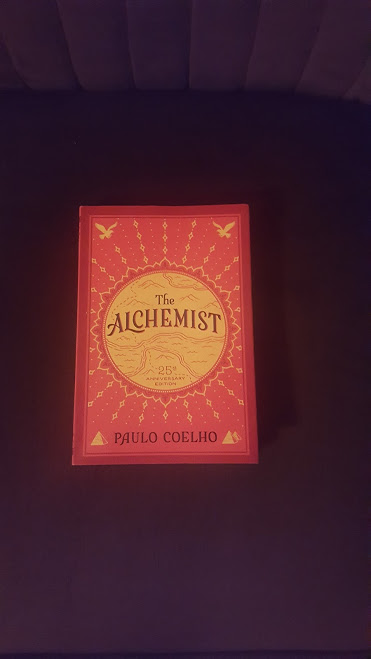
Parting Shot:  Last book read:  "The Alchemist" by Paulo Coelho .  This is a powerful little book.  Check it out.


Happy Sewing!

C


Friday, May 15, 2020

Shirt Making Project Spring/Summer 2020 - Simplicity S1166


Sometime in January, I decided to do another "Shirt Making Project".  To start, I cut out three shirt using Simplicity S1166.  These shirts were in a bag in the UFO bin that I had almost forgotten about.  This week I decided it was about time I made them.  This is a pattern that I used before.  The initial review and project here.

I like the shape of the collar and design of the sleeves.  These details make it a little better than your average button down shirt (to me).  They can  also make or break the project as they are focal points of the garment. Making this batch of shirts was an opportunity to do a lot of top-stitching and paying attention to the simple details and construction processes.

Tip 1:  Construction of the Collar

The collar is large and curvy ending in the typical point on each end.  There are a few approaches to making the point just right.  I posted Sandra Betzina's method of redrafting the collar pattern.  The details:  Part I and Part II


For these shirts I used another method.  Sorry I don't know what it is called.  But, instead of sewing the seam and pivoting at the corner.  I made it "squared" at the corner then I pivoted to continue.  This is done in addition to "not" interfacing the corners of the collar.


The next few steps are critical:  Use a pointer/creaser to help turn the collar inside out using the point to push the tip of the collar out.

Next, this is key:  Pressing.  I made sure I gave that collar a great press.


My last step is the top-stitching.  I use thread at each point to help guide the collar under the needle.  Often, at the corners of a garment it is difficult to get the end to move through the stitching area.


This method is also good for the cuffs.


Tip 2:  Construction of the Buttonholes

These days I'm making a lot of garments that button down the front.  This is another focal point and I want it to look as good as possible.  I've said this many times before.  I test before I do it on my actual project.  And for each shirt, each type of fabric I tested making the buttonholes.

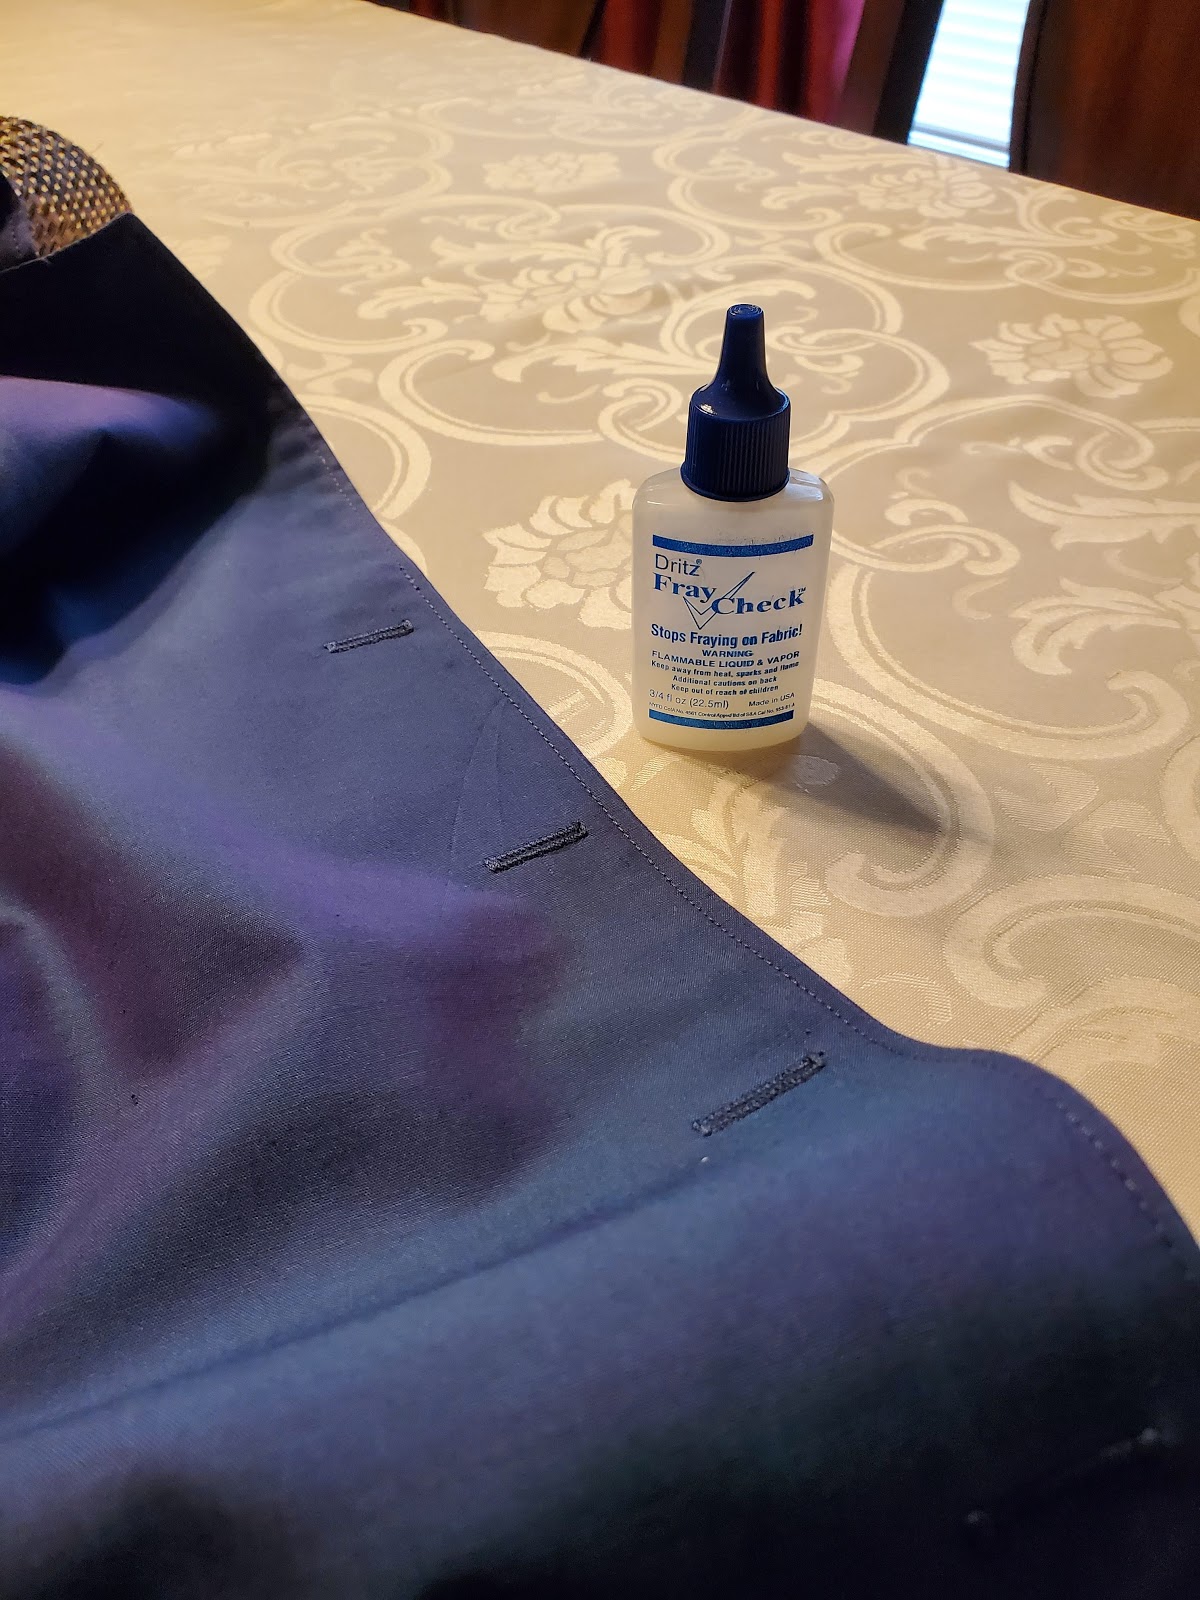
After successful testing, I sew the buttonholes on my garment.  They are not complete without some Dritz Fray Check.  After the buttonholes are constructed, I apply fray check and allow it to completely dry before opening the buttonholes.

So that's it for my tips.  I hope this information is helpful.

Happy Sewing!

C

Monday, May 18, 2020

The Shirt Project 2020 - Simplicity S1166 In Review


The making of these three shirts is the beginning of my second Shirt Project.  About two weeks ago, I found the shirts in a bag while inventorying my UFO bin.  Everything was already cut and marked.  All I needed to do was sew them.  This was the perfect project to finish while I wait for my button order to arrive.

I made this shirt once before, but I didn't do a full pattern review.  So today I'd like to share my thoughts on this pattern. 

Simplicity almost never gives a good description of the pattern views. For this one they just said, "Misses' blouse, skirt, and bra top.  How vague is that?


My description for view B - Misses' blouse with dolman like 3/4 length cuffed sleeves with wide collar and curved hem.


The pattern comes in sizes 6 to 24. The sizes are grouped: 6-14  and 16-24.  I used size 14 with modifications.

This drawing and the envelope photo do not match.  The drawing is the same silhouette as my blouse, but the blouse on the model is different.  Either the blouse she is wearing  is three sizes too big or the pattern design is for an all together different pattern than what is provided in the envelope.


The instructions were easy, and I didn't see anything confusing in them.  I did make some fit adjustments and minor changes for my versions.

My likes:
  • Sleeve design
  • Wide collar
  • Cuffs
No real dislikes other than the misinterpretation of the design modelled on the envelope.


I used three different fabrics from three different sources:
The pattern alterations are some of my usual adjustments:  FBA plus I lowered the bust dart; and I lengthen the blouse about a few inches.

Design/Construction changes:  I did something a little different for each blouse
  • White - No top-stitching except for the cuffs.  I didn't do a rolled hem.  I serged, turned and sewed the hem.  Added darts to the back.  Stitched in the ditch of the shoulder seams instead of tacking the facing to it.
  • Stripe - Followed the instructions except for the hem and tacking the facing to the shoulder seams.  The collar design change for this one was due to limited amount of striped fabric.  I didn't have enough for both upper and lower collars.  So I used some of the white pima for the under collar.
  • Blue - Same as the stripe blouse. No design change.

So far I've made a total of four blouses using this pattern.  Why stop now?  I can see myself using it again.  And I do recommend it to others.  It's an easy sew.  All level sewists can enjoy making this blouse.

I noticed a few areas where I could tweak the fit a little more.  But overall I'm pretty pleased with how these turned out. They are good wardrobe staples and will be in high rotation.  Perfect pairing with jeans and pull-on pants.  


My tips:

Buttonholes
Collar

My first blouse made 2016.


Side Note:  Whenever I make shirts, I include at least one white one.  You can never have too many. ;-)


Happy Sewing!
C


LinkWithin

Blog Widget by LinkWithin