Showing posts with label stretch woven cotton. Show all posts

Friday, May 15, 2020

Shirt Making Project Spring/Summer 2020 - Simplicity S1166


Sometime in January, I decided to do another "Shirt Making Project".  To start, I cut out three shirt using Simplicity S1166.  These shirts were in a bag in the UFO bin that I had almost forgotten about.  This week I decided it was about time I made them.  This is a pattern that I used before.  The initial review and project here.

I like the shape of the collar and design of the sleeves.  These details make it a little better than your average button down shirt (to me).  They can  also make or break the project as they are focal points of the garment. Making this batch of shirts was an opportunity to do a lot of top-stitching and paying attention to the simple details and construction processes.

Tip 1:  Construction of the Collar

The collar is large and curvy ending in the typical point on each end.  There are a few approaches to making the point just right.  I posted Sandra Betzina's method of redrafting the collar pattern.  The details:  Part I and Part II


For these shirts I used another method.  Sorry I don't know what it is called.  But, instead of sewing the seam and pivoting at the corner.  I made it "squared" at the corner then I pivoted to continue.  This is done in addition to "not" interfacing the corners of the collar.


The next few steps are critical:  Use a pointer/creaser to help turn the collar inside out using the point to push the tip of the collar out.

Next, this is key:  Pressing.  I made sure I gave that collar a great press.


My last step is the top-stitching.  I use thread at each point to help guide the collar under the needle.  Often, at the corners of a garment it is difficult to get the end to move through the stitching area.


This method is also good for the cuffs.


Tip 2:  Construction of the Buttonholes

These days I'm making a lot of garments that button down the front.  This is another focal point and I want it to look as good as possible.  I've said this many times before.  I test before I do it on my actual project.  And for each shirt, each type of fabric I tested making the buttonholes.

After successful testing, I sew the buttonholes on my garment.  They are not complete without some Dritz Fray Check.  After the buttonholes are constructed, I apply fray check and allow it to completely dry before opening the buttonholes.

So that's it for my tips.  I hope this information is helpful.

Happy Sewing!

C

Friday, July 7, 2017

Bold Floral Are Always In Order - New Look 6184


There is nothing like a bold floral print.  Perfect complement to a fit and flare silhouette.  Summer time is a great time to show off a pretty floral dress.  In summer I want to look my best and be as comfortable as possible.   I really appreciate a cotton dress during this time of year.  Chicago and the surrounding areas are hot and steamy.

This is the first dress I finished this month.  I started on it about two weeks ago.  But did not hem it until Saturday night.    

I couldn't make up my mind on how long to make it.  So I cut the skirt tea length so I would have the options of keeping it long or making it shorter.  The skirt is self drafted if you want to call it that.  With the fabric being 60 inches wide, I just cut two rectangles the desired length.  Then cut one in half ( 2 back skirts) and used the other piece for the front skirt.  The skirt was gathered to fit the waist of the bodice.


Last year, I had planned to make a few dresses using New Look 6184, but I never got around to it.  So this year, it became a high priority to at least get one dress made using this pattern.  The C view of the bodice was already fitted.  So I was able to go right to cutting out the dress.


My fit changes:
  • FBA, with the new bust dart rotated into the neckline pleats.
  • Lengthen by 1" (front and back)
  • Sway back Adjustment
  • Prominent shoulder adjustment with a dart added to the neckline. 
I would described this dress as a fitted bodice with pleats at the neckline.  There are two skirt variations: one A-line and the other straight with two belt variations.


It comes in sizes 8 to 18.  I used size 14 with the list modifications above. Nothing difficult about the instructions or the sewing construction. 

Instead of using the neck facings, I lined the entire dress with a yellow broadcloth from JoAnn's.  To reduce bulk along the waistline, I used the A-line skirt for the lining.  With the lining, the dress has more body causing the skirt to fall a little further away from the body.  It also makes it opaque.   So no slip needed. The stretch floral cotton is from Vogue Fabrics. It is lightweight and has a smooth hand.  The only other change made was that  I used an invisible zipper instead of a regular one. 

I like the fit and flare style of this dress.  I love this silhouette in the summer especially.  The square neckline of view C is also appealing.  So, I think I may use this pattern one more time this summer with the slim skirt. 

This pattern offers nice options for spring/summer dresses and I recommend it to others.  The construction is easy.  The dress comes together quickly with any problems.

Happy Sewing!
C


Thursday, July 6, 2017

Blast from the Past - Paisley Sateen Shirting - McCall 7575


Sometimes, the "ole school" in me comes shining through.  Even in my fabric picking.  Remember, way back in January when I came to New York to visit with my sewing friends.  Our first stop on our fabric shopping spree was at Mood.    I bought two yards of this gorgeous paisley print sateen, and I knew exactly what I was going to make.


I was seriously, hoping that it was available at the online store and it is.  Appropriately named:  Pacific Green Paisley Printed on Corded Cotton Sateen.  It has a little stretch to it with a soft hand.  This colorful print is recommended for spring and summer garments, but I think it's also perfect for fall and early winter.  It can be layered with jackets and cardigans.

If you've been following on my blog, this shirt is part of a series of shirts that I am making.  The goal is to perfect my shirt making skills and to jazz it up a bit along the way.  You might find these posts of interests as well.


Lowering the Dart and FBA - McCall 7575

McCall 7575 - The First Edison

Mood Gold Stripes - Vogue 8747

For this shirt, I used McCall's 7575 again.  I will probably used this pattern a few more times over the course of the next few months.

This time around, I made view D with a collar, no tabs.  The only differences in this shirt is that it is longer, I didn't add an inch to the sleeve length, and I used a contrasting black sateen from my stash for the neckband, yoke, cuffs, and pockets.   The constructions process is virtually the same as detailed in my post "McCall 7575 - The First Edison".    

As I learn to make better shirts, my desire to use better fabrics as increased.   I've found that Mood has vast selection of shirting fabrics available online here.   And I kid you not, every fabric that I've purchased has be absolutely beautiful and great to work with.

So, if making your own shirts is on your list on sewing projects, take a look at the selection available at Mood.  The selection is huge and you are sure to find some great textiles for your projects.


Happy Sewing!
C

Saturday, July 11, 2015

Feathers and Flowers - Simplicity 1103


Feathers not flowers!  At first glance of this colorful summer print, you think flowers.  I liked the placement of the feathers and decided to order two colors of this print, with the second one being the black, teal, red, and green.  This stretch cotton twill is light and breezy.  It has a smooth hand and sews up with no problem; easy breezy.  Don't let the audacious print intimidate you.  It's perfect for summer dresses, tops, and pants.

Some people believe that less is more.  I believe it depends on how the "more" comes together to complete the desired look.   I'm always looking for new ways to add some interest to the garments I make; whether it's an inspired design or some sewing technique that I want to try.  In this case, I was first inspired by Andrea, a member of the Haute Couture Club of Chicago.  She made a beautiful floral print dress that she added some embroidery to add "more" interest.  I loved her idea and wanted to make something similar.  But I wasn't ready for the embroidery part. ;-)


In my search for more inspiration, I found several images of 3-dimensional floral applications.  So I decided to try adding silk flowers to my feathered dress.  I found the perfect flower, orange orchids, at JoAnn's Fabrics.  I pulled the flowers apart and tested where to place them on the dress.


I used Simplicity 1103, view D without the overlay.   This is a "V" neck princess seam drop waist dress with a half circle skirt.  It comes in sizes 6 -24.  Of course, I had to do my usual pattern adjustments before cutting out the dress:

  • FBA
  • Sway back adjustment
  • Prominent shoulder blades
  • Lengthen the skirt a few inches
My final sizing was between 14, 16 and 12.  I sometimes start with size 16, but find size 14 is closer to the size I need in most areas except the bust area.

Here are my initial pattern alteration photos:


My dress looks like the drawing minus the overlay and the placement of the appliques.  The instructions were typical; nothing confusing or hard about them.

My likes: 
  • drop waist princess seam bodice.  I don't have any dresses with a drop waist.
  • back closure (tip - I used stay tape along the upper edge of the lower back bodice to keep it from stretching out of shape.)
No dislikes


I'm not sure I will sew this again for myself, but I do recommend this pattern to others.  It's easy and stylish.


Parting shots: Here is Andrea and me at the Haute Couture Club of Chicago Annual June luncheon.  She is wearing a dress made with Mood Fabric. ;-)


Sunday, May 31, 2015

Python on Stretch Cotton Sateen - Butterick 6169 and Burda 6879


I'm simply loving Moods stretch cotton sateen fabrics. The selection includes gorgeous silky smooth solids to audacious bright prints. The coloration is flawless. These beauties are versatile and are great for summer dresses, pants, skirts and jackets. I recently ordered five different yardages to perk up my spring/summer wardrobe.


By now it's clear that I love a great bold print.  For my jacket, I used beige/brown python printed stretch cotton sateen.  I couldn't pass it up. Wink, wink.  The warm beige solid sateen was perfect for my pants.  The online photo does not do this buttery fabric justice.  It almost looks off white in the photo.  It actually has a soft yellow under tone, which is a great hue against my skin.

This is the first time I used Butterick 6169, jacket and Burda 6879 pants, view B.  There are several things about both I'd liked to point out to fellow sewists who are thinking about trying them.  Let me begin the reviewing process with Butterick 6169.


It is described as semi-fitted lined jacket with shoulder pads, seam detail, welt pockets, exposed zipper and two piece sleeves.  The sizes are from 6 to 22.

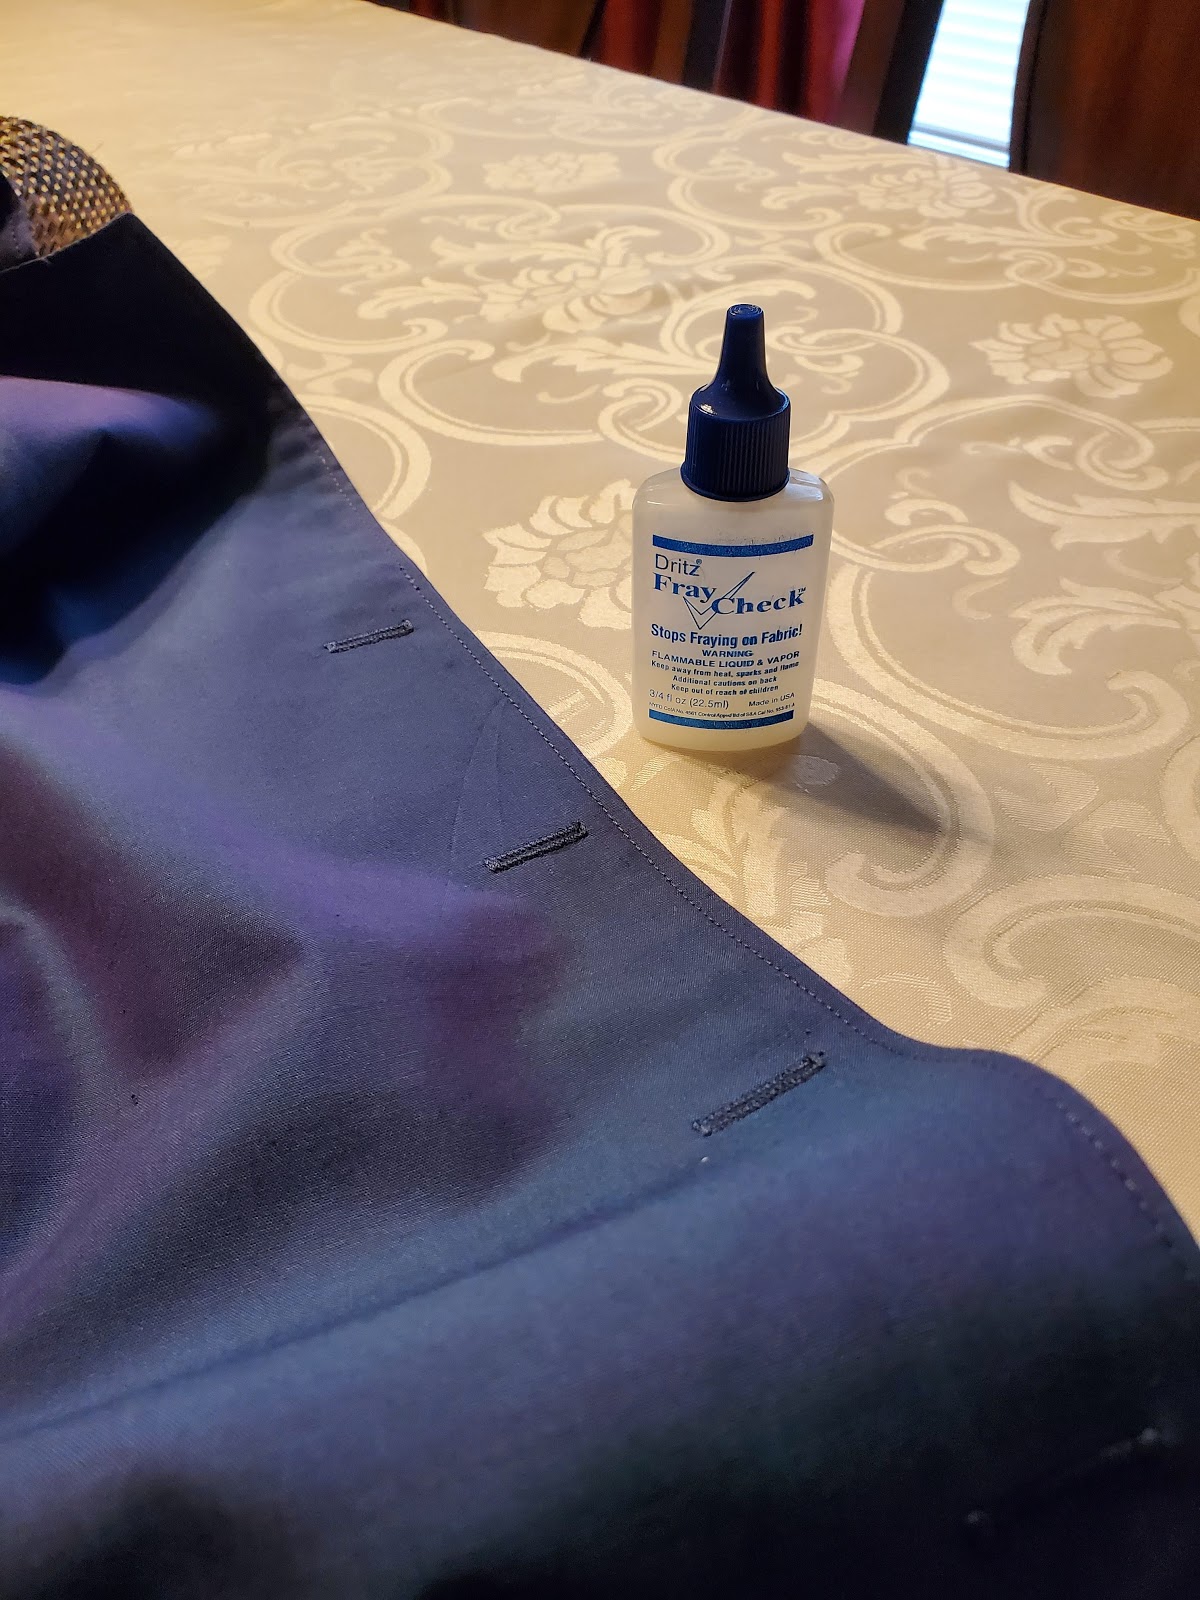
This moto style jacket is very popular.  I have a few similar patterns, but I chose this collarless version to test the construction process.  I agree with the average pattern rating.  The construction process was not difficult, but did requires a little more time to install the zipper. There was an error in the instruction #5.  It stated .., pin remaining zipper tape (face down)..,.  It should be face up as the other zipper tape instruction #3 should be installed face down.

After I installed the zipper, I tested zipping it up and down.  It kept getting stuck.  So after I constructed the jacket, I understitched both sides.  This stopped the facing from getting caught in the path of the zipper pull.  The understitching does show, but is not unattractive.

When I was done, my jacket did look like the drawing.  I had to make several adjustments based on my body shape.  I also made a few other changes, my preference. Changes include:


  • Full bust adjustment
  • Sway back adjustment adding the amount of the tuck to the hem of the back pattern pieces
  • Decreased the top of the sleeve by 1/4" to 1/2"
  • I interfaced all four pieces of pattern 1 with a lighter weight interfacing.  This works better for me.  It keeps the sizing and flexibility of all four pieces the same.  It's easier to work with in my opinion.
  • The pocket bag falls below the hem.  So I trimmed off some of the seam allowance to avoid bunching up the pocket between the jacket and the lining.  I posted this on Facebook a few days ago and Kenneth King stated to allow the pocket to sit in the jump pleat at the hem of the lining.  Next time.


  • I only ordered two yards of the python sateen.  So I ended up "piece milling" the front facing.  This is something my grandmother shared during one of our many conversations about sewing years ago.  It does not look too bad if I must say so myself.
  • Added an inch to the length of the sleeves.
I really like how my jacket turned out. The python print is definitely the speaker in the jacket, but the neutral color will allow me to get quite a bit of wear out of it.  I can pair it with neutrals, brown, off-white, orange just to name a few colors.  This jacket is a winner.  I may make it again, possibly in a faux or genuine leather.

Now for the pants.  Burda 6879 offers some interests to the pants leg and the back yoke. See my latest installment of "Notes on a Pattern" .  

These pants have a slim pant leg with over-lay option.  Top open front pockets, three piece back yoke and belt loops.  The sizing is from 8 to 18.  It is recommended that you use stretch fabrics:  cottons, gabardine, lightweight wools and imitation leather for the contrasting fabric.

My pants did look like the drawing.  The instructions easy; nothing difficult or confusing. My likes are noted in my Notes on a Pattern post.  No dislikes.  I really like this pants pattern and will definitely use it again.

With all pant patterns I need to make a few changes starting with lengthening them at least 3 inches.  For these I added about a 1/2 inch to the side seam allowance.  I was afraid the sateen did not have enough stretch in it.  I made a small crotch adjustment for the front pant and slightly changed the curve of the crotch on the back pant.  For the back yoke I increased the width of the seam allowance for a closer fit at the waist.

I like these pants and will use the yoke and pocket for other pants.  And I recommend the pattern to others.  You may need to tweak the pattern a bit as they fit close from the waist to the knee.

The overall outfit is a success.  I love the stretch cotton sateen offerings at Mood Fabrics.  So you will see a few more garments sewn using them.  I recommend the sateen.  There is a sizable online selection to choose from.  The colors are vibrant and the hand is smooth and soft.  No fussing with sewing or pressing.

Try them.  That's all for now.

Happy Sewing!
Cennetta


LinkWithin

Blog Widget by LinkWithin