Thursday, December 8, 2011

To Muslin or Not To Muslin - Fitting New Look 6067

To Muslin or Not to Muslin. That is the question...,

While working on a muslin fitting for a client who sewed, she said to me, "When I sewed for people I never made muslins. I just went by the measurements." My reply, "Oh no, I have to make a muslin to get the fitting right.  I'm afraid not to."


There are great benefits to making a muslin first especially when the garment is for someone other than yourself.  


better fitting of the garment
helps avoid re-dos of garment
Saves money and time on fitting mistakes made

Now as for myself and DD, I don't always make a muslin.   Our basic adjustments have been pretty much worked out using the big four patterns. I have a few patterns that I use as slopers that help make adjustment easier on new patterns.  As a safety precaution, I cut one inch  side seam allowances.  This adjustment gives me a little more room to make changes if needed.

My biggest challenge is fitting my torso due to my fuller bust and prominent should blades.  Both changes are made in the same reign of my upper body front and back respectively.  But when it comes to the upper chest, neck, length of shoulder (from neck to ball of my arm) and my waist, there are almost no change needed from the pattern size 14.

One of my current projects is New Look 6067. Cute dress with pleating at the center front just below the bust area.  This pattern has no bust or waist darts.  My initial reaction was cute but I'll take a pass.  My second thought, but I like it.  I'll give it a try anyway.

Challenge:  Full bust adjustment in the absence of a waist and bust dart (woven fabric).


So this project required me to make a muslin to test my solution for a FBA adjustment. 

First the pattern:  I slashed the pattern in the center of each pleat pivoting a few inches away from the armhole.  Each slashed is spread increasing with width of the pleats and the bust area.  Total amount of spread in the bust area is about 1 1/4 inch.
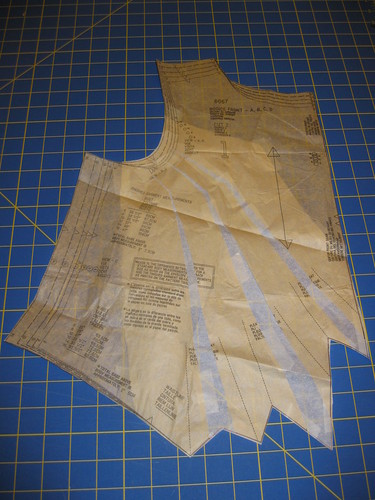

My typical prominent shoulder blade and swayback adjustments are shown below.


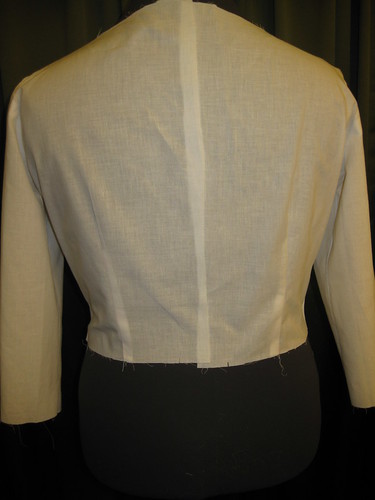
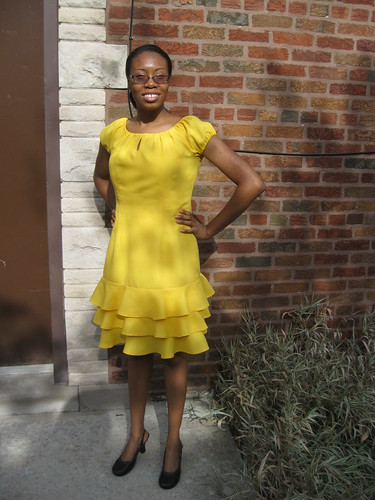
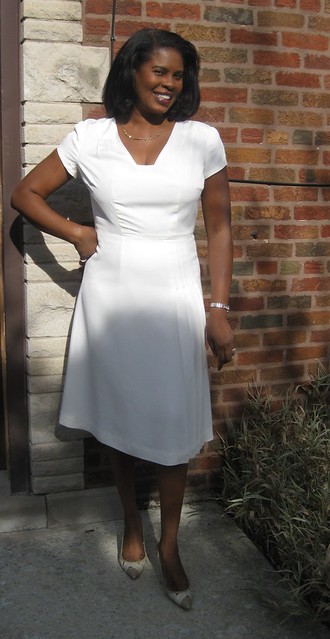
Second the muslin:  Sorry it's on Rochelle and not me.  But you'll get the idea of how it will fit.  It looks like there is too much fabric around the armhole and side area.  It's just that way on Rochelle.  It fits better on me.  When I tried on the muslin, I noticed the waist was a little high.  I will add about an inch to the length of the bodice to correct that.


I hope this information is helpful.  Now my question to you:  Do you make a muslin?  If not, what's your process for getting the right fit?

Happy Sewing!
C 

Tuesday, December 6, 2011

McCall 6400 - Two More Tops; It's a Winner

Yes, McCall 6400 is a Winner! I made two more of these quick and easy tops. Both made in less than two hours.


Fabric purchased at JoAnn's Thanksgiving sale. Each piece cost about $7.50. Great deal on pretty knit fabric.


I finished the neckline the same as the first, which was reviewed here..


Need I say more. This is a great little trendy top that sews up quickly with the least amount of effort.

Happy Sewing!
Cennetta

Monday, December 5, 2011

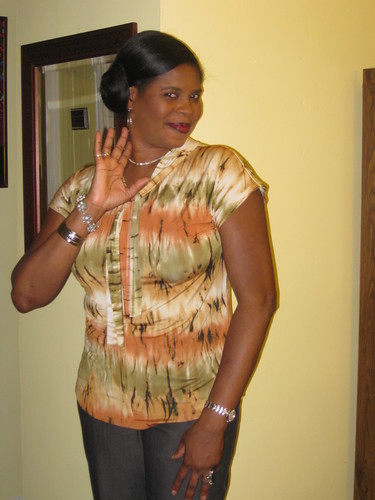
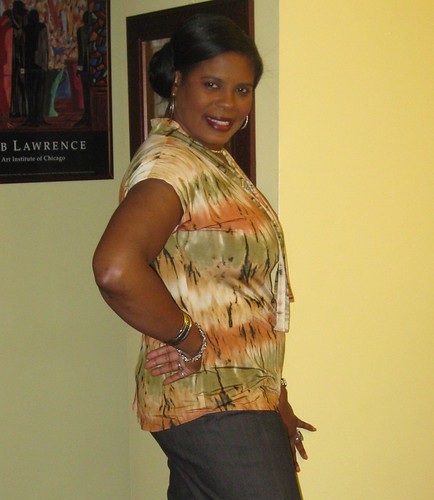
Hot Patterns Fringe Scarf-T - Another Easy Knit Top

Hot Patterns Fringe Scarf-T

It's when awhile since my last post. I've had very little time to blog. So I chose to read a few blogs instead of writing a few posts of my own. I hope everyone is enjoying the holiday season. For over a week I have been suffering with whatever virus that's going around. I couldn't sew even though I wanted to. For two days all I could do was drink plenty of liquids and lie in bed.


Anyway, I have several knit tops to show and review. The first set was made with a free pattern from Hot Patterns, the Fringe Festival Scarf-T. If you remember during the summer, this was a free pattern available on the Fabric.com website.


This top goes together with no problem. Very simple and easy to sew. There are a few things I did differently. Here is the review:

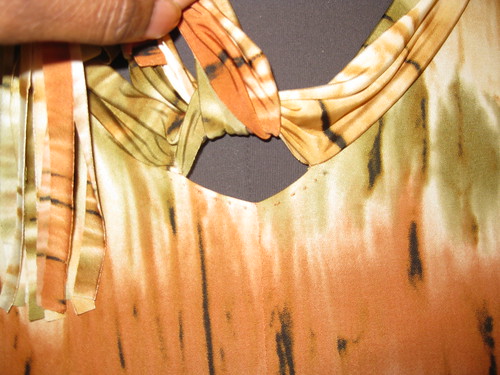
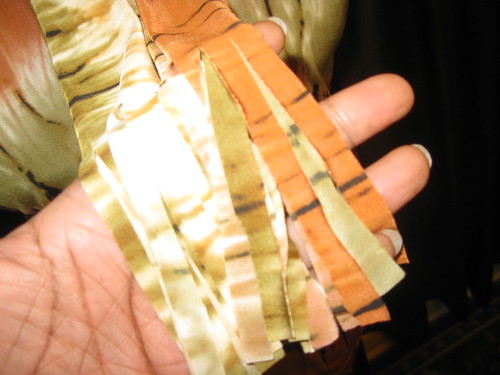
This top is a pull-over, cap sleeved T-shirt that has center front & back seams, a curved hemline and a self fabric scarf tie at the V neckline. Fringe the ends of the scarf for a funky look, and add decorative stitches to the center front & back seams.

The sizes range from 6 to 26. This top can be worn be women of all shapes and sizes given a few adjustments. My tops did look like the drawing on page one of the pattern. It is a slightly longer than I expected it to be.


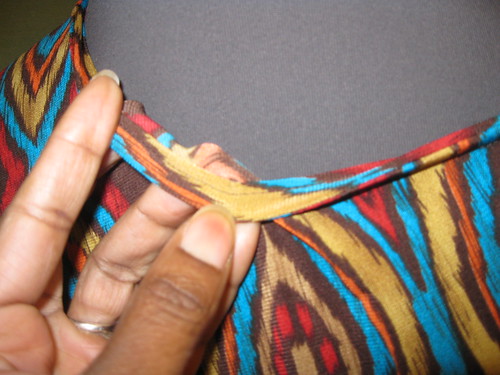
The instructions were okay. How to finish the section were the scarf meets in the center front were a little unclear. I decided to change the finishing of the neckline. The instructions tell you to press the seam allowance forwards the body of the top. Then stitch it in place. I didn't want stitching to show around the neckline. So I only turned down and stitched the center front. And at the center back, I folded the scarf inside as if I were going to attach the raw edge to the inside of the neckline only stitching about a 1/2 inch on either side of the center back seam to keep the scarf from bunching up around the neck.


After reviewing and cutting the pattern, I changed my mind about making the fringe for fear of making a mess trying to transfer the markings onto the fabric. But I quickly changed my mind again to give it a try. With the end of the scarf placed on the cutting mat, I used a rotary cutter to cut 4 inch fringes on each end of the scarf. This was achieved by slowly cutting them with no marking.


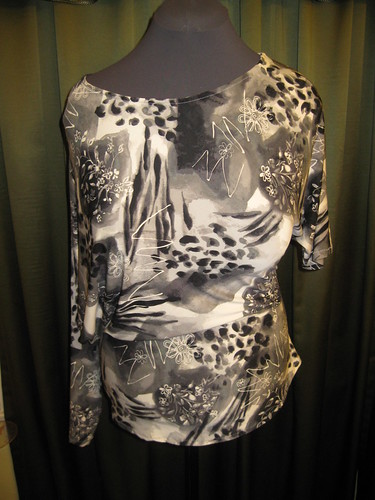
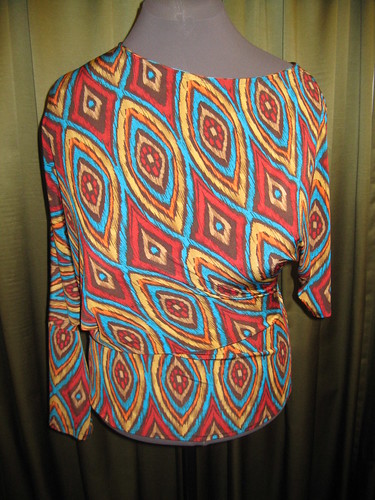
I omitted the decorative stitching at the center front and back. The print of the first top was speaking loud enough. And the second one looks good without it. I also made my usually sway back and prominent shoulder blade adjustments. No FBA. I just cut a size 16 through the bust area. The rest was cut at size 14.

What I like about this pattern was the fringe scarf. And I thought it would work well under a blazer. Plus you have the option of adding sleeves to it for a winter ready version. You can easily extend the cap sleeves or you can use the sleeve of M6241. My next version will have long sleeves.

The multi-color fabric (Vogue) is the leftover from a failed knit dress project from two years ago. And the gray knit (Hancock) is leftover from a drape neck cardigan made earlier this year.


In conclusion, this is a nice, easy top to make that is a great wardrobe builder. If you downloaded this pattern, give it a try.

Saturday, November 26, 2011

Banana Puddin'

Updated November 26th.  I omitted a few necessary steps.  Updates are in red.  Sorry folks.

One of my favorite deserts is homemade Banana Puddin'.  My mom makes the best.  The custard is rich and creamy.  Mmmm Mmmm good.  My family takes an annual vacation to Wisconsin Dells, where we just chil-lax with the kiddies.  We do everything from water parks, nature walks, sight seeing, and cook.  Every meal except pizza night.  This (Aug) year we asked my mom to make her famous recipe: Banana Puddin'.  Neither of us knew how.  For shame, for shame.


Thanksgiving is here, but it's not too late to add Banana Puddin' to your menu.  Here goes:

You need about this much of the following ingredients to serve 20 people:

1 cup sugar
Vanilla extract to your taste (about 1 tsp)
6 eggs, separated
2 cups milk
1/4 cup flour
NILLA Wafers
5 bananas, sliced

Be warned these measurements are a guesstimate. My mom does not use measuring equipment. She makes statements like, "About this much." "Add sugar and vanilla to your taste." So you know there is a lot of tasting as you go.

Preheat oven to 350 Degrees.


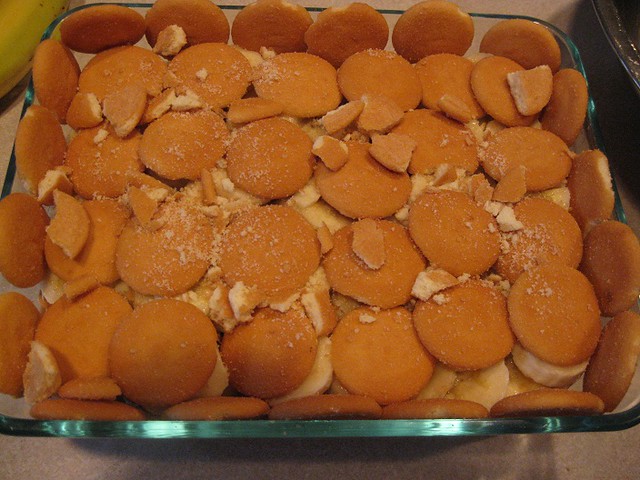
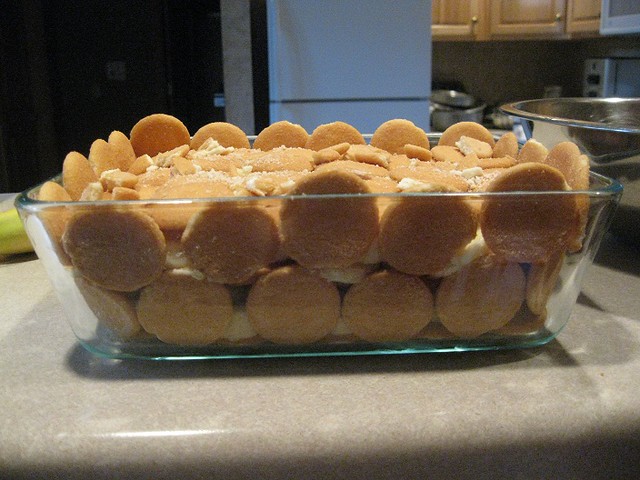
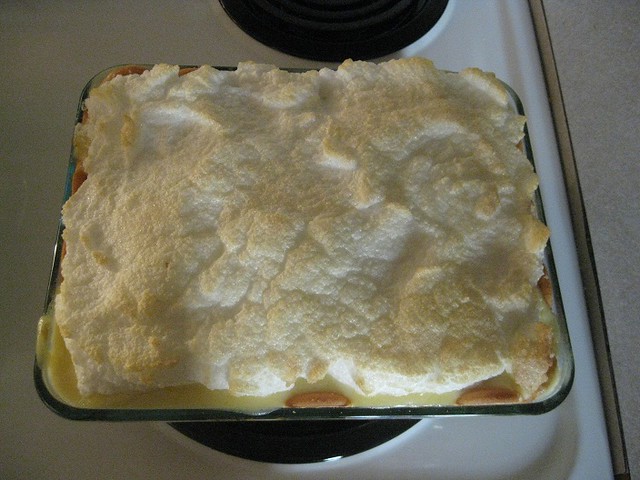
Cookies and Bananas in the dish:


Arrange sliced banana and nilla wafers in baking dish like shown above. My mom sprinkles a little sugar over the banana slices as she layers.

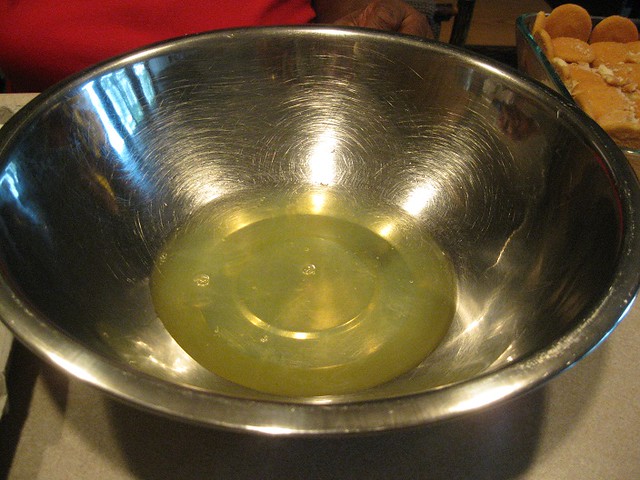
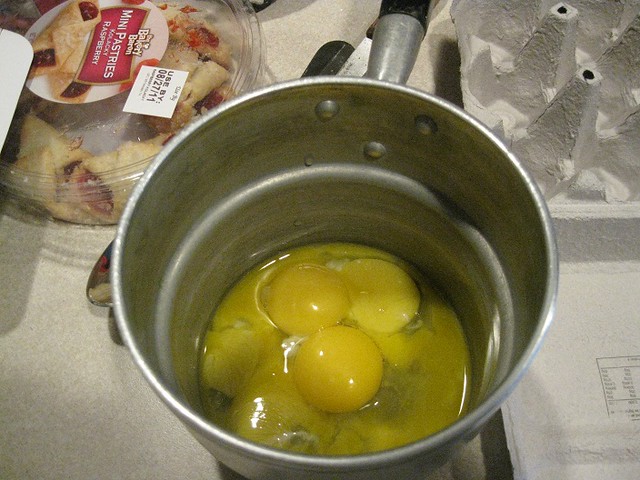
Next, You need six eggs. Separate the egg whites and yokes into two containers.


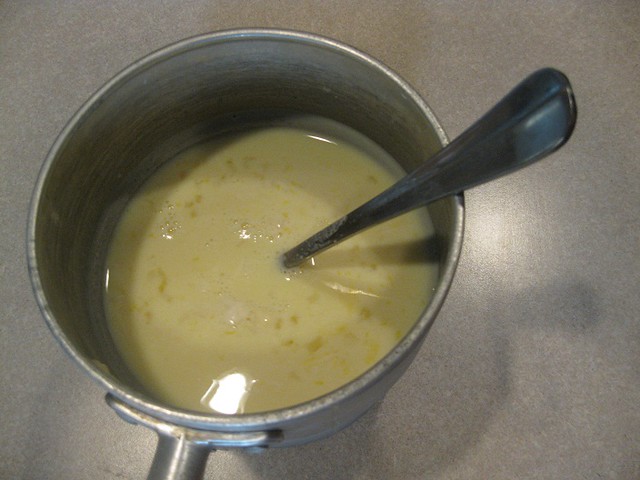
In a small pot, combine about whole milk, vanilla extract, egg yokes (remember the above is a estimate. It's to your taste of sweetness and richness.)  Combine flour and about 3 tablespoons of sugar in a separate bowl.  Then add the mixture to the milk. This will become the rich custard after cooking. Over a low flame, stir the mixture until it thicken. You may need to add more sugar during the thickening process.  Taste mixture to determine your desired sweetness. This process takes about 10 to 12 or until thickened. 


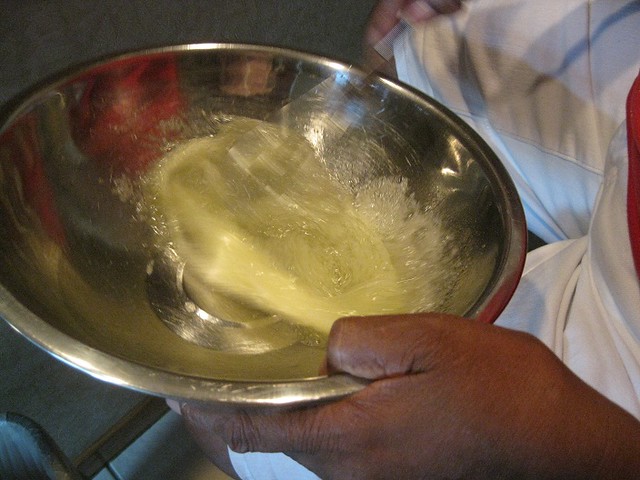
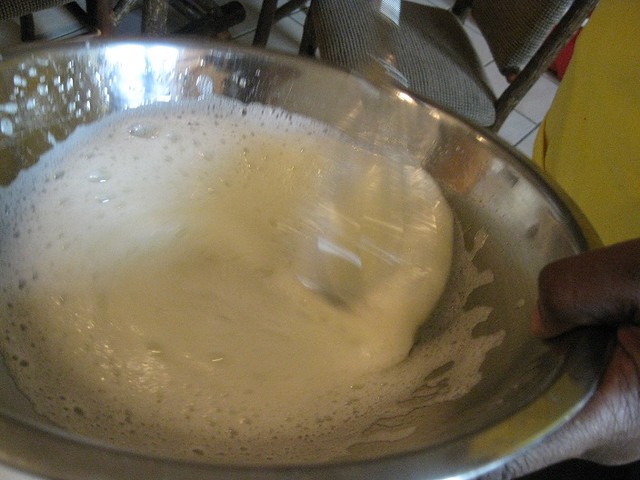
Now for the egg white. This will become the meringue for the banana pudding. You have to beat it until it is white and fluffy. Tip: Add a dash of salt to speed up the process.  This is done by hand, but if you use a mixer set it to high speed. 


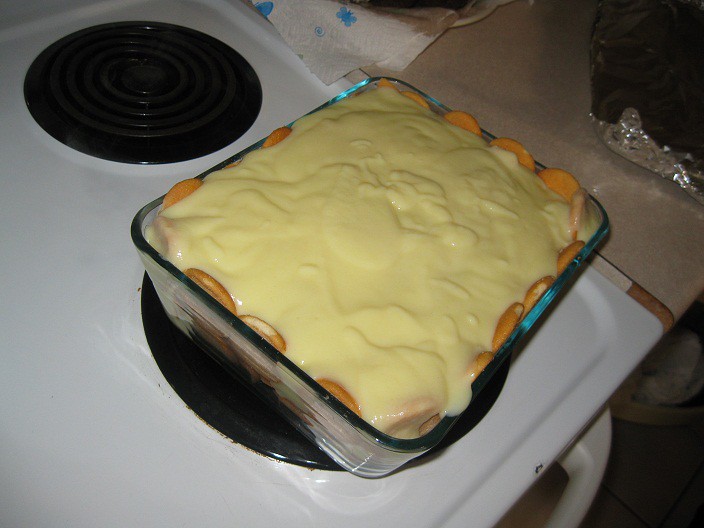
Pour pudding/custard over the cookies and banana slices.


Now add the meringue to the top. Then place in a preheated oven of 375 degrees. Bake until meringue is slightly browned.


Bake until meringue is slightly browned. (15 to 20 mins.) Now that is one delicious Banana Pudding. Enjoy.


Happy Thanksgiving!
Cennetta

Tuesday, November 22, 2011

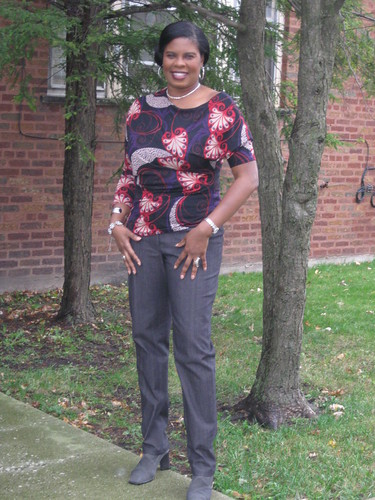
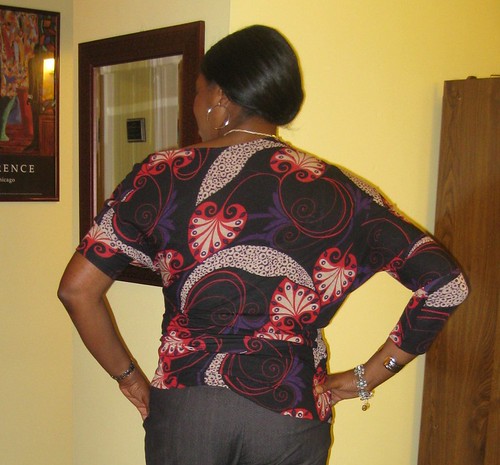
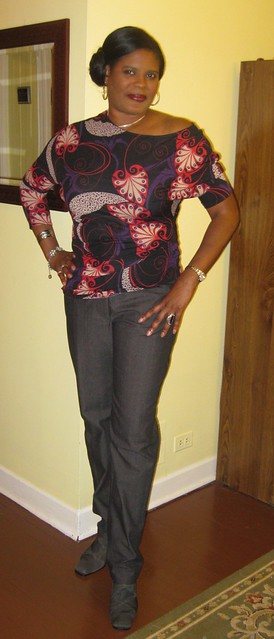
McCall's 6400 - Easiest Knit Top Fall 2011 (with Simplicity 2315)


Mc Calls 6400

This is the easiest knit top of the Fall season. Now, I wonder what took me so long to make it up. It's been on the short list since I purchased the pattern in September. The description is as simple as it is to make: Misses' tops: close fitting. That it.

It took me only an hour to make. It comes in two size combinations. I used Y size M adding a little width across the bust area. No other alterations made.

I think my version looks as it was intended, view C. The instructions were super easy. Making this top is akin to sewing the ever popular Vogue 1250 drape neck dress. I finished the neckline by adding a band. This was pretty simple to do. Cut a stripe of fabric about a inch shorter than the circumference of the neck and 1 1/2" wide. Join the ends to create a circle. fold it in half along the raw edges; Divide the band and the neck into four sections; then attach the band putting the band seam at the center back. Trim seam allowance; then fold the band to the inside and stitch in place. This creates a nicer finish.

Likes:

The neckline; you can drape it over to the side to expose a shoulder.
The cut of the top and how it drapes across the waist and hip. It has a slimming affect that we all can appreciate.
It's easy to sew. There are only two pieces. The front is also the back.


No dislikes for me.

The fabric is from my stash. I purchased it from Ann's Gorgeous Fabrics online store about three years ago. Beautiful fabric that was easy to work with. She has some great fun and funky knits that would be perfect for this top. I've already pick a few to buy for more tops.

This is a good one to try. It's easy and stylish; great for beginners.


The pants I wearing were made using Simplicity 2315.  Another pretty easy pattern to sew. The pants are described as slim pants.  My pants aren't as close fitting as the pants on the model.  But that's good for me.  If you want them to be skin tight, you'll have to reduce the width of the pant leg on the outer and inner leg. I made view E without the waist tabs.  I wanted to be able to wear my tops outside the pants.


This pattern comes in sizes 6- 22; I used 14 with my usual modifications:  lengthen the pant leg by 4 inches, adjust the crotch length and curve.  I also add a front zipper fly. I don't like back zippers.  This is an easy change to make.  I simply follow the instructions given in M5818.

The fabric that I used is from Vogue on Roosevelt.  It's a wonderful stretch woven that is soft to the touch on the right side, but on the wrong side it has the look and feel of denim.  Perfect for me and very comfortable.

My likes:

This pattern is perfect for a pair of slim jean like pants that attractive and comfortable.  The contour waistband is the best.  I do plan to make a few more of these pants.  They are perfect for the Chicago snowy winter; boot ready.  You don't have to fold over and tuck them.  They are already very close to your leg.

No dislikes except the back zipper.

I recommend this pattern to all level sewists.  I think I may make View C, skirt as well.

Sunday, November 13, 2011

More Vacation Garments with M6346 and M6083


I'm so far behind. Still trying to review summer garments made for vacation. Well these are the last three. Then I can move on to more new projects.


Can you believe next week is Thanksgiving? Wow! I can't. Time is moving at warp speed. Christmas is around the corner. Don't blink. Lol

Now for the reviews:

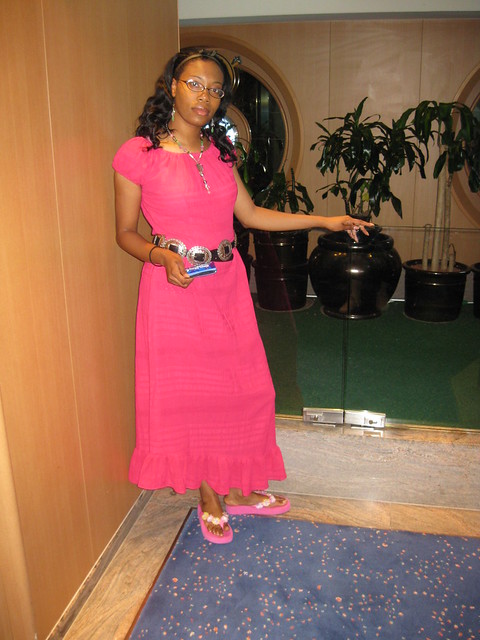
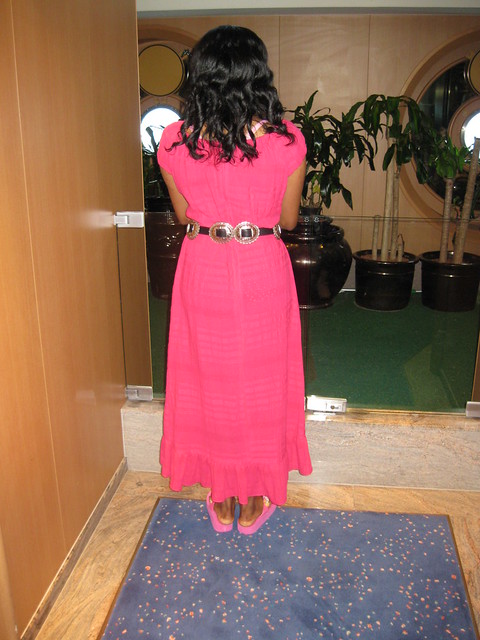
My daughter asked for two dresses made using M6346
.

Pattern Description: MISSES' DRESSES IN TWO LENGTHS: Loose-fitting dress has elasticized neckline and sleeves.

Pattern Sizing: 8 - 22; I used size 10 with.


Did it look like the photo/drawing on the pattern envelope once you were done sewing with it? Yes, it did. I made some slight changes.

Were the instructions easy to follow? Nothing difficult or confusing in the instructions. Very easy to sew.

What did you particularly like or dislike about the pattern? DD picked this one. The ruffled skirt of view C is her favorite. No dislikes.

Fabric Used: Fuschia gauze and yellow cotton blend from Vogue.

Pattern alterations or any design changes you made: No alterations. I eliminated the little tie at the neckline.


Would you sew it again? Would you recommend it to others? No. twice is enough. But I do recommend it to others. It's a quick little summer dress.

Conclusion:
This is a quick and easy pattern to sew. It's great for casual summer wear.


Second, short review:

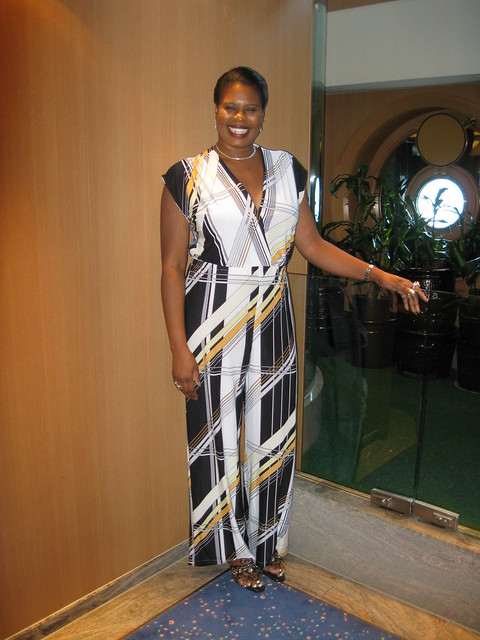
I decided to make M6083 again. This time view E. I used my gift fabric from Andrea and omitted the pockets and belt. I only make a crotch adjustment and lengthen the pants.


This print is definitely the speaker and the jumpsuit didn't need a lot of details to be noticed.


I wore it the day we were out and about in St. Kitts. It's was just as easy to make as the first. That's it for clothing made for my vacation.

Now back to fall/winter sewing. Upcoming reviews on a few things cut and ready to sew. And to help celebrate Thanksgiving and all the delicious food we all plan to cook, I will post my mom's recipe for Banana Pudding, one of my favorite desserts.

Happy Sewing!
C
Saturday, November 12, 2011

McCalls 6433 - Unity Conference Dress 2011


McCall 6433

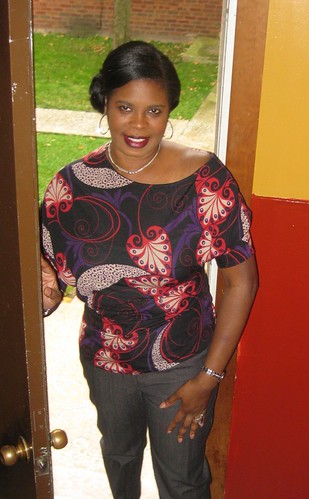
It has taken over a month to review this dress. The first photos were grainy and didn't show the details. The second set aren't too much better. So today I was lucky. Saturday morning bright and sunny, about 50 degrees. Perfect for the third photo session.

I'm a fan of the Palmer/Pletsch fitting system, and I love when the instructions are included in the pattern.

Pattern Description: MISSES' DRESS IN 3 LENGTHS: Fitted, lined bodice, front and back darts, stitched shoulder pleats, back zipper and self lined cap sleeve. A,B: A-line skirt, stitched pleats, C: Straight skirt, back slit. Optional purchased belt.


Pattern Sizing: 4-16

Did it look like the photo/drawing on the pattern envelope once you were done sewing with it? Yes it did.

Were the instructions easy to follow? Yes. They were typical; no problems with understanding the instructions.

What did you particularly like or dislike about the pattern? I like the design of this dress. The pleats at the shoulder and waist. My dislike is related to the drafting of the bodice front and back. Two of the views have sleeves, one does not. All three views use the same front and back bodice. The maxi dress is made out of knit fabric, which probably doesn't cause a big issue with the armhole. For me the lower portion of the armhole is too low for the sleeved view (red). I didn't notice this issue until after I set the sleeves. It's not a big problem; but it's noticeable in the feel and wear of the dress.

Note the difference in the fit.

Because I really like the bodice of this pattern, I tweaked the front and back to fit better. I plan to combine this bodice with another pattern. My inspiration is a dress from the Cadena Fall 2011 fashion magazine. But that's another review.

Fabric Used: Cream silk linen from Vogue in Evanston. Polyester lining.


Pattern alterations or any design changes you made: Usual changes, FBA, prominent shoulder blades, sway back and lengthen skirt a few inches. I also added lining to the skirt. To make the front skirt lining, I used the skirt pattern for the maxi. For the back lining, I simply used the back skirt pattern.

The plunging neckline is too low for my taste.  I bought it up about a inch or so.  You might want to do the same as it is still cleavage baring. (This change was made in the cutting process.)

Would you sew it again? Would you recommend it to others? Yes, I will use the bodice for another dress. And I do recommend this pattern. Make sure you make a muslin or paper (pattern) fit the bodice.

Conclusion:
Cute dress that is easy to make. I do recommend it to all level sewists with modifications.

A few more photos here.

LinkWithin

Blog Widget by LinkWithin