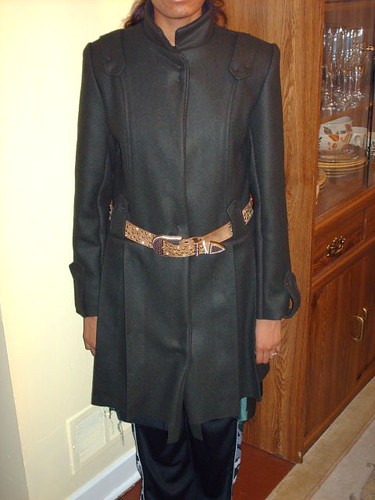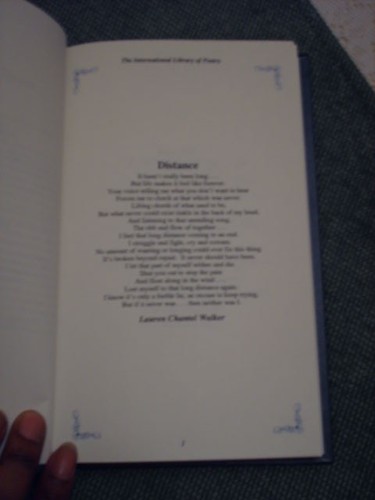
I finished DD's coat on December 23rd, but didn't get a chance to post my final review of the process until now.
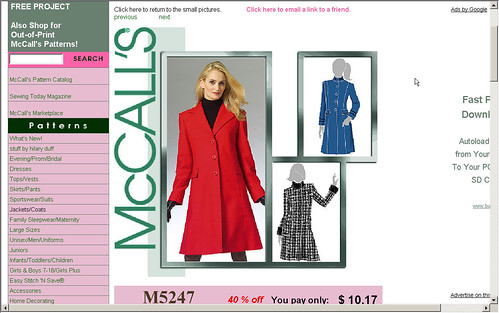
Making this coat has certainly been an adventure. Last Summer, DD and I spotted this coat at the Nordstrom online store. Immediately she requested that I make it for her. I agreed, but needed to find a pattern to follow. Then to add to the challenge, I decided that I wanted to "think like a designer" and create a fall collection for myself and DD. Well, I been successful with creating DD's collection, with only two pieces to go. But as for me, The challenge was too great. I only came up with three dresses so far. Back to the coat...,

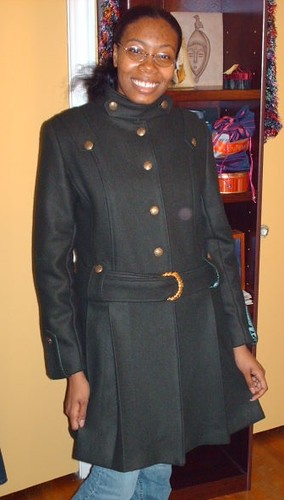
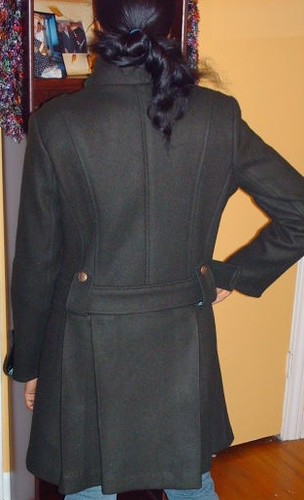
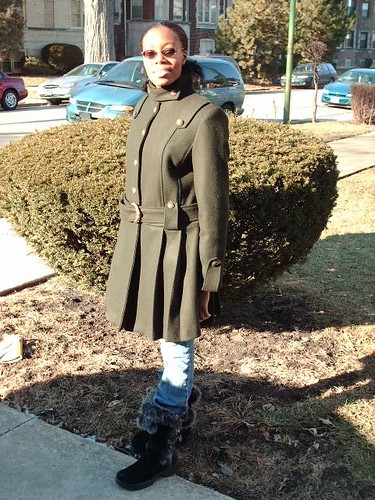
I really wanted to have the coat made by Christmas; and it was, December 23rd. My version is slightly longer than the inspiration coat. It green (loden) instead of black. DD was very happy with the results.
Over the past few weeks, I have documented my process on creating this coat on my blog. I will refer to those posts throughout this review as not to rewrite the process. There goes.
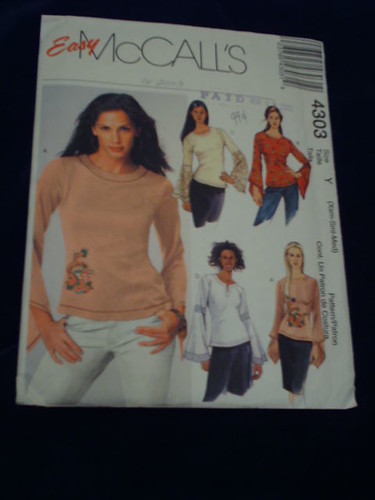
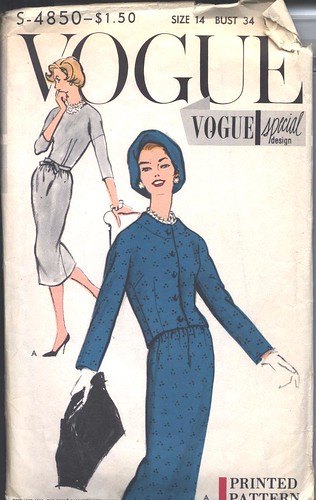
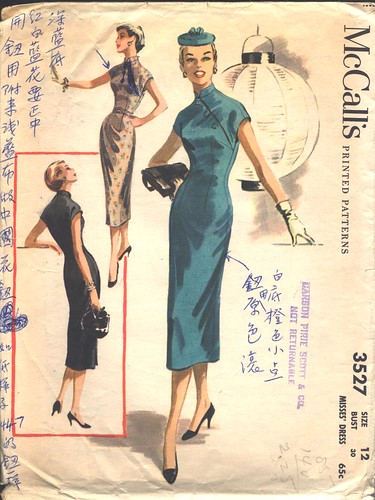
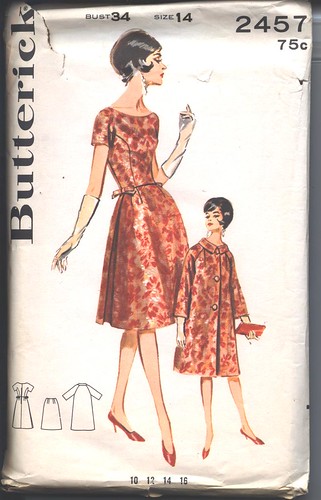
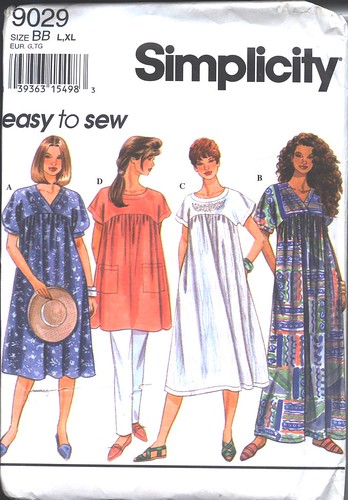
Pattern Description: McCall's 5247
MISSES’/MISS PETITE LINED COATS: Fitted coat, mid-knee length has princess seams with topstitching trim, side seam pockets, mock flaps, back button-on band and vent; coats A and B have stand-up collar; coat A has purchased trim; coat B has contrast collar and cuffs; coat C has notched collar.
Pattern Sizing:
6-22. I used a size 8.
Did it look like the photo/drawing on the pattern envelope once you were done sewing with it? The top portion of the coat is similar to the original coat; the bottom is totally different. More on that below.
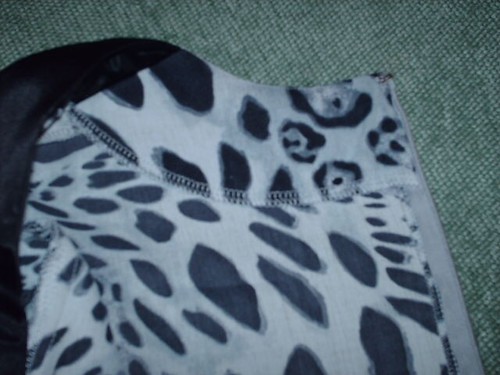
The instructions were pretty clear, but I ended up developing my own method of putting the coat together. I spent some time studying the pictures inspiration coat and the pattern pieces. I also studied the construction of some of my ready to wear coats to get an idea of how to attach the lining at the bottom of the coat.
Starting the Process
Fabric Used: I purchased the coating from Ann's Gorgeous Fabrics
Polyester Satin Lining in winter green from JoAnn's Fabrics.
I found the buttons at Vogue Fabrics. In the notions sections Vogue has sale items placed on the counter near the register. One of the on going sales items is a box of buttons. So the customer can fill a cup with buttons, which is provided by Vogue. Each cup sells for $2.00. Well I stood there and selected each button to go into my cup making sure I had enough for the coat.
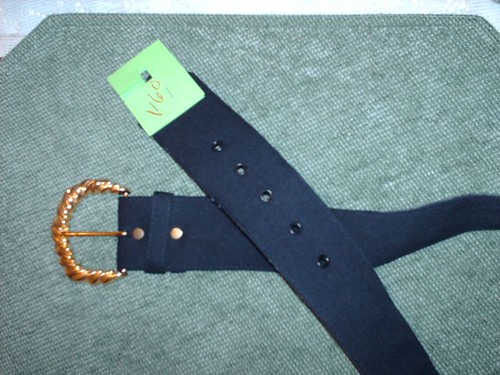
Buckle was hard to find. So I went to the thrift store to see what I could find there. Found the buckle for $1.60 attached to a belt.

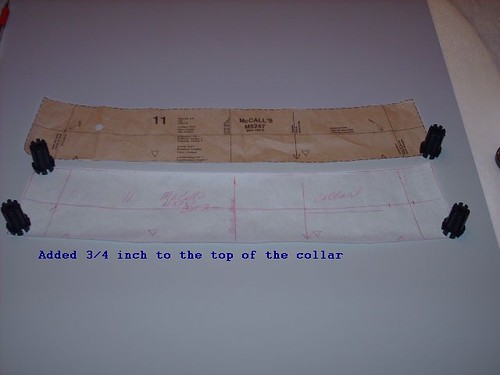
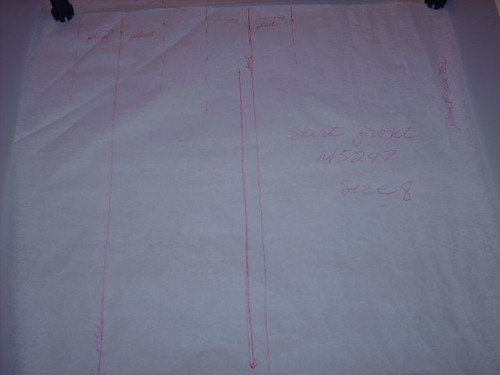
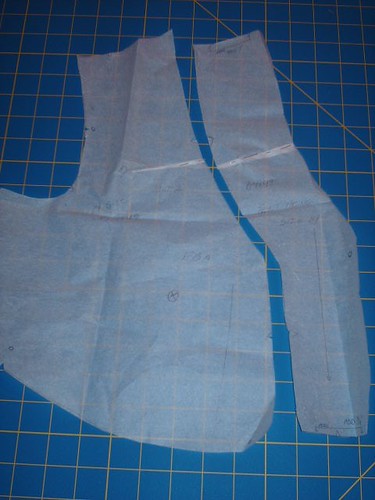
Pattern Alterations or any design changes you made: I started the process of redrafting the pattern the Tuesday before Christmas.
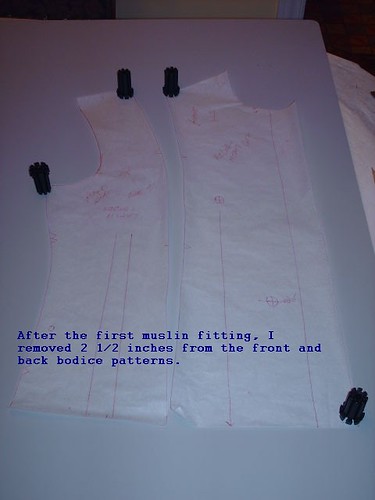
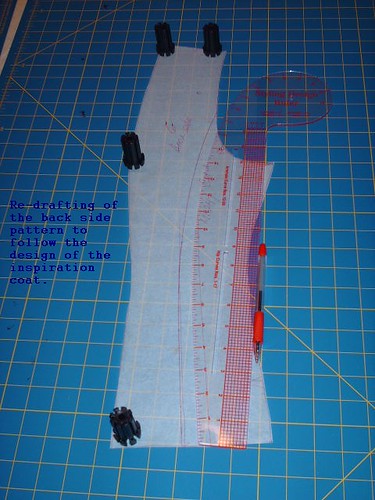
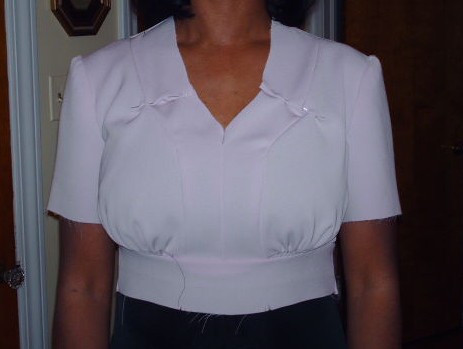
Redrafting, Fitting and Muslin
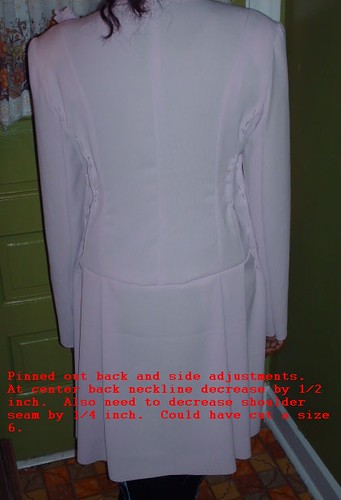
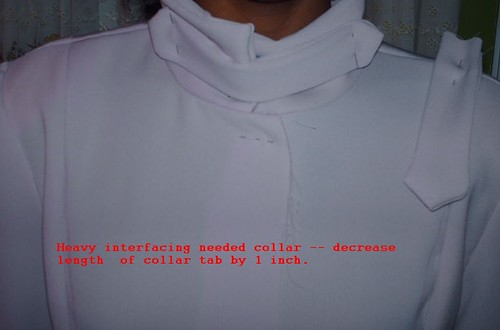
Second Fitting
Making more adjustments
Would you sew it again? I probably will not sew this particular version of the coat again. But I will certainly challenge myself with more interesting projects in the years to come. It was a great experience.
Conclusion It was a challenging experience with good results. I made my DD happy.