For the most part the manufacturer used the bag method of attaching the lining. The final seam of the lining was in one of the sleeves where they stitched it together after the coat was turned to the right side. After I opened the seam and turned the coat inside out, I was able to see the inner workings of the coat. This is all very interesting to me as I want to make more coats and make them better or as good as RTW.
Here are a few shots of what I found on the inside:
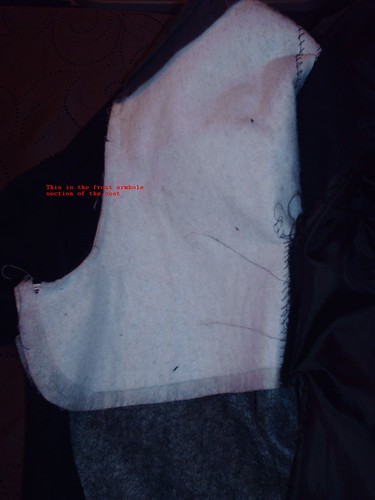
At the shoulder, armhole and center front padding is attached to help smoothing and shaping of the chest area.
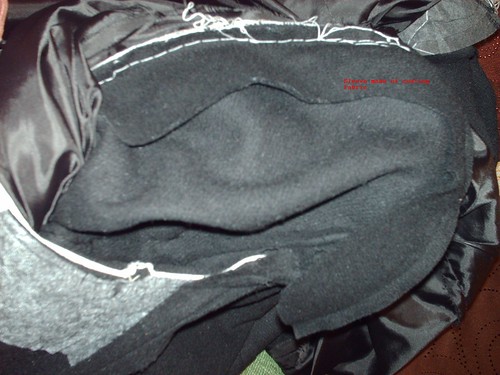
The sleeve head is made of the coating fabric instead of interfacing or batting.
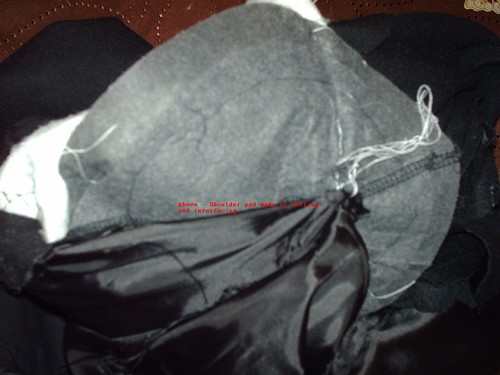
The shoulder pads weren't anything special. For the most part they were made of interfacing.
Each of the armholes has two rows of stitching: one to secure the sleeve to the armhole and the other to attach seam binding to the armhole.

Every stress point (pockets, around the armholes, along the center front, collar and chest area, along the hems and back vent) was interfaced for added durability. Finally, the lining was attached at various points of the coat: at mid sleeve, underarm, shoulder, and along the back side seams.
At first I was not that thrilled to do this job, but after I started taking the lining apart I recognized the value of doing this alterations. I hope this information is helpful to someone who is interested in making coats.
Happy Sewing!
C


