After making observations about what needs to be altered, now I can make the pattern adjustments.
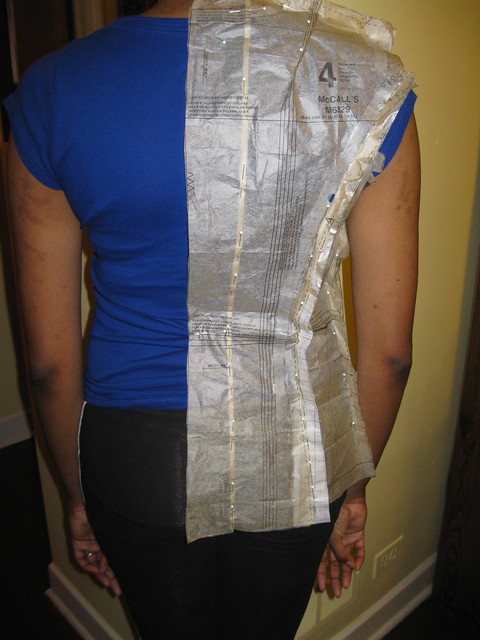
Starting with the back again. I made a tuck from the neck to the hem near her spine. This tuck removes the excess in the center back. There was excess in this area as appose to the shoulder area. Sorry I forgot to photograph the flat pattern. But below is DD wearing the pattern with this change made.
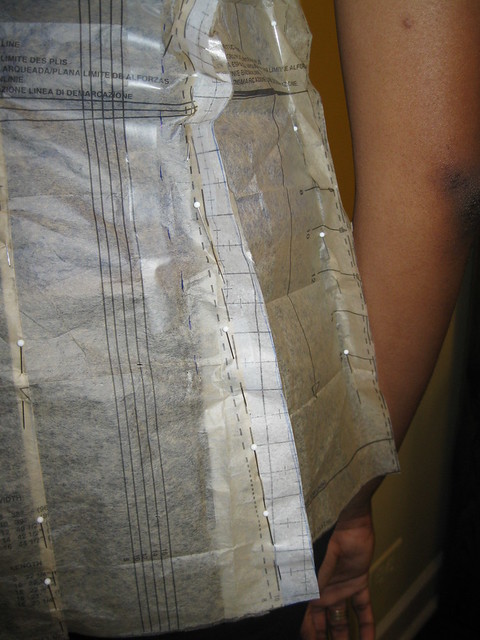
DD has a small waist, but she is curvy in the hip area. So I added tissue along the side seam of the back. I think this works for the back of the jacket.
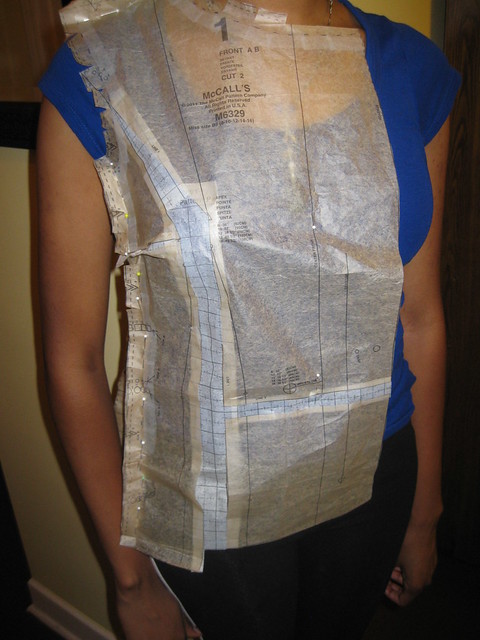
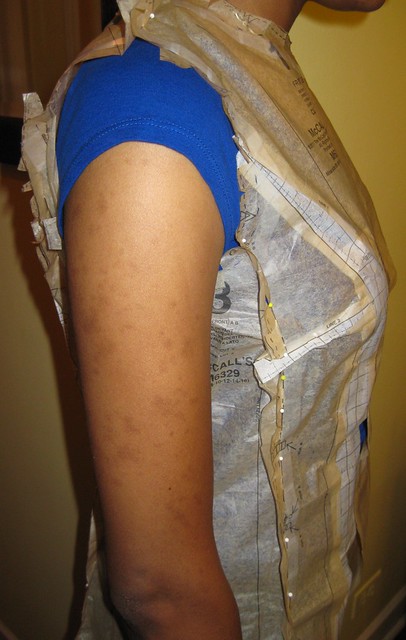
Next, I made a FBA. Spread the pattern the required amount, fill in with tissue paper, and tape.
The pattern center front now comes to DD's center front.
(NOTE: I forgot to pin out the waist dart. Update will come in the next post.)
Next, working with the clothe.
Happy Sewing!
C

Thank you for showing your pattern alterations, as usual. I always learn so much from you!
ReplyDeleteI am LOVING your mini fitting series. Thank you so much for sharing all that you know!
ReplyDeleteFantastic to see these alterations in action. Particularly the adjustment to the back. Its like the Palmer and Pletsch book come to life. thanks.
ReplyDeleteI Like being able to see the pattern adjustments both on the flat mat and pinned to the body. Those pictures have a lot to teach us. Thank you!
ReplyDeleteOne of the very reasons we sew...to have a great fit and not just settling for what's on the rack!
ReplyDeleteThank you so much for sharing your jacket-making process on your pride and joy! So very kind of both of you to share with us :) Merci beaucoup. I'm still trying to get over my first-jacket sewing step :)
ReplyDelete