


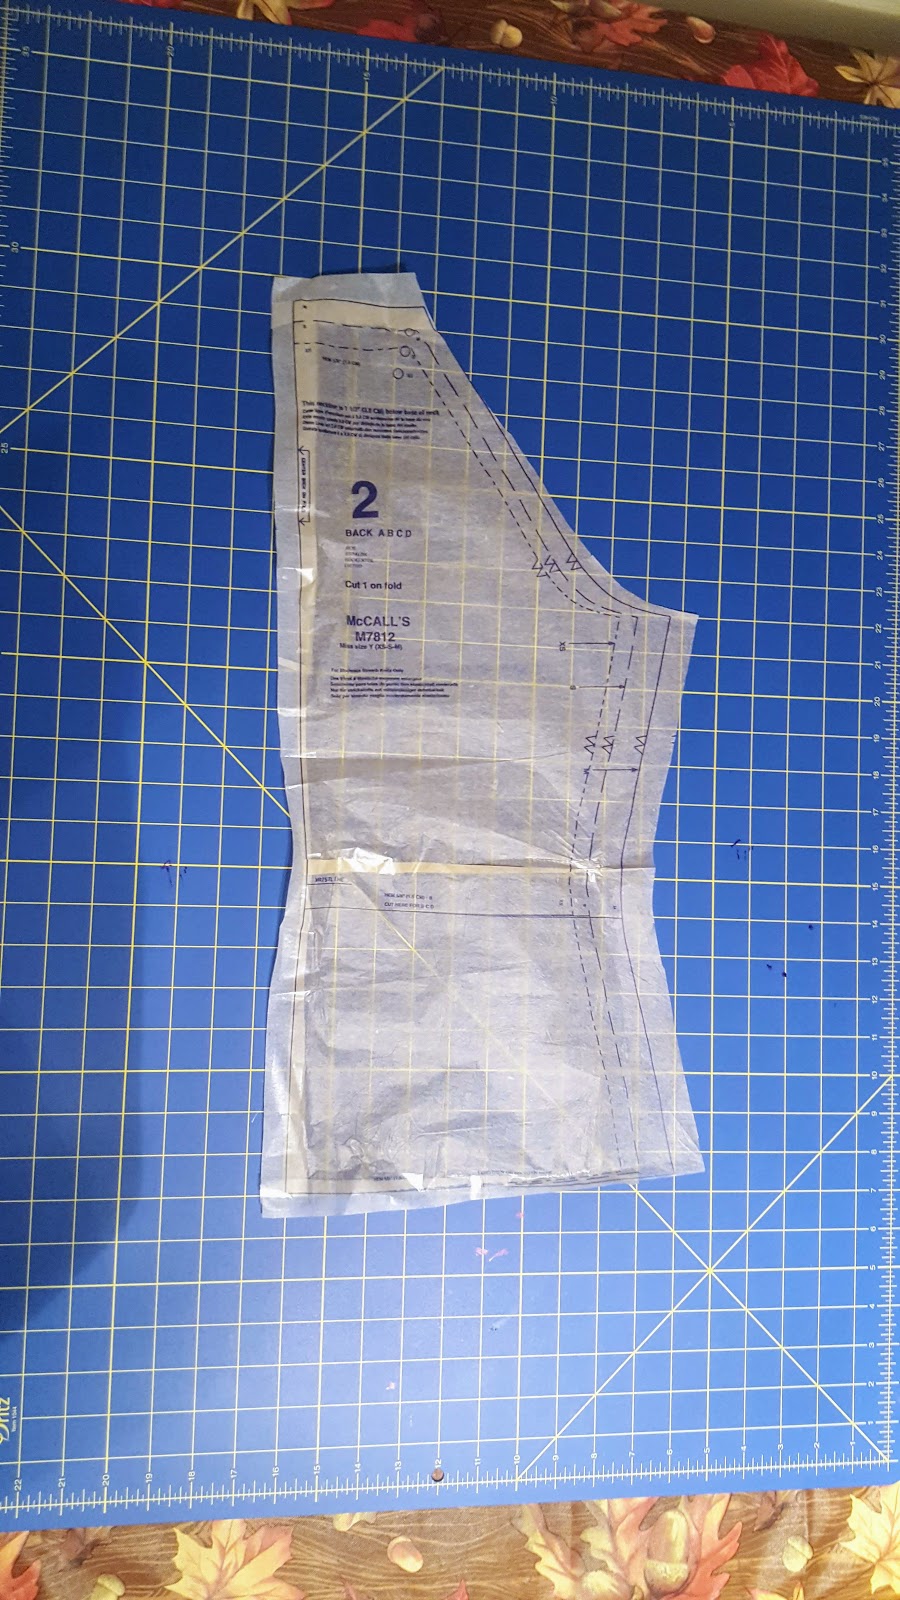
Anyway, enough on the weather forecast. It's time for another installment of Notes on a Pattern. This time I'm reviewing McCall's 7812. The reason why I chose to do a "Notes" blog is because this pattern definitely requires some changes in order to get a good fit for women with a similar body shape as mine. And I thought it would be worthwhile to talk a little bit about the FBA and the neckline. I made a FBA and rotated the bust dart into the center ruching. I simply made the four basic slashes to the pattern and instead of creating a bust dart, I closed that slash and rotated it to the center. The process is very similar to my tutorial from 2014. Instead of rotating to the shoulder pleats, rotate to the center ruching distributing the access in the bust area. See image below.

This pattern has the potential to be a sloper for other similar style tops and dresses. I purchased it for view A. The top on the pattern envelope appears to have nice shaping along the sides and the ruching is great style element that can hide a few of my flaws. ;-)
My first two tops do look like the drawing. The first challenge was to get it to fit nicely in the bust area without making the ruching look like draping. For starters I made the FBA half of what I'd normally do for a woven top. I also made the swayback and prominent shoulder blade adjustments. I used size M but cutting it slightly large along the some of the seams.
After making the first red top, I identified another issue. The neckline was too low and too wide. So before cutting my second top, I raised the neckline about 3/4 inches on the front, back and sleeve. The second top fits much better.


Other changes that I made: instead of purchasing ribbon for the drawstring, I made my own cutting the fabric lengthwise about four feet long and 1" wide. I used the satin foot left toe as a guide for how wide I wanted the string to be. Then I used a loop turner to turn the draw right side out. I used stitch witchery to fuse the hems of the neckline and the lower edge of the top in place. Then sewed them. Great stuff. It makes it so much easier to sew a great hem on knit fabrics.
Both fabrics used are from FabricMart Fabrics. The red is a crepe knit with about 40% 4-way stretch. This knit has a very nice weight and was easy to sew. The green/brown knit is lighter and slightly transparent with less stretch in both directions. The stretch of the fabric will definitely affect the fit of the top and how the ruching forms around the body. Both of my choices were fine.


For my size and changes the time was well spent on making it fit. I recommend it to other sewists with modifications. It may be a good idea to make a muslin as my red top is my wearable muslin.
Okay, that's all for now.
Happy Sewing!
C
What a beautiful top. I love the way you placed the print on the second version. Thanks for sharing your pattern pieces, its helpful to see what 'raised the neckline' actually looks like.
ReplyDeleteThankbyou Ruthie. My pleasure.
Deletethat is a tricky pattern to fit and you made it work perfectly. 2nd version is perfect and good use of that print
ReplyDeleteThanks, Beth. I try.
DeleteThanks for the fitting info. I'm always impressed by what a good bust fit you get. Your makes always look great
ReplyDelete