Showing posts with label Pattern Alterations. Show all posts

Thursday, June 26, 2025

Notes on a Pattern - Vogue V1387


Today, I wanted to share a few notes on Vogue V1387, view A.  This pattern has been in my collection for a several years.  I hesitated to attempt to make the full bust adjustment (FBA).  I thought about it and determine the following would be the way to go.  There is probably a more effective solution, but this is how I chose to tackle the fit adjustment.

I started with slashing the upper bodice vertically from the pleated area to the waist, adding paper to fill the space.


Next, I added length by slashing the front bodice horizontally.  The same amount of length was added to the back upper bodice (not shown).


Then, I redistributed the pleats and the space between them.  Now, there are three pleats instead of two.


After making these adjustments, I made a muslin to check the fit.  When I tried on the muslin, I identified a few more adjustments needed.  NOTE:  don't skip sewing the armband and gusset. It will help you determine if there is a good fit in the armhole and bust and upper back areas.

Additional adjustments after fitting the muslin:

  • more vertical width (front bodice) resulting in a fourth pleats.
  • more vertical width across the back.  I noticed pull at the shoulder blades.
  • added tuck in the yoke at the upper back.
  • added length where the shoulder seam would be.
  • reduced fullness at the lower back just above the waist.


More later.

Happy Sewing!

C

Thursday, January 9, 2025

Wrap Top- Butterick B5101


This wrap top was made in October 2024.  It has been on my "to make" list for ages.  Butterick B5101 Lifestyle Wardrobe pattern, with several views to literally make a complete wardrobe with endless outfit options.  The copyright year is 2007.  So it is OOP.


Pattern Description:  Misses' top, dress, skirt and pants:  wrap front top and dress have all-in-one sleeve, pleated collar extending into front neckline, side tie, sleeve length and hem variations.  Mock wrap front skirt and straight leg pants have casing and elastic yoke.


Pattern Sizing:  SX, S, M, L, XL .  I used size medium grading it up somewhere between a medium and large with fit adjustments.

Did it look like the photo/drawing on the pattern envelope once you were done sewing with it?  Yes,  my top does look like the drawing on the envelope.

Were the instructions easy to follow?  The instructions were typical, but not difficult to follow.  

What did you particularly like or dislike about the pattern?  I liked that it is a wrap top/dress with some pleating around the mid section with a tie.  

I do have a few dislikes, though.  The tie is slightly wider than what I'd like for this top/dress.  And I prefer it to be a little longer since I'm so tall.  My other dislikes is the thickness of the belt loop.  It could be thinner.  I'll make these adjustments on my next version, which is already in the making. :-)  No other dislikes.


Fabric Used:  My knit jersey came from New Rainbow Fabrics on Roosevelt Road in Chicago.  It is a vibrant tomato red with a dry hand.  It is easy to work with and is wrinkle free.  I pre-washed and dried it as soon as I bought it home.


Pattern alterations or any design changes you made:  Okay, it may be boring, but I had to make my usual full bust adjustment.    Definitely necessary for the level of stretch of my fabric choice and the style of the top.  Because the sleeve is cut-on, I started the process with removing the sleeve.  Then I made the FBA.  Finally, reattaching the sleeve. See the photo below for the finished fit adjustment. Also, I lengthen the sleeve by an inch.  


Would you sew it again? Would you recommend it to others?  Yes, I will.  I'm in the process of making the pants and the top.  I hope to finish it by the end of this week.  If this is your style, of course, I recommend it.  The pattern is easy to sew and it offers a lot of style options in one pattern.

Conclusion:  This is a good wardrobe pattern that offers many outfit options.  It is easy to sew for all level sewists.  The hem of the top/dress may be a little challenging for beginners, but doable.  Take your time.


Happy Sewing!
C

Thursday, October 29, 2020

Notes On A Pattern - Vogue V8627 - Pattern Alterations


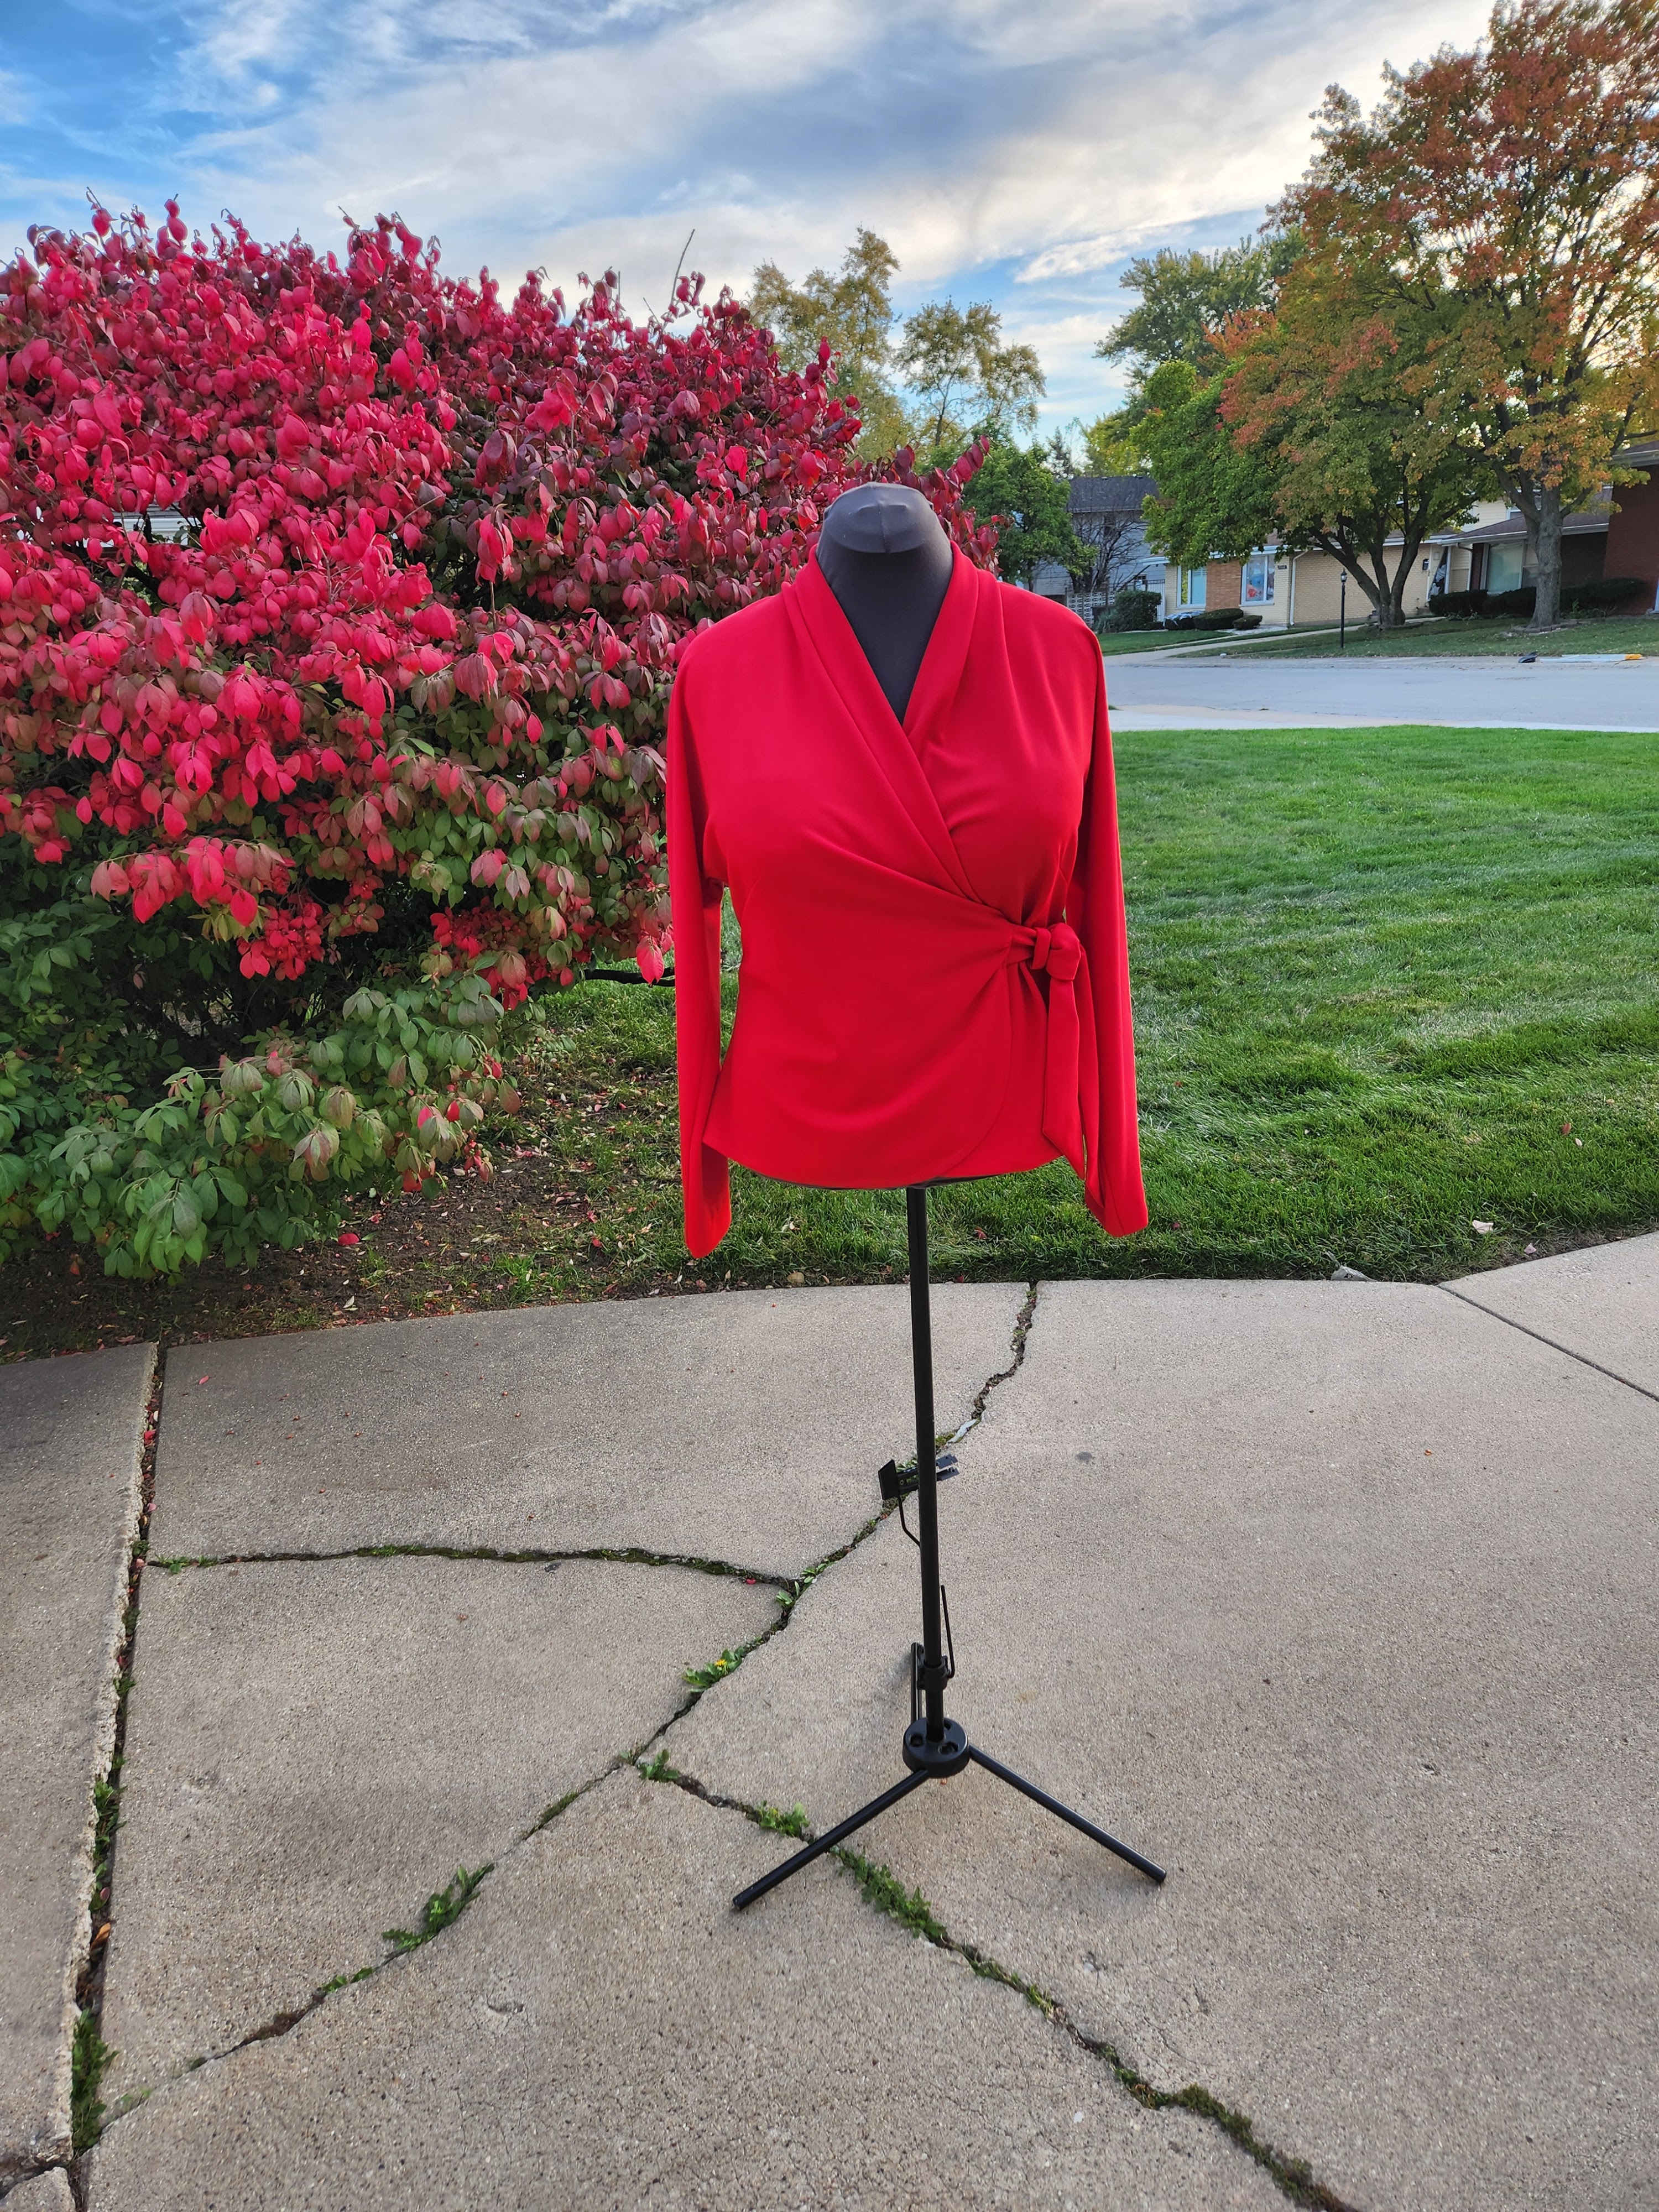
I decided to give Vogue 8627 a try.  This pattern has been in my collection for many years.  It is a very simple jacket.  The design lines are basic with an option to sew an asymmetric hem at the back of the jacket.  The front of the jacket has the bust dart rotated to the center front. I pondered how to make a full bust adjustment (FBA) and maintain the integrity of the style lines.  

Today I'm writing a Notes on a Pattern post to explain how I made the adjustments on the pattern to fit me. 


I started the process with just cutting my size, which was not included in this copy.  So I graded the size 14 up to size 16.  Next, I made a muslin just to see what types of changes were needed and to what degree those changes  would need to be made.  My "dream" was not to make a FBA.  HaHaHa.  Just holding the front jacket up to me, I could see that the bust dart needed to be lowered, the center front did not fall where it needed to, and the front waist dart was not in the same location as in the drawing.

I made a muslin using the pattern as is with the size graded up.  As I suspected, the front was too snug and the darts were in the wrong place.  So I definitely needed to make at least a FBA.

Caution - There are many changes to the front jacket.  It may look a mess.  But I'll try to clearly explain all of my adjustments.


Step 1 - I copied the front jacket just in case I "hacked" the pattern incorrectly.
Step 2 - On the copy, I first lowered the center front bust dart by 1".  The area is labelled #1.  This step was pretty painless once I figured out were to cut around the dart to move it down.  I did not want to cut into the area of the collar section.  You can see the slashes around the dart where I avoided the collar/neckline area.  Next, I filled in above where the dart was previously located.
Step 3 - Now, I could start the FBA.  First, I removed the sleeve so I could easily make the FBA.  See #2 slash from the waist up to the apex (which was also moved). The second FBA slash was through the bust dart and the third horizontal slash was made on the lower right side of the first FBA slash. I made a 1" FBA spreading each slash the appropriate amount of space, filling it in and taping it together. This adjustment changed the length and width of the front jacket. Next, the sleeve was reattached.  The FBA created an elongated triangle between the sleeve and the body of the jacket.  Now there is more space between the side of the bust and the arm. 
Step 4 - I didn't adjust the waist dart yet.  Usually that is done during the sewing process of the jacket or the second muslin.  
Step 5 - The sleeve is lengthen an inch or so. 

Below is a picture of the original front jacket placed on top of the adjusted front jacket to show the difference.


Step 6 - The next set of adjustments were made to the lower front and the front edge. These adjustments are made based on the width and length created on the front jacket.  


Step 7 - The final adjustment for the front of the jacket is on the collar.  Sometimes the fullness of the bust creates some gapping in the neckline.  I made a small tuck on the collar and the front jacket where the two are joined.  The small change reduces the possibility of a gapping neckline.


Step 8 - The prominent shoulder blade adjustment was made by slashing through the shoulder and waist darts, spreading the pattern  3/4".  And the sway back adjustment was made by creating a small horizontal tuck across the back as needed.  The added with is also made to the lower back.  The darts on both pieces are adjusted accordingly.  The back sleeve is also lengthen same as the front sleeve.
 

This ends my explanation of my pattern adjustments for this jacket.  Hopefully the next post will be the jacket reveal and my complete review of the project.  Until next time.

Happy Sewing!
C

Friday, November 22, 2019

Notes on a Pattern - Simplicity 8982

Hi everyone,

It's been ages since I posted and even longer since I posted Notes on a Pattern.  Anyway, today I'd like to give some details on my pattern adjustments, talk about my likes and personal preferences using one of Simplicity's popular patterns for the Fall 2019 season.  It is also the "SewYourView" challenge pattern for November.


Simplicity S8982

Easy to Sew Misses' Dress or two-piece top and skirt. Designed and sized for stretch knits only. Dress is below-knee length with long sleeves. Top has straight or cuffed sleeve options. Pull-on skirt is elasticated at waist. Two length options. (description from the website.)

The pattern is available in two size groupings (6-14 and 14-22), which is pretty good for range of sizes available.  Because the pattern is so simple, you can easily grade it up if needed.

The instructions are pretty typical, no problems with understanding or following them.  I must confess, I didn't look at them until after I made my first top and skirt.  But because I'd wanted to do a Notes post, I decided to read them.  They are easy and all level sewists can follow them.


Looking at the drawing and the modeled view of C and D, the skirt appears to be tapered below the hip.   But the skirt pattern is exactly like the drawing, straight from the hip to hem.  So without any changes, your garment will look like the illustration.

I made a few fit adjustments and as well as personal preference changes.  Being with the top, view C:


  • FBA using Sandra Betzina's Fast Fit.  Her FBA eliminates the bust dart that the standard FBA creates.
  • Reduced the neckband by 1/2".  My first version still does not fit as snug as the modeled version.  For the next version, I reduced it by 1.5".
  • Prominent shoulder blade adjustment (with shoulder dart).
  • Swayback adjustment and slightly forward shoulder adjustment to correct the shoulder seam alignment. 
  • Added a centered back seam for a better fit. 
  • Because of the added width created by the FBA and PSB adjustments, I had to eliminate the added width below the bust by grading down a few sizes.  That is not illustrated here. I only showed the initial adjustments. I typically make that adjustment as I sew.

  • Lengthen the sleeves by 2"
  • Tapered the cuffs for a more attractive look.
  • I also lengthen the top by a few inches.  But this was done on the pattern after this top was made. 
Skirt:
  • Cut my usual size at the waist and tapered below the hip to the hem.  This change also produced a more flatter look and the skirt looks more like the skirt worn by the model. 
This is a good basic pattern that you can get a lot of mileage out of once you've worked out the adjustments.  For that reason, I like it and will use it over and over again.  If you're teaching sewing, it's a good beginner pattern.  Students will come away with a stylish outfit that is very easy to sew.  For me, it's a nice wardrobe builder.  So far, I've made three versions of top, view C, and one of the skirt, view D.   Next week, I will post me wearing my first versions of views C and D.

In the meantime, hears a picture of the outfit on Rochelle (I named my dress form).


Happy Sewing!
C

Friday, May 3, 2019

April Sewing! - The Machines Were Humming All Month Long


The month of April is over!  I did some "power sewing".  Some quick, some very quick, and some time taking projects.  My DD got a lot of attention this month.  Four garments for her, four for myself, a few pattern adjustments for future projects, and a little practicing on sewing techniques.  Half of what I made has not been posted yet.  It's coming..,

Here's the list:


1 Sequin Bomber jacket - DD
2 Pleated skirts - DD
1 Princess seamed, skirt waist dress - DD
4 Pairs of pants - me


More later..,

Have a great weekend!
C

Thursday, January 31, 2019

Baby It's Cold Outside - But I'm Keeping Warm in Christine Jonson Funnel Neck Top -Travel Trio 2


On one of my calls to my mama earlier during the week.  She answered the phone singing to me,  "Baby it's cold outside."  Then she chuckled and asked how were we getting along with the cold weather.  Well we are getting along.  It's to be expected for the Chicagoland area.  It's the coldest in January and February.  But tomorrow we will get a heat wave, high in the 20's.  By the weekend it will be about 40 degrees.  I'm glad we are getting close to tolerable temps.

Living in the mid-west all of my life, I know what to expect during the months of January and February.  So for the month of January, my goal was to concentrate on making some separates to beef up my winter gear.  Sure I have some turtlenecks and warm pants ready in my closet, but many are worn and need to be replaced.  So last week, I make this cute little funnel neck top, pattern designed by Christine Jonson.

I bought all three of her Travel Trio patterns way back in 2011 when Rhonda created the Travel Trio Challenge for the Haute Couture Club 2011-2012 Fashion Show.  I only made the Travel Trio One.  This year I'm revisiting the Trio patterns to enhance my wardrobe.  They are great basics.

In Trio Two:
  • Funnel Neck top- close-fitting top with 3/4 length sleeves (with sleeve band) and funnel neck.
  • Wrap Skirt- semi-fitted skirt with self-fabric ties that wrap around the back and tie in the front skirt may be made reversible.
  • Hoodie- Hooded, loose-fitting jacket with long sleeves.  Jacket is fastened at top with button and self-fabric loop.  Jack may be made reversible.
Sizes 4 to 22; I used 14 with modifications

My Fabric is from FabricMart Fabrics.  It's a jersey poly/cotton knit with 30% 4-way stretch and great recovery.  Love it.  I still have about 2.5 yards left to make something else.


There are only three pattern pieces for the funnel neck top:  front/back, sleeve and sleeve band.  I didn't like the idea of using the one pattern for the front and back.  Because my front and back are different shapes and sizes.  So I traced off two copies of the front/back pattern and adjusted each for my body shape and measurements.

For the front, I wanted to test to see if I could get away again without making a bust dart.  So I adjusted the curve of the lower armscye and side above and at the bust area and tapered back to the size 14.


For the back I created a center back seam and made a swayback adjustments and adjusted the curve of the mid and lower armscye.

The sleeve doesn't have notched for the front and back.  I didn't like that either.  So I added them.  I think the shape of the front arm and back arm are different.  So for the back I added just a little more for the mid and lower armhole area.  The sleeve cap did not have the excessive amount of ease as the big four commercial patterns, which was a plus.  And the shoulder seam wasn't an inch too long either.  Two pluses.


Once I made my adjustments and cut out my funnel top, it took about 1.5 hours to make.  Super easy and all sewists can make it.

I really like how this funnel neck top turned out.  It's great for the winter; it keeps your neck and chest nice and warm.

Will I make it again.  You bet I will.  One of my goals this year is to look at ways to maximize the use of my patterns.  With this basic funnel neck top I could change the sleeve and/or make it into a simple knit dress.

More later on using this simple, but versatile pattern.

Happy Sewing!
C

Parting Shots:  My wearing Simplicity 8643


Wednesday, January 30, 2019

Notes on a Pattern - McCall 7812


Today is the coolest day of the year, -11 degrees but it feels like -48 degrees.  Yikes!!!


Anyway, enough on the weather forecast.  It's time for another installment of Notes on a Pattern.  This time I'm reviewing McCall's 7812.  The reason why I chose to do a "Notes" blog is because this pattern definitely requires some changes in order to get a good fit for women with a similar body shape as mine.  And I thought it would be worthwhile to talk a little bit about the FBA and the neckline.  I made a FBA and rotated the bust dart into the center ruching.  I simply made the four basic slashes to the pattern and instead of creating a bust dart, I closed that slash and rotated it to the center.  The process is very similar to my tutorial from 2014.  Instead of rotating to the shoulder pleats, rotate to the center ruching distributing the access in the bust area.  See image below.


This pattern has the potential to be a sloper for other similar style tops and dresses. I purchased it for view A.  The top on the pattern envelope appears to have nice shaping along the sides and the ruching is great style element that can hide a few of my flaws. ;-)

My first two tops do look like the drawing.  The first challenge was to get it to fit nicely in the bust area without making the ruching look like draping. For starters I made the FBA half of what I'd normally do for a woven top.  I also made the swayback and prominent shoulder blade adjustments.  I used size M but cutting it slightly large along the some of the seams.


After making the first red top, I identified another issue.  The neckline was too low and too wide.  So before cutting my second top, I raised the neckline about 3/4 inches on the front, back and sleeve.  The second top fits much better.


Other changes that I made:   instead of purchasing ribbon for the drawstring, I made my own cutting the fabric lengthwise about four feet long and 1" wide.  I used the satin foot left toe as a guide for how wide I wanted the string to be.  Then I used a loop turner to turn the draw right side out.  I used stitch witchery to fuse the hems of the neckline and the lower edge of the top in place.  Then sewed them.  Great stuff.  It makes it so much easier to sew a great hem on knit fabrics.

Both fabrics used are from FabricMart Fabrics.  The red is a crepe knit with about 40% 4-way stretch.  This knit has a very nice weight and was easy to sew.  The green/brown knit is lighter and slightly transparent with less stretch in both directions.  The stretch of the fabric will definitely affect the fit of the top and how the ruching forms around the body.  Both of my choices were fine.


I'm very pleased with the results of the second top.  But I plan to make another view A with sleeves of view B.  I could even go for view C.

For my size and changes the time was well spent on making it fit.  I recommend it to other sewists with modifications.  It may be a good idea to make a muslin as my red top is my wearable muslin.

Okay, that's all for now.

Happy Sewing!

C

LinkWithin

Blog Widget by LinkWithin