Showing posts with label fabric Mart. Show all posts

Wednesday, July 7, 2021

Catching Up

 Good evening everyone,

This is the first time I've attempted to write a blog post since my accident with the hedge clippers.  I'll skip the details.  The good thing is I'm all right.  Anyway, I had a few potential blog posts that got derailed the day of my incident.  It does take forever to type out a post on my computer.  So for a while my posts will be abbreviated. 

I just made another blog anniversary. Fourteen years of blogging on July 4, 2021. It doesn't feel like fourteen years have past. 


Today I'm posting a photo from my first pattern review. I made the faux leather outfit with fabric purchased from Walmart. The second half of the picture is my most recent outfit made with fabric from Minerva Fabrics of the UK.. 

It has been a wonderful journey. I am so happy I chose to start blogging.  It has so many benefits. I seen growth in my ability;  an opportunity to share with others who love what I do; I've gained a host of new friends; I've had opportunities to share my knowledge with others as well as an opportunity to learn from some great sewists. These are just a few benefits.

In the coming days I'm hoping to publish a few short posts on some projects that were near completion or in the works. 

I found a Threads Magazine Youtube video titled, "Pattern Adjustment for a Full Bust Without a Dart."  Excellent tutorial and I used it for two projects that I will post soon.  


Initially, I was going to do my own tutorial based on my own measurements and projects.  But I decided not to "reinvent the wheel".   Posting Threads video is easier.  My reason for wanting a dartless FBA  is to maintain the original pattern design as much as possible and/or to use striped fabrics without disrupting the flow of the stripes with a dart.  I hope that makes sense.

My first project is Simplicity S9222.  I'm still working on this one.  The dartless FBA does not interfere with the drape of the top of the dress.  This is one I decided to make after seeing Carol Crocker-Ware's dress that she posted on Patternreview.  My dress is coming soon.  


The second project I used the dartless FBA on is Vogue V1786.  I love this shirt and think it is great in a striped fabric.  My July Minerva project is using this pattern and a navy/black jacquard.  The jacquard is double layered where the navy stripes appear.  On the reverse side of the navy, it is black, and the reverse side of the black is navy.  So you can use either side of the fabric. Early June, I made a medium blue pair of slacks to wear with this shirt using Simplicity S9147 again. 


This project is actually finished, but I want pictures of me wearing the outfit before I post my final review. ;-)

That's all for today.  Happy Sewing!

C


Wednesday, January 29, 2020

New Look NL6013 Finished Jacket Reveal - Not Just One But Two


Finally, I have some pictures of me wearing my new jacket!  Sometimes it is a challenge coordinating my photo shoots with my DD schedule, But we final got it done!


Here is the link to the first post on New Look NL6013 Jacket Project. 


If you read the title of this post, you'll know that I not only finished the first jacket.  But also made a second one.  All of the adjustments were so labor intensive, I decided to go ahead with making another one.


My second version is made with a stretch woven from Fabric Mart.  I bought this fabric last June while attending Sew Camp.  It is like a beefy scuba knit, heavy enough for a coat.  The stretch is maybe 1 or 2 percent, not a lot.  I love the rich color of it and am very glad I bought it.  This fabric caught my eye after I made my big purchase.

The sewing was easy.  No more major adjustments needed.  For this jacket I decided to make it as designed:  no lining or welt pockets added.  I added another inch to the length of the jacket, making it a total of three inches added.  The original jacket length is more like vest length.  With my board shoulders the shorter length makes me look wider than I am.  And that's not good.  The new length is perfect.

I did make one other change: no shoulder pads.  This fabric has a lot of body and holds it's shape very well.


I didn't have enough fabric for the under lapel.  So I used a Marcy Tilton ponte knit remnant.  I was so happy I kept it.  Turns out it was the perfect weight, lighter than the jacket fabric.  A plus as it reduced the bulk along the neckline. Score!


I'm happy with the outcome of both jackets.  The first has a few tailored features and the feel of the natural fibers is wonderful.  I'm very pleased with how the welt pockets turned out. The second jacket is more slenderizing; the fabric a little stiffer but wear well.

So that's it for New Look 6013 jacket for now.  I'm working out my sewing plans for February, which will include a coat and a skirt so far.


Oh I forgot to mention, sewing for January, 2020:  two jackets, two pull over tops, and one pair of pants.  The pants are a waddler. I'm actually wearing them with the first jacket.  All kinds of issues.  More on the January sewing review later.

Happy Sewing!
C

Thursday, August 15, 2019

Black and White Vogue 1250 Dress - All Time Favorite Knit Dress


Vogue 1250 is one of my all time favorite TNT knit dresses. It sews up very fast. I can make it in about two hours. My latest version is made up of an ivory and black print with the back color-blocked in a black jersey. Both fabrics are from FabricMart Fabrics.


Earlier this year, I blogged about neutrals and how they can be mixed and matched with bold colors. On purpose, I buy a lot black and white fabrics to complement my favorite bold and bright fabrics and wardrobe pieces.


After cargo challenge, I decided to make two quick knit dress projects. Both dresses were made the same day with this one being the first.  This is the fifth dress made using Vogue 1250. The last one  started looking worn. So I trashed it.  This new dress is it's replacement. ;-)

My initial review is here.  And below are my versions of this popular TNT dress:


Happy Sewing!
C
Wednesday, January 30, 2019

Notes on a Pattern - McCall 7812


Today is the coolest day of the year, -11 degrees but it feels like -48 degrees.  Yikes!!!


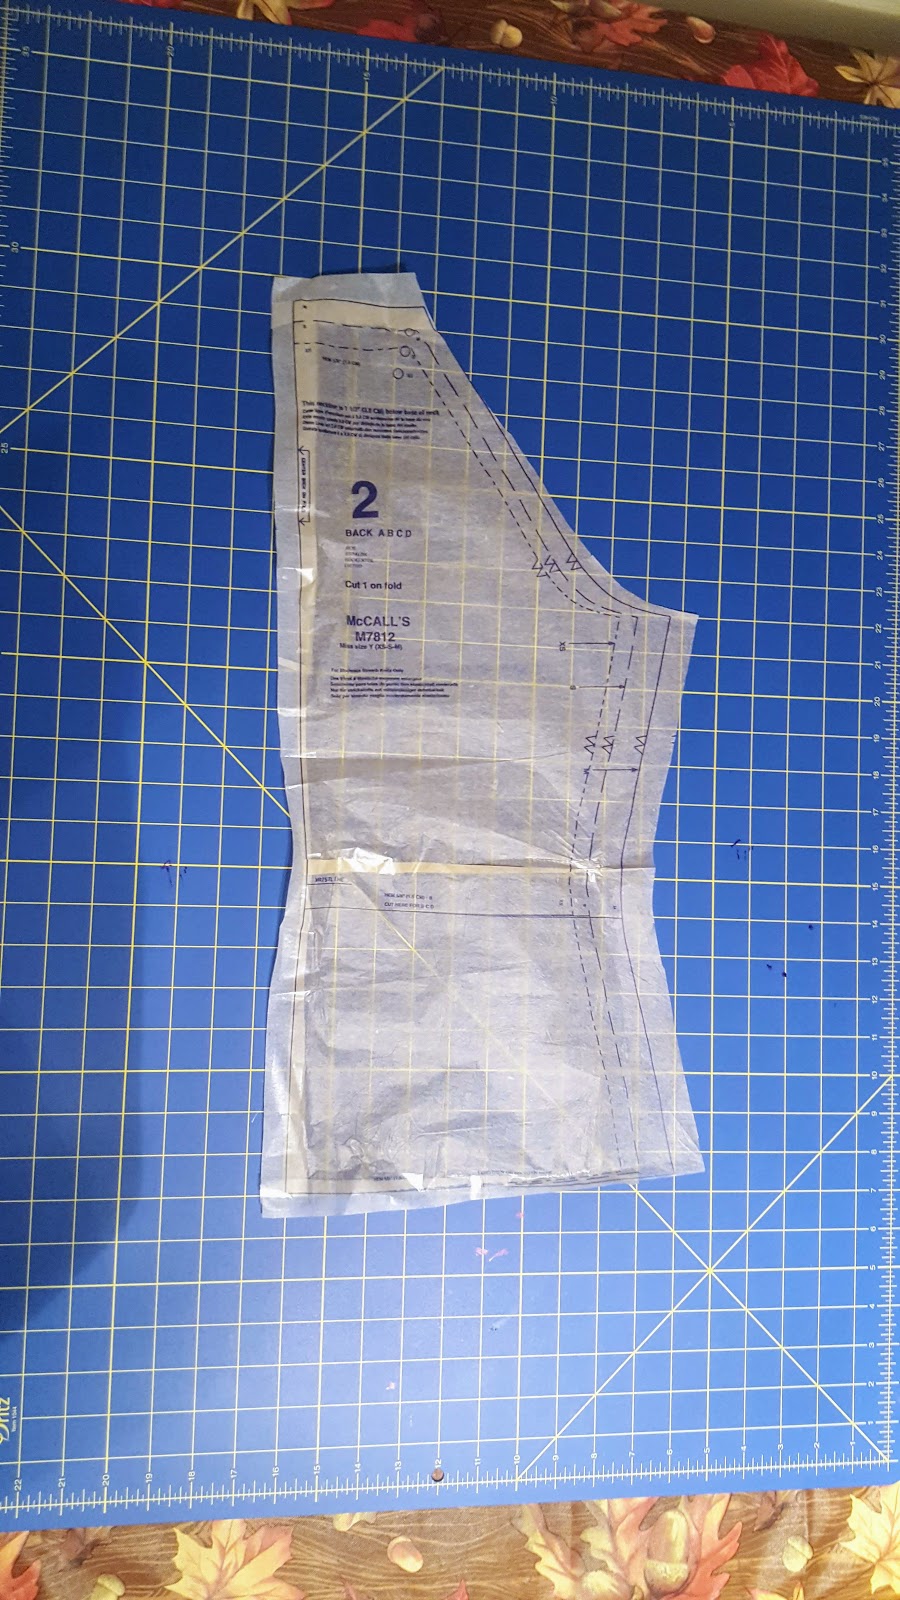
Anyway, enough on the weather forecast.  It's time for another installment of Notes on a Pattern.  This time I'm reviewing McCall's 7812.  The reason why I chose to do a "Notes" blog is because this pattern definitely requires some changes in order to get a good fit for women with a similar body shape as mine.  And I thought it would be worthwhile to talk a little bit about the FBA and the neckline.  I made a FBA and rotated the bust dart into the center ruching.  I simply made the four basic slashes to the pattern and instead of creating a bust dart, I closed that slash and rotated it to the center.  The process is very similar to my tutorial from 2014.  Instead of rotating to the shoulder pleats, rotate to the center ruching distributing the access in the bust area.  See image below.


This pattern has the potential to be a sloper for other similar style tops and dresses. I purchased it for view A.  The top on the pattern envelope appears to have nice shaping along the sides and the ruching is great style element that can hide a few of my flaws. ;-)

My first two tops do look like the drawing.  The first challenge was to get it to fit nicely in the bust area without making the ruching look like draping. For starters I made the FBA half of what I'd normally do for a woven top.  I also made the swayback and prominent shoulder blade adjustments.  I used size M but cutting it slightly large along the some of the seams.


After making the first red top, I identified another issue.  The neckline was too low and too wide.  So before cutting my second top, I raised the neckline about 3/4 inches on the front, back and sleeve.  The second top fits much better.


Other changes that I made:   instead of purchasing ribbon for the drawstring, I made my own cutting the fabric lengthwise about four feet long and 1" wide.  I used the satin foot left toe as a guide for how wide I wanted the string to be.  Then I used a loop turner to turn the draw right side out.  I used stitch witchery to fuse the hems of the neckline and the lower edge of the top in place.  Then sewed them.  Great stuff.  It makes it so much easier to sew a great hem on knit fabrics.

Both fabrics used are from FabricMart Fabrics.  The red is a crepe knit with about 40% 4-way stretch.  This knit has a very nice weight and was easy to sew.  The green/brown knit is lighter and slightly transparent with less stretch in both directions.  The stretch of the fabric will definitely affect the fit of the top and how the ruching forms around the body.  Both of my choices were fine.


I'm very pleased with the results of the second top.  But I plan to make another view A with sleeves of view B.  I could even go for view C.

For my size and changes the time was well spent on making it fit.  I recommend it to other sewists with modifications.  It may be a good idea to make a muslin as my red top is my wearable muslin.

Okay, that's all for now.

Happy Sewing!

C

Wednesday, December 12, 2018

The Black and Red of McCall's 7288 Jacket


Today, I'm happy to show you my latest jacket, McCall 7288.  The links with my notes of fitting, likes, dislikes, and sewing process are:


Notes  on a Pattern - Part I

Notes on a Pattern - Part II


I think it turned out well with the exception of a few adjustments for the next version.  One is the reduction of the neckline just above the bust.  In the collar area, this one doesn't fit as close as I would like.  Also, I think the sleeve head needs just a little tweaking.  Maybe a sleeve head will do the trick


This jacket was not designed for shoulder pads.  I added some 1/4" inch that I made myself.


Just in time for a holiday event.  I'll wear a different top and bottom with it.  The pants are Vogue 1570 which I made earlier this year with a black and white top.  I think a simple red or black dress will go well with this jacket.  Sometime quick.  We will see.

Thank you for following along on this project.  Next week, I'll review a few more projects before I start posting on a new one.

Happy Sewing!
C

Friday, December 7, 2018

Notes on a Pattern - McCall 7288 Part II


Today I'd like to share a few more tidbits  I purchased this pattern a couple of years ago, not knowing what fabric or what view I would make.  What I did know is I like the styles and hoped that the multiple cup patterns would eliminate some of my fit issues.

So, I decided to used this really cooll gradient fabric that I purchased from Fabric Mart last March.  It was sold by the panel and I only purchased three.  So I was a little short on fabric for cutting two back yokes and two collars on the fold.


No worries, though.  There was enough to cut one of each as two pieces.  I used the two-piece collar as the under collar and the two-piece back yoke for the inside yoke facing.  So it worked out.


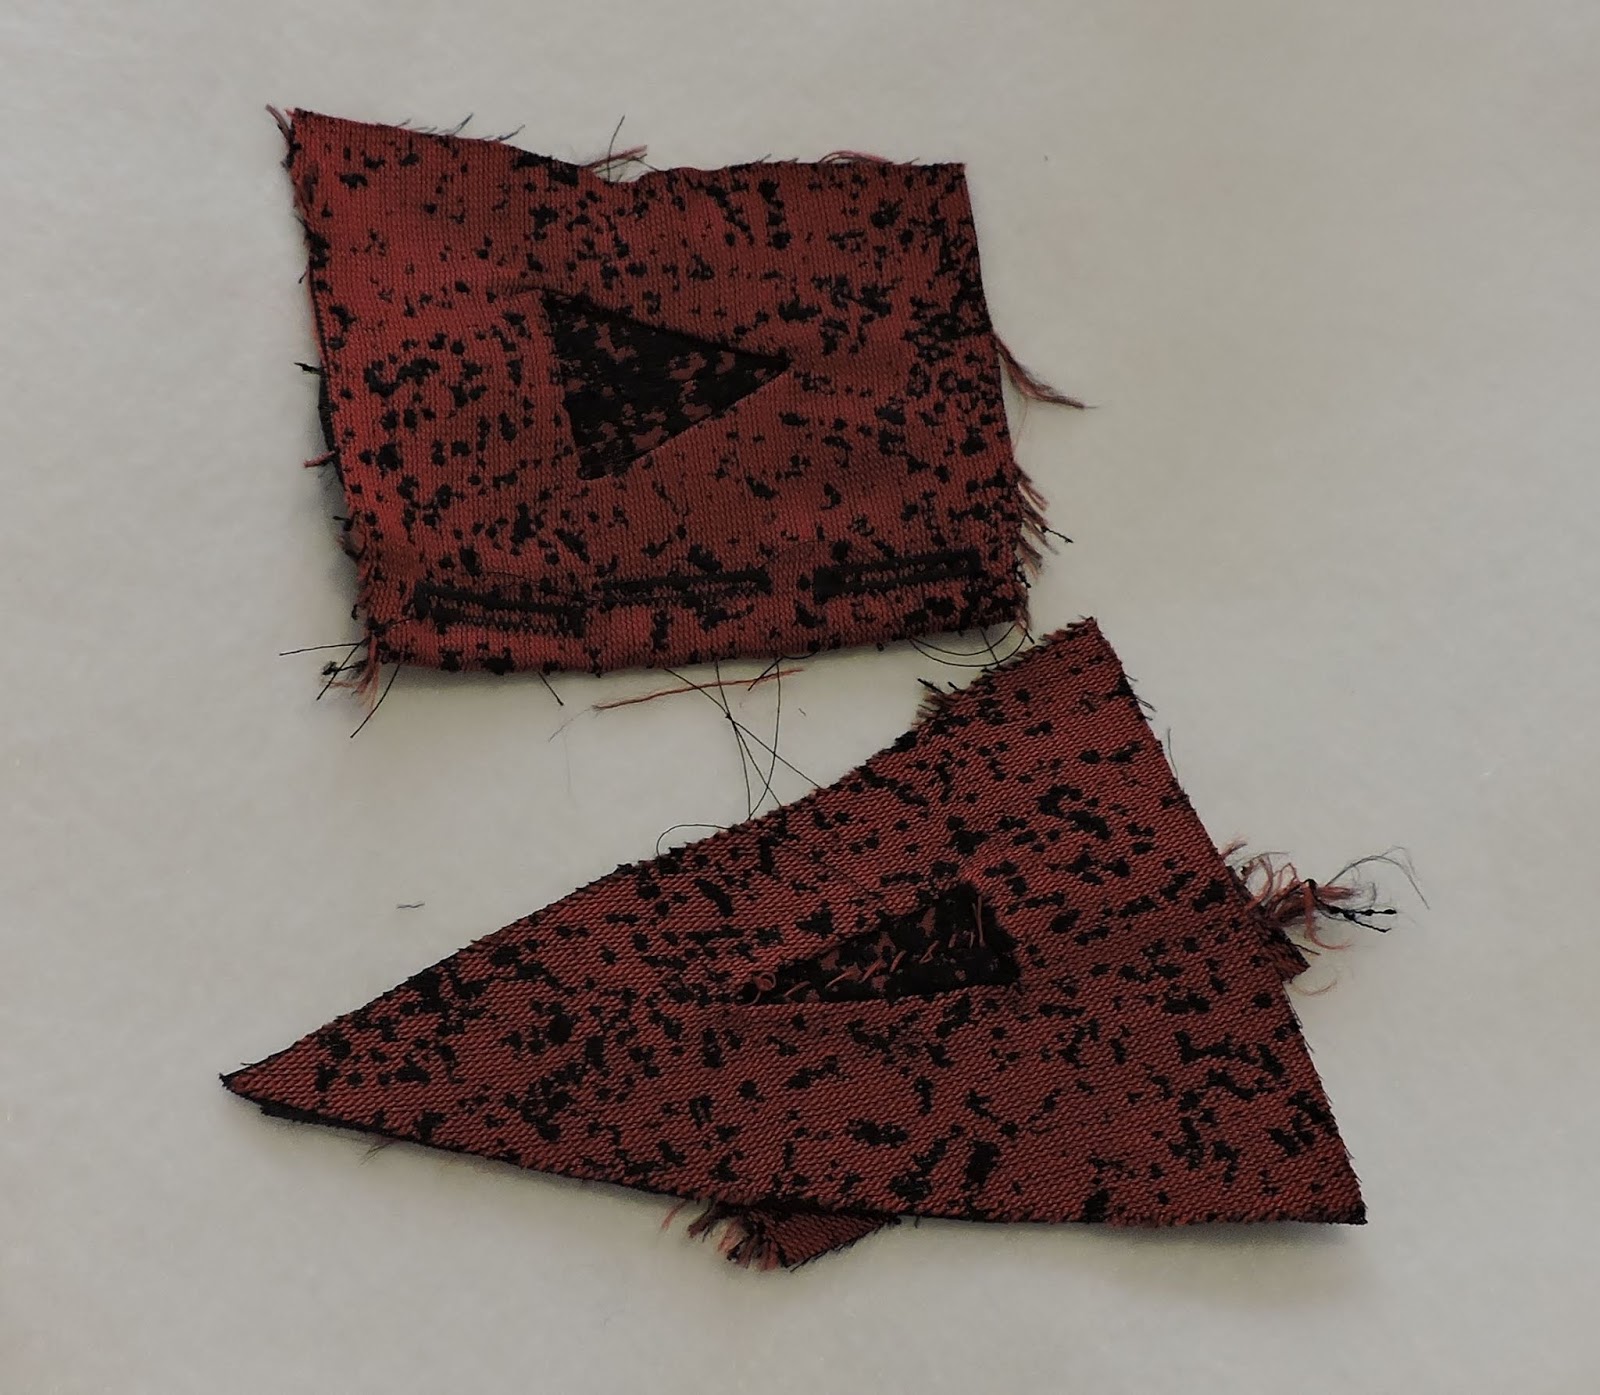
This is such an easy pattern to sew, I thought of adding triangle shaped bound-buttonholes.  I had a couple of test.  But decided to just make regular ones.


The surface of the fabric is really beautiful.  Half of the panel has a raised gradient pattern from red to black.  The other half is solid black with a faux quilted texture.  In hind site, I wish I had gotten another panel for a skirt.


My likes include style and construction.

  • Collar variations 
  • Pleated back with band, view D
  • Length of views B and D; both elongate the body.  So I look slimmer.
  • The slight flare below the waist.  Gives the illusion of hips for me.
  • Back yoke added interest 
  • Princess seam front; added ease to making adjustments.
  • Sewing was super easy.  The jacket went together with no problem with the exception of the sleeve cap.  I fiddled with it and still was no able to get it as smooth as I would like.
My dislikes style:
  • One-piece sleeve.  I prefer a two-piece sleeve.  
  • Unlined.  
  • Too much ease in sleeve cap
Stay tuned for the final post of me wearing my jacket.

Parting Shots:  My nearly completed jacket.


Happy Sewing!
C


Tuesday, June 5, 2018

V1570 In Black and White


This is another outfit that I started while at Sew Camp Spring 2018.  All fabrics purchased at Fabric Mart.  I actually didn't bring any fabric with me on purpose.  The goal was to purchase fabrics to sew while at camp and to purchase fabrics to be shipped home.  

Between the two coordinates, I was most interested in making the pants.  I am always on the hunt for bottoms that give me a little volume to help balance out my silhouette.  The drape was interesting and added just a little imaginary hip.  Looking at the model on the envelope, she reminds me of a former me.  Way back when I was a rail.  Time has past and I'm a much bigger lady.  The good news is I can sew whatever I want.

Anyway, this outfit is part of a pseudo wardrobe capsule that I kind of decided to do as I shopped the floors at FabricMart Fabric.  I like both coordinates, but I think I like them better with other pieces.  More on that as I continue to work on the capsule.  


I used Vogue 1570 for my outfit.  It is described as A: fitted top has front and back princess seams, back invisible zipper and asymmetrical hem.  Fitted pants have back invisible zipper and front overlay. It comes in two size groupings 6-14 and 14-22.  I used 14 and 16 with modifications.

My finished garments do look like the drawing on the pattern envelope.  There was nothing in the instruction or construction of the outfit that was confusing.  I did, however, have to do a little tweaking with the neckline and one of the armholes appeared to be slightly larger than the other.  More on that later.

I had a lot of likes for this pattern:


Top:
  • Shoulder seam.  It's not straight on, from ear to center shoulder tip.  It curves around to the front.  That's a cute detail.
  • Asymmetrical hem.
  • Peak a boo front yoke
  • Topstitching

Pants:
  • Overlay as stated above
  • Slim pant leg - easily worn with a variety of tops.  Sews up quickly.
The top is a lightweight striped cotton blend pique, which I thought would be perfect to play up the design lines of the top. It is softer than most piques that I've own/touched.

The pants is a lovely medium wool crepe.  Love, love this fabric.  I wish they had more in other colors.  I bought all they had.  Same for the pique.

There were a few challenges with the top.  I almost gave up on it.  After I made my usual adjustments, I had to do quite a bit of tweaking along the side seams, below the bust and in the armhole areas.  I think I ripped out the sleeves at least three times before getting it to a good, not perfect, state.  Once that was done, The front neckline gapped a bit more on one side.  Odd.  So I ended up undoing quite a bit of topstitching to adjust the length of the front neckline.  Truth be told after all that tweaking, I can't remember how much for each tweak. Lol  


The pants were easy.  I extended the back curve about an inch tapering into about four inches into the inseam.  At the center back, I raised it about an inch or so and tapered to zero near the dart.  The front pant does not have darts.  Knock it off!!  No way!! I added some.  Lastly, I lengthen the pants by three/four inches.

I plan to make both coordinates again.  At least one more top, for my sister. And one pants without the overlay.  It's a nice fit. After all those adjustments, I need to make them at least one more time.

I'm glad I was able to workout the kinks.  These are two pieces for my black and white capsule.  More in months to come.  I do recommend it, because of the likes I mentioned above.

Happy Sewing!
C


LinkWithin

Blog Widget by LinkWithin