Spring didn't last too long. Back to winter, and I'm back to thinking about what to make with the Blue Faux Fur I got from Mood Fabrics.
Here's the inspiration I collected. Any thought?
Showing posts with label faux fur. Show all posts
Monday, February 27, 2017
Saturday, March 19, 2016
Caped in Sweet Grape Faux Fur! Isn't It Spring?
Yikes!
It's almost Spring. So why did I decide to make this cape? Because this sweet grape acrylic faux fur (#306542) is beautiful.
Spring is not yet sprung in the mid-west. Days are sunny about 55 degrees, while night time temperatures drop to the mid or upper 40's. I'll get at least a few wears before warmer days truly come my way. Then when fall returns, I'm ready for it. ;-)
Just as the season is changing the availability of some heavier fabrics are no longer available at Mood's online store. Maybe this lovely textured textile will return for the fall season. I used Vogue 8212 to make my new cape. It's out of print, but I've seen many RTW capes in stores.
The pattern is described as Misses' wrap, cape, and shrug: A: gathered front wrap, self-lined, self loops and covered buttons, elastic at the upper and lower edges. B: front flounce and snap closing. C: flounce and contrast ties. D: side front wrap cape has flounce with double fold bias tape, self fabric leaves and flower. I made view B, size medium.
Although it was the basic over the head shape, there are some interesting design elements. The side looks like a sleeve and the diagonal seaming across the front with flounce is eye catching. It's calls for moderate stretch fabric. The faux fur has a knit backing, but hardly any stretch in it. No fuss, no muslin.
This was a quick and easy cape to sew. It's not as opaque as it appears when holding it to the light. For protection from the cold winds, I lined it. Adding a lining super simple to do. I cut the same pattern pieces except the flounce for the lining, sewing it together the same as the cape. Then attaching it to the cape using the bag method. I like this cape and the fabric too.
Now it's time to lighten up the wardrobe a bit. ;-)
Happy Sewing!
Cennetta
Labels:
Cape,
faux fur,
jacket,
Mood fabric,
Mood Sewing Network,
Vogue
Wednesday, January 20, 2016
Plush Warm Faux Fur and Burda Style Magazine Coat
It is no surprise that it is too cold to breathe outside. This year is no different from any other year. We can count on single digits with sub-zero windchill temperatures in January.
I am so happy that I finally made my Chocolate/Black Faux Fur coat. It's super warm and cozy, perfect for the breathtaking arctic winds that have found their way back our fair town. This soft faux fur has been sitting waiting for me for over a year. I must admit, I was a little apprehensive about making my coat. Because I wanted it to be just right.
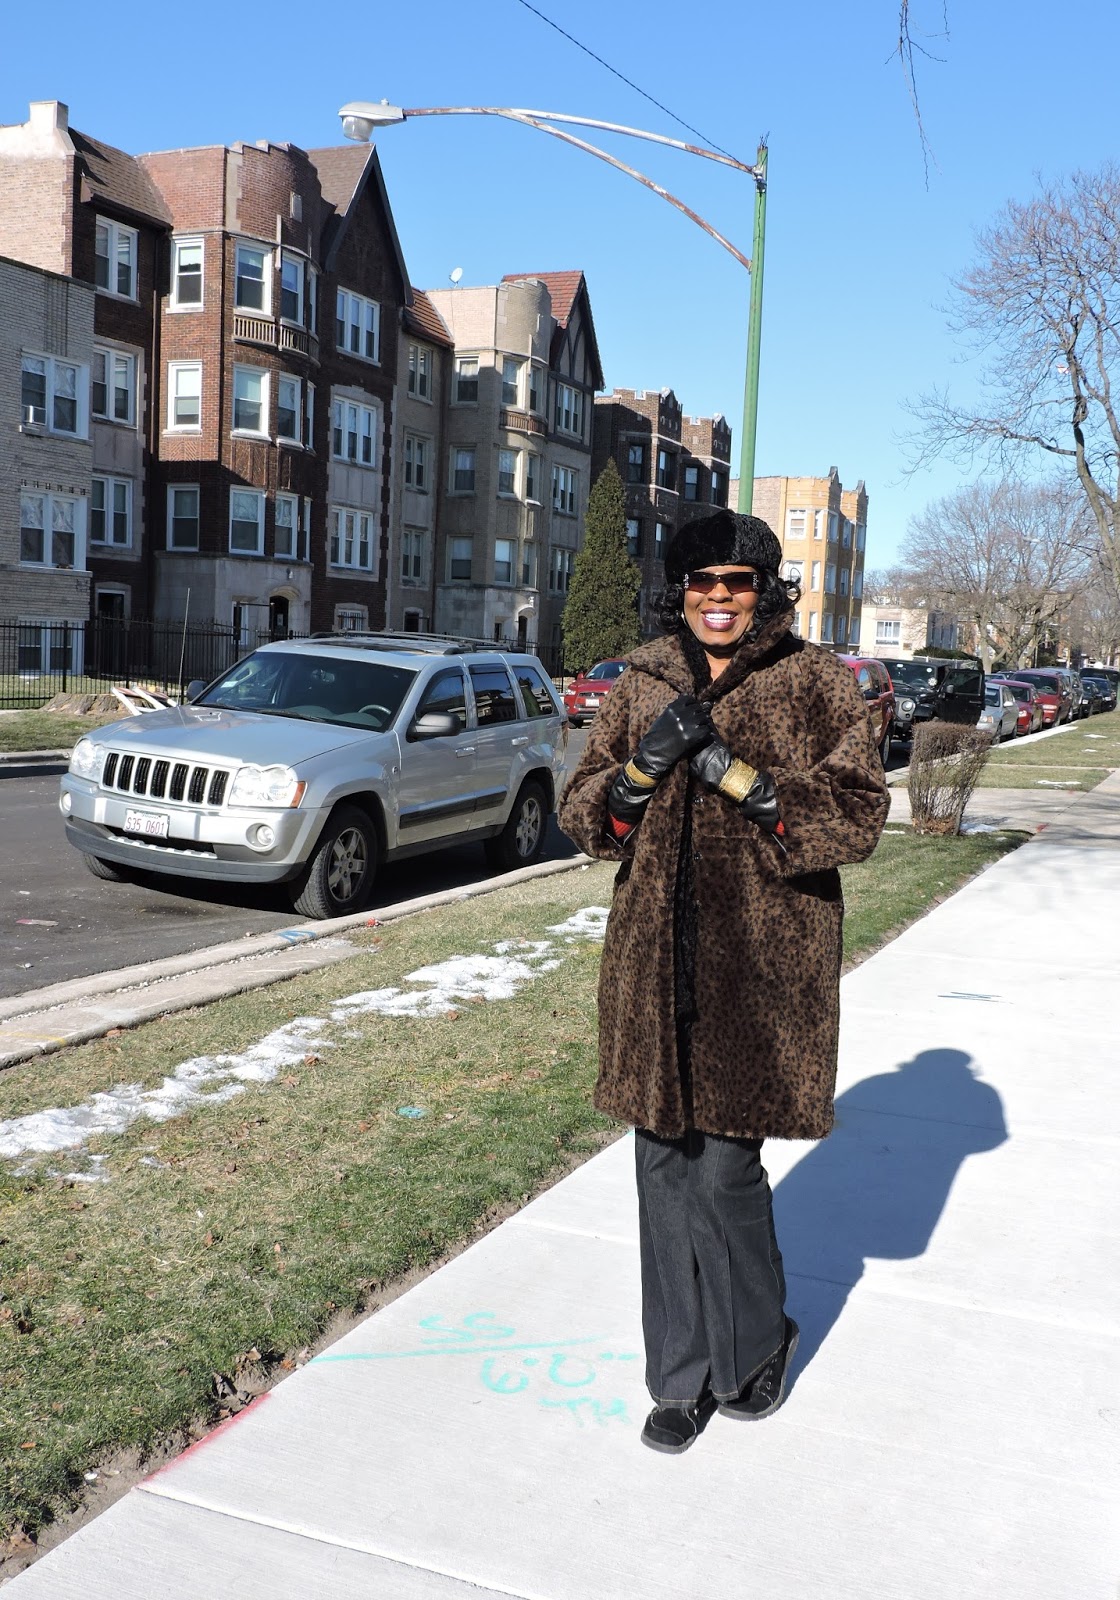
The wait was worth it. My coat is just right for me: the fit, color and style. Faux fur coats and denim are on trend. So that how I'm wearing my new coat today. See more trend styles on my blog, here.
The pattern that I selected is from Burda Style Magazine, October 2008, View 101. Burda's descriptions are just as sparse as the construction details. The high collar is perfect for my long neck. The overall silhouette is a-line with the hem hitting just above my knee. The no fuss raglan, bell 3/4 length sleeves makes sewing them super easy.
The sizes are 36(4/6) to 44(14). I used 14 with modifications. My coat looks similar to the photo in the magazine with the exception of the thickness of the faux fur.
Let's not talk about the instructions. I decided not to follow them. So I just used some basic construction techniques that I've learned over the years.
Some tips to consider if you plan to sew this coat:
- Adjust stitch length to 3mm when sewing the faux fur
- Used a jersey machine needle, size 14
- Because of the backing of the faux fur, I decided to interface the entire coat with Pellon apparel interfacing - SF101 black shape flex fusible. Be careful not to crush the pile.
- I did not heat press any of the faux fur seams. I just finger pressed them.
- Used a crepe back satin for the lining.
- The same pattern pieces are used for the lining. Be sure to trim the lining accordingly to properly fit/join front facing and the neck facing.
- For me, the pockets are a little high and too small. You may want to test the replacement before sewing them.
- Make sure you pick the fur out of the seams so there is no interruption in the fur.
- FBA. I know you are probably thinking why. I think I needed one. My first placement of the dart was too low. So I moved it up about an inch and curved it a bit.
- Broad shoulder adjustment on the back coat and back sleeve.
- Added two inches to the length of the coat
- Added a few inches to the length of the sleeves, but used the added length to create a deep hem.
I may or may not make this coat again. With Burda I would probably lean towards making it again for all the work involved with tracing the pattern. The style of the coat is exactly what I wanted. That is my "like". My dislikes are: tracing the darn Burda pattern and the lack of construction guidance given in the magazine.
Overall, my coat turned out very well if I may say so myself. I did notice some incorrect placement of a few of the snaps. That's an easy fix, which I will correct immediately.
That is all for now.
Happy Sewing!
Cennetta
Labels:
burda,
Burda Magazine,
coat,
faux fur,
Mood fabric,
Mood Sewing Network,
Sewing,
Trend
Sunday, March 1, 2015
Bags in My Clutches - Clutch Modified
Last week I posted a tutorial on a DIY faux fur and leather clutch. In my stash I have several remnants of faux leather and fur. So on Thursday afternoon I decided to further explore possible variations of the initial bag.
| This bottom edge looks crooked, but it's actually straight. I was afraid to press it. |
Here is what I came up with. I made a few clutch purses and some tech/portfolio bags. The possibilities are endless. You basically cut two rectangles for the purse and two rectangles for the lining. Create an interesting finished edge. The hardest part of the construction process is installing the zipper.
Happy Sewing!
C
Labels:
accessories,
DIY,
faux fur,
faux leather,
purse,
tutorial
Monday, February 16, 2015
DIY - Faux Fur/Leather Clutch
Over the weekend I was so happy to finally complete some of the many, many sewing projects on my list. I must admit that it has been a bit of a challenge to organize projects and to think about the next phase of my sewing and creative life.
At the Christmas luncheon, Rhonda Buss, carried a super cute fur clutch. The minute I saw it, I wanted it and made a mental note to add making a faux fur clutch to my list. This was an easy, simple project. And luckily, all of the supplies were already in my stash.
To make it you'll need:
Faux fur (Mine's was leftover from this jacket project. The scraps were too nice to trash. So I kept them in a bin along with several other remnants.)
Faux leather (or genuine leather)
Lining (remnant)
Felt
Zipper
Pellon #805 Wonder Under Fusible Web
Thread and other basic sewing tools
Steps:
- Determine the size purse you would like to make
- Cut the faux fur, leather, and lining based on the dimensions you chose. Add seam allowances. (Mine was 13.5" X 11" plus seam allowances.)
- Fuse one side of the wonder under fusible web to the wrong side of the faux fur.
- Let cool.
- Remove the wax paper backing and fuse the felt to the other side of the Wonder Under. The wrong side of the faux fur is now felt. This adds body to the faux fur. The faux leather already had a felt backing.
- Cut a 2" X 1.25" strip of leather. Fold it in half the long way. Edge stitch about 1/8" away from the edge. This strip will be use to cover the zipper stop.
- Sew the strip to the zipper tape.
- Sew the faux fur and leather to the zipper tape.
- Sew the lining to the zipper tape. The zipper tape on each side should be sandwiched between the lining and the fabric.
- Edge stitch the lining near the zipper teeth so that it will not get catch in the zipper when you open and close the purse.
- Put the right sides of the purse together. Sew the remaining three sides together.
- Do the same for the lining, leaving a six inch opening at the bottom to turn the purse inside out.
- Turn the purse inside out and finger press the seams.
- Stitch the remaining lining together.
- You're done!
- You can use it as a purse or a tech case. The choice is yours.
Parting Shot: Rhonda Buss gave a talk on sleeves at the Chicago Chapter American Sewing Guild meeting Friday evening. The sleeves on this coat are spectacular.
Happy Sewing!
C
Labels:
DIY,
faux fur,
faux leather,
pattern drafting,
purse,
tutorial
Wednesday, November 19, 2014
Multi-Tasking - Sewing Related Activities
I'm all over the place with my sewing activities and projects. I continue to add projects to the ole to make list. Occassionally, shuffling them around based on my current level of interest or excitement. I'm ordering and buying fabric from multiple places. I received a box from Mood with this lovely faux fur in it. I haven't decided on what jacket/coat to make.
I have a mound of muslin garments cut, ready to sew up and fit.
My pattern collection has grown tremendously over the past few months. I poured the newly purchased patterns over the dining table. It looked like an explosion of patterns.Below is only a hand full that I started to trim. And on top of that, I have a big shopping bag full of projects cut and stored in separate "Vogue" plastic bags.
So.., I will continue to "multi-task" the ole sewing projects and post as soon as I have something note worthy. Expect to see more "Notes on a Pattern" even though I've only made one of the patterns of interest.
On Saturday, I'm attending a workshop taught by Rhonda Buss and Susan Khalje. I'm so excited and can't wait to learn from the pros.
What about you? Are you multi-tasking sewing projects? Or do you work on them one at a time?
Happy Sewing!
Cennetta
I have a mound of muslin garments cut, ready to sew up and fit.
My pattern collection has grown tremendously over the past few months. I poured the newly purchased patterns over the dining table. It looked like an explosion of patterns.Below is only a hand full that I started to trim. And on top of that, I have a big shopping bag full of projects cut and stored in separate "Vogue" plastic bags.
So.., I will continue to "multi-task" the ole sewing projects and post as soon as I have something note worthy. Expect to see more "Notes on a Pattern" even though I've only made one of the patterns of interest.
On Saturday, I'm attending a workshop taught by Rhonda Buss and Susan Khalje. I'm so excited and can't wait to learn from the pros.
What about you? Are you multi-tasking sewing projects? Or do you work on them one at a time?
Happy Sewing!
Cennetta
Labels:
Fall 2014,
faux fur,
fitting,
Mood fabric,
Mood Sewing Network,
muslins,
patterns,
Sewing,
shopping
Subscribe to:
Posts (Atom)